Wet Shaving – Your Ultimate Guide
No man deserves razor burn. Get the closest shave possible without the irritation in this comprehensive guide to shaving. Everything from recommended products to step-by-step guides.
Learning how to shave is something we all have to deal with once puberty hits. Along with a voice that cracks, budding chest hair and a sudden interest in that cute classmate of yours, finally getting rid of peach fuzz is a step towards manhood.
And it’s a trap!
It’s something we have to do almost every day and no one agrees on the correct tools, method or direction – with or against the grain?
Maybe it would have been better to leave the fuzz… but we shaved because it’s what you do. And now we’re here discussing how to shave correctly.
The good news – there is a right way to shave. The bad news – if your voice is still cracking or your chest hair never fully came in... we can't help with that.
You have 1 face, and you’re stuck with it forever. Treating it well and shaving it correctly is the easiest way to get the most out of it. With that in mind, we’ve curated this ultimate guide for shaving. Read on for tips, tricks and insider secrets from professionals.
Wet Shaving Vs. Dry Shaving
Each morning we are faced with two of the most important decisions of the day – will one cup of coffee be enough and whether to wet or dry shave.
What is Wet Shaving?
Wet shaving is the process of shaving using water and some type of soap or cream to create lather.
Pros of Wet Shaving
- Closer shave
- Exfoliation – The process of scraping a metal blade across your skin removes dead skin cells
- Cheaper in the long-run
What is Dry Shaving?
Dry shaving is shaving without water (obviously) and using an electric razor to remove the hair.
Pros of Dry Shaving
- Better for sensitive skin as it doesn’t remove a layer of skin
- Less risk of ingrown hairs, but increased chance of redness and irritation
While dry shaving is quicker and easier than wet shaving, it is not the method we prefer.
Call us old fashioned, but there’s something about the ritual of a wet shave that’s worth getting up for in the morning… just like that first cup of coffee.

Shaving Tools – A Guide to the Essentials
You can learn how to give the closest, cleanest shave in the world and still end up with nicks, cuts and razor burn without the right equipment. Shaving is a game of skill combined with the right tools and the know-how to use them correctly.
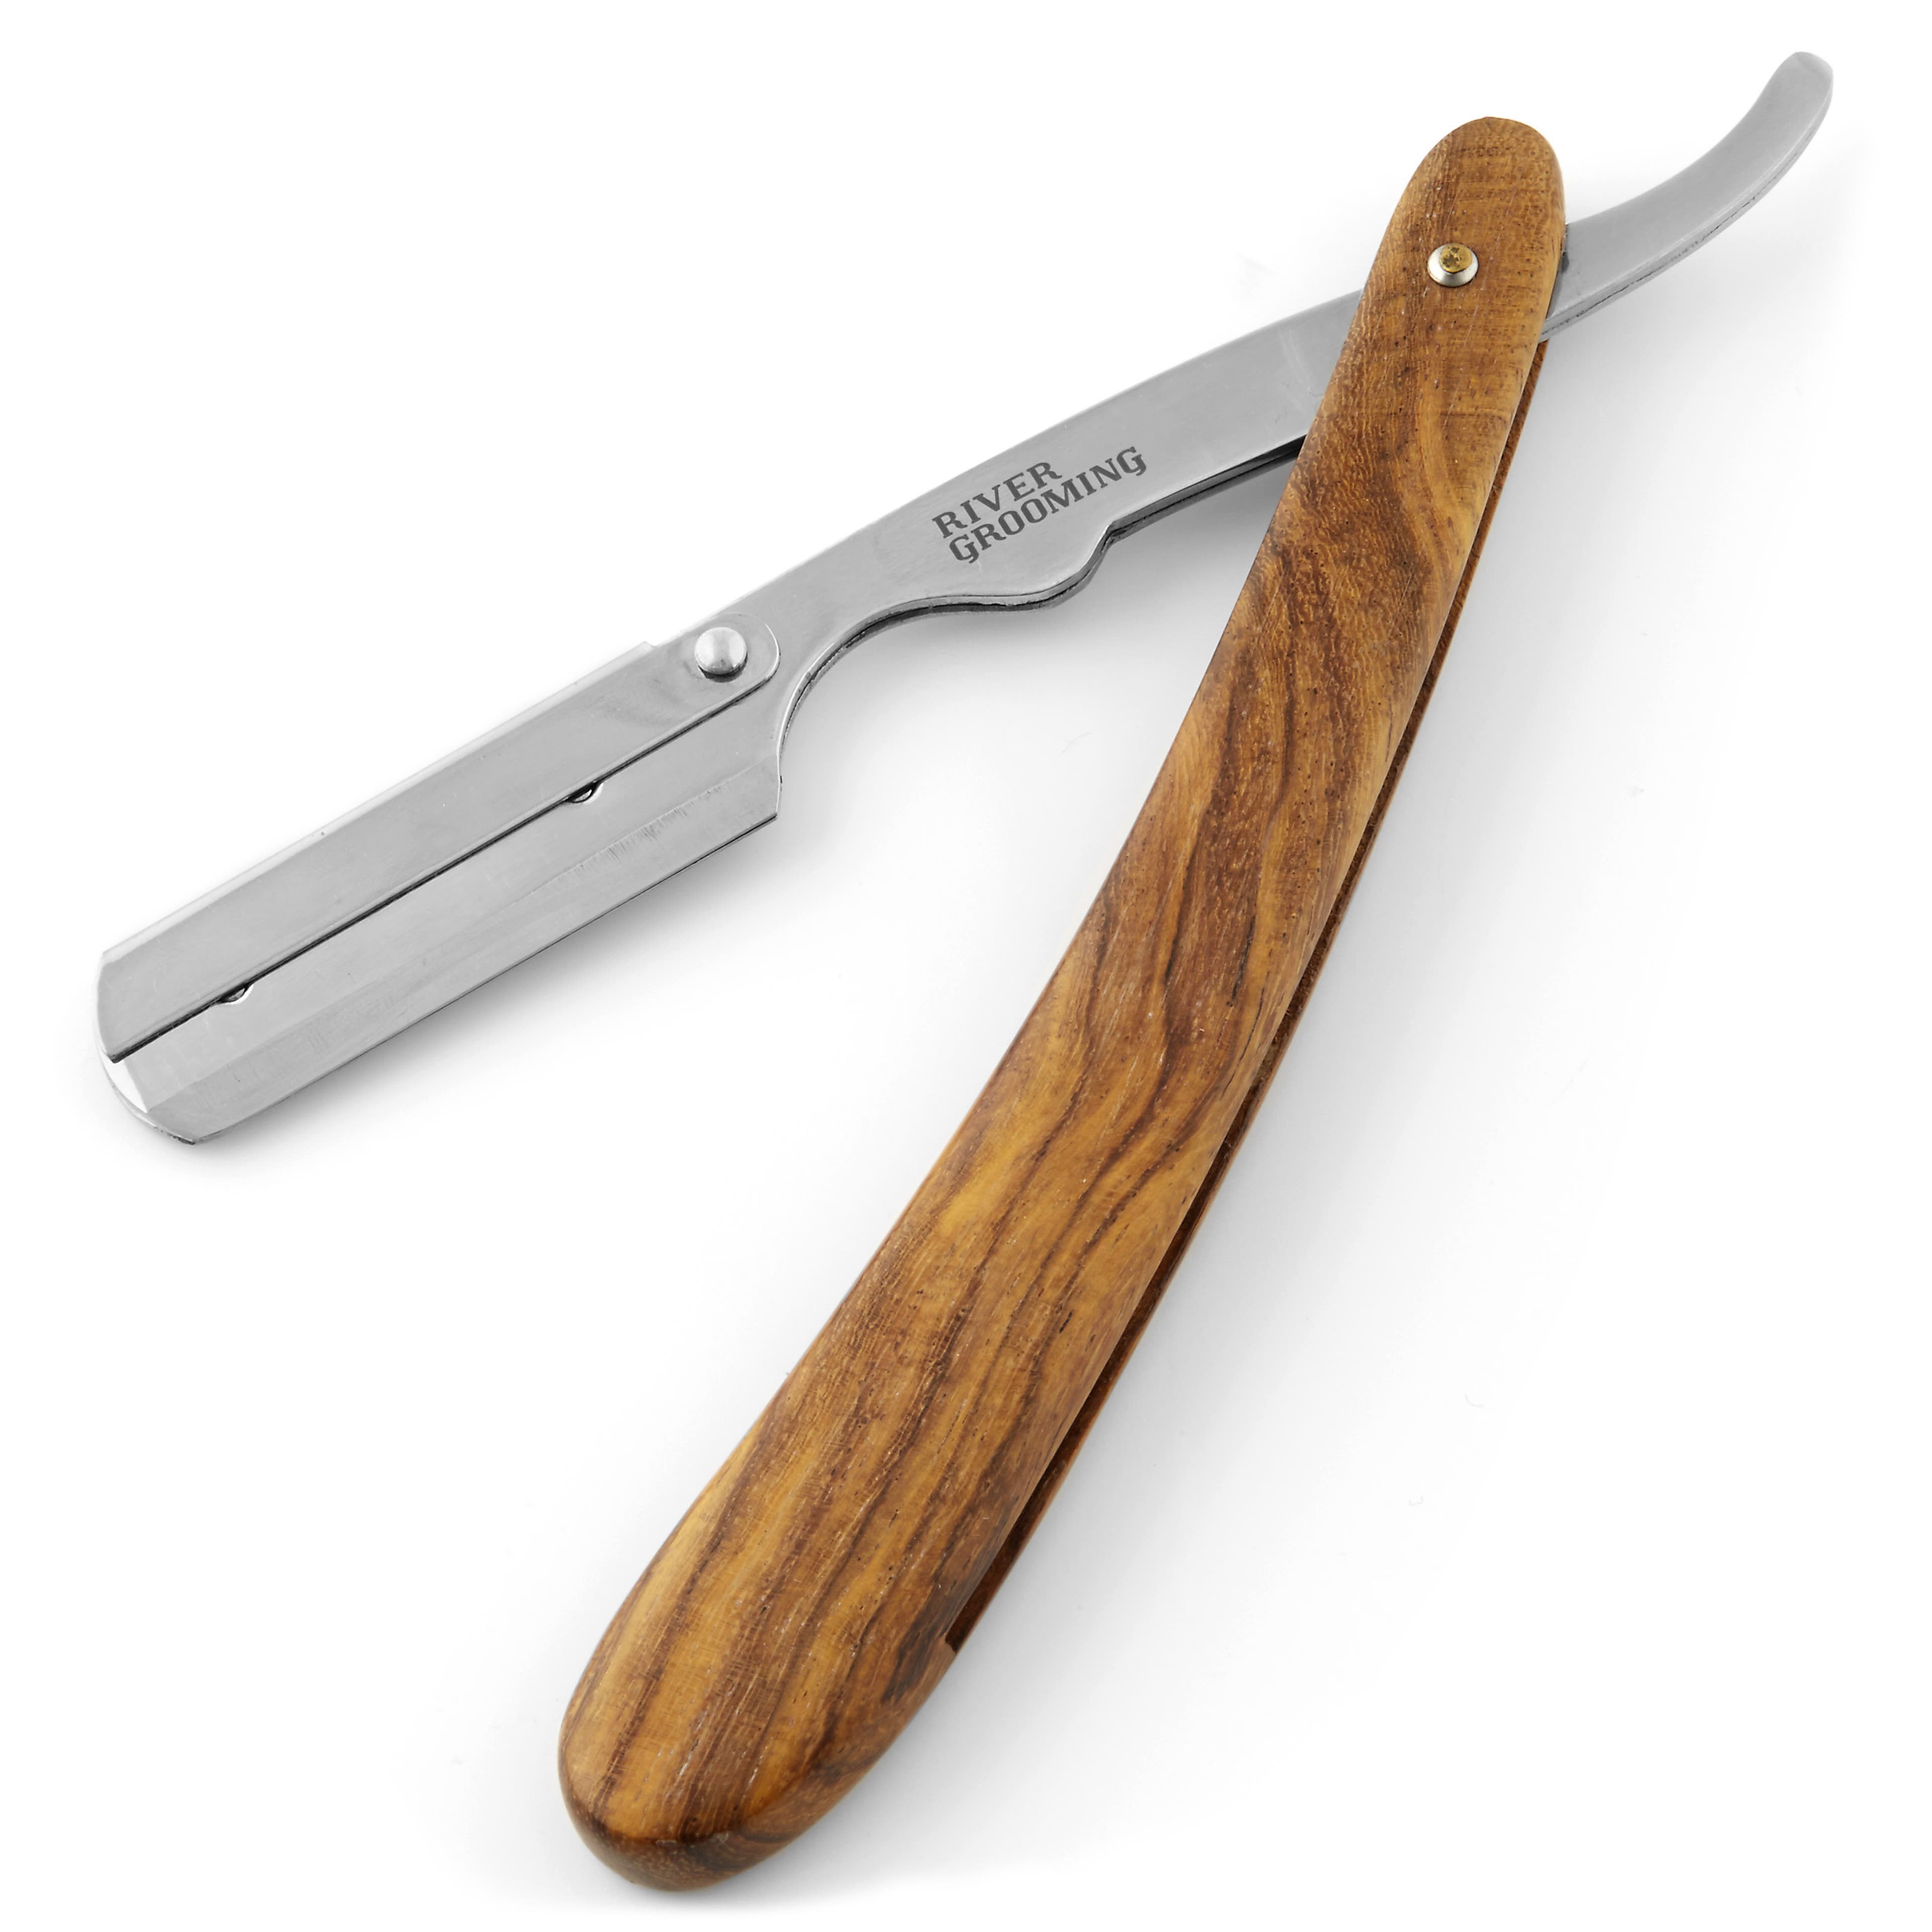
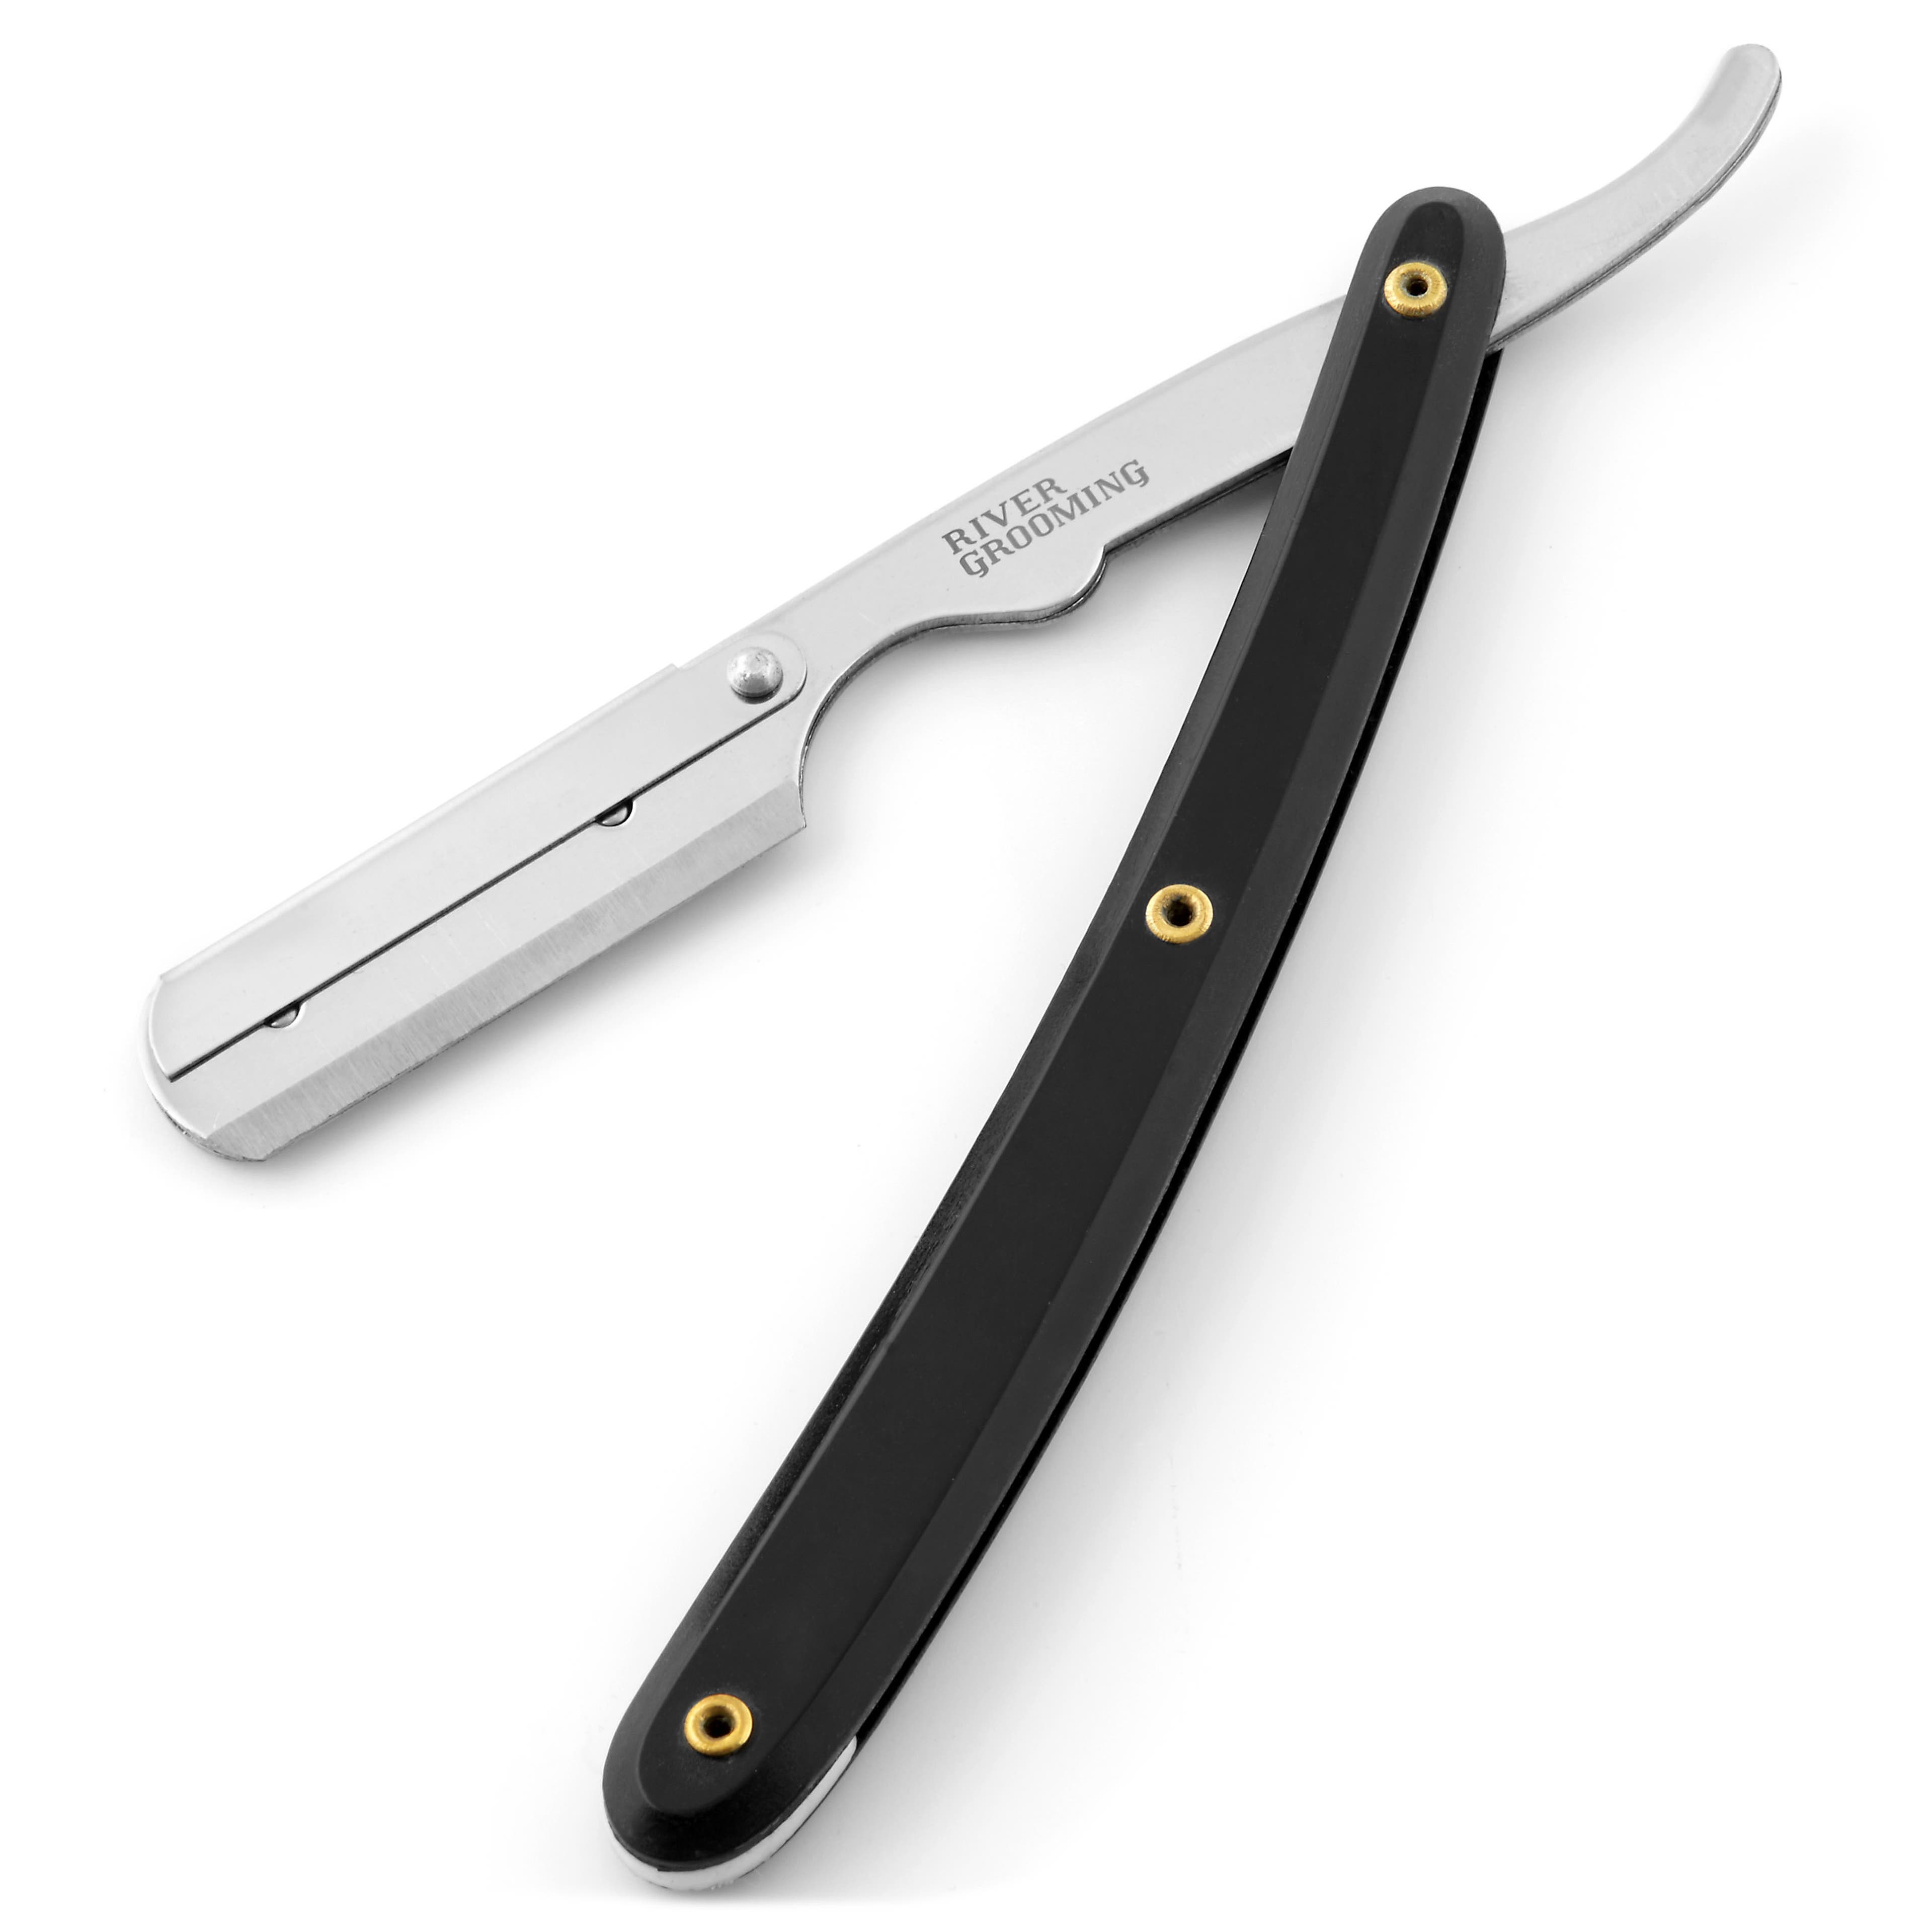
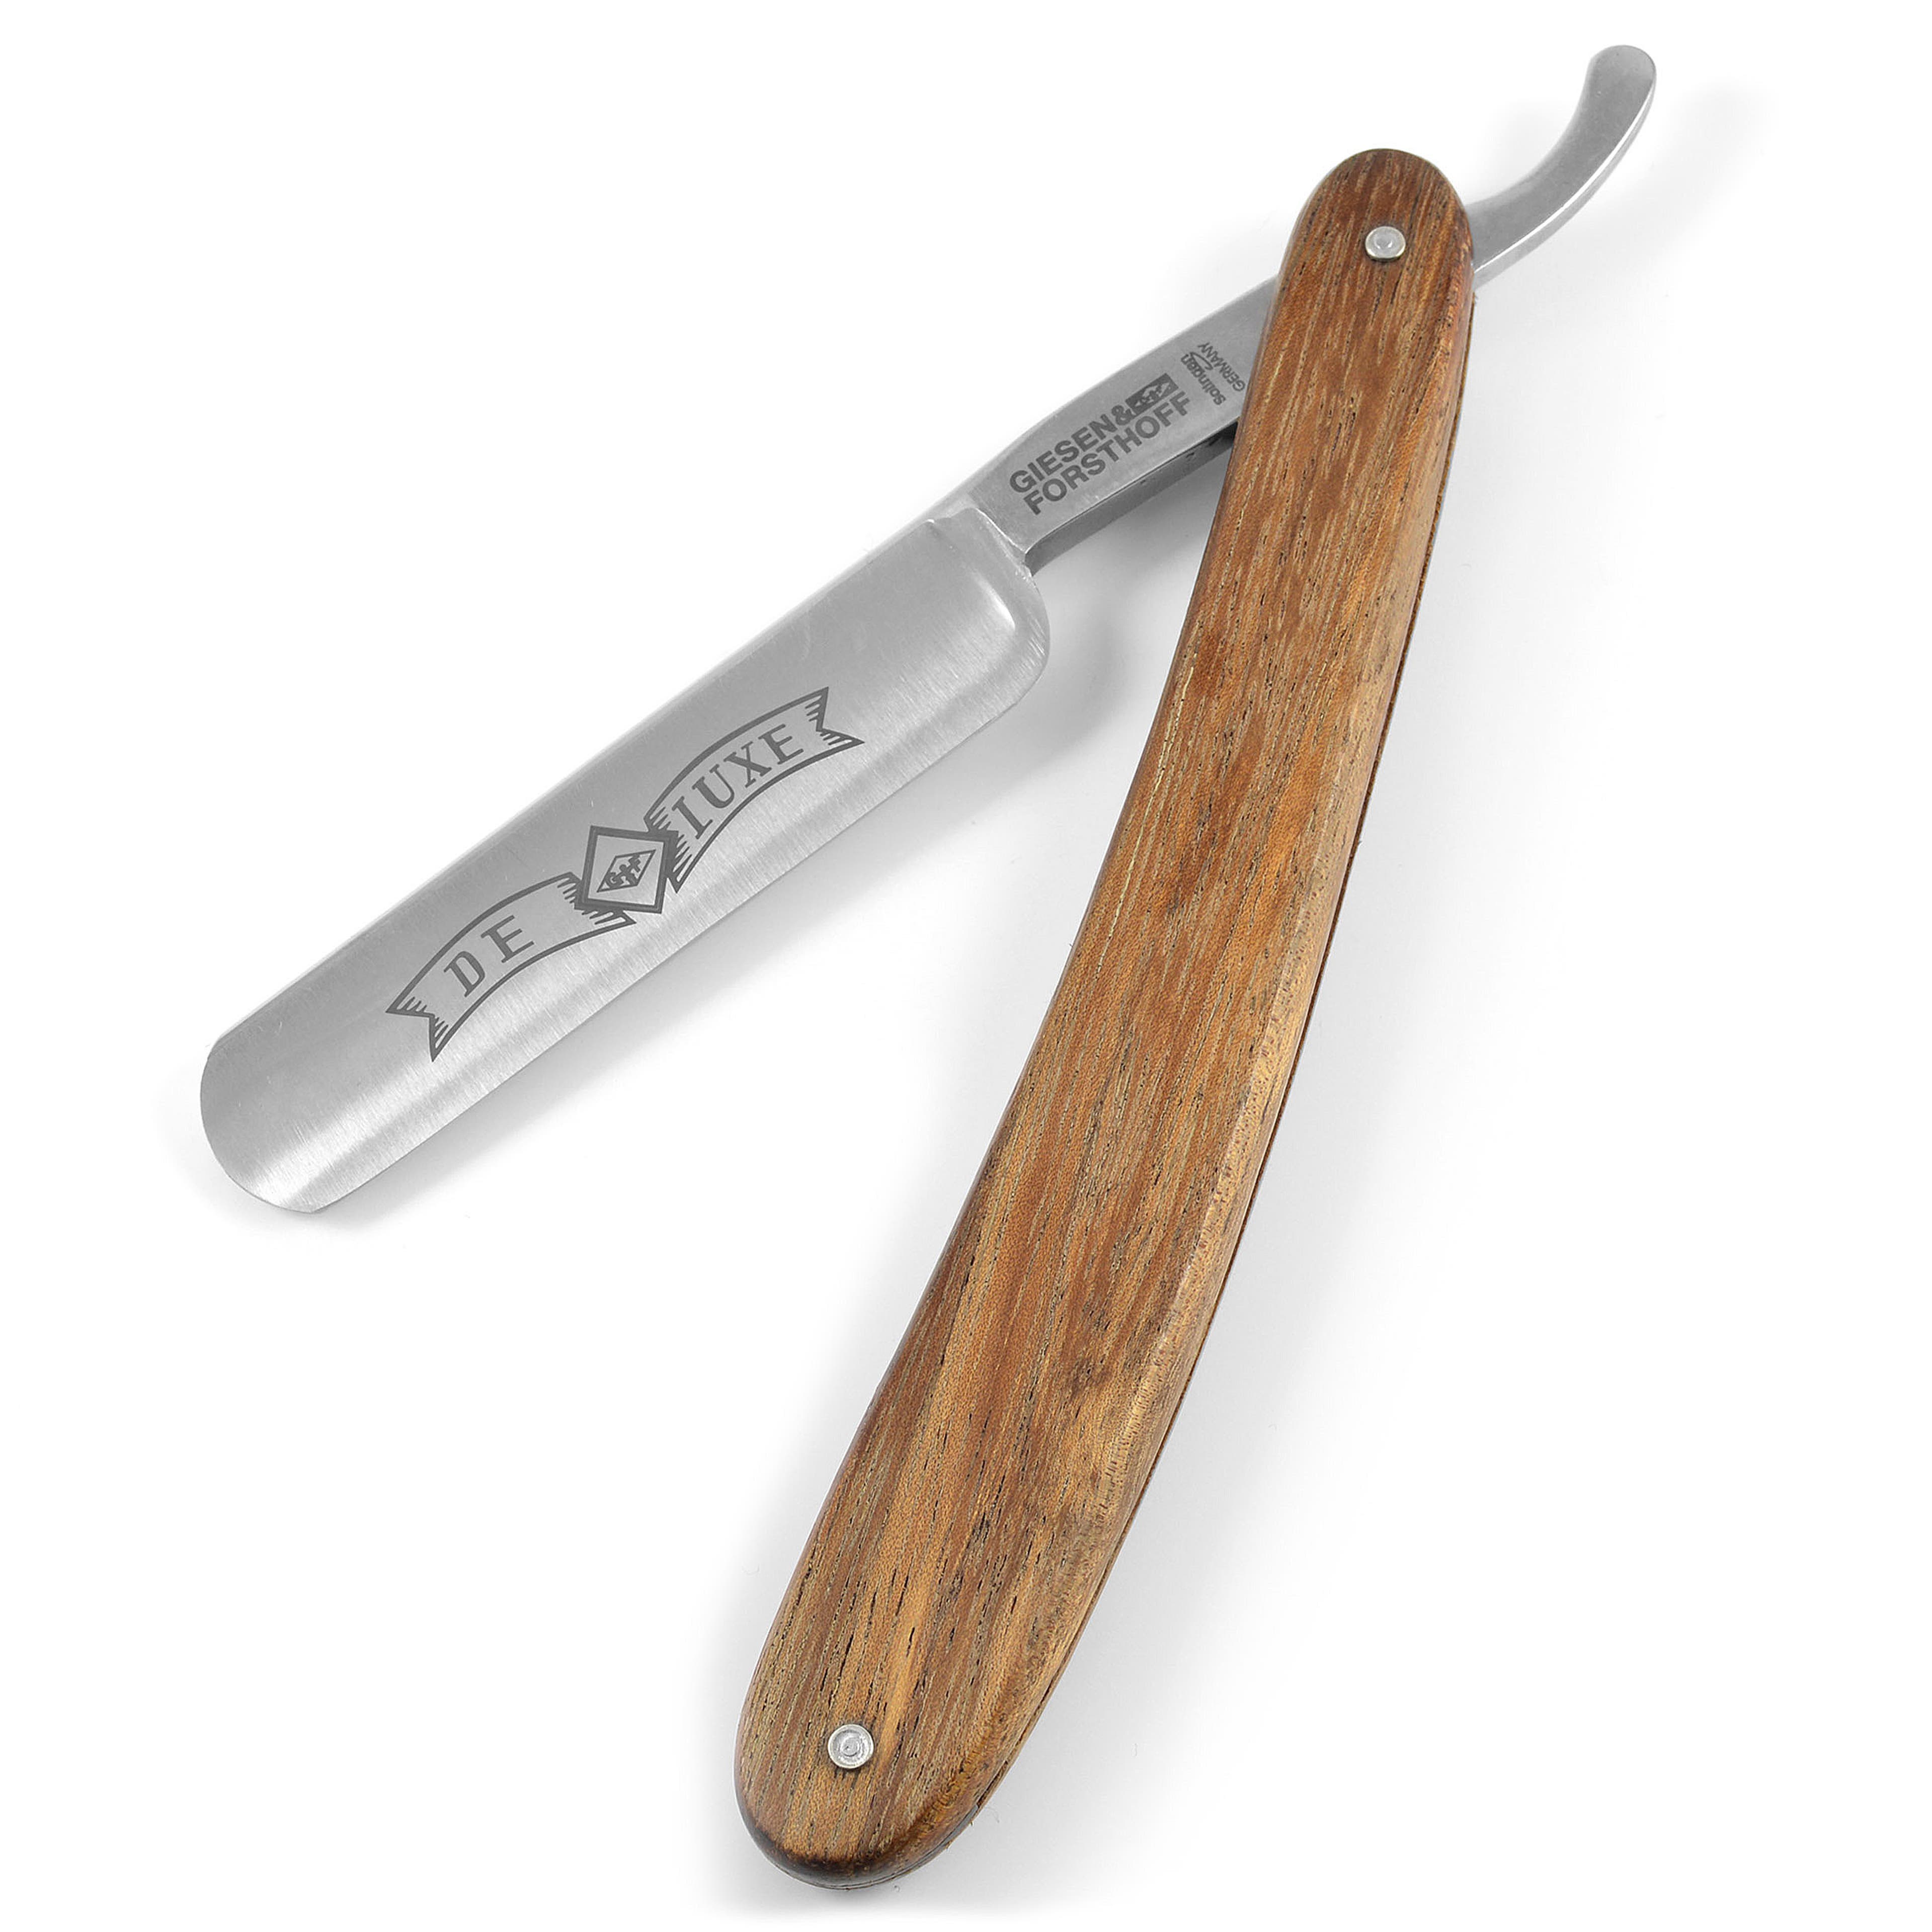
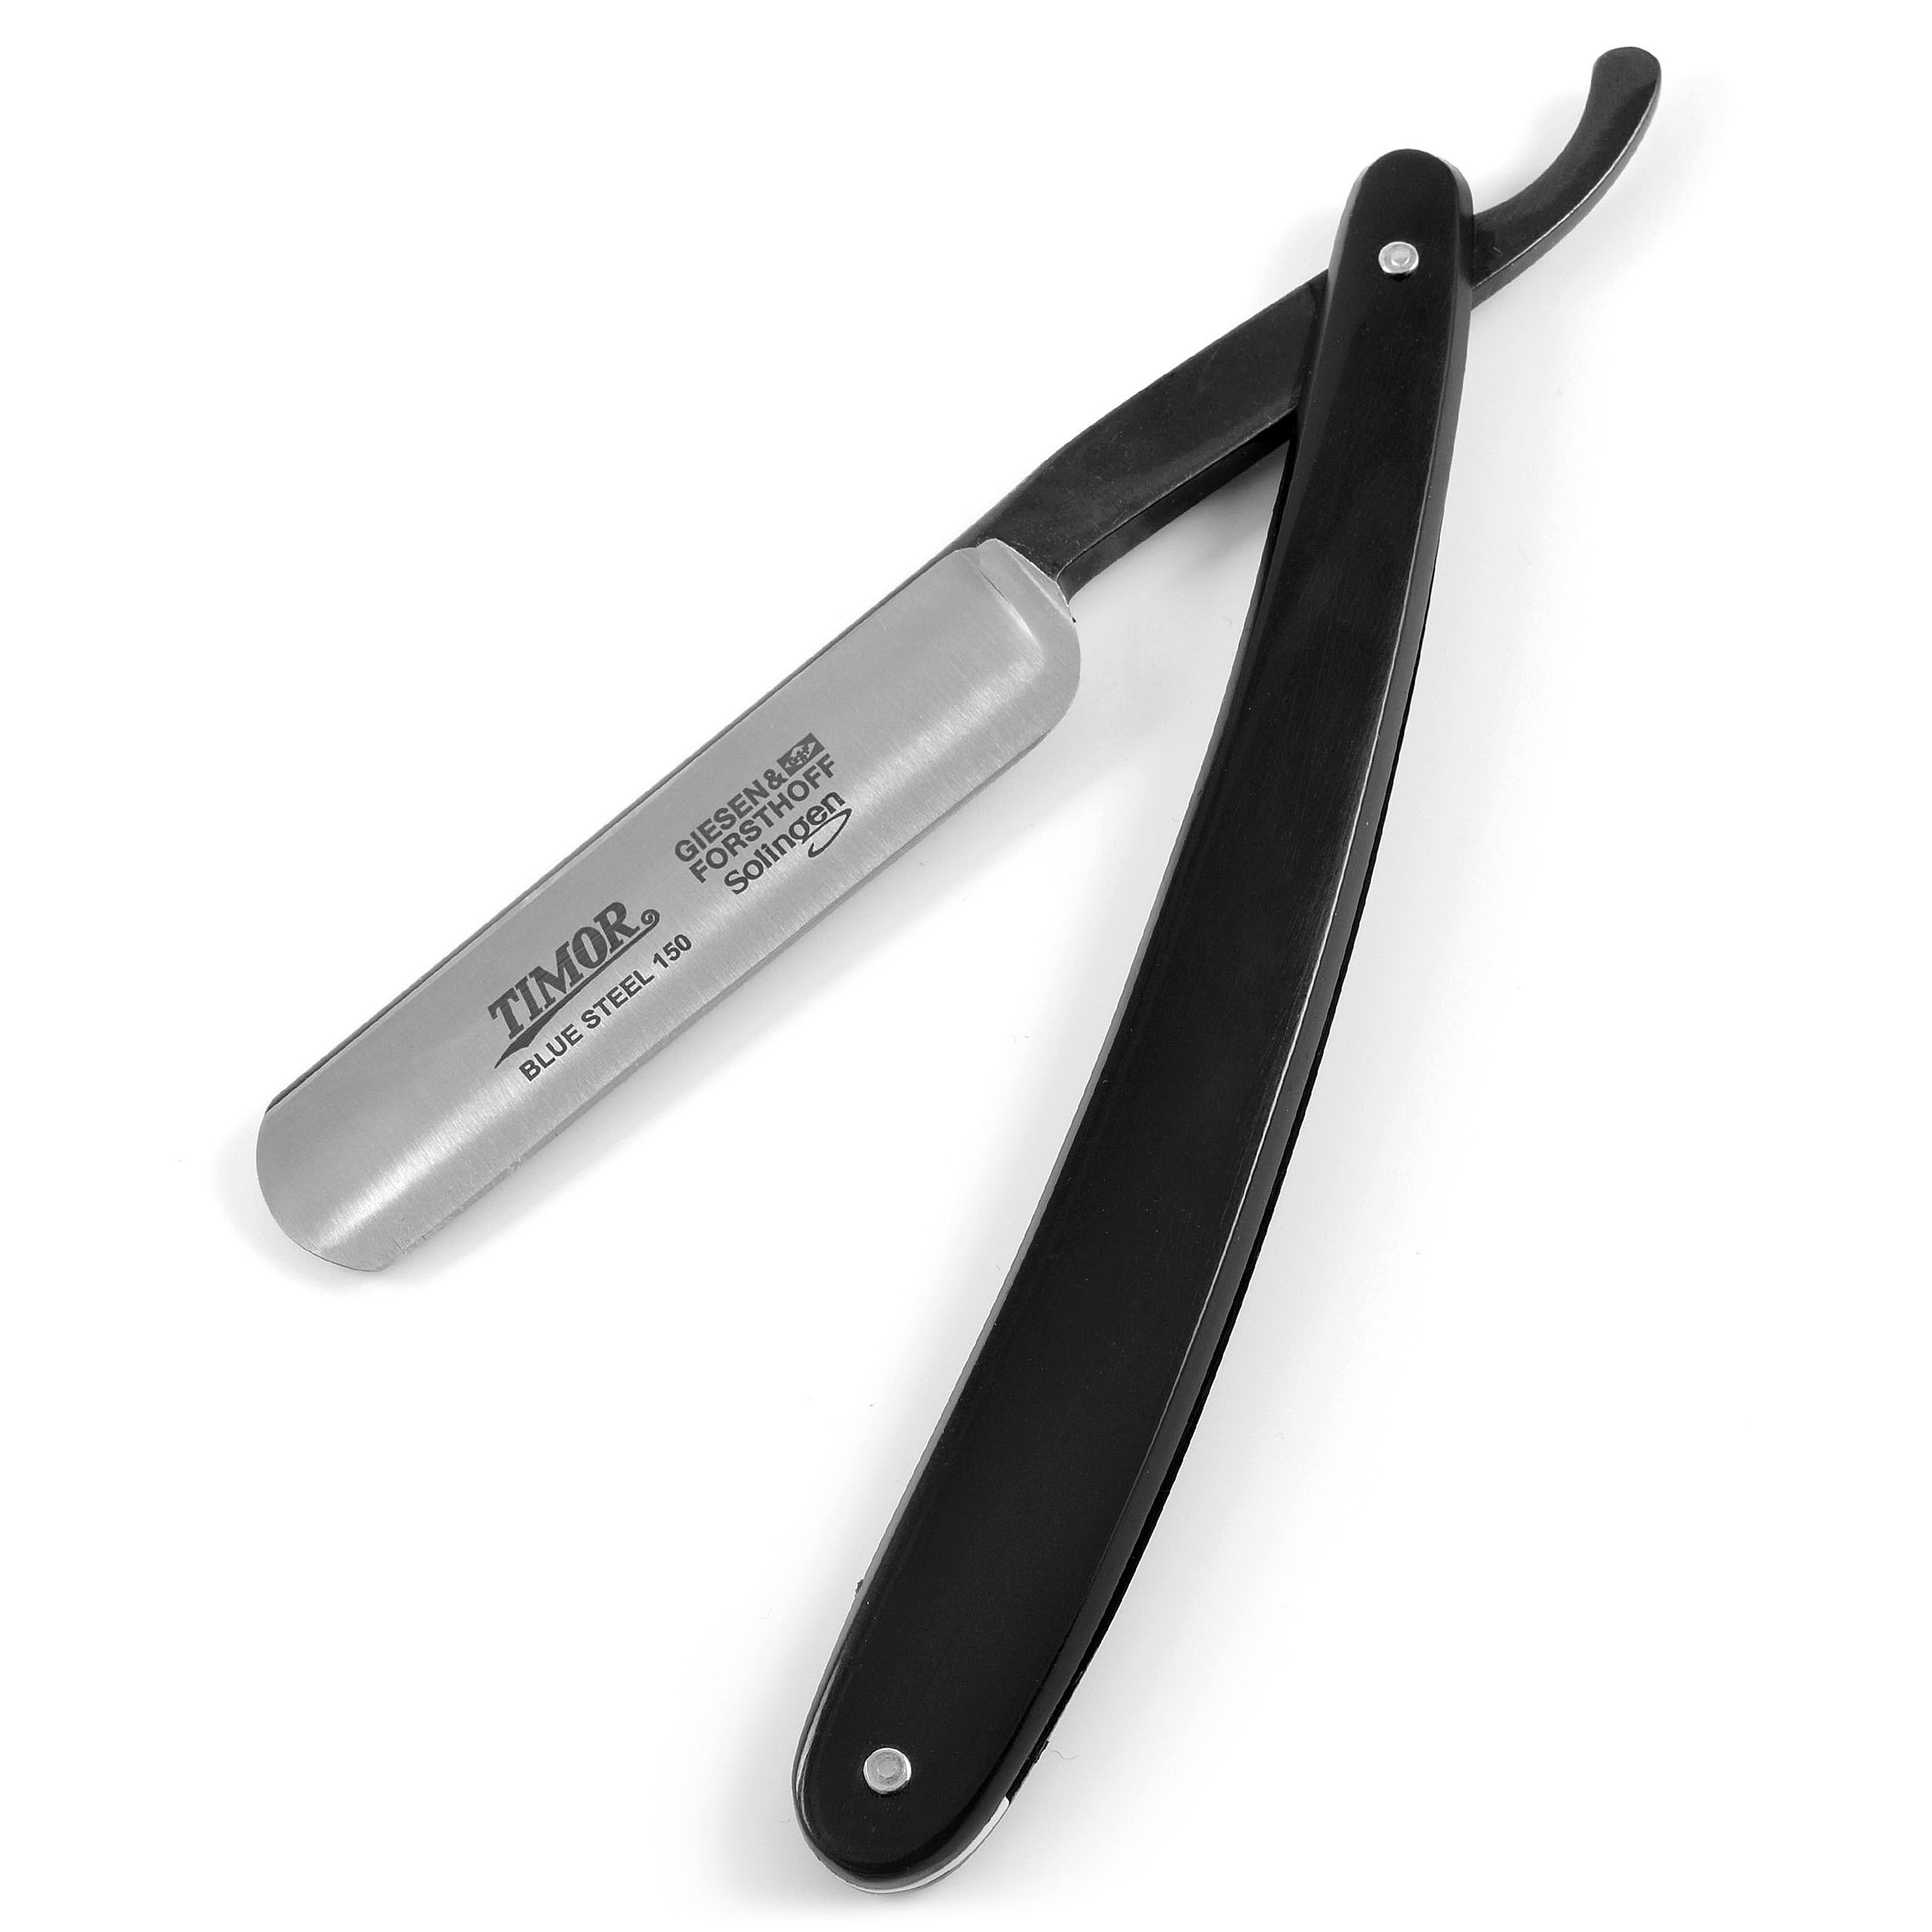
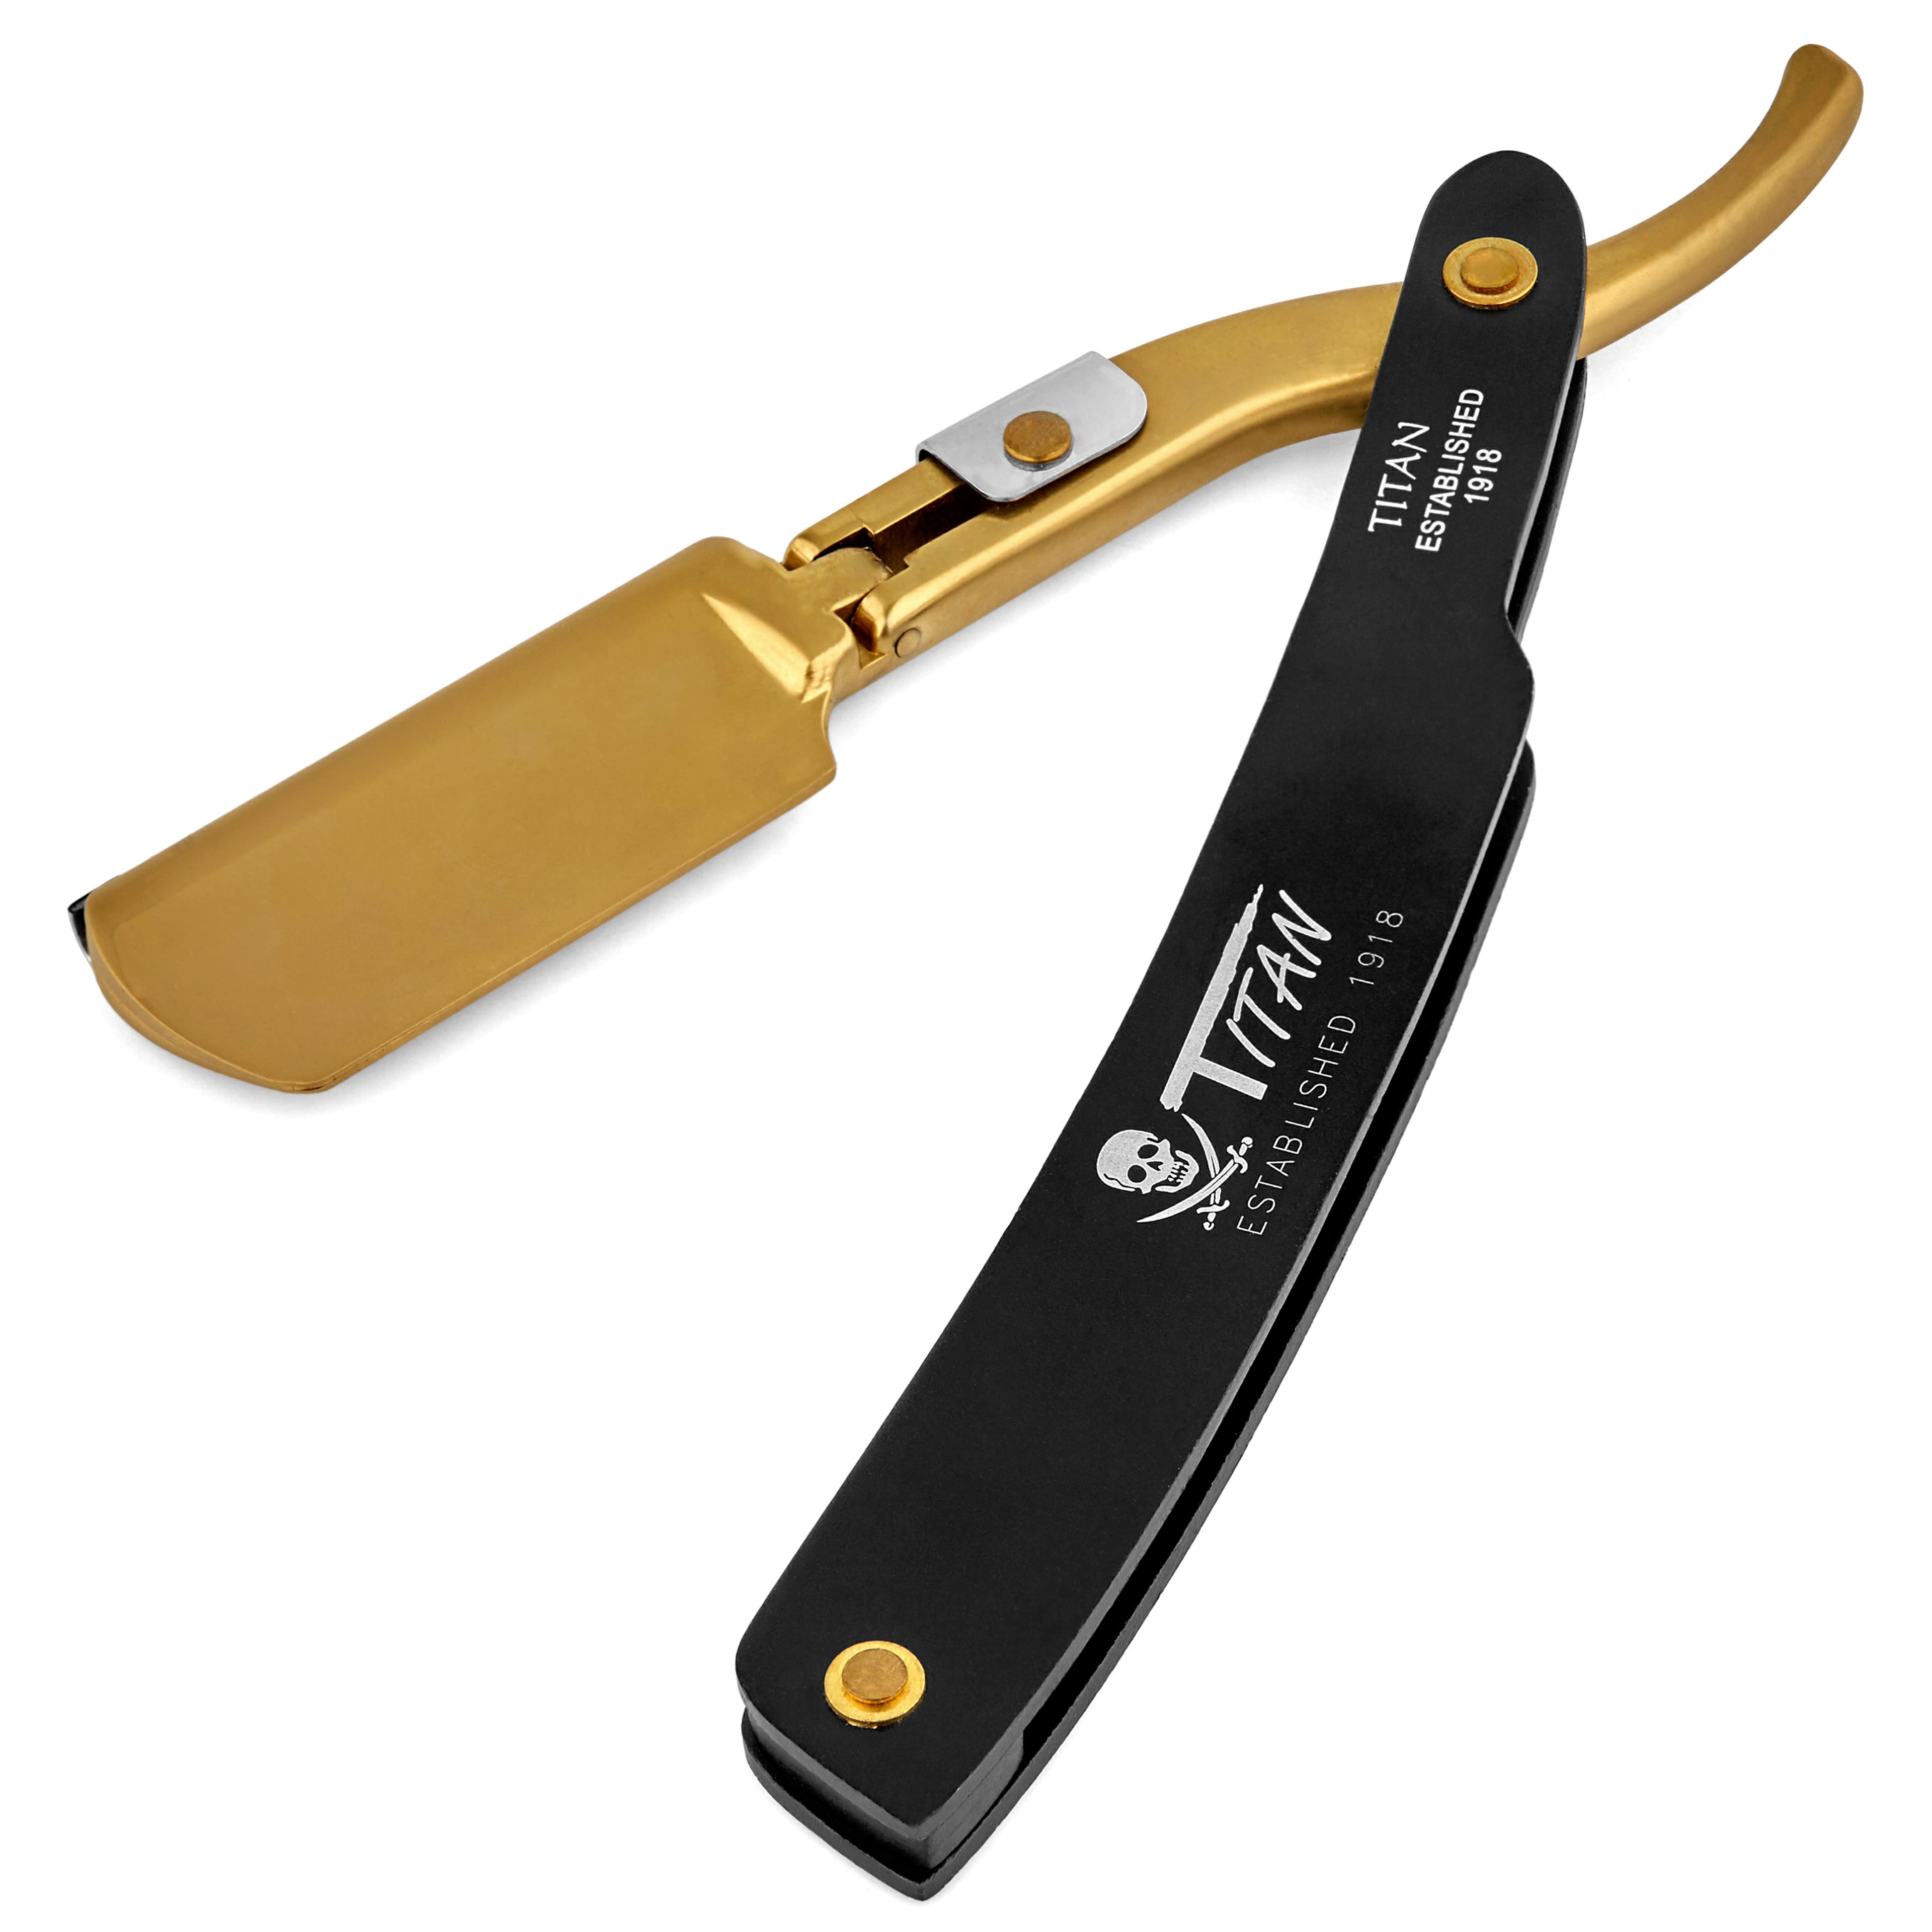
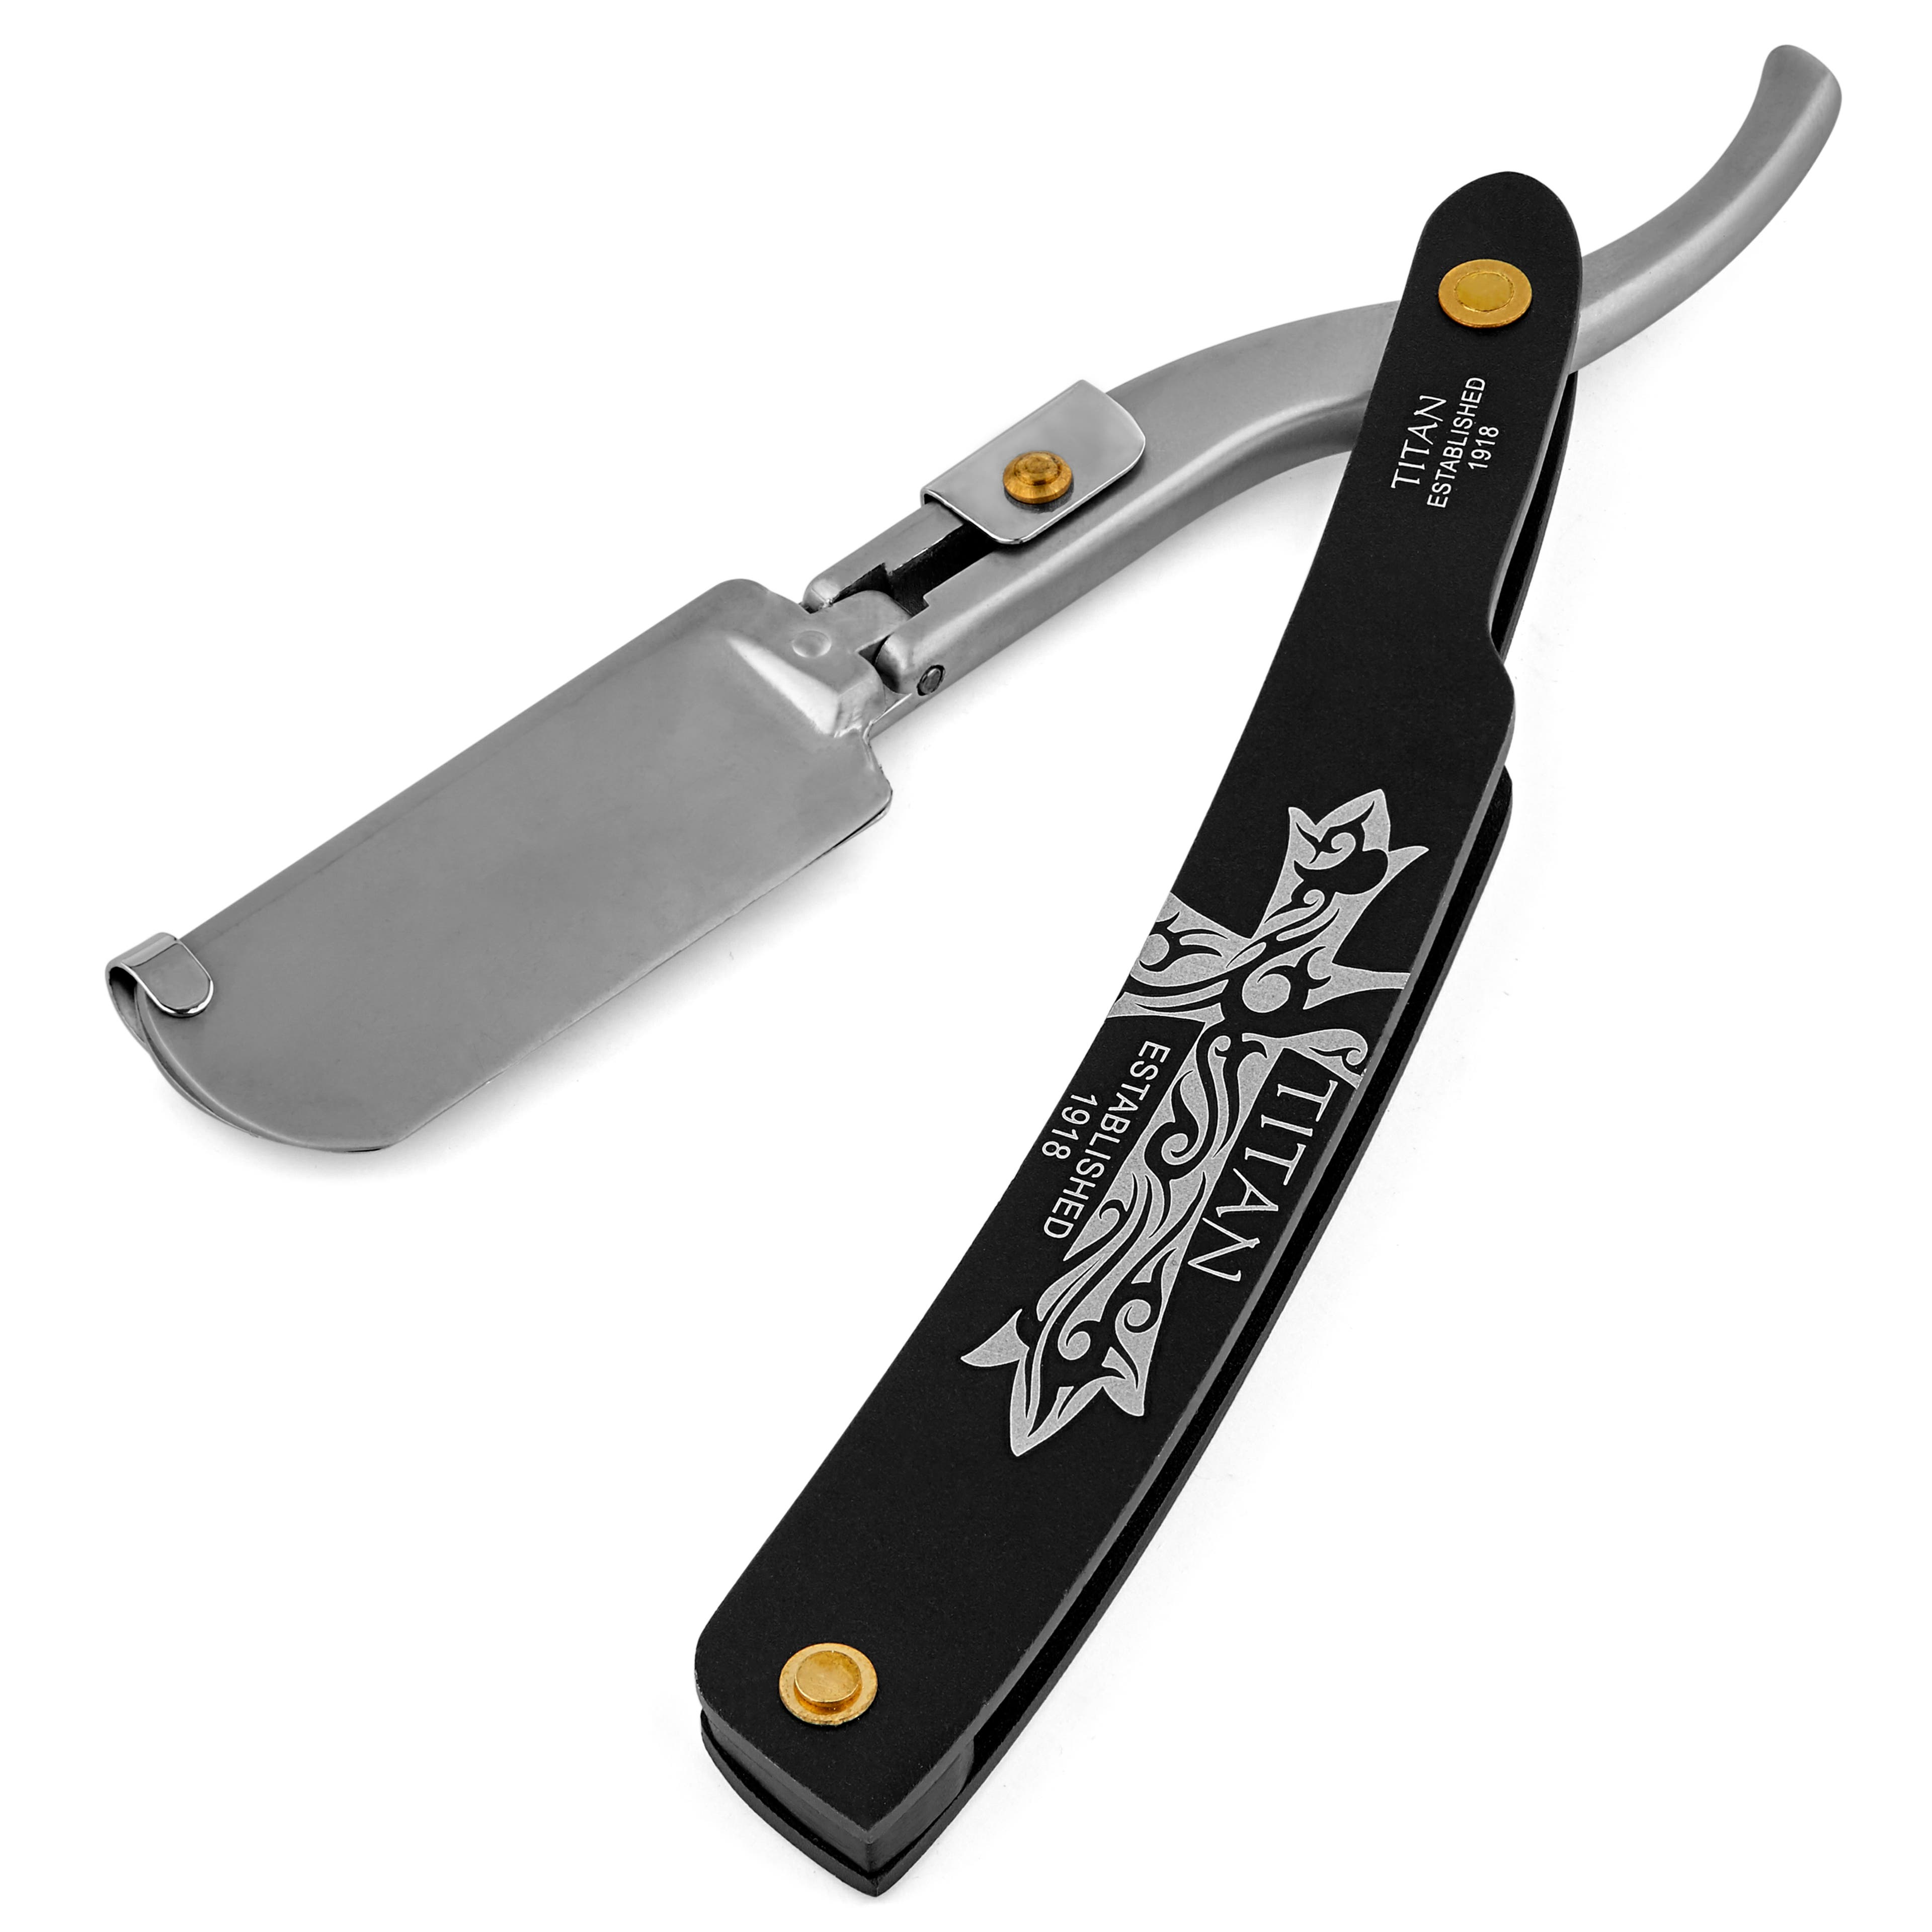
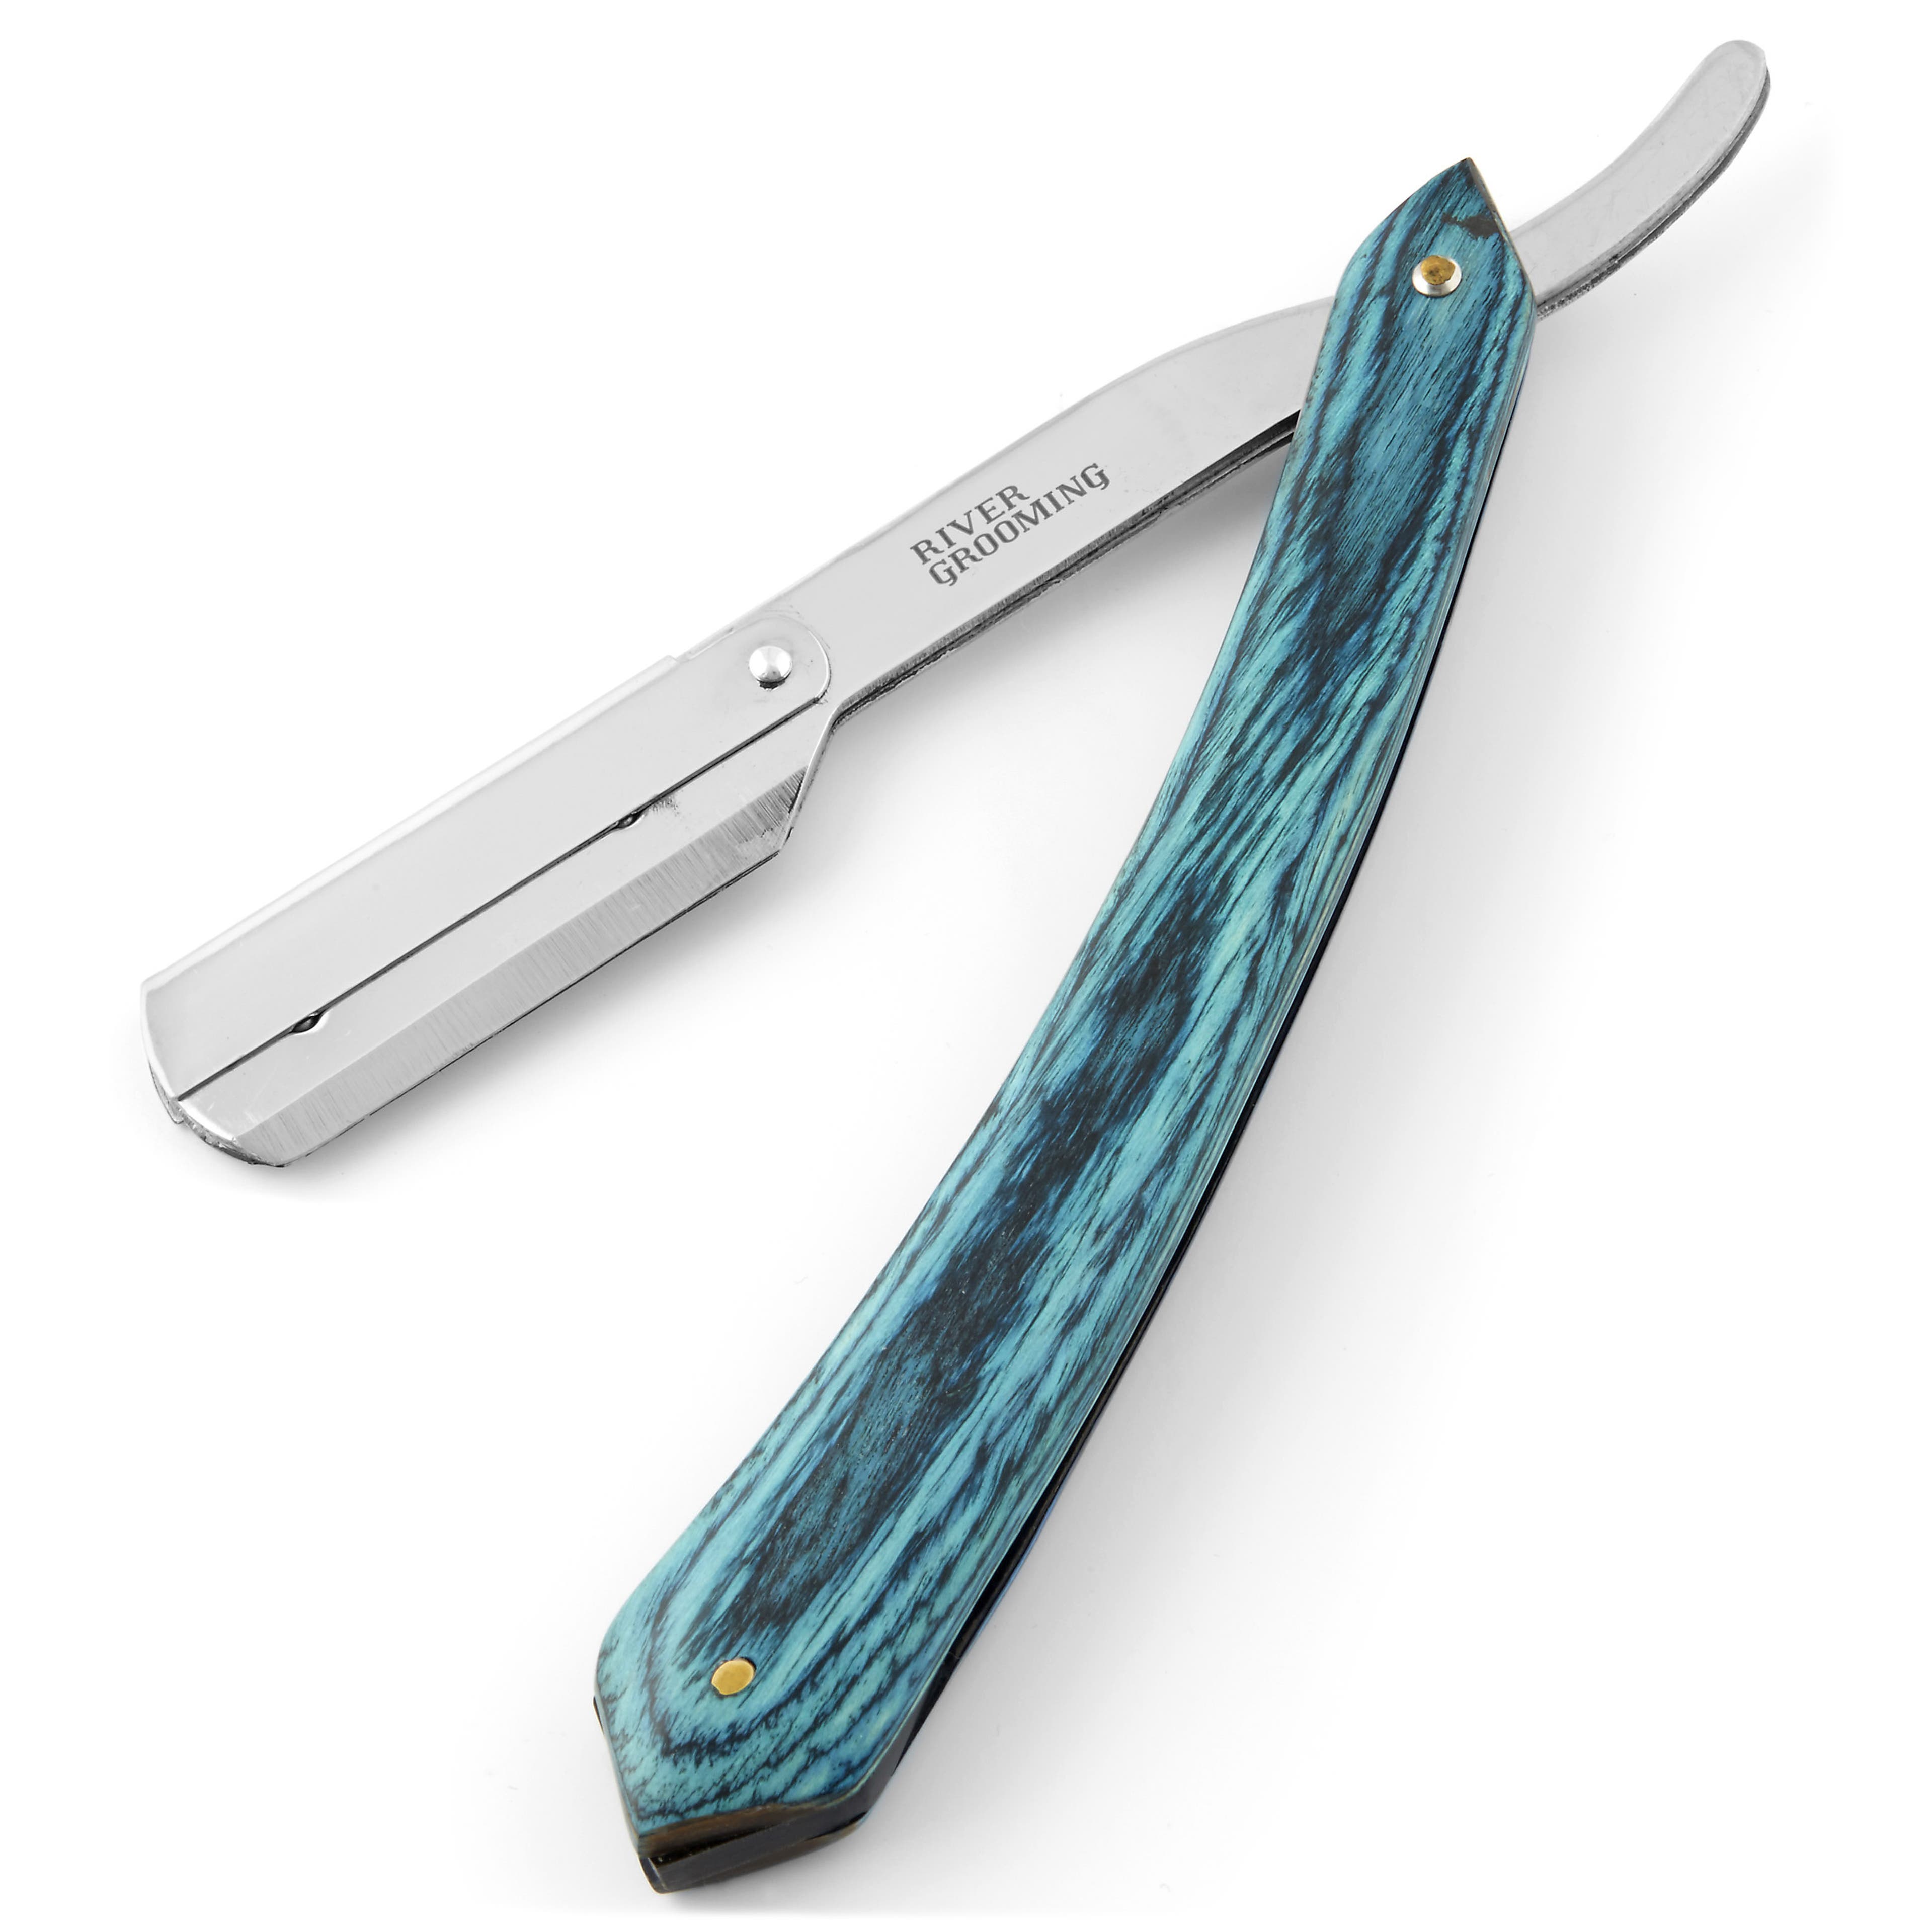
Straight Razors
When you hear straight razor, do you picture the suave James Bond in ‘Skyfall’ or the insane Sweeney Todd wielding his cut-throat razor on the streets of London?
The old-school style and charm of a straight razor are no match for the closeness of the shave. Yes, there is a learning curve involved, but after that, it’s smooth skin and a razor that’ll look as good on your bathroom counter as your face looks in the mirror.
Benefits of Using a Straight Razor
- Environmentally Friendly – A model that doesn’t use replaceable blades is waste-free. Other types that use disposable blades still pale in comparison to the 2 billion disposable razors trashed in the USA each year. Not to mention the lack of packaging waste. Less trash equals a better planet. And you get a nice shave. Win-win.
- Close Shave – Straight razors provide arguably the closest shave on the planet. There is a reason why professional barbers and Agent 007 have made it their go-to shaving method.
- Affordable – Affordability is akin to environmental friendliness. There is an initial investment... but that’s it. Disposable razors constantly require new blades and electric razors need batteries or charging.
- Overall Experience – Part of the smooth, clean shave that comes from a straight razor is due to the carefulness required to manoeuvre the blade. It’s this thoughtful process that turns a mundane morning chore into an enjoyable ritual.
What to Look for When Buying a Straight Razor
- ‘Shave-Ready Blade’ – Always check that the blade edge is ‘shave ready’. This means the edge has been professionally honed and sharpened and is ready for use.
- Balance & Weight – Select a razor that feels sturdy in your hand. Ideal balance is when the weight of the handle and the blade are equal. Be careful of anything too light or too heavy. Control is what you’re after.
- Blade Width – Blade width is measured in terms of ⅛ of an inch. The most common blade width is ⅝” with larger razors going up to ⅞”. Wider blades are heavier to manoeuvre around your nose and lips. A good beginning width is the ⅝”.
- Type of Steel – Most straight razor blades are made from either stainless or carbon steel.
- Stainless steel blades are our choice as they are less prone to rust and hold their edge (sharpness) longer.
- Carbon steel blades don’t contain chromium, nickel and molybdenum and rust easily. They are cheaper than stainless steel and require less time to be honed and stropped. You can also get a finer, sharper edge with carbon steel.
- Blade Tips – Blade tips include names like Barbers Notch, Spanish Point, French Point, and Spike Point. We’re going to cover round and square tips as these are the most common.
- A round tip is our favourite and a safe recommendation for beginners. The end of the razor makes a sweeping convex curve to the edge, without creating a sharp point. This makes it more forgiving than a square point if you make quick changes in direction or shift the angle of the shave.
- A square tip has a straight drop on the edge and is ideal for
shaping beards and sideburns. Using one of these bad boys requires a level of precision and awareness – use with caution and practice. - Disposable Blades – Many straight razors come with
disposable blades that take away the need to hone and strop. When the blade gets dull, simply replace with a new one.
Most use a double-edged safety blade cut in half. It can be swapped in and out of the head of the straight razor. Replaceable blade straight razors are cheaper and effective in achieving a close shave.
Extra Shaving Equipment Required for Straight Razors
- Strop & Hone –
The strop and hone are must-haves when it comes to straight razor shaving. - The strop is a belt of bull hide leather used to reshape the edge of the razor – the reverse side is made from linen or canvas.
- Honing is the process of removing some of the metal from the blade on a whetstone (Waterstone).
You only hone a good blade about once a year, whereas stropping needs to be done before and after shaving and possibly during the process if you have a thick, coarse beard. - Strop Paste – To make stropping easier, you can use a leather conditioner or
strop paste. It’s not mandatory and many professional barbers prefer to strop without it.
Safety Razors
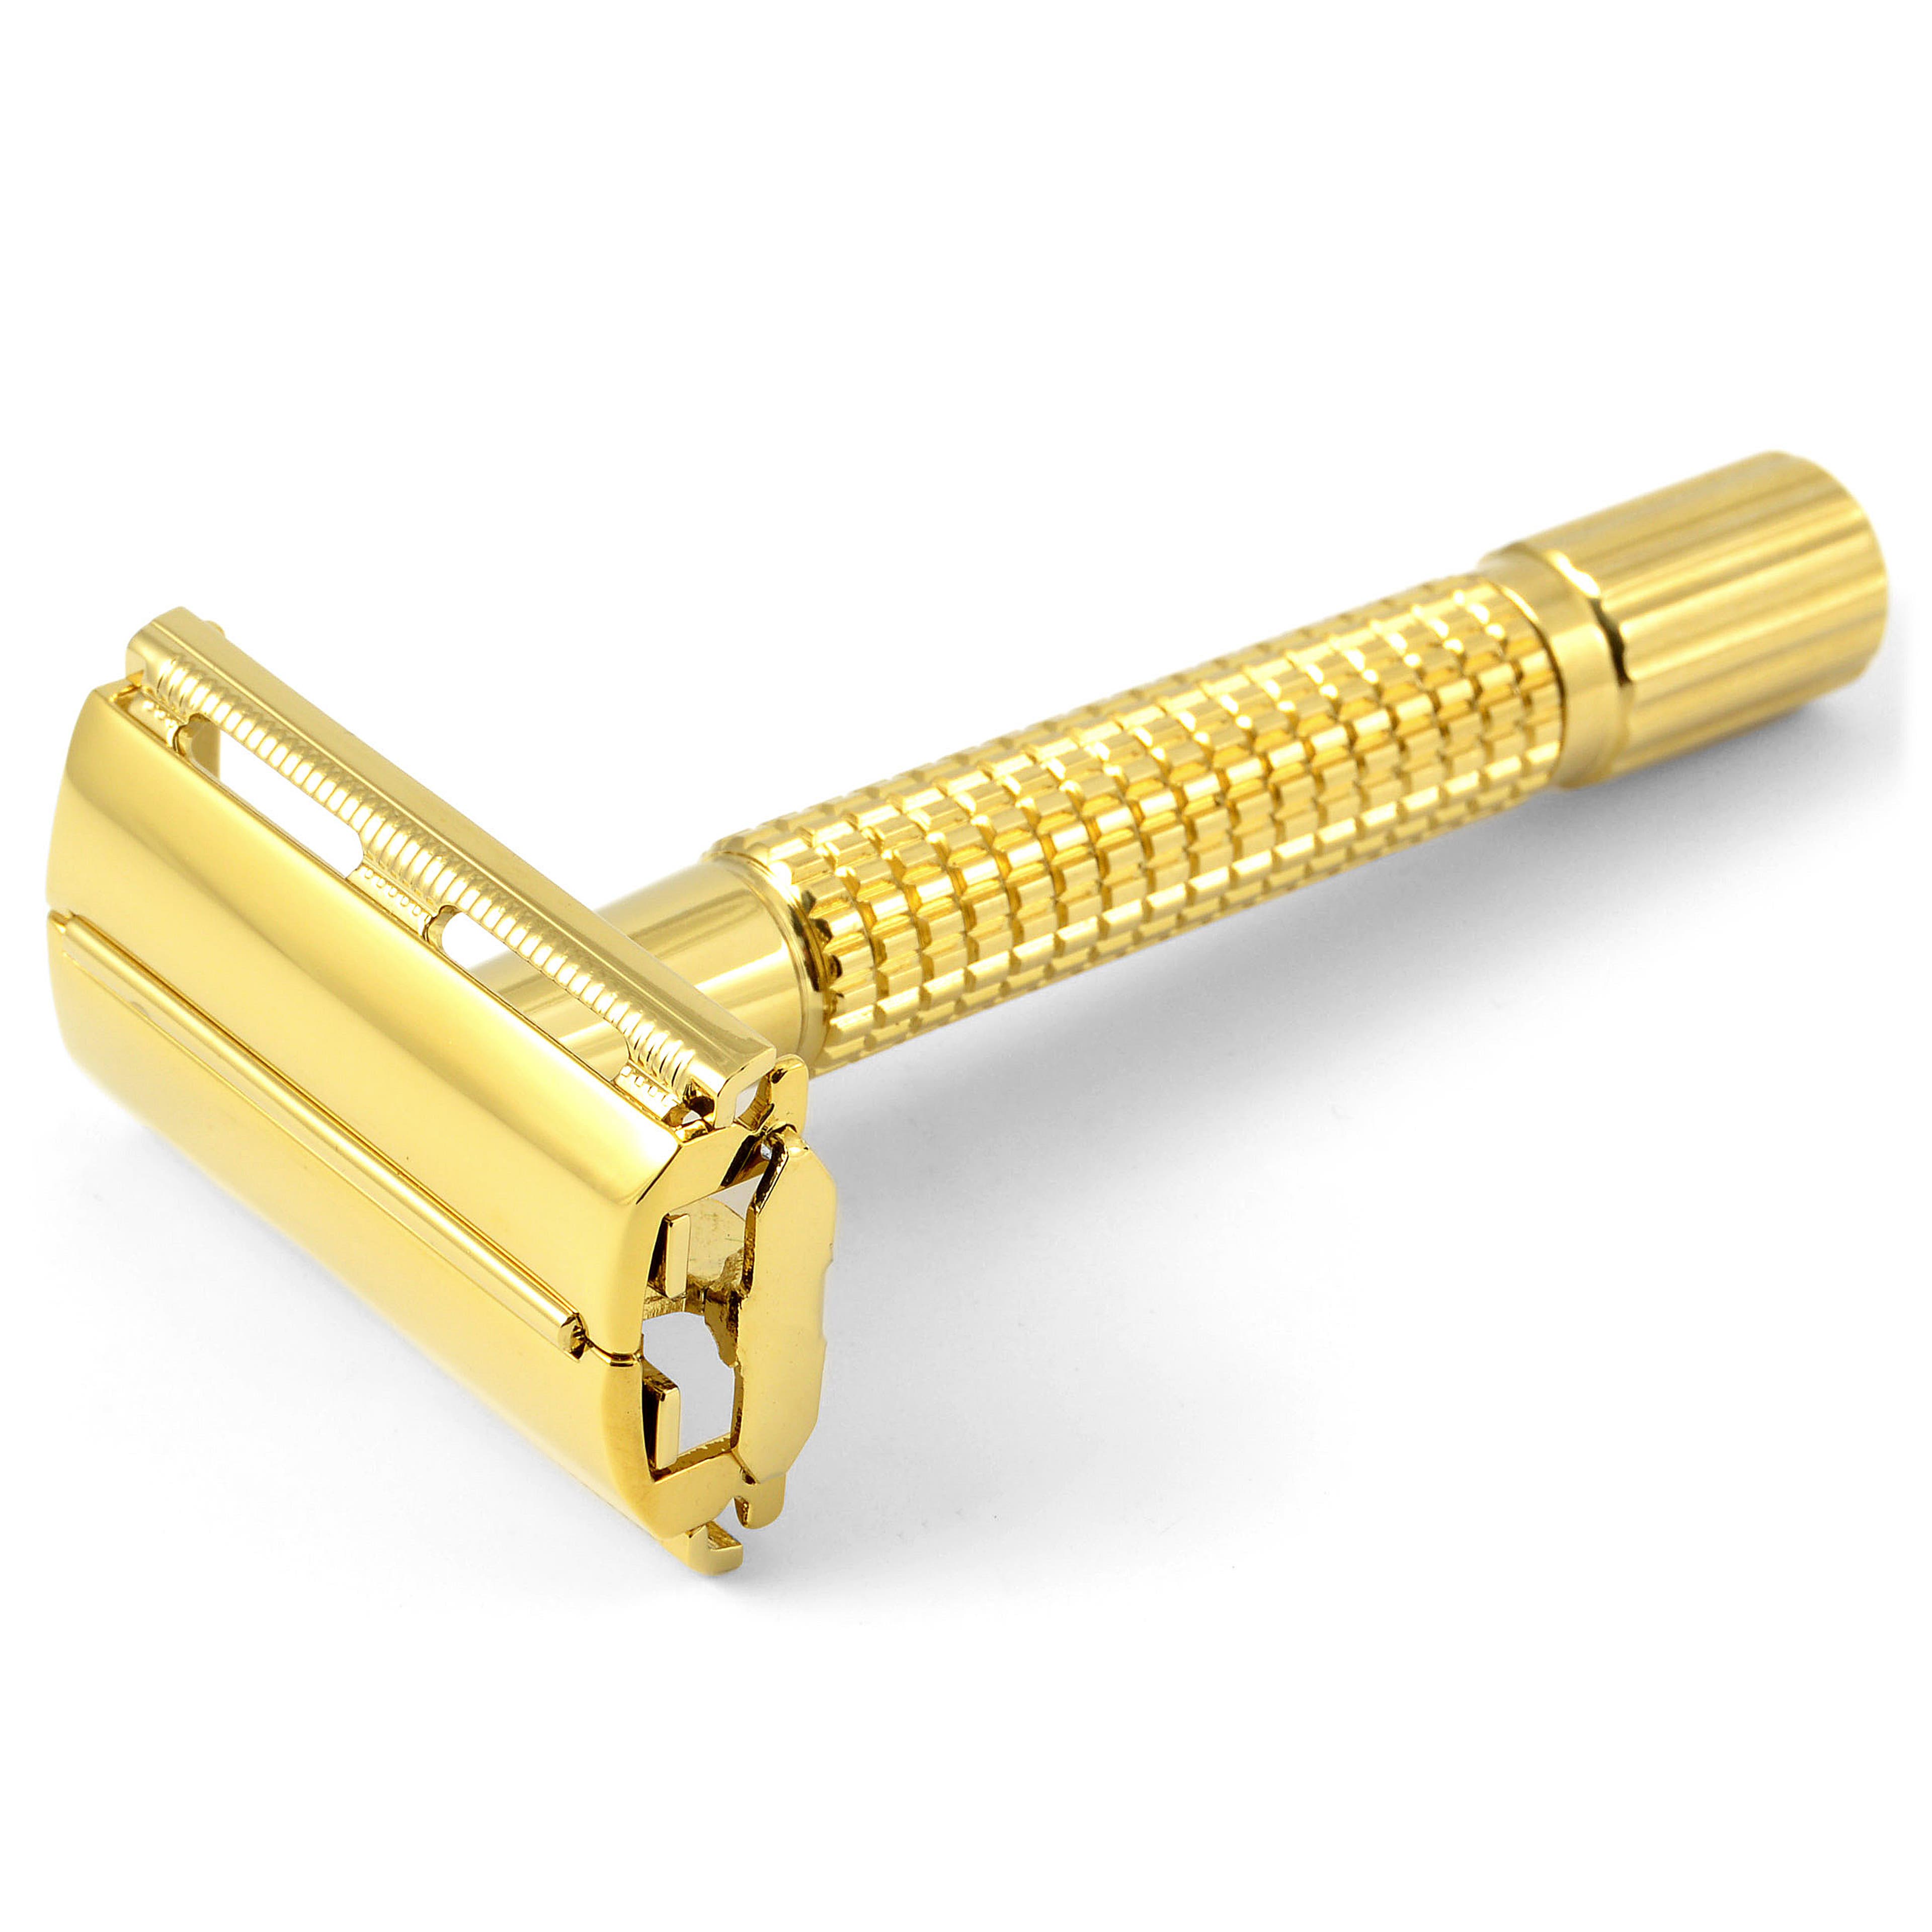
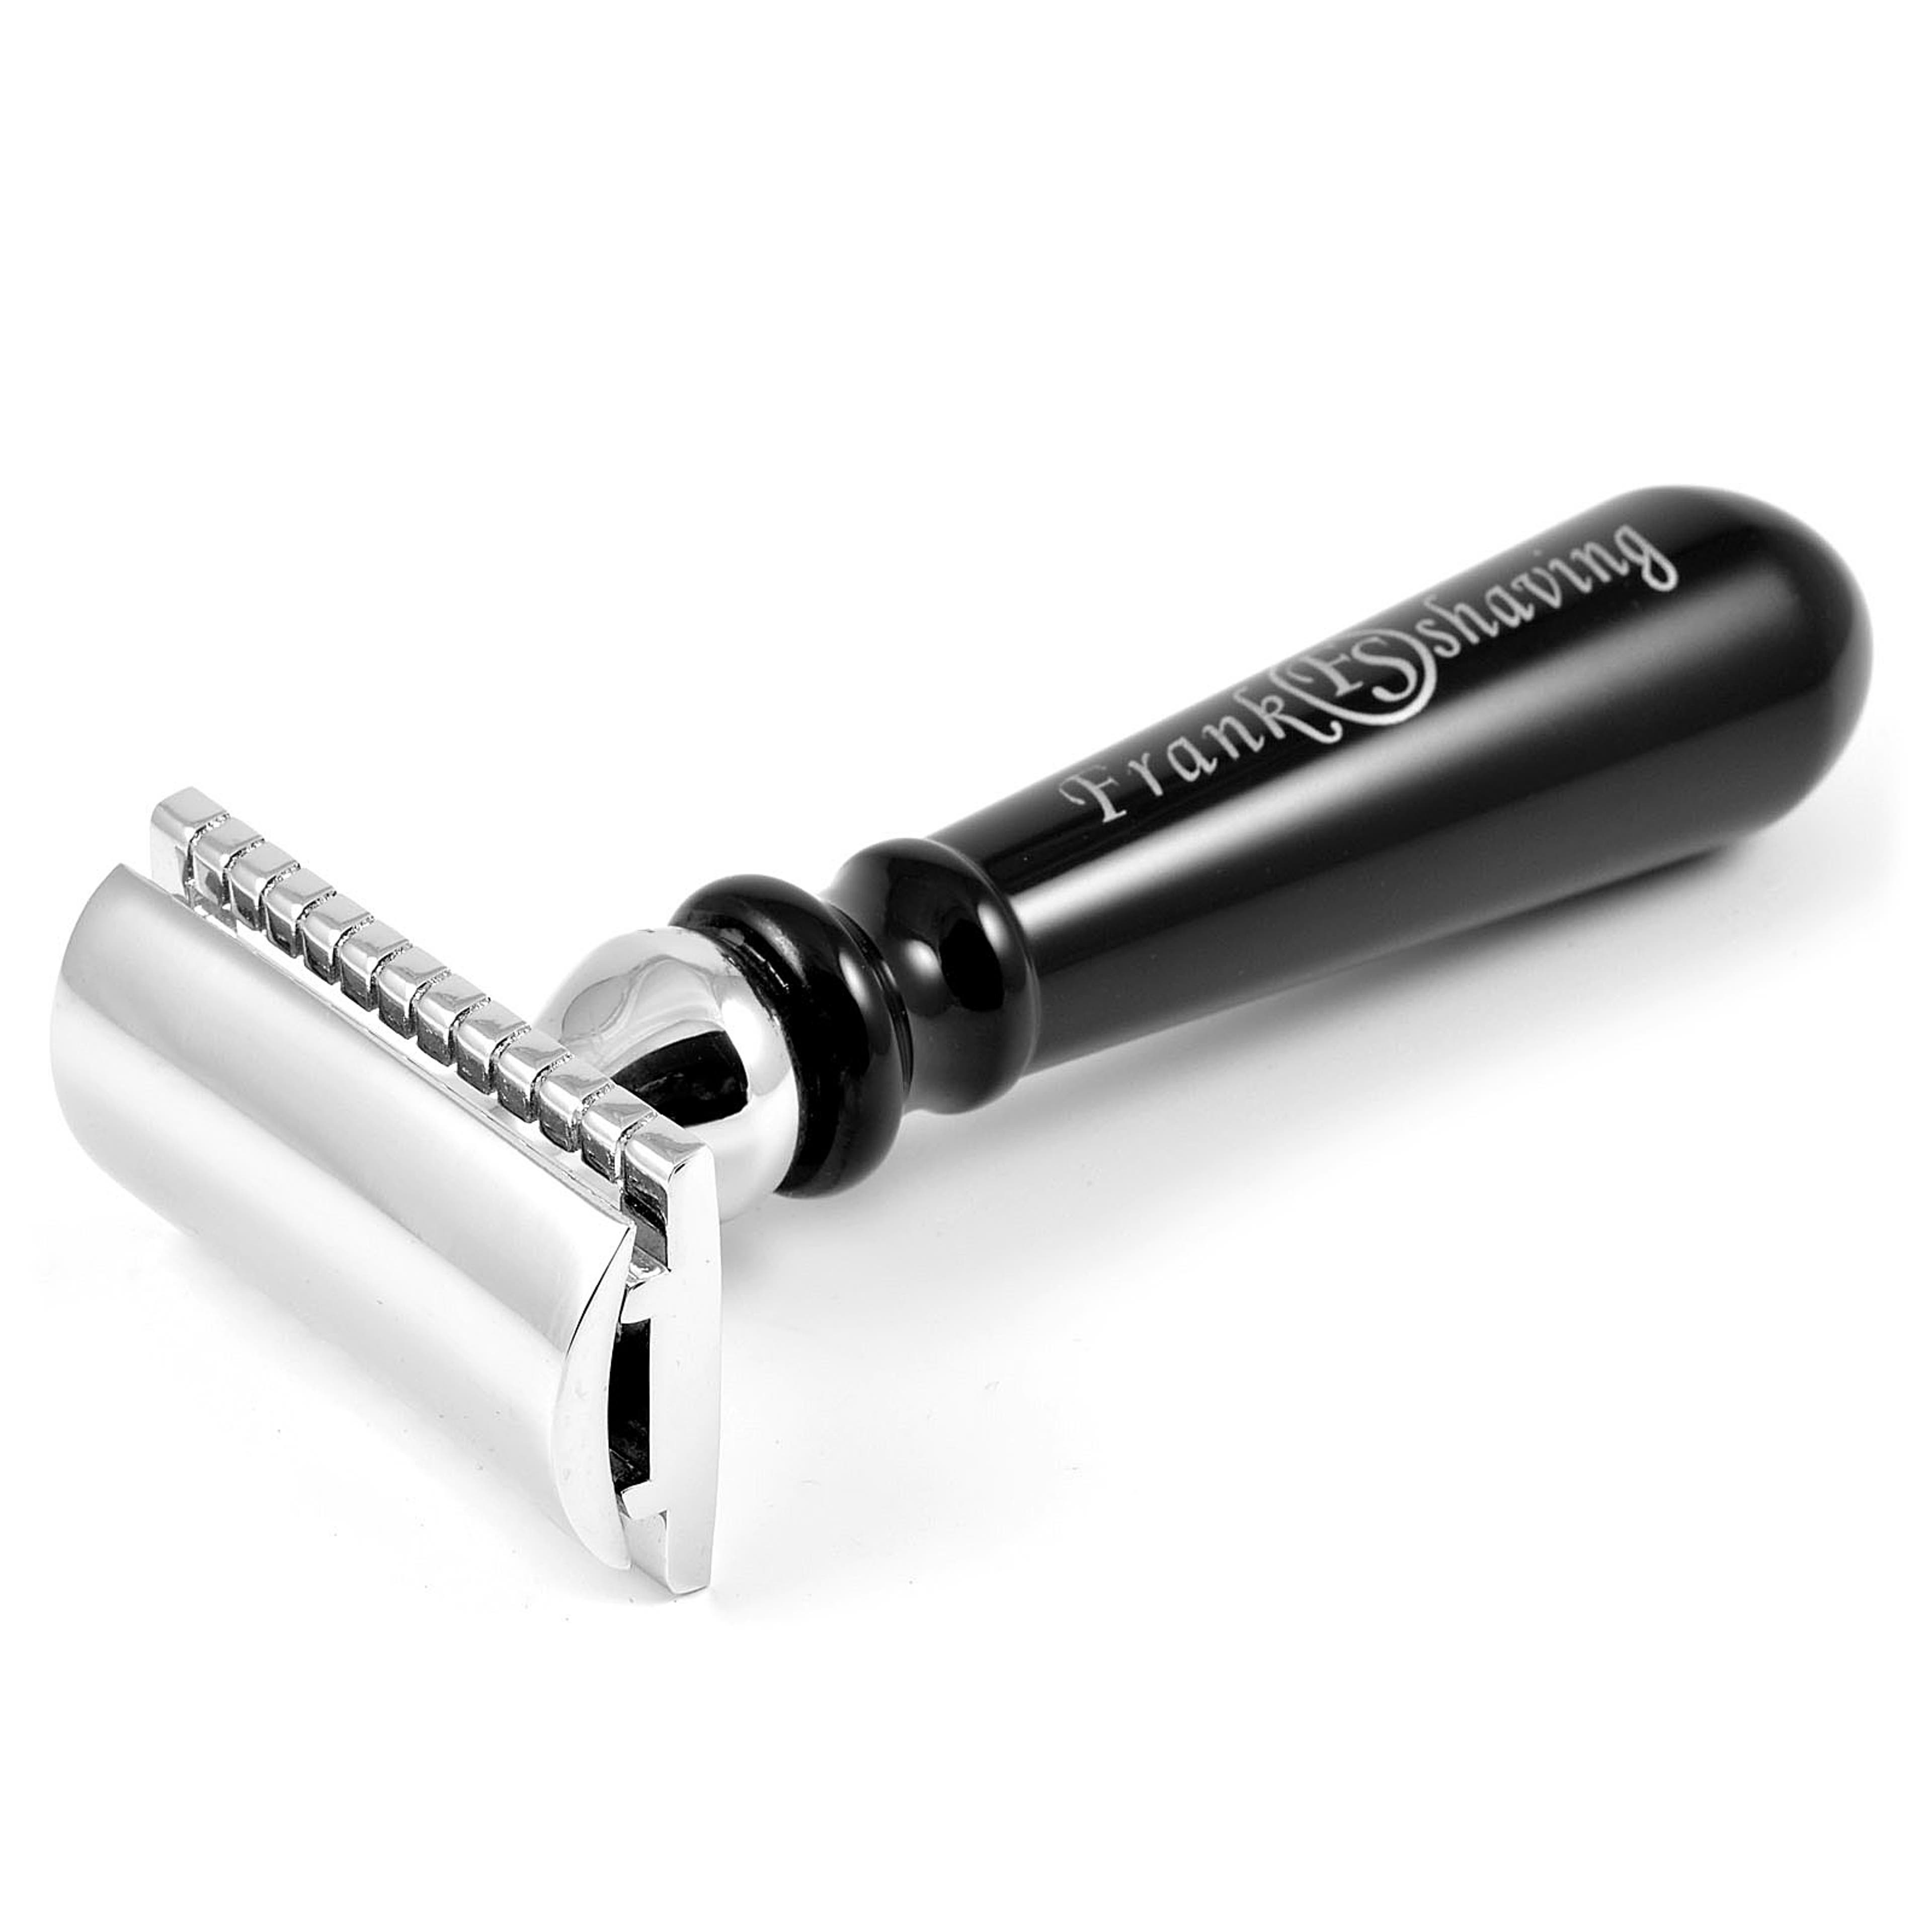
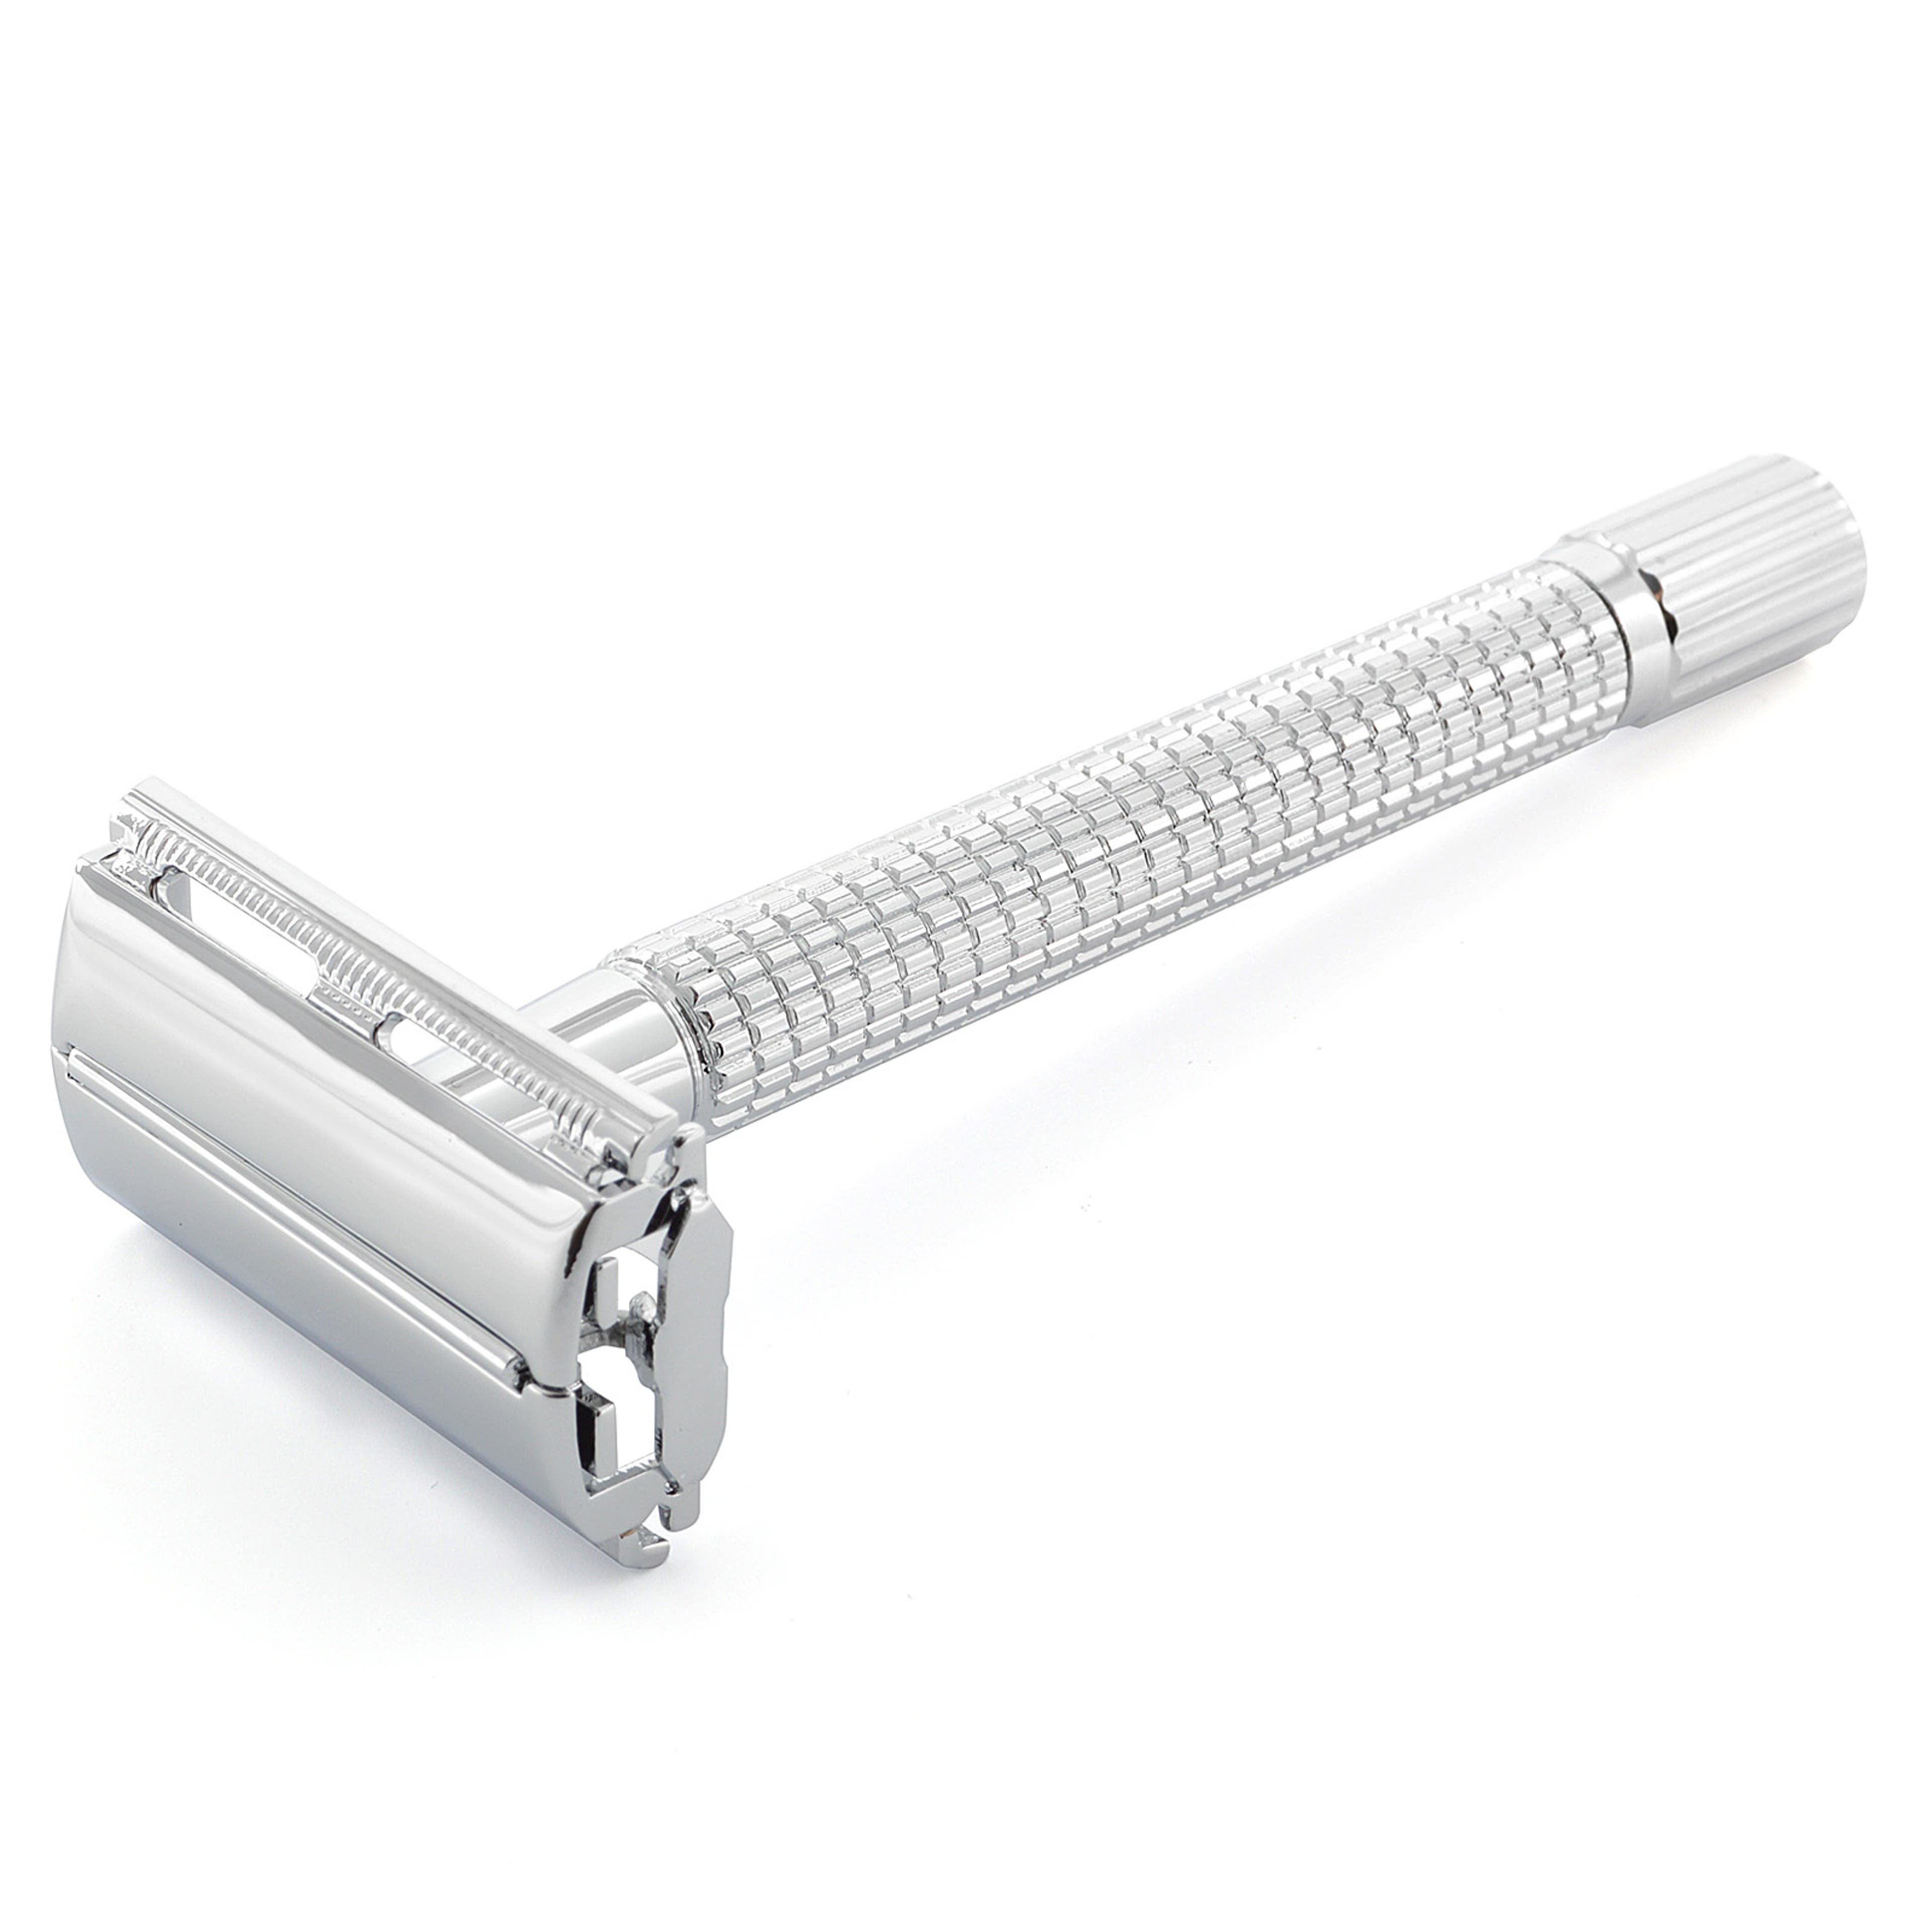
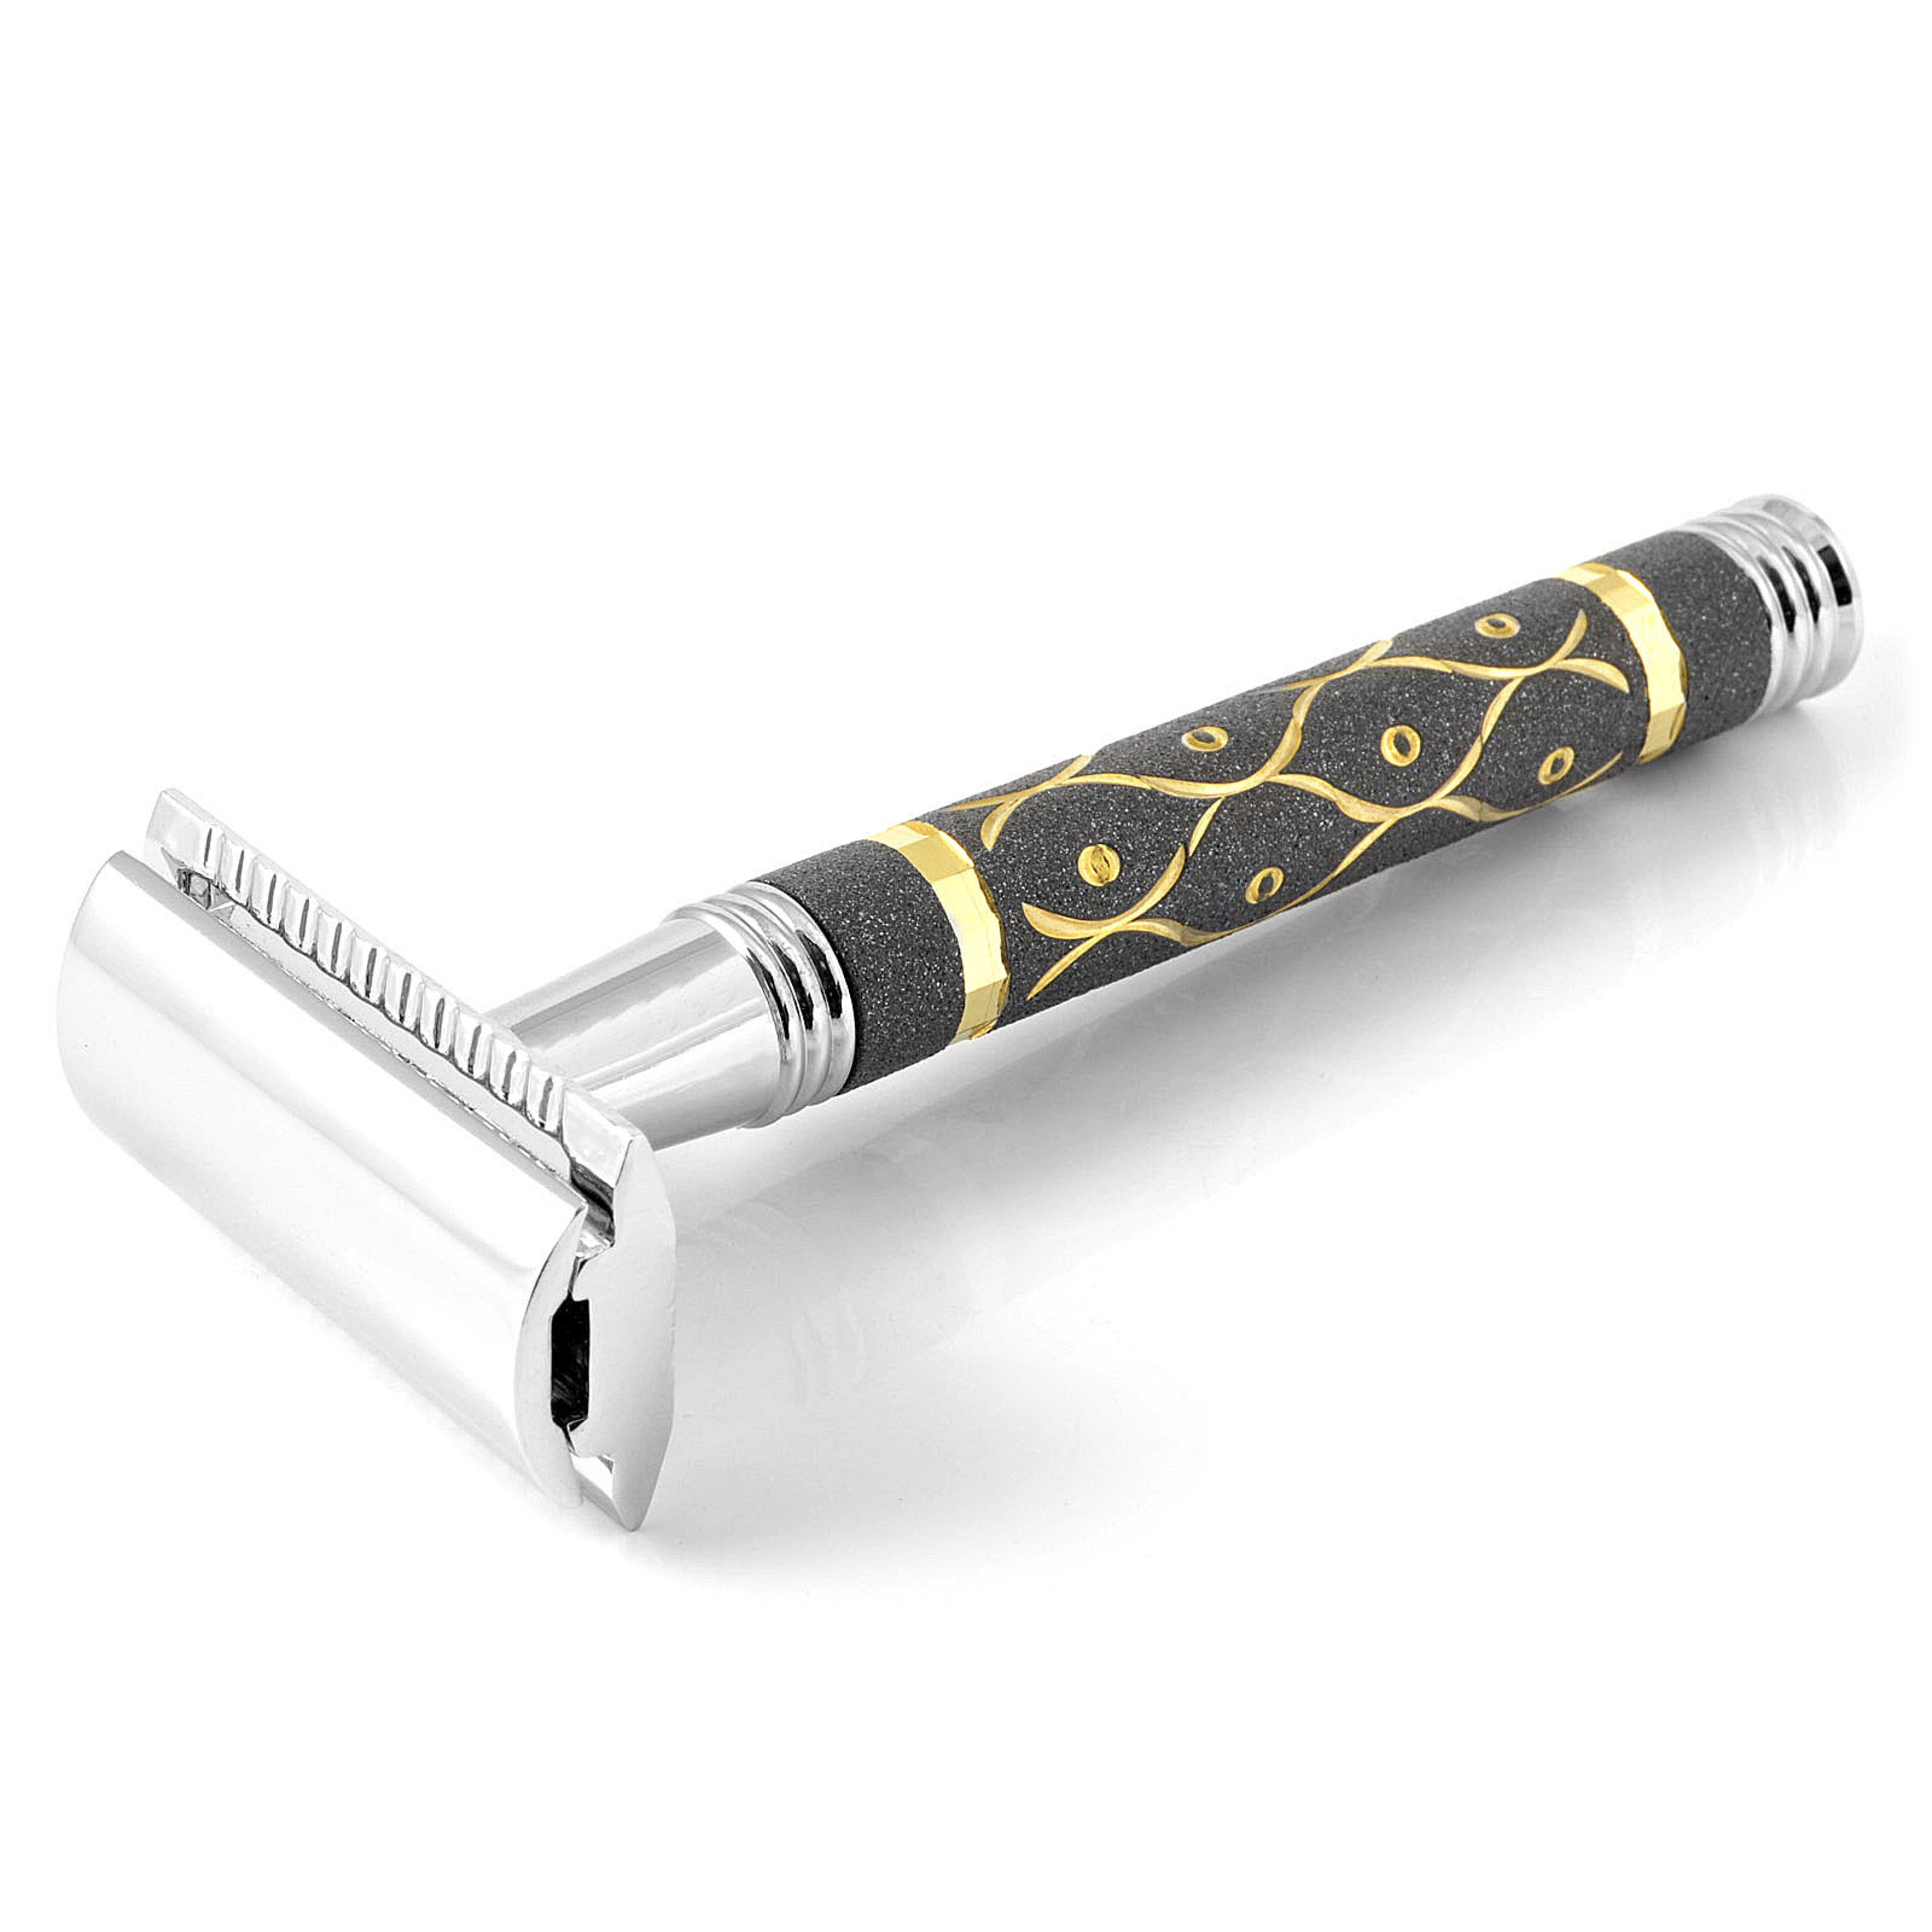
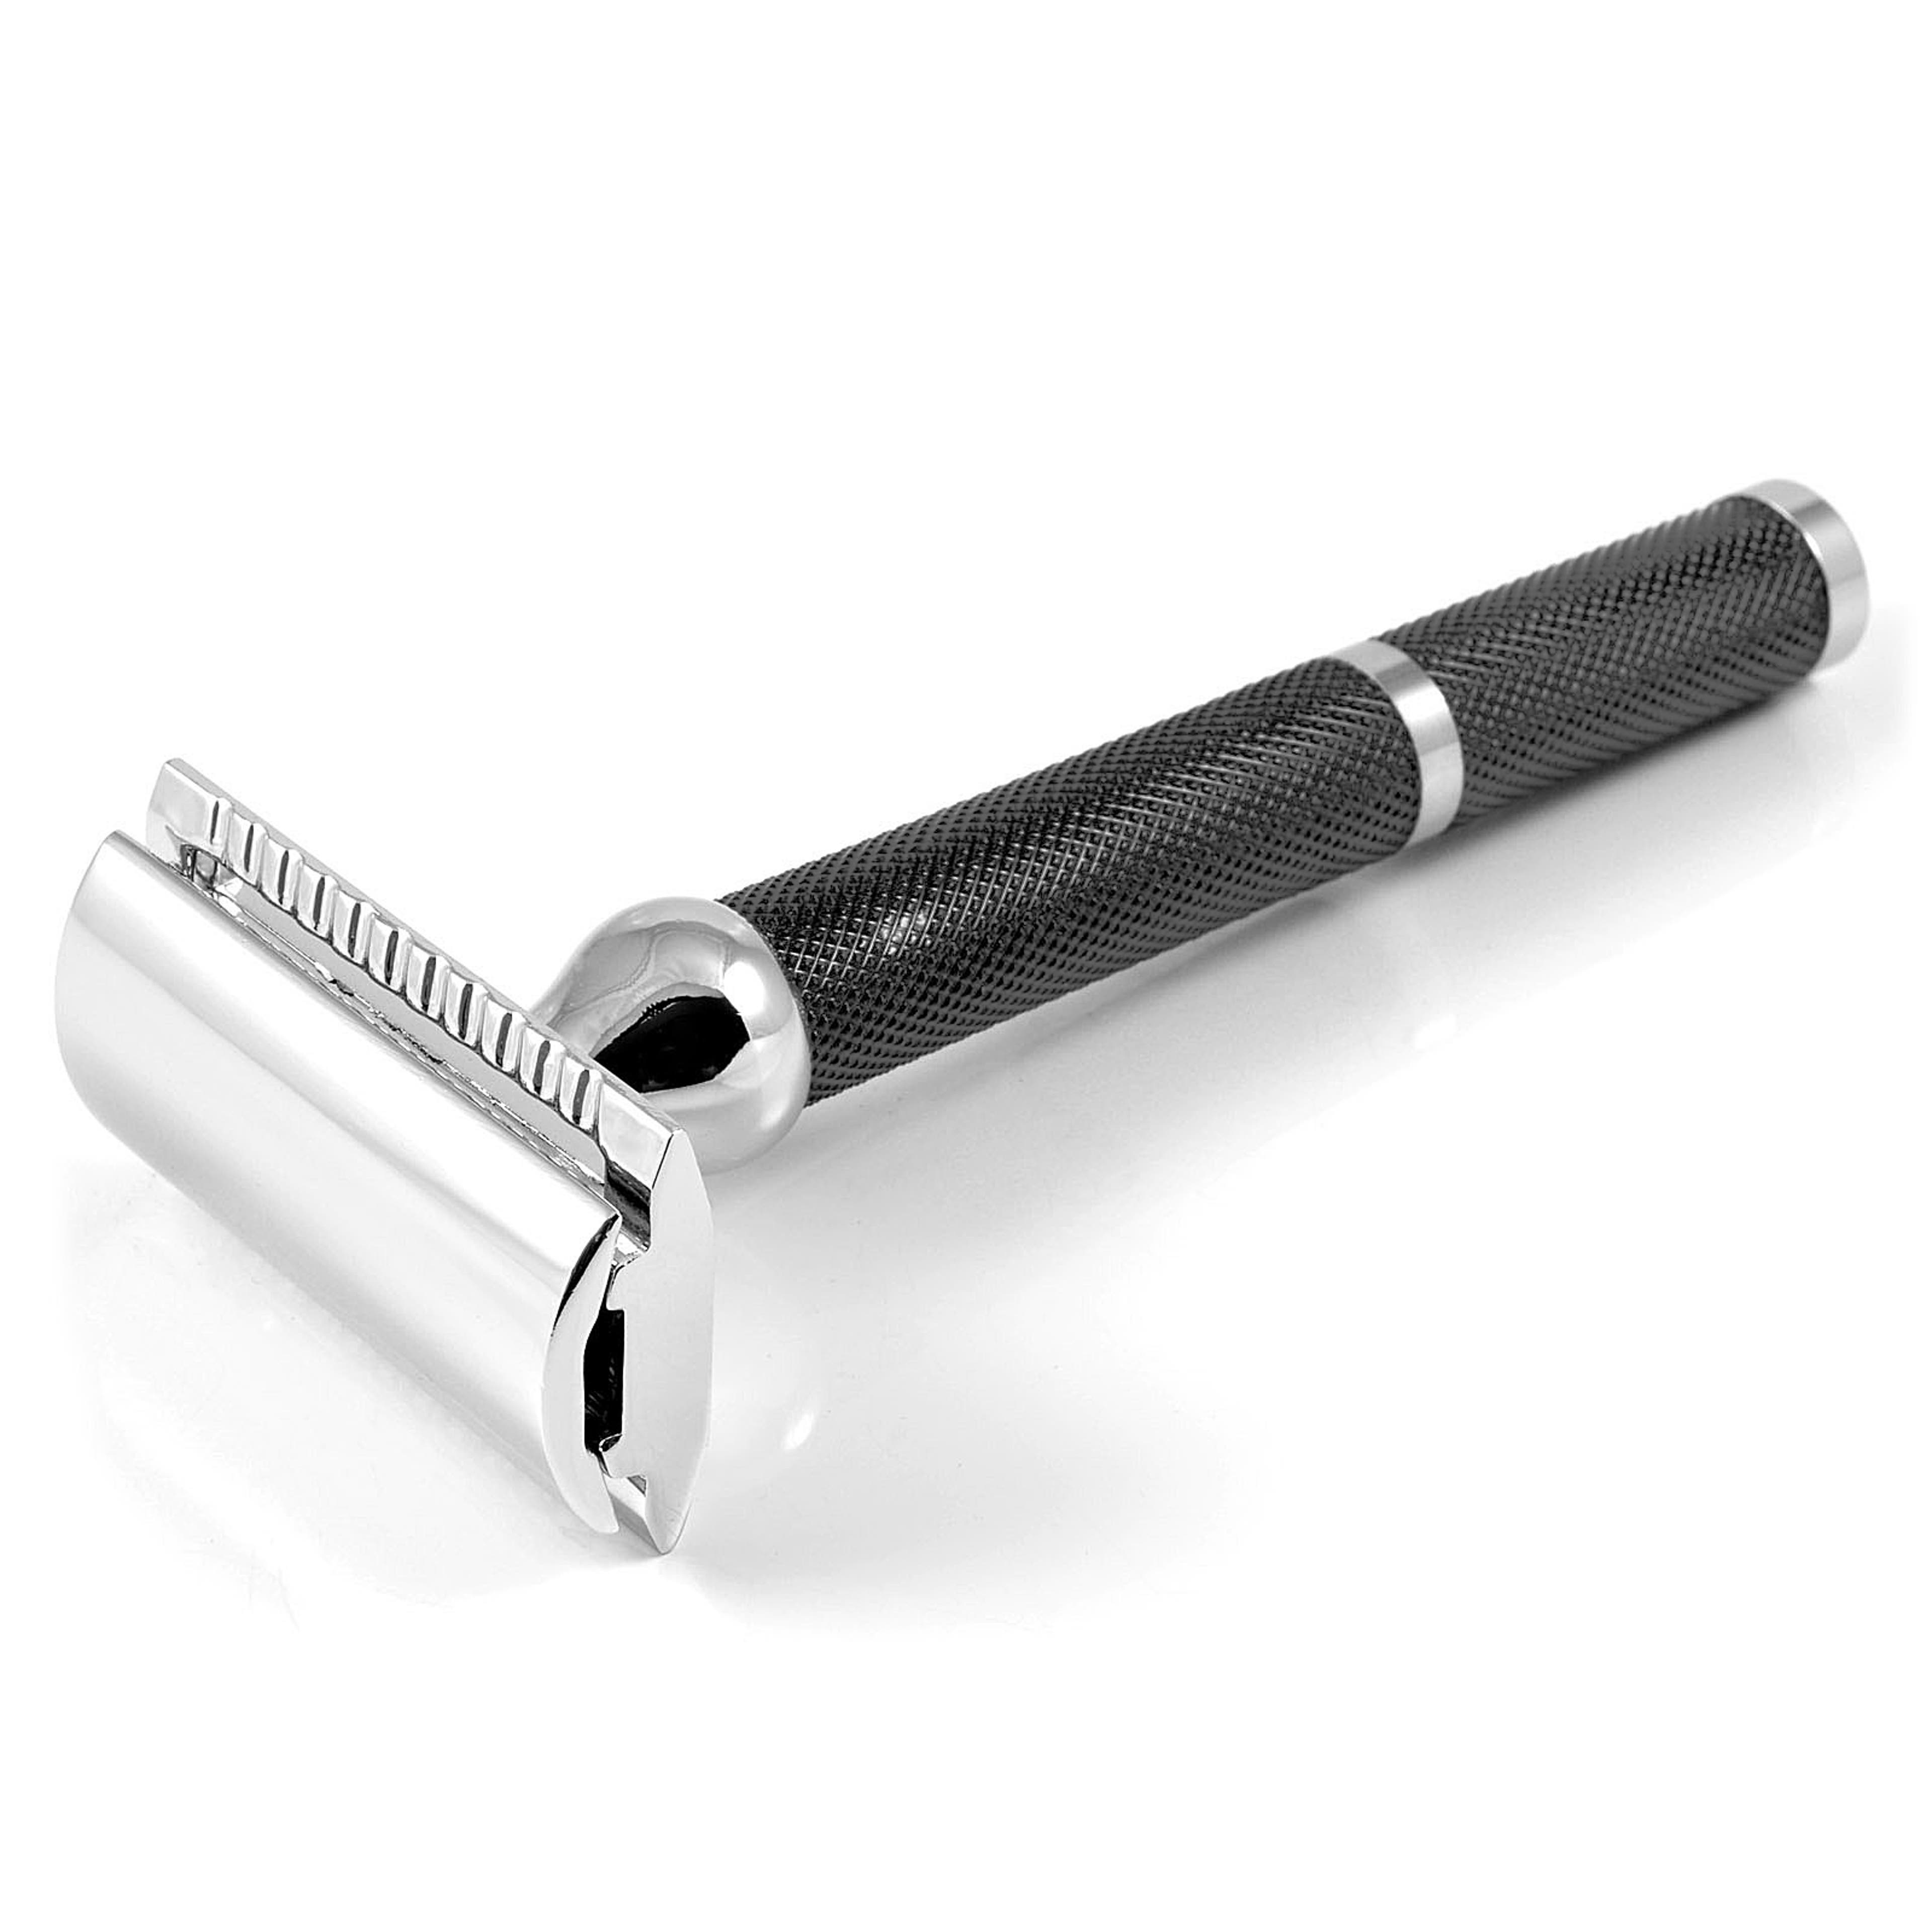
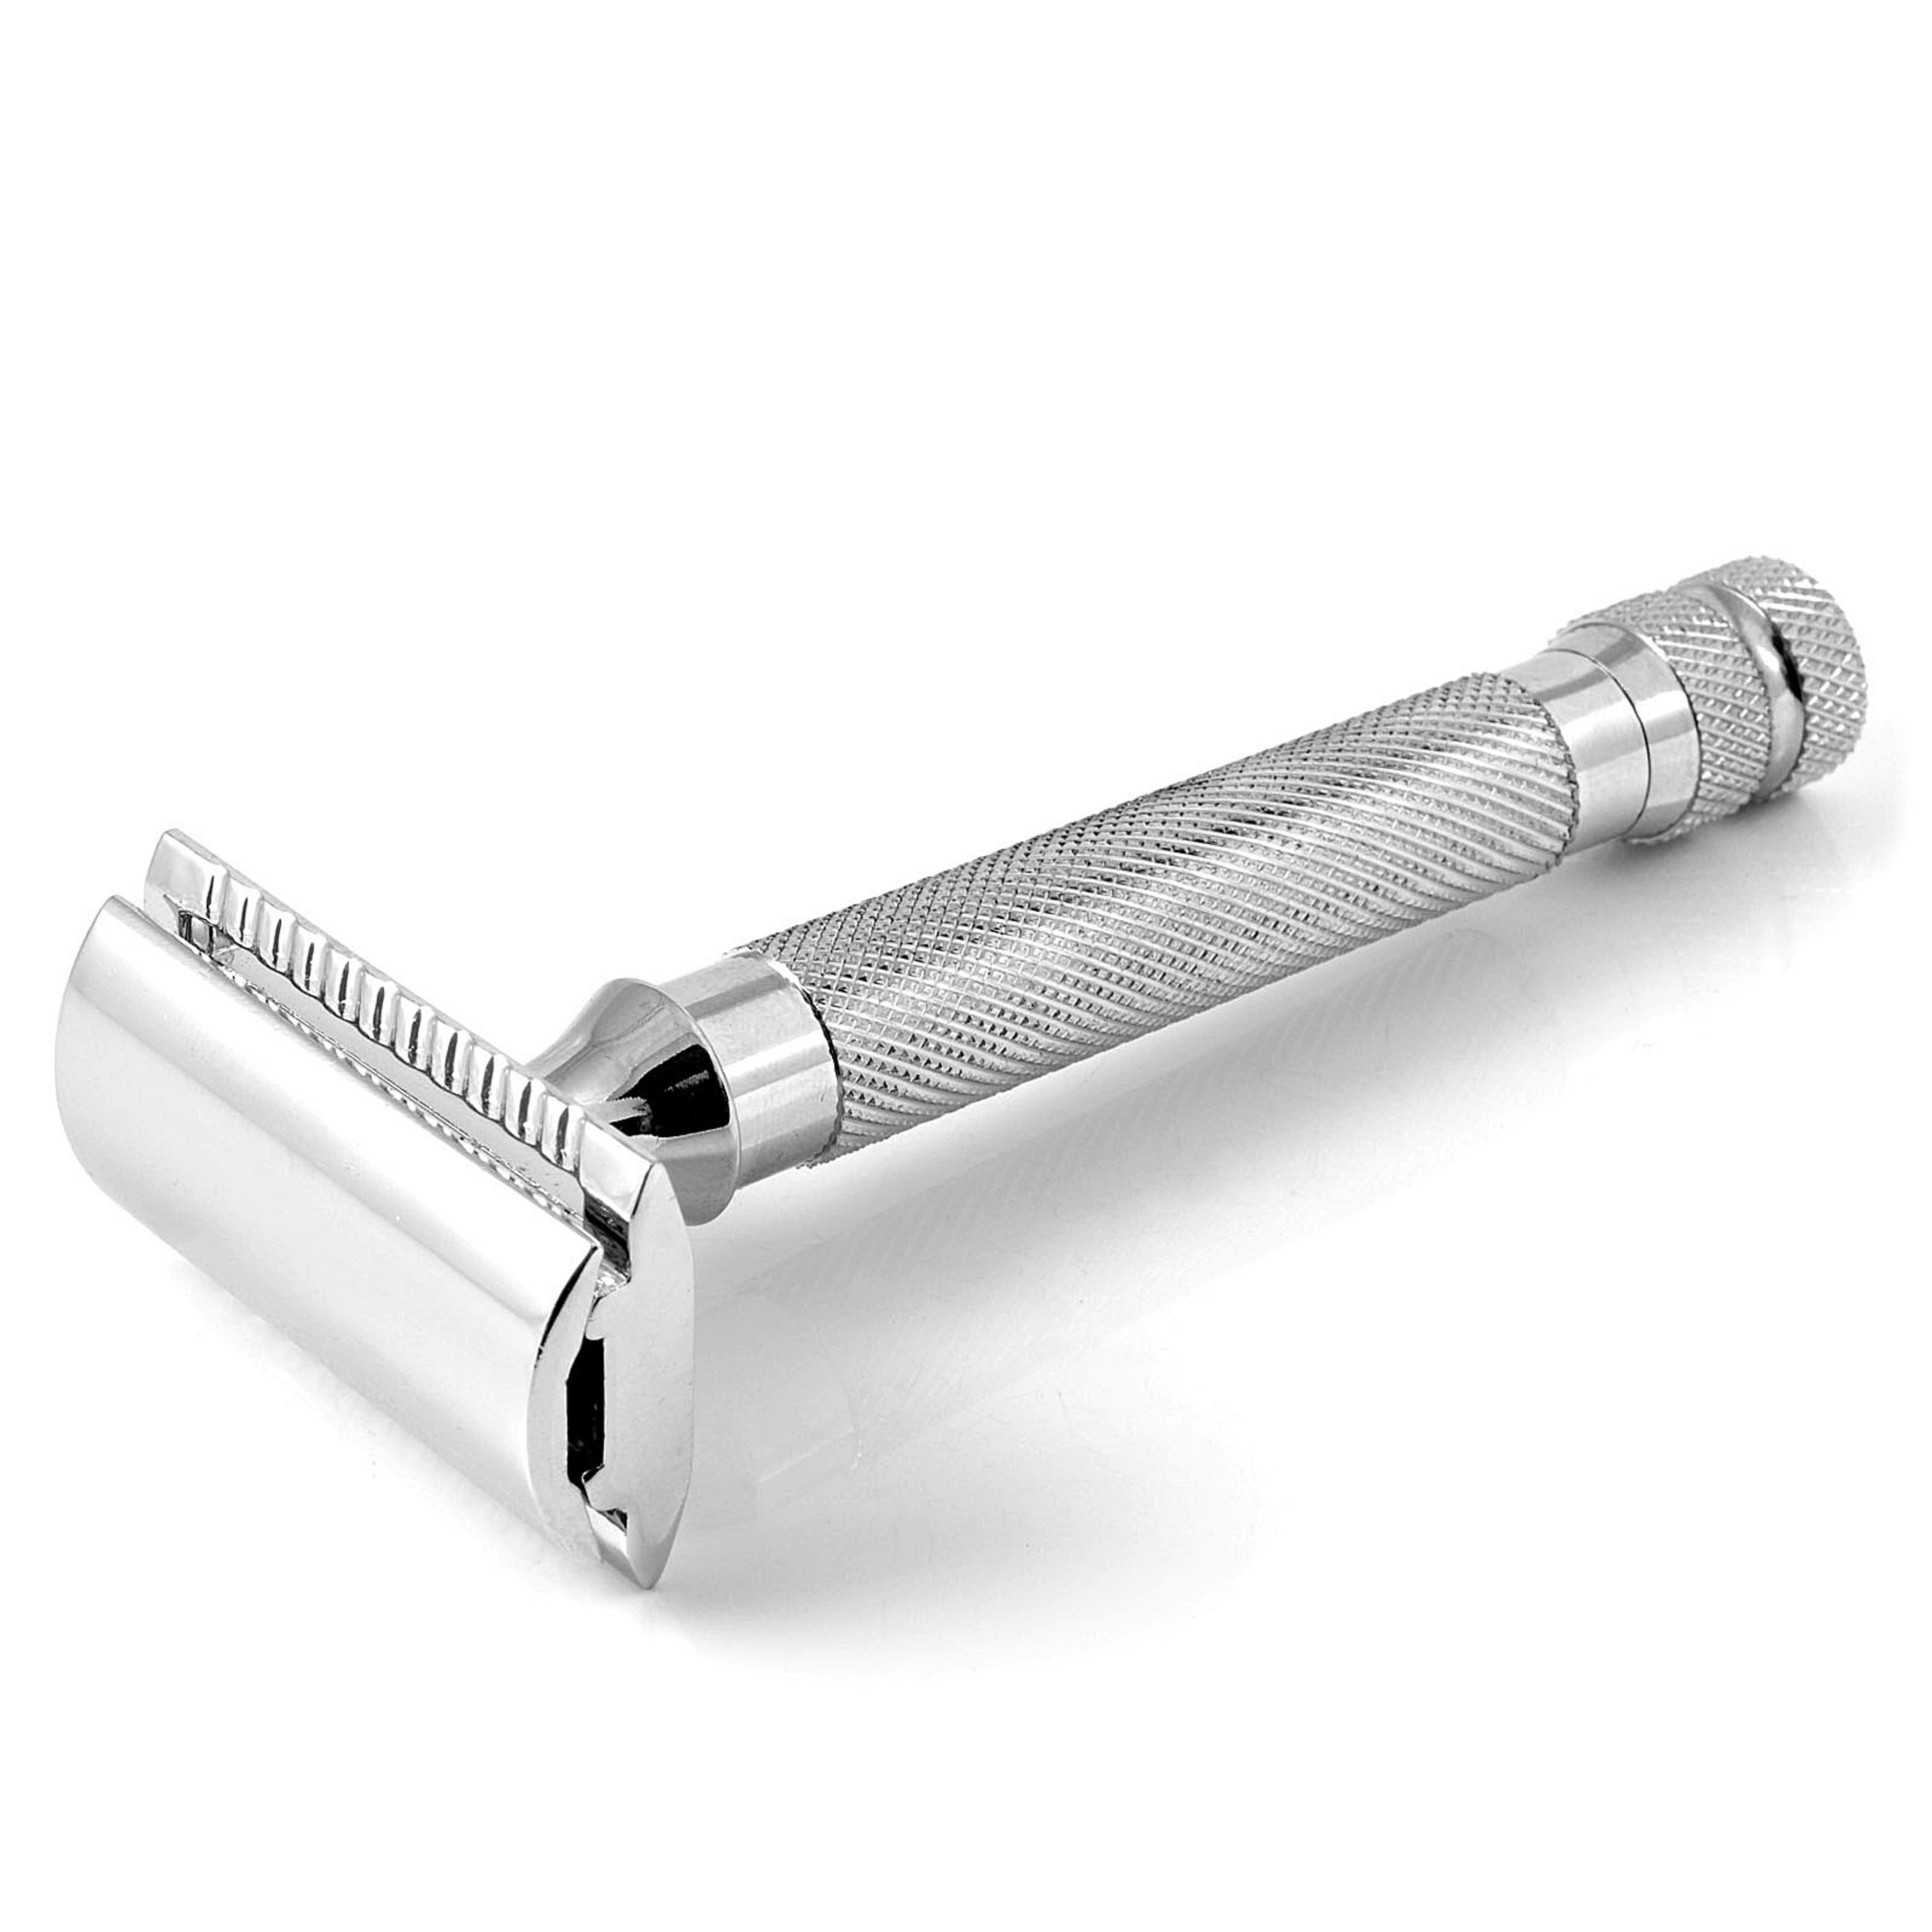
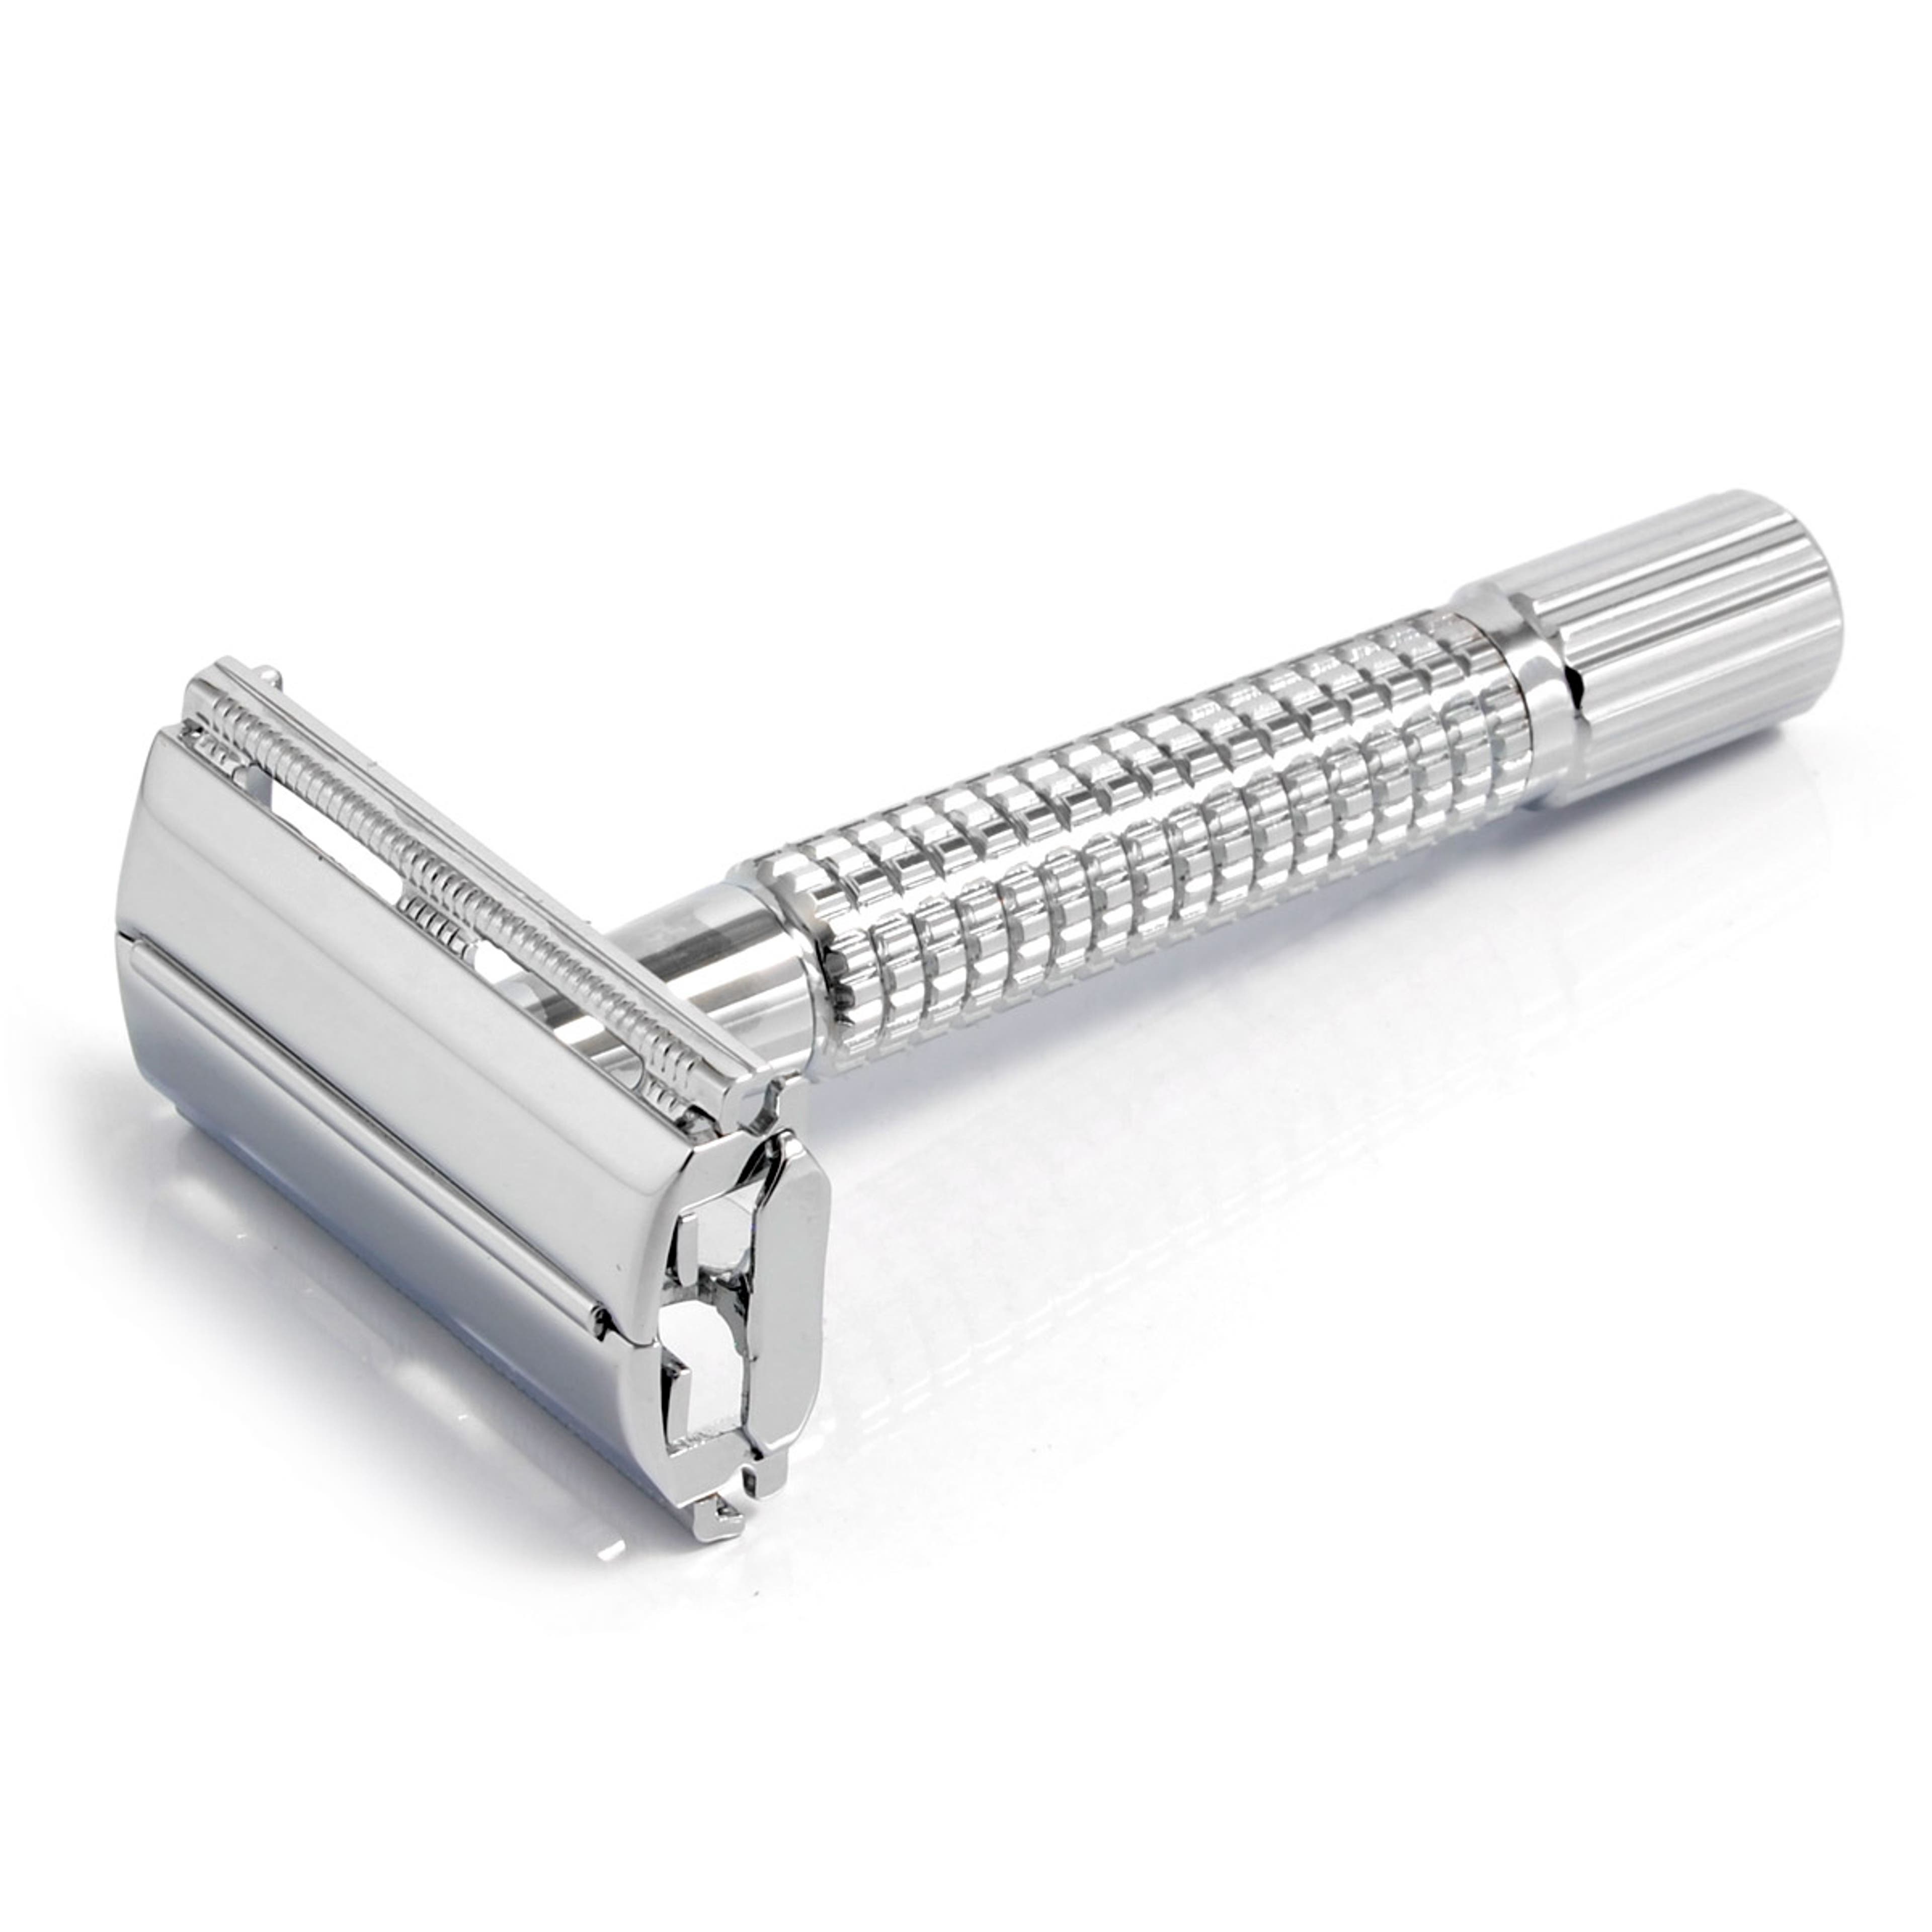
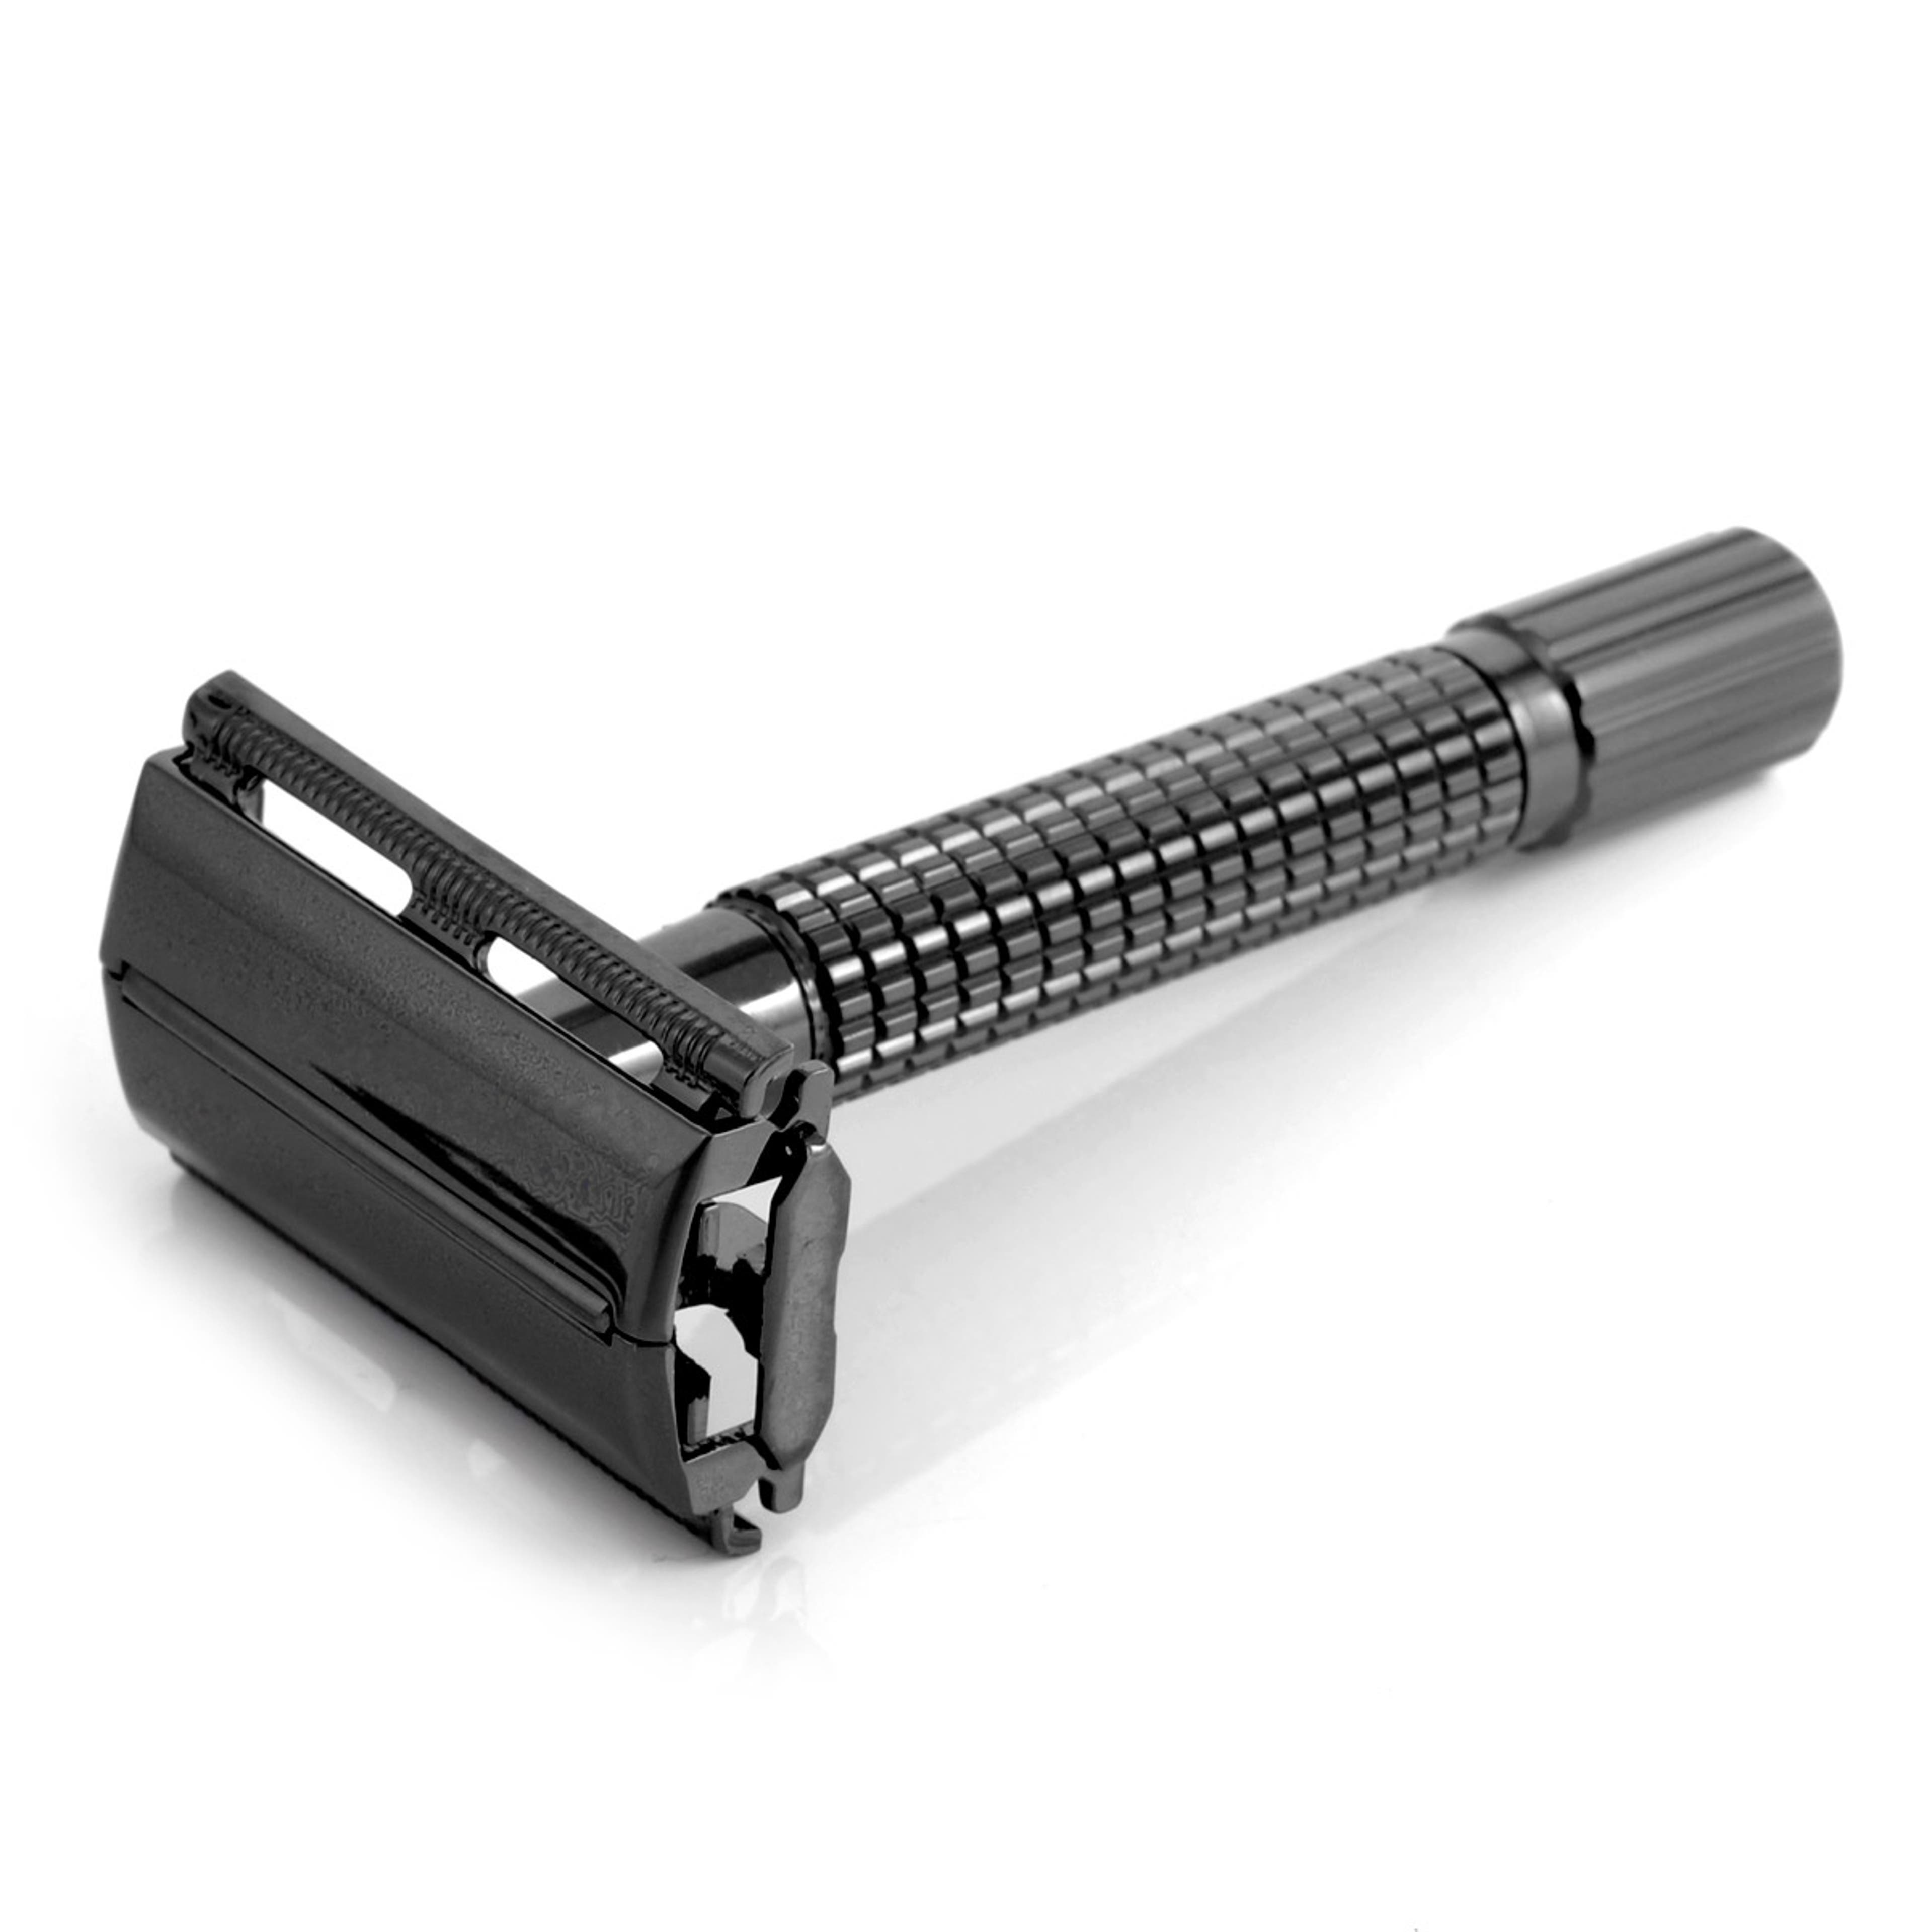
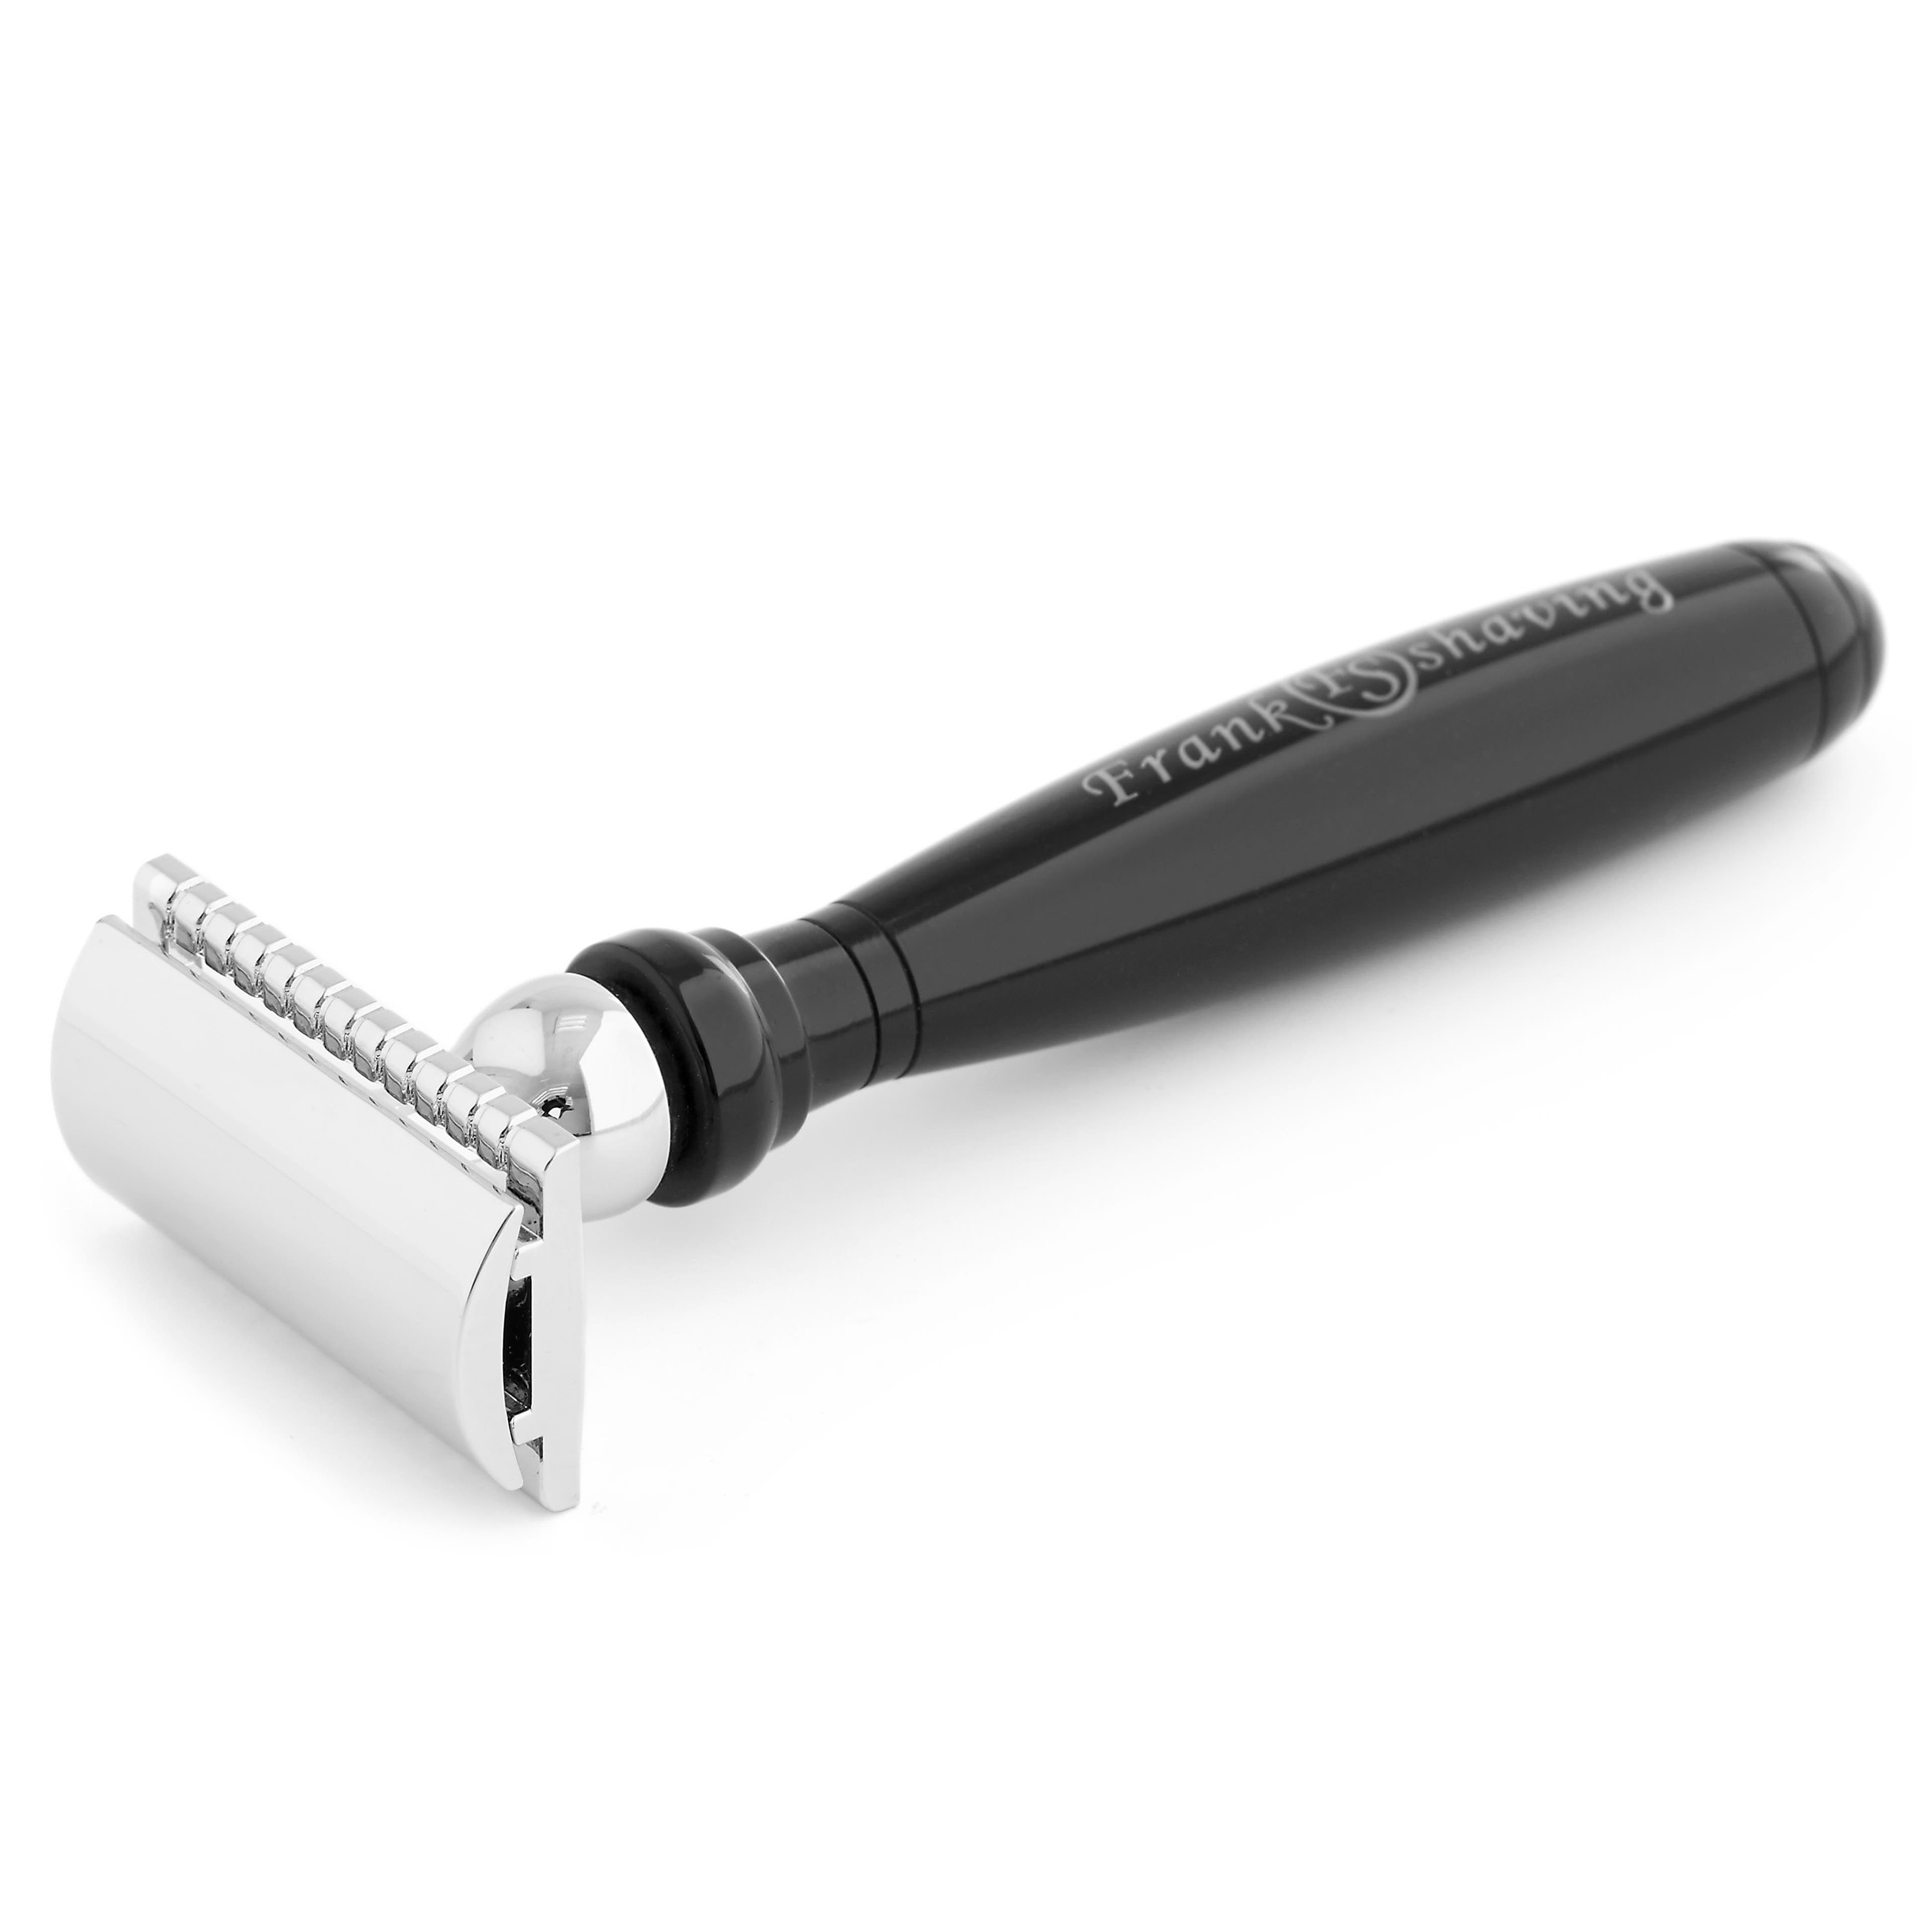
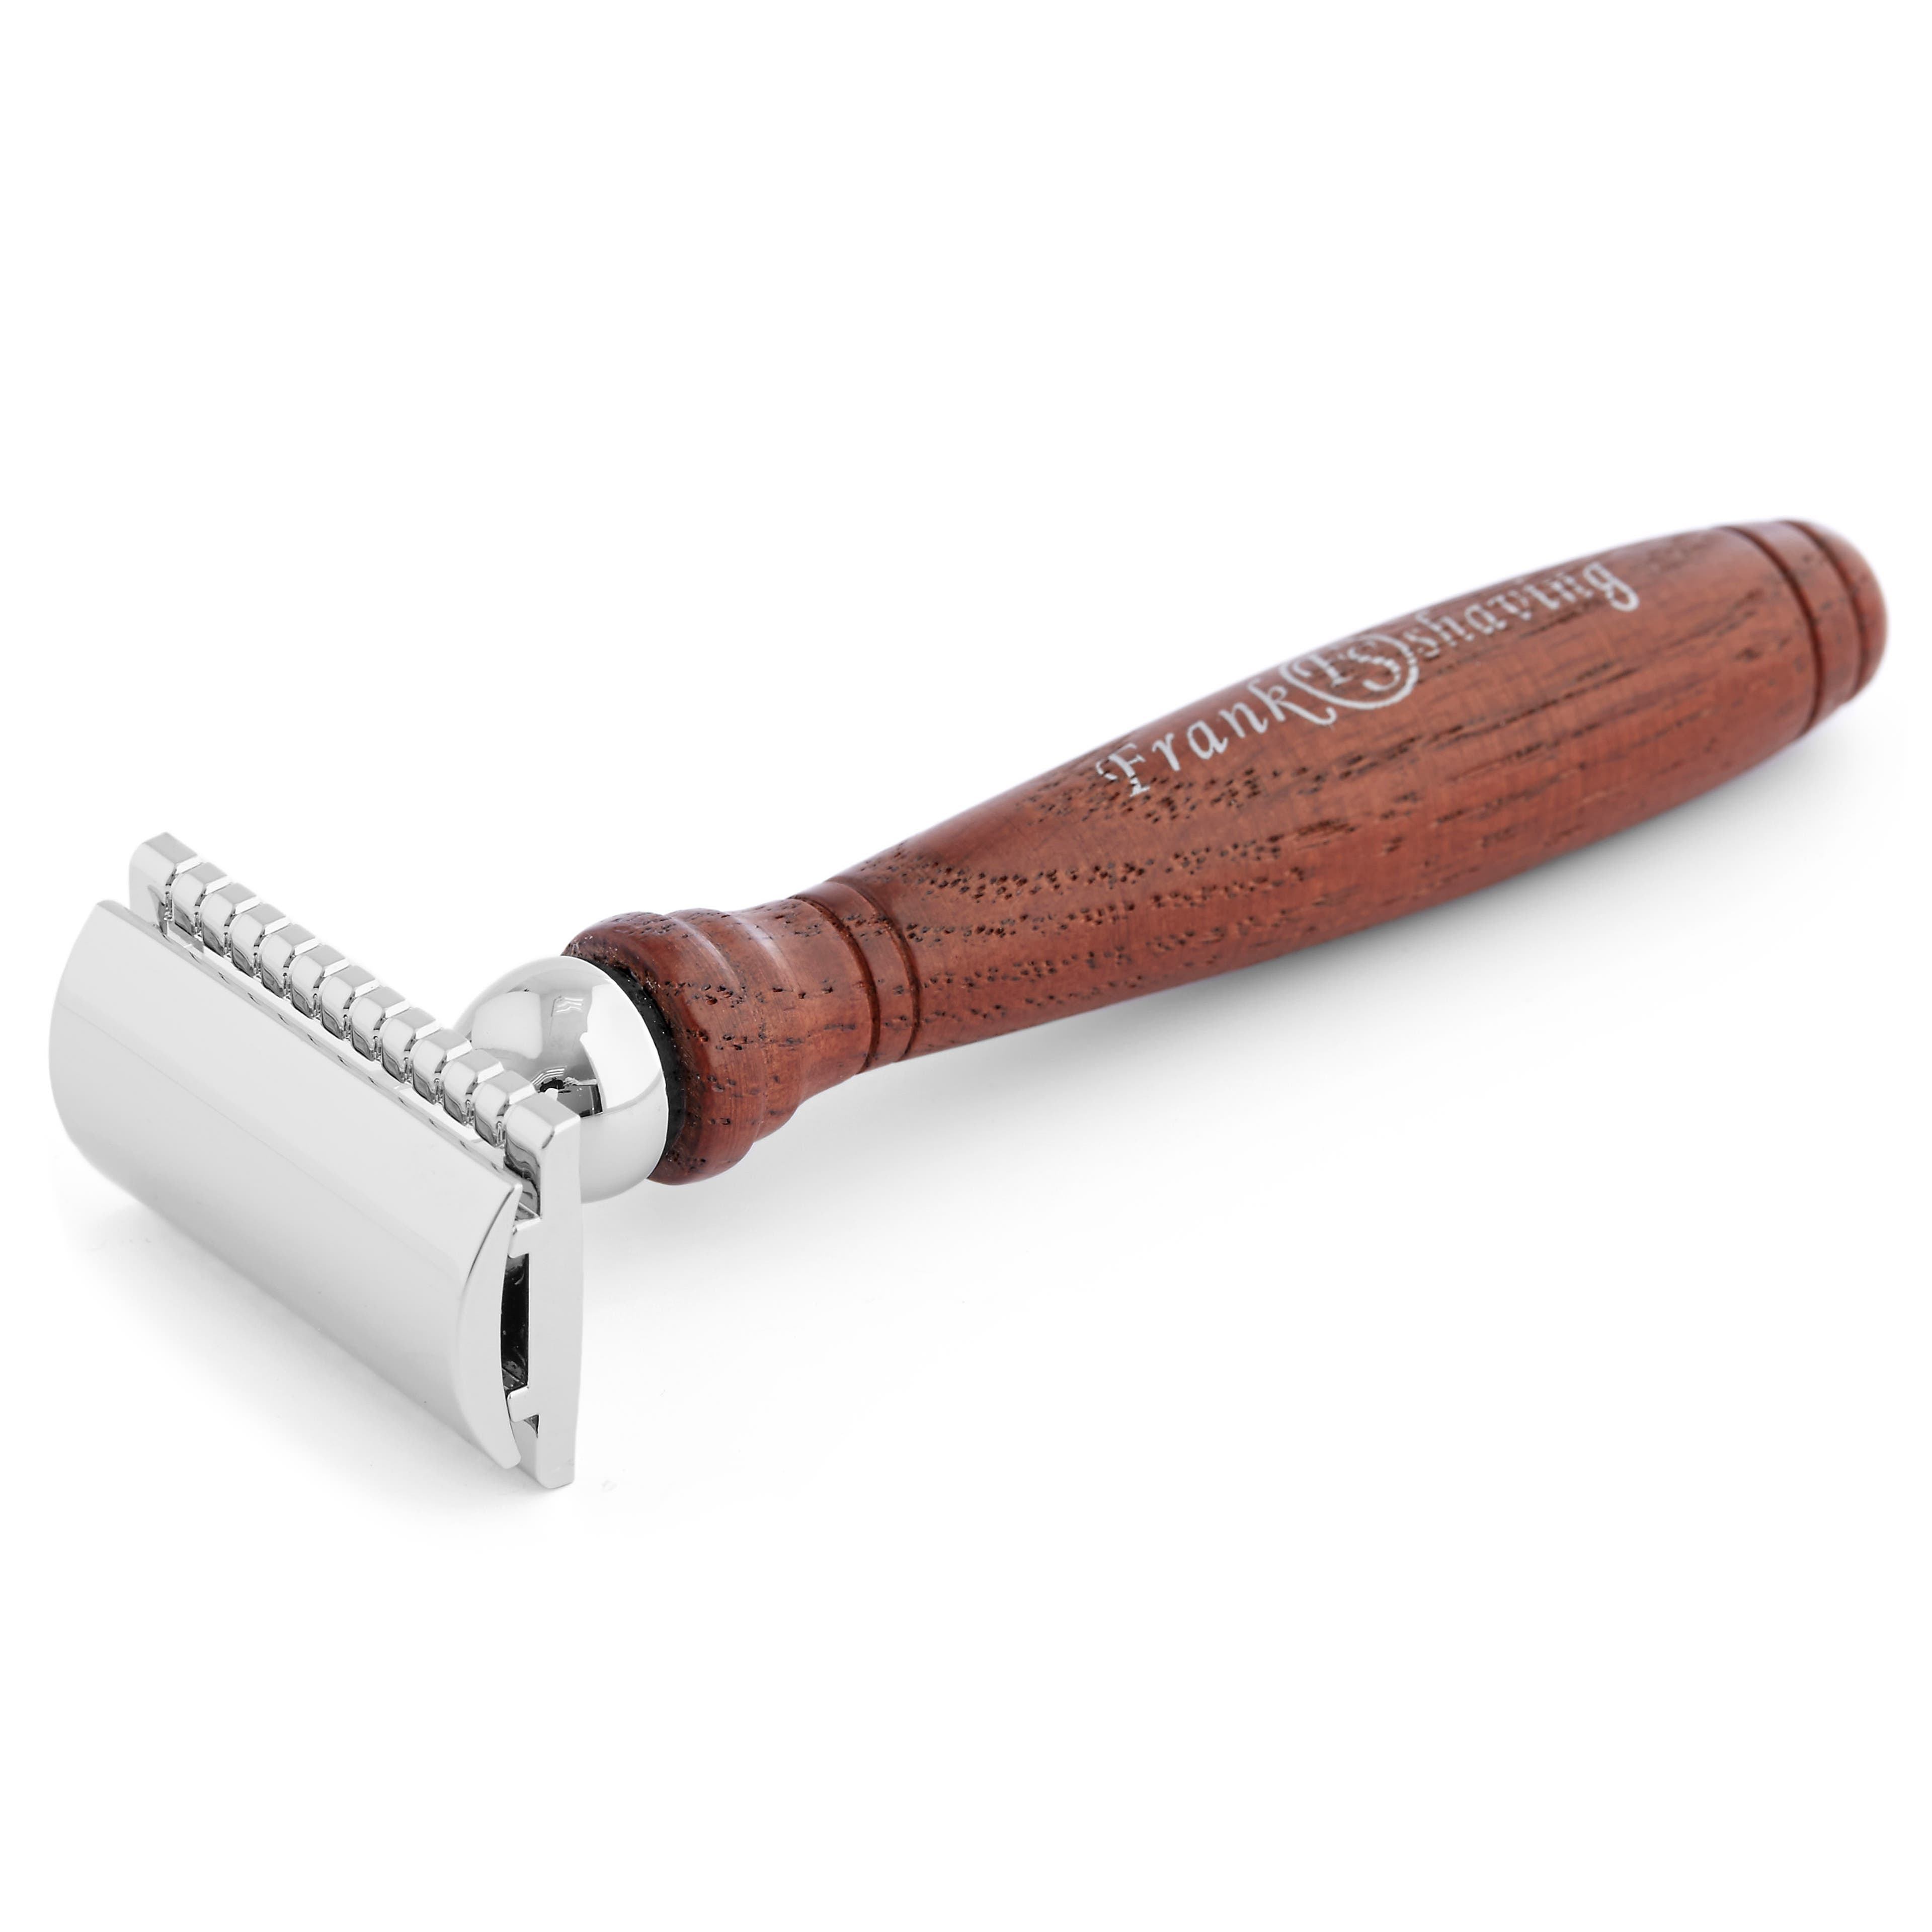
Safety razors are named after the guard protecting your skin from the blade and come in single (SE) and double-edged (DE) forms.
By doing away with the need to hone and strop, and using disposable replacement blades, men have saved thousands of hours each morning.
Benefits of Using a Safety Razor:
- Affordable – The initial investment is certainly more than a supermarket disposable, but that’s the only high cost as replacement blades are considerably cheaper than disposable cartridges.
When one side of the double-edged blade dulls, flip it over and use the other side. You can’t do that with a disposable cartridge razor. - Good for Sensitive Skin – TV adverts will have us believe that more blades on a razor equal a closer, smoother shave. This not only isn’t true, it’s also a cause for red, irritated skin and razor burn. How can more pieces of metal scraping your cheek be good for you?
- Safety razors utilise one blade that requires less pressure than a cartridge razor. Less pressure equals less stress on your skin.
- Aesthetically Pleasing – Ok, this is subjective, but we think a safety razor
hanging on a stainless steel stand is an upgrade every bathroom needs.
What to Look for When Buying a Safety Razor
- Single Edge or Double Edge Blade – Most safety razors nowadays use DE (double edge blades) as the SE (single edge) blades are considered too aggressive. You save money with DE safety razors because both sides of the blade can be used.
- Handle – You want the handle to fit comfortably in your hand and have a nice weight and balance. A heavier handle gives more control.
- Head – The head of the razor is defined by the safety bar (the comb) and is divided between open comb and closed comb varieties.
- Open combs are more aggressive because the skin is closer to the blade. Closed combs are generally easier to use and offer more protection from nicks and cuts.
- Safety razors’ heads come in 1, 2 or 3 pieces. The number of pieces has little to do with shave quality. The one-piece heads are called butterfly open safety razors and are the easiest to load with new blades.
- Straight or Slanted Bar – In a regular straight bar double edge razor, the blade is held at right-angles to the handle. Slanted bars hold the blades with a twist that cause more of slicing action and result in a cleaner shave on the first go. Slant razors are more aggressive but are a good option for sensitive skin because they don’t require multiple strokes.
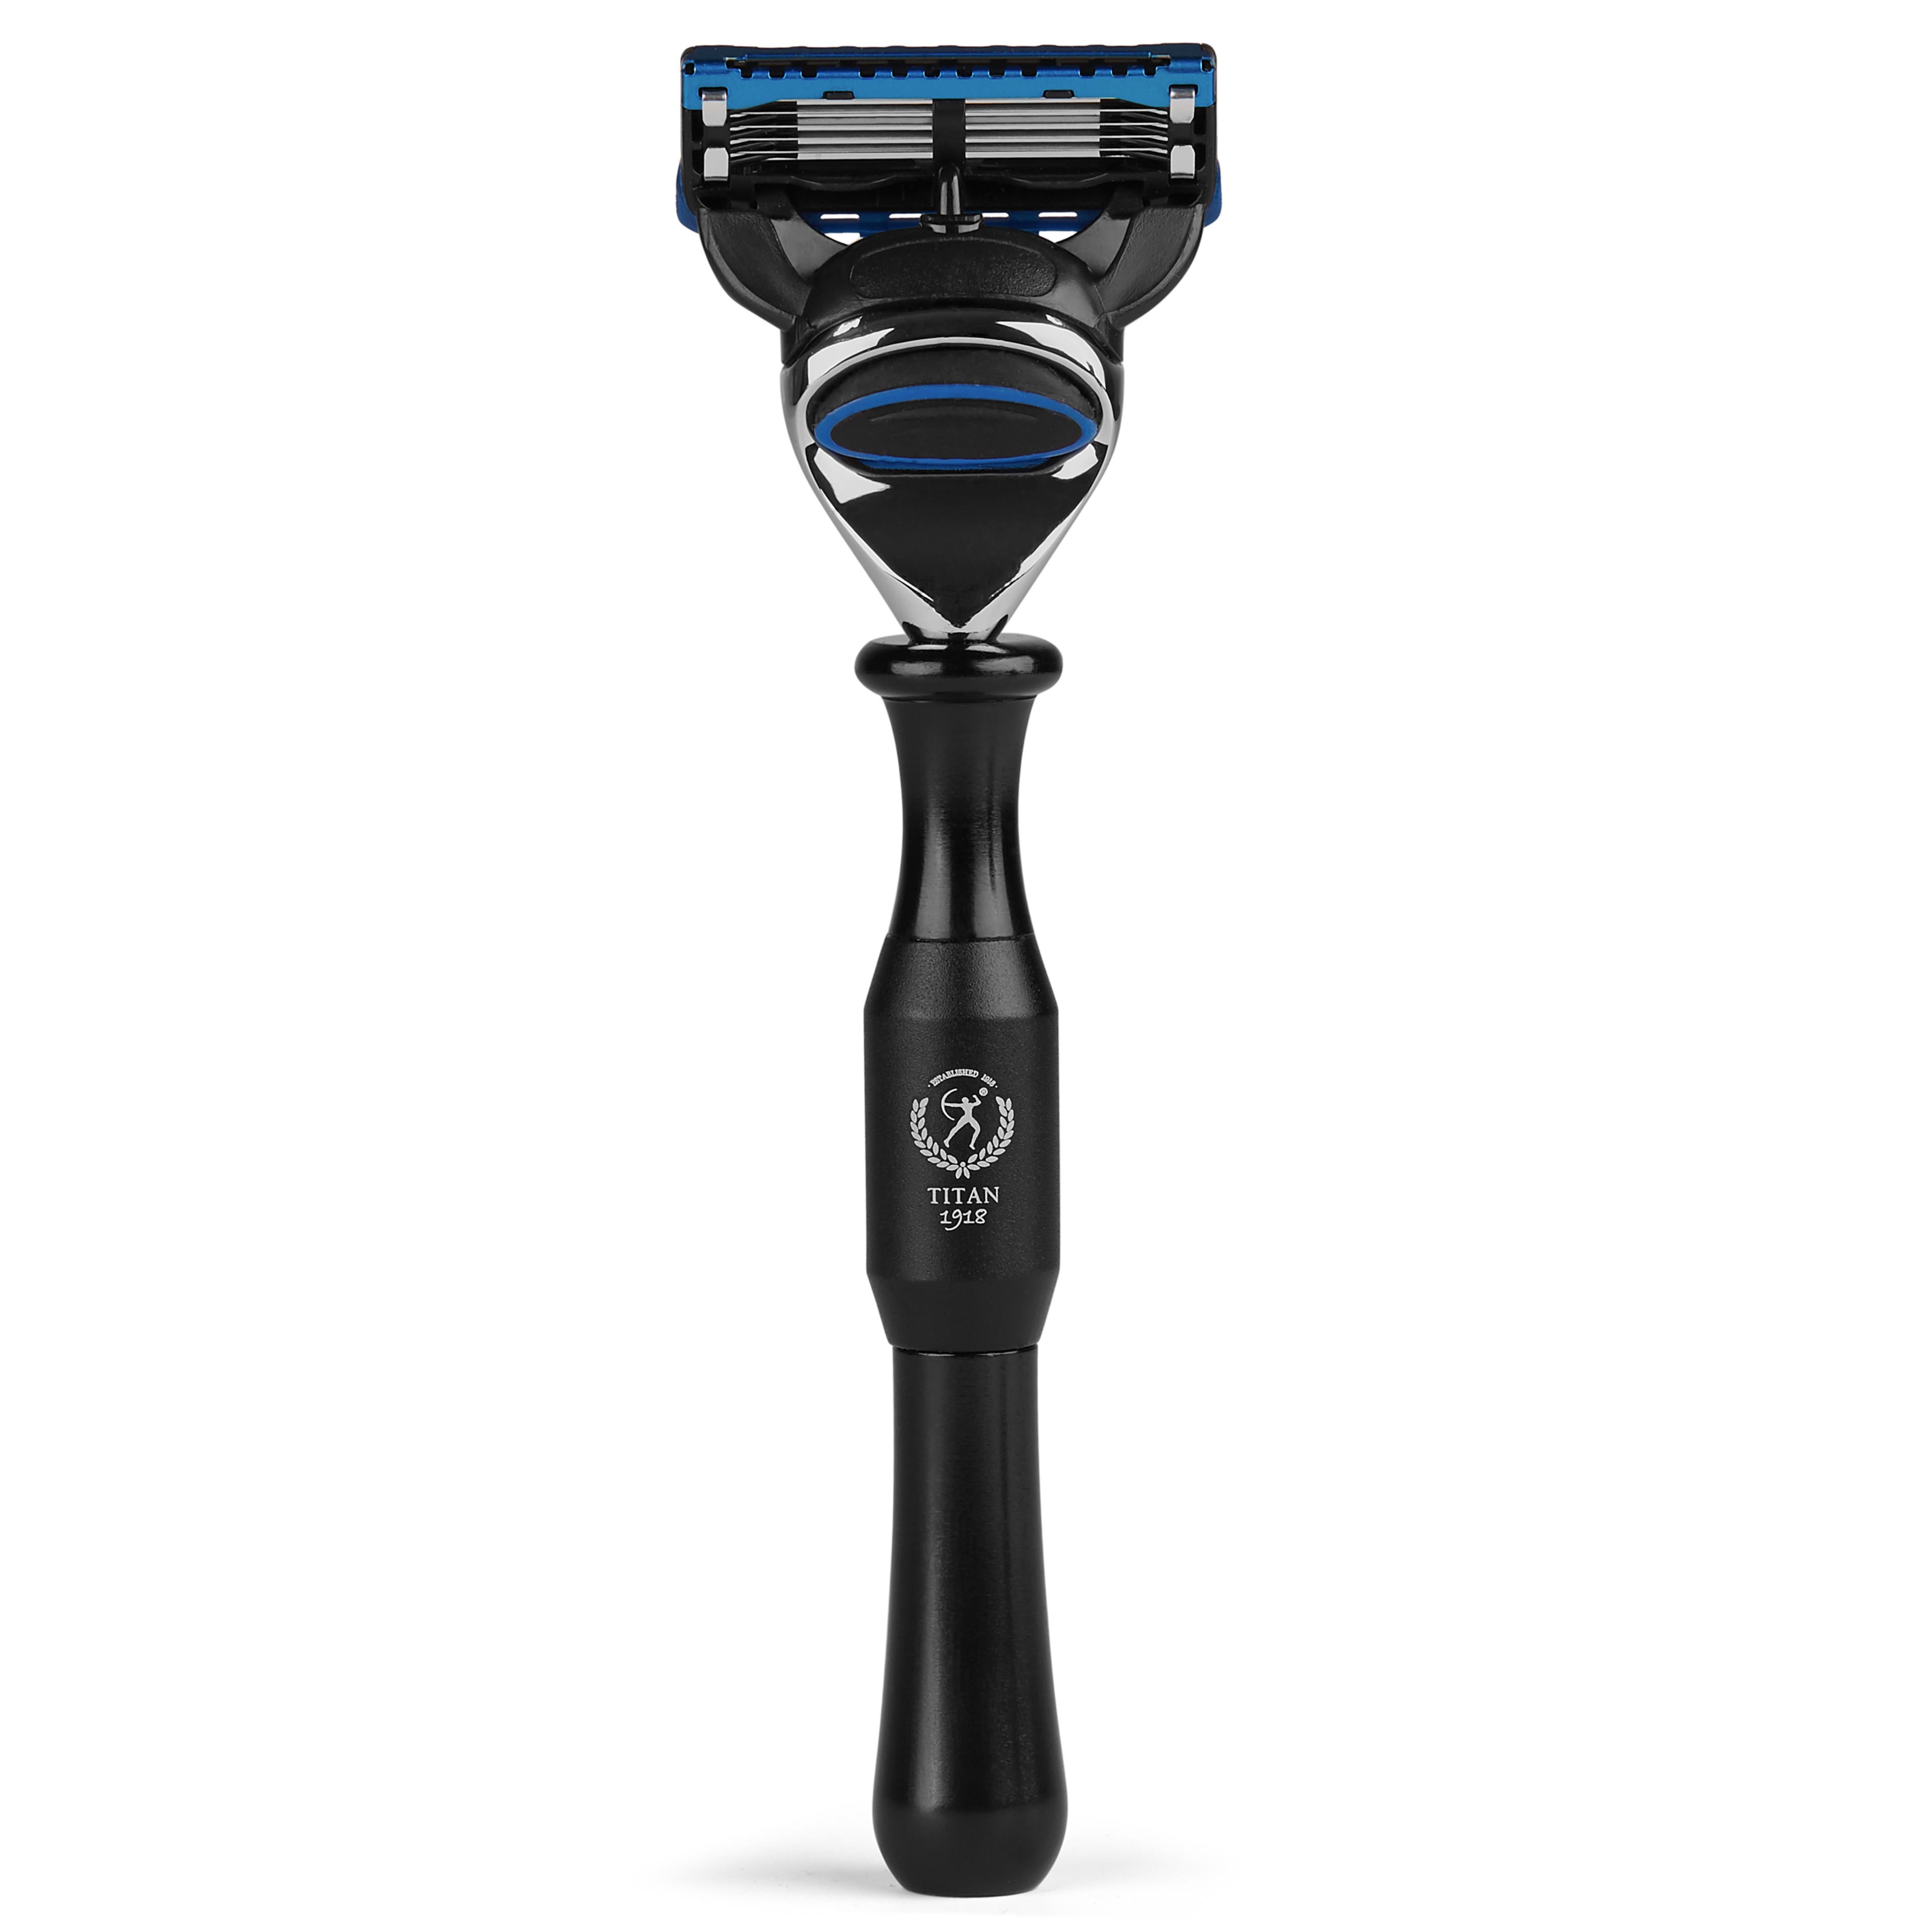
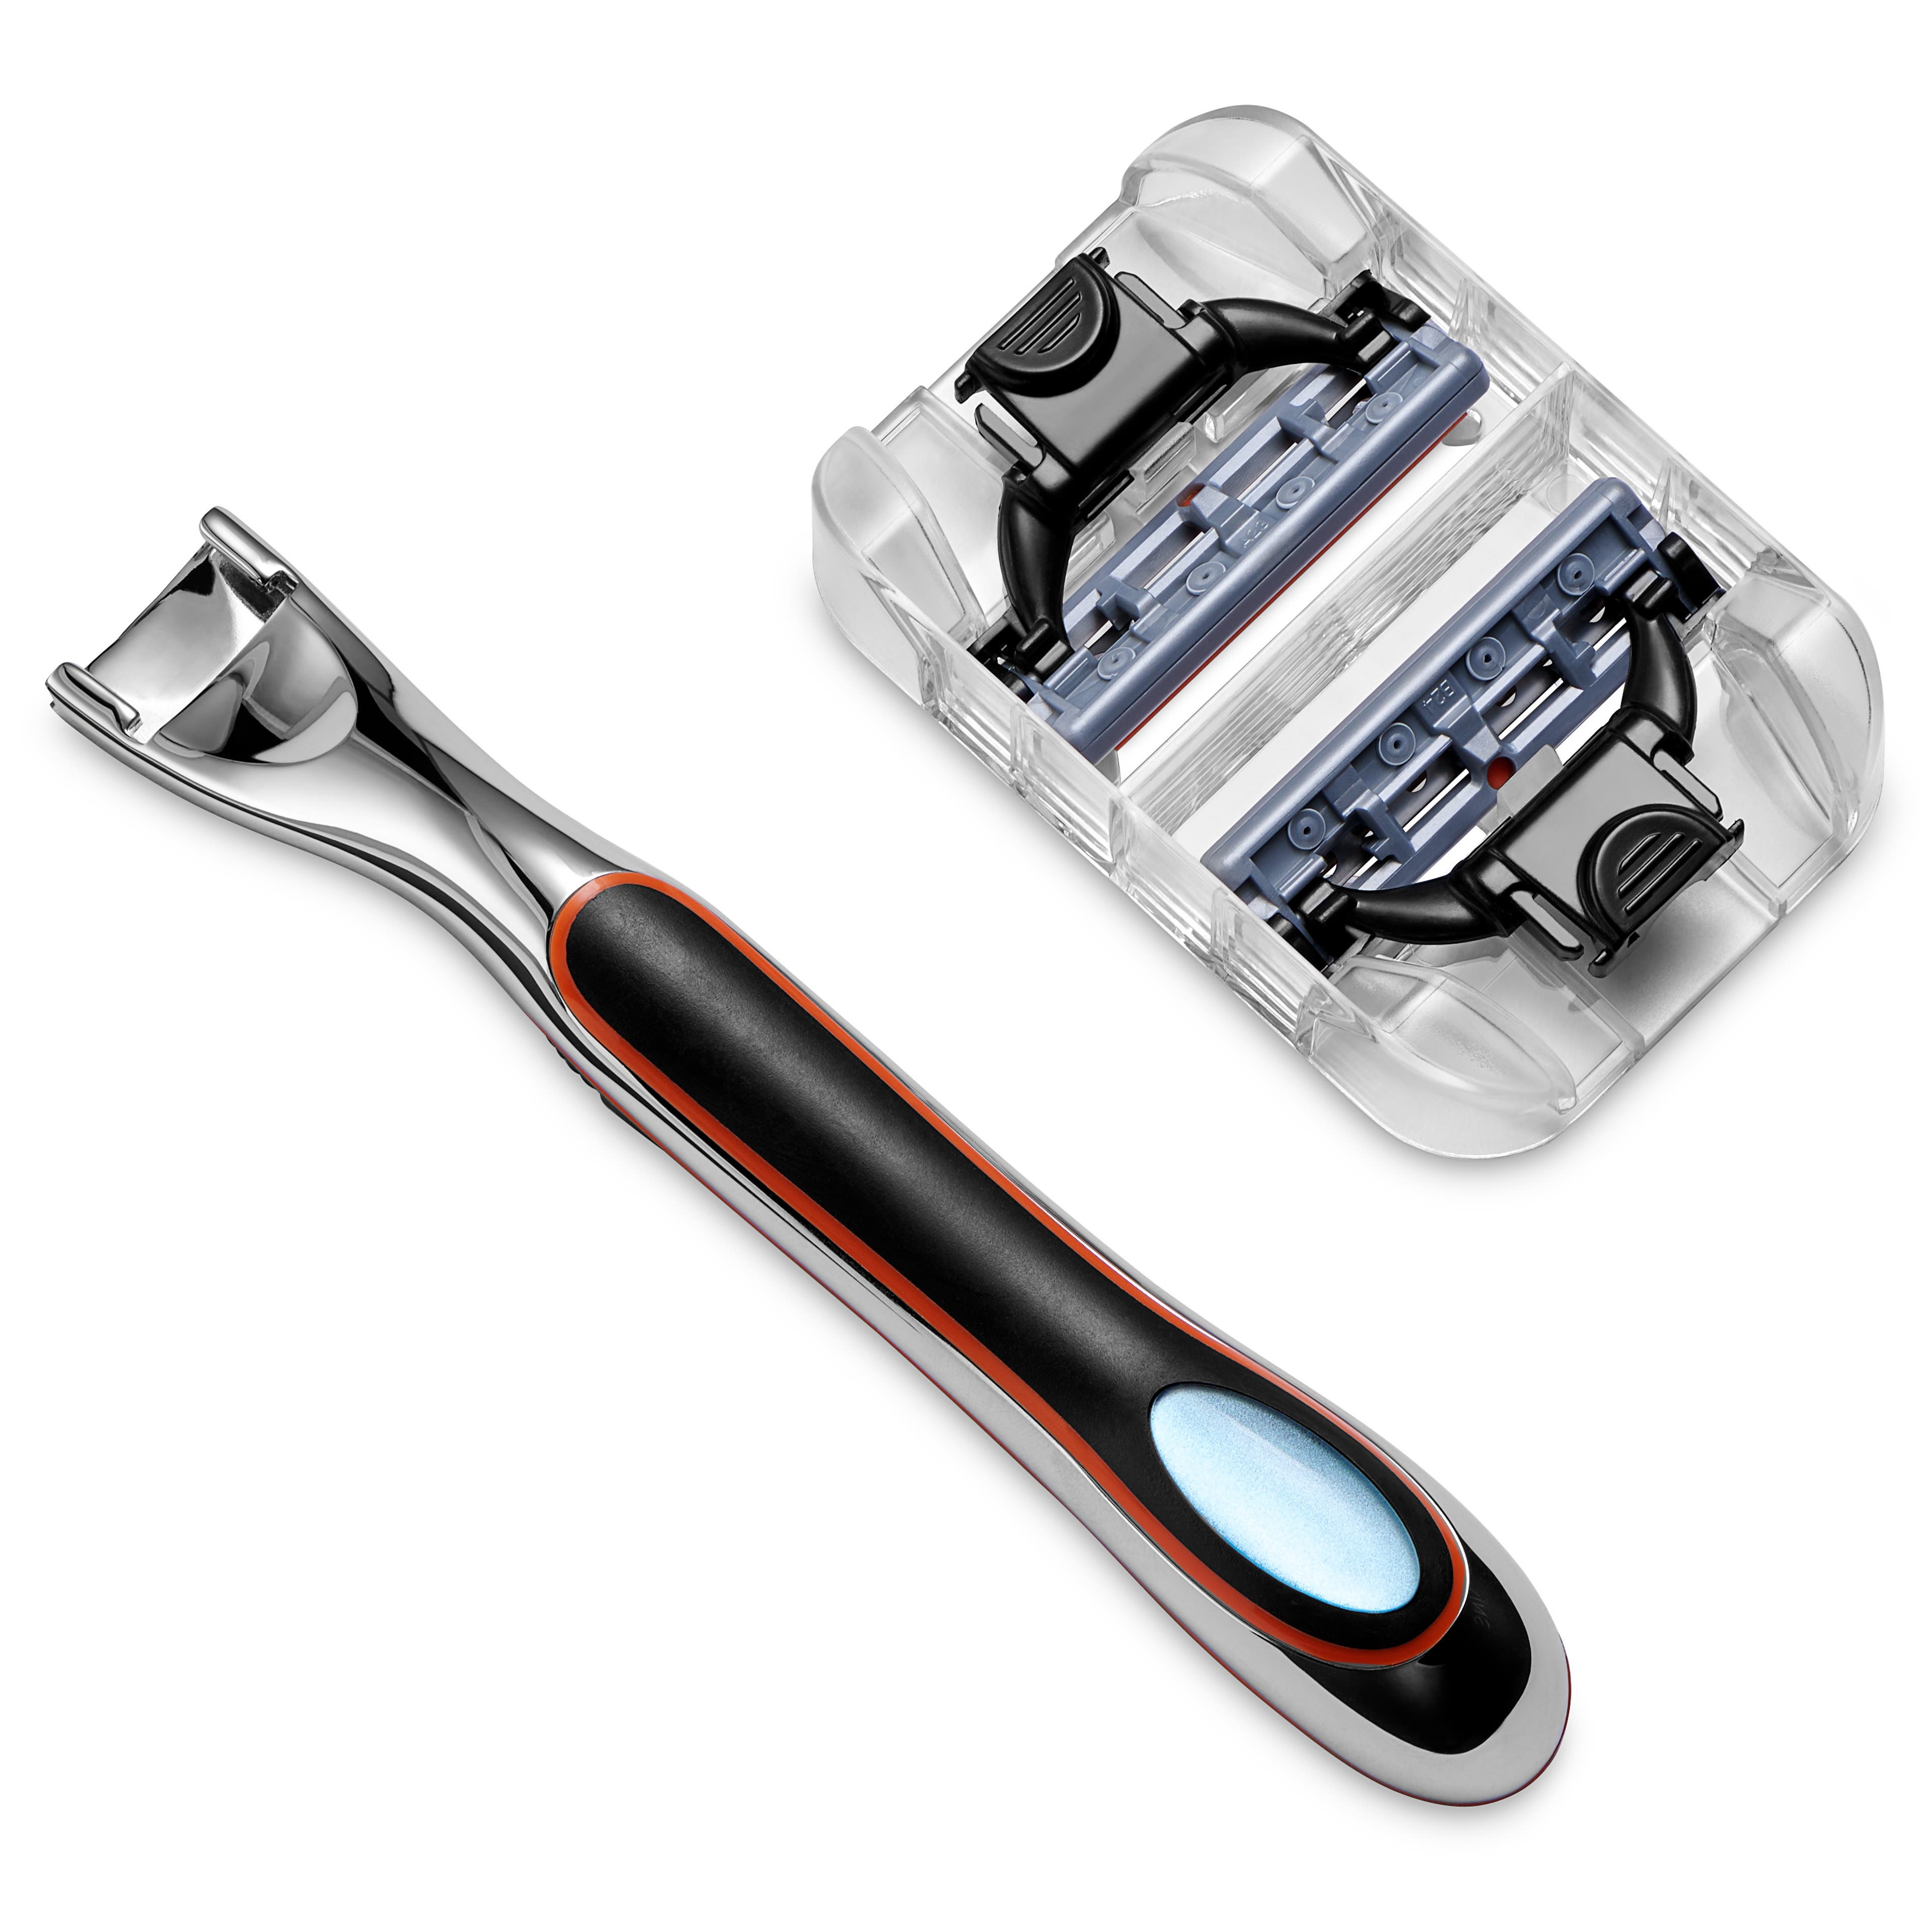
Cartridge Razors
Open any men’s magazine and you’ll see an ad for a cartridge razor. The hype is usually around having more blades for a smooth shave and a lubricating strip. This type of razor was created to make shaving more convenient – it was not created to make shaving a better experience.
The main benefit of cartridge razors is that they're quick and relatively safe – it’s difficult to do extreme damage with one (unlike a straight razor). They’re embedded in our minds as the go-to method of grooming. Thanks, TV.
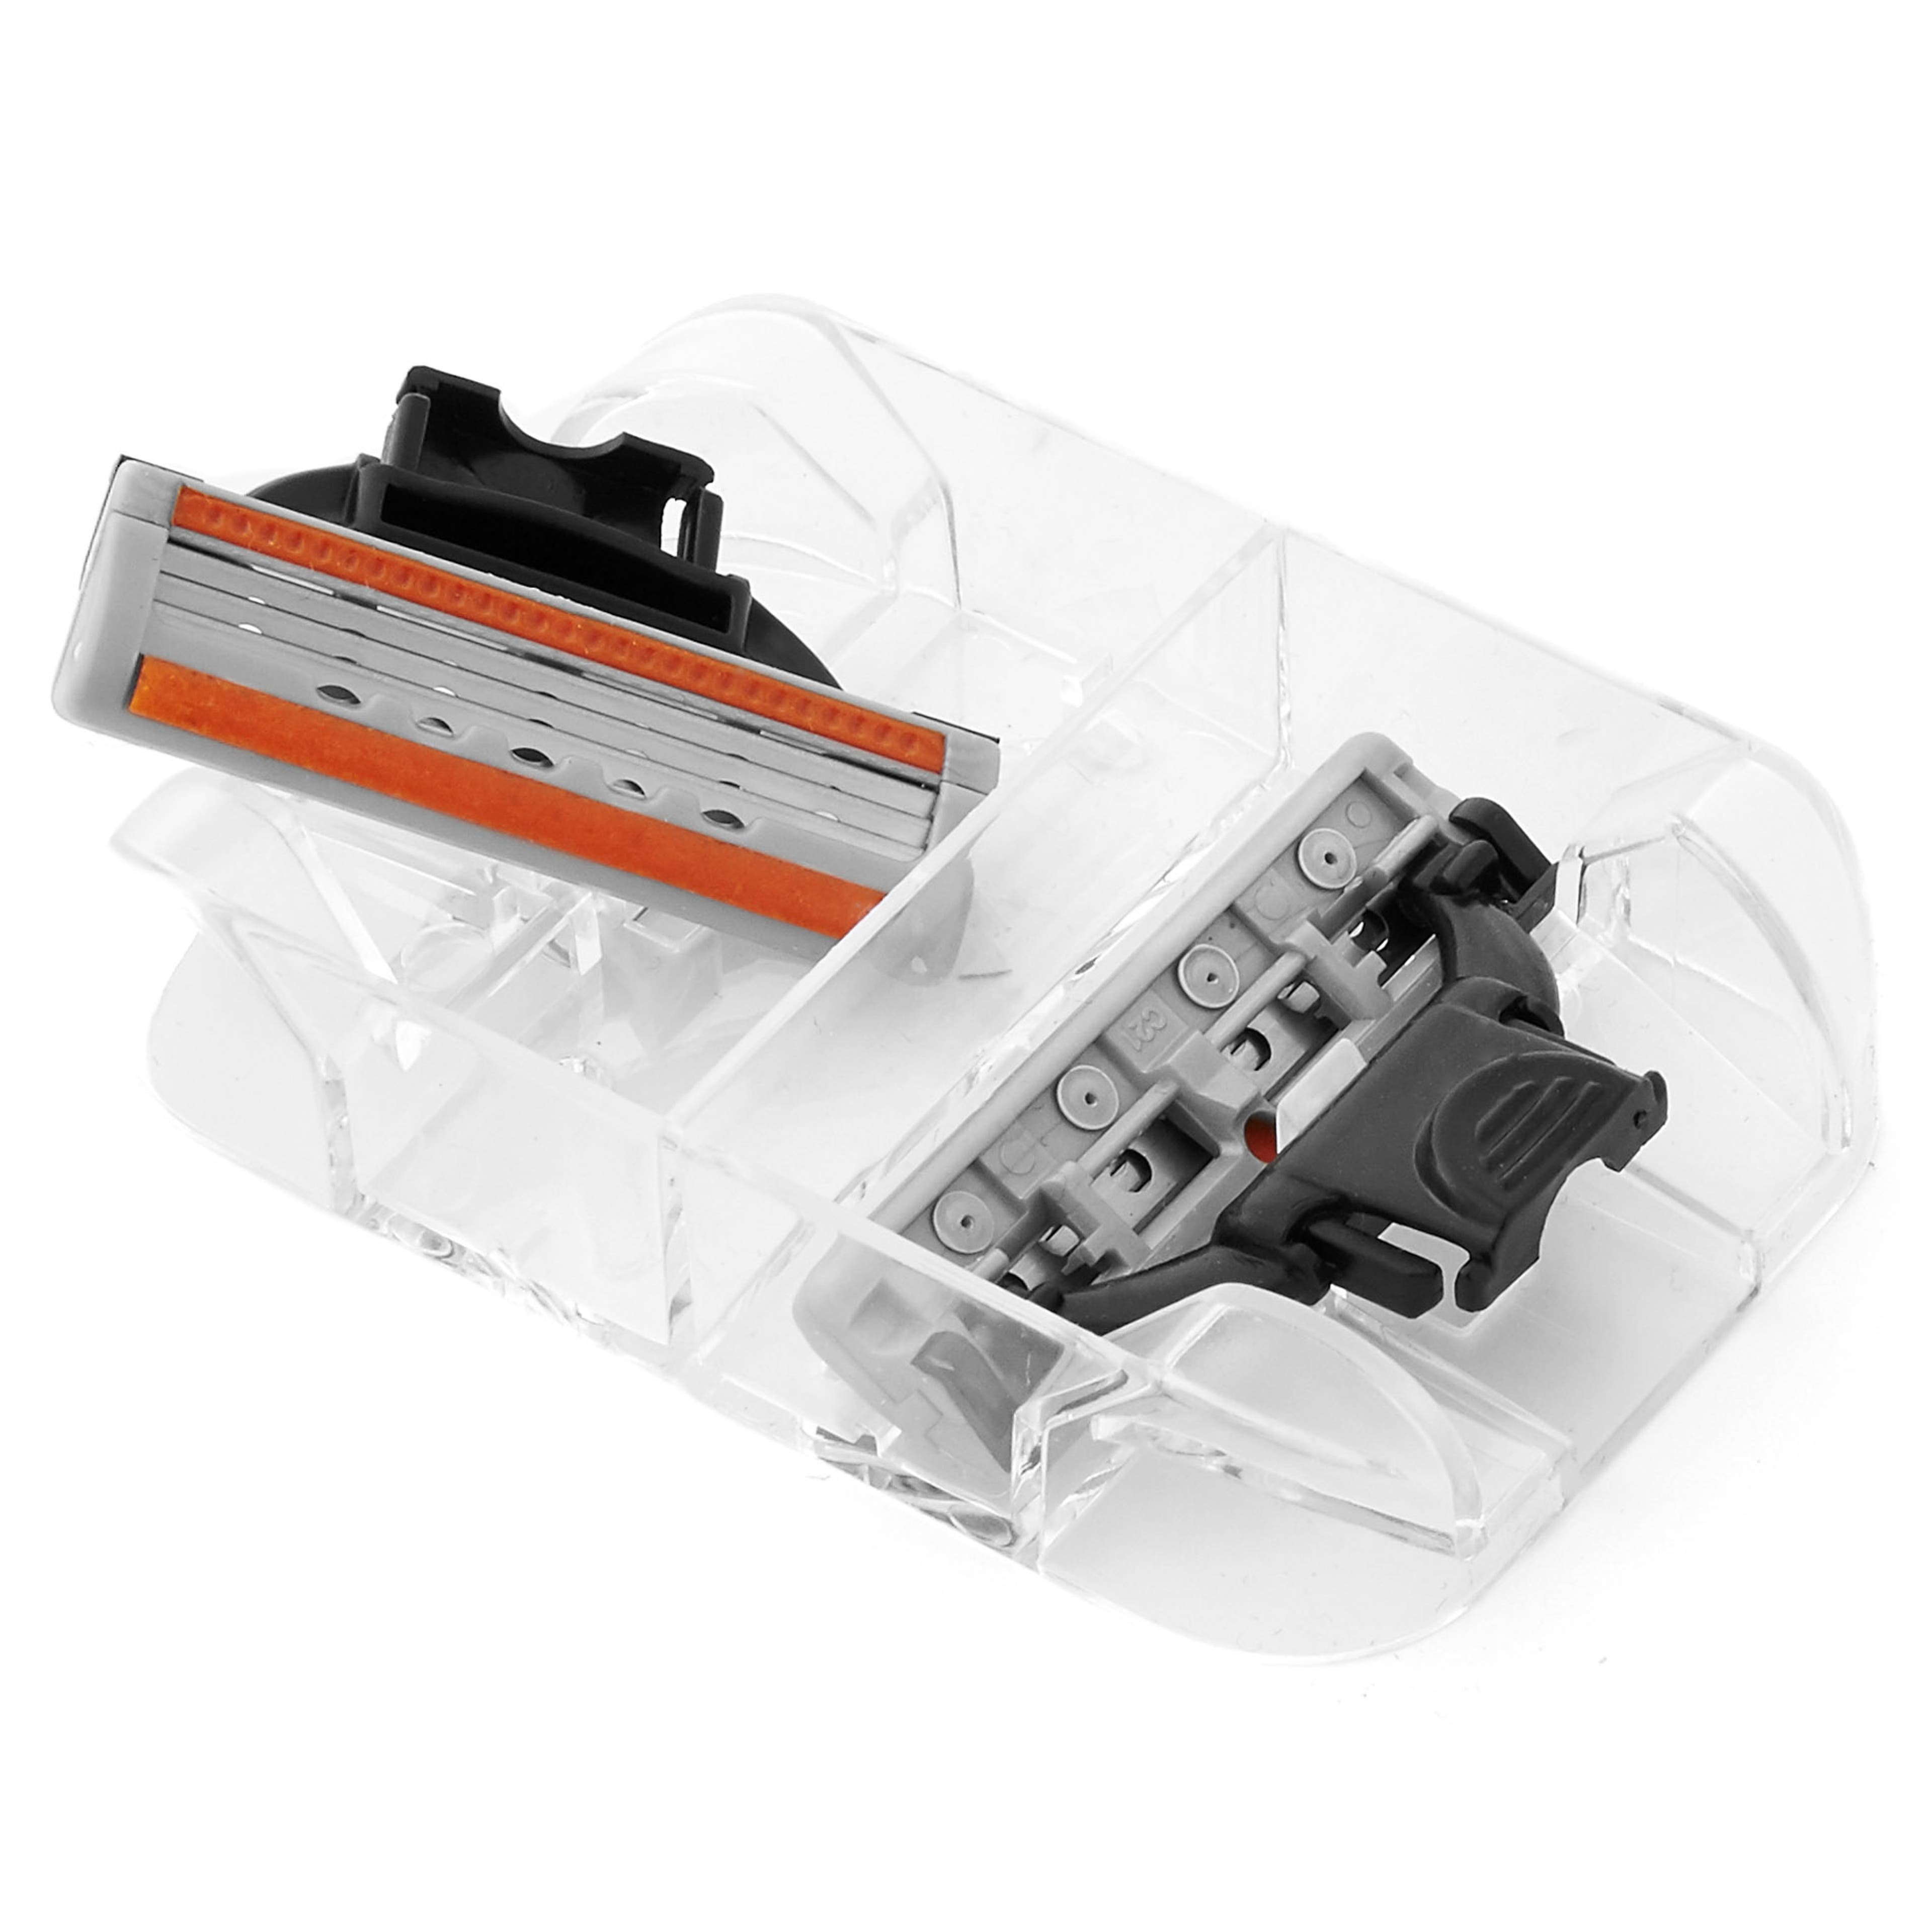
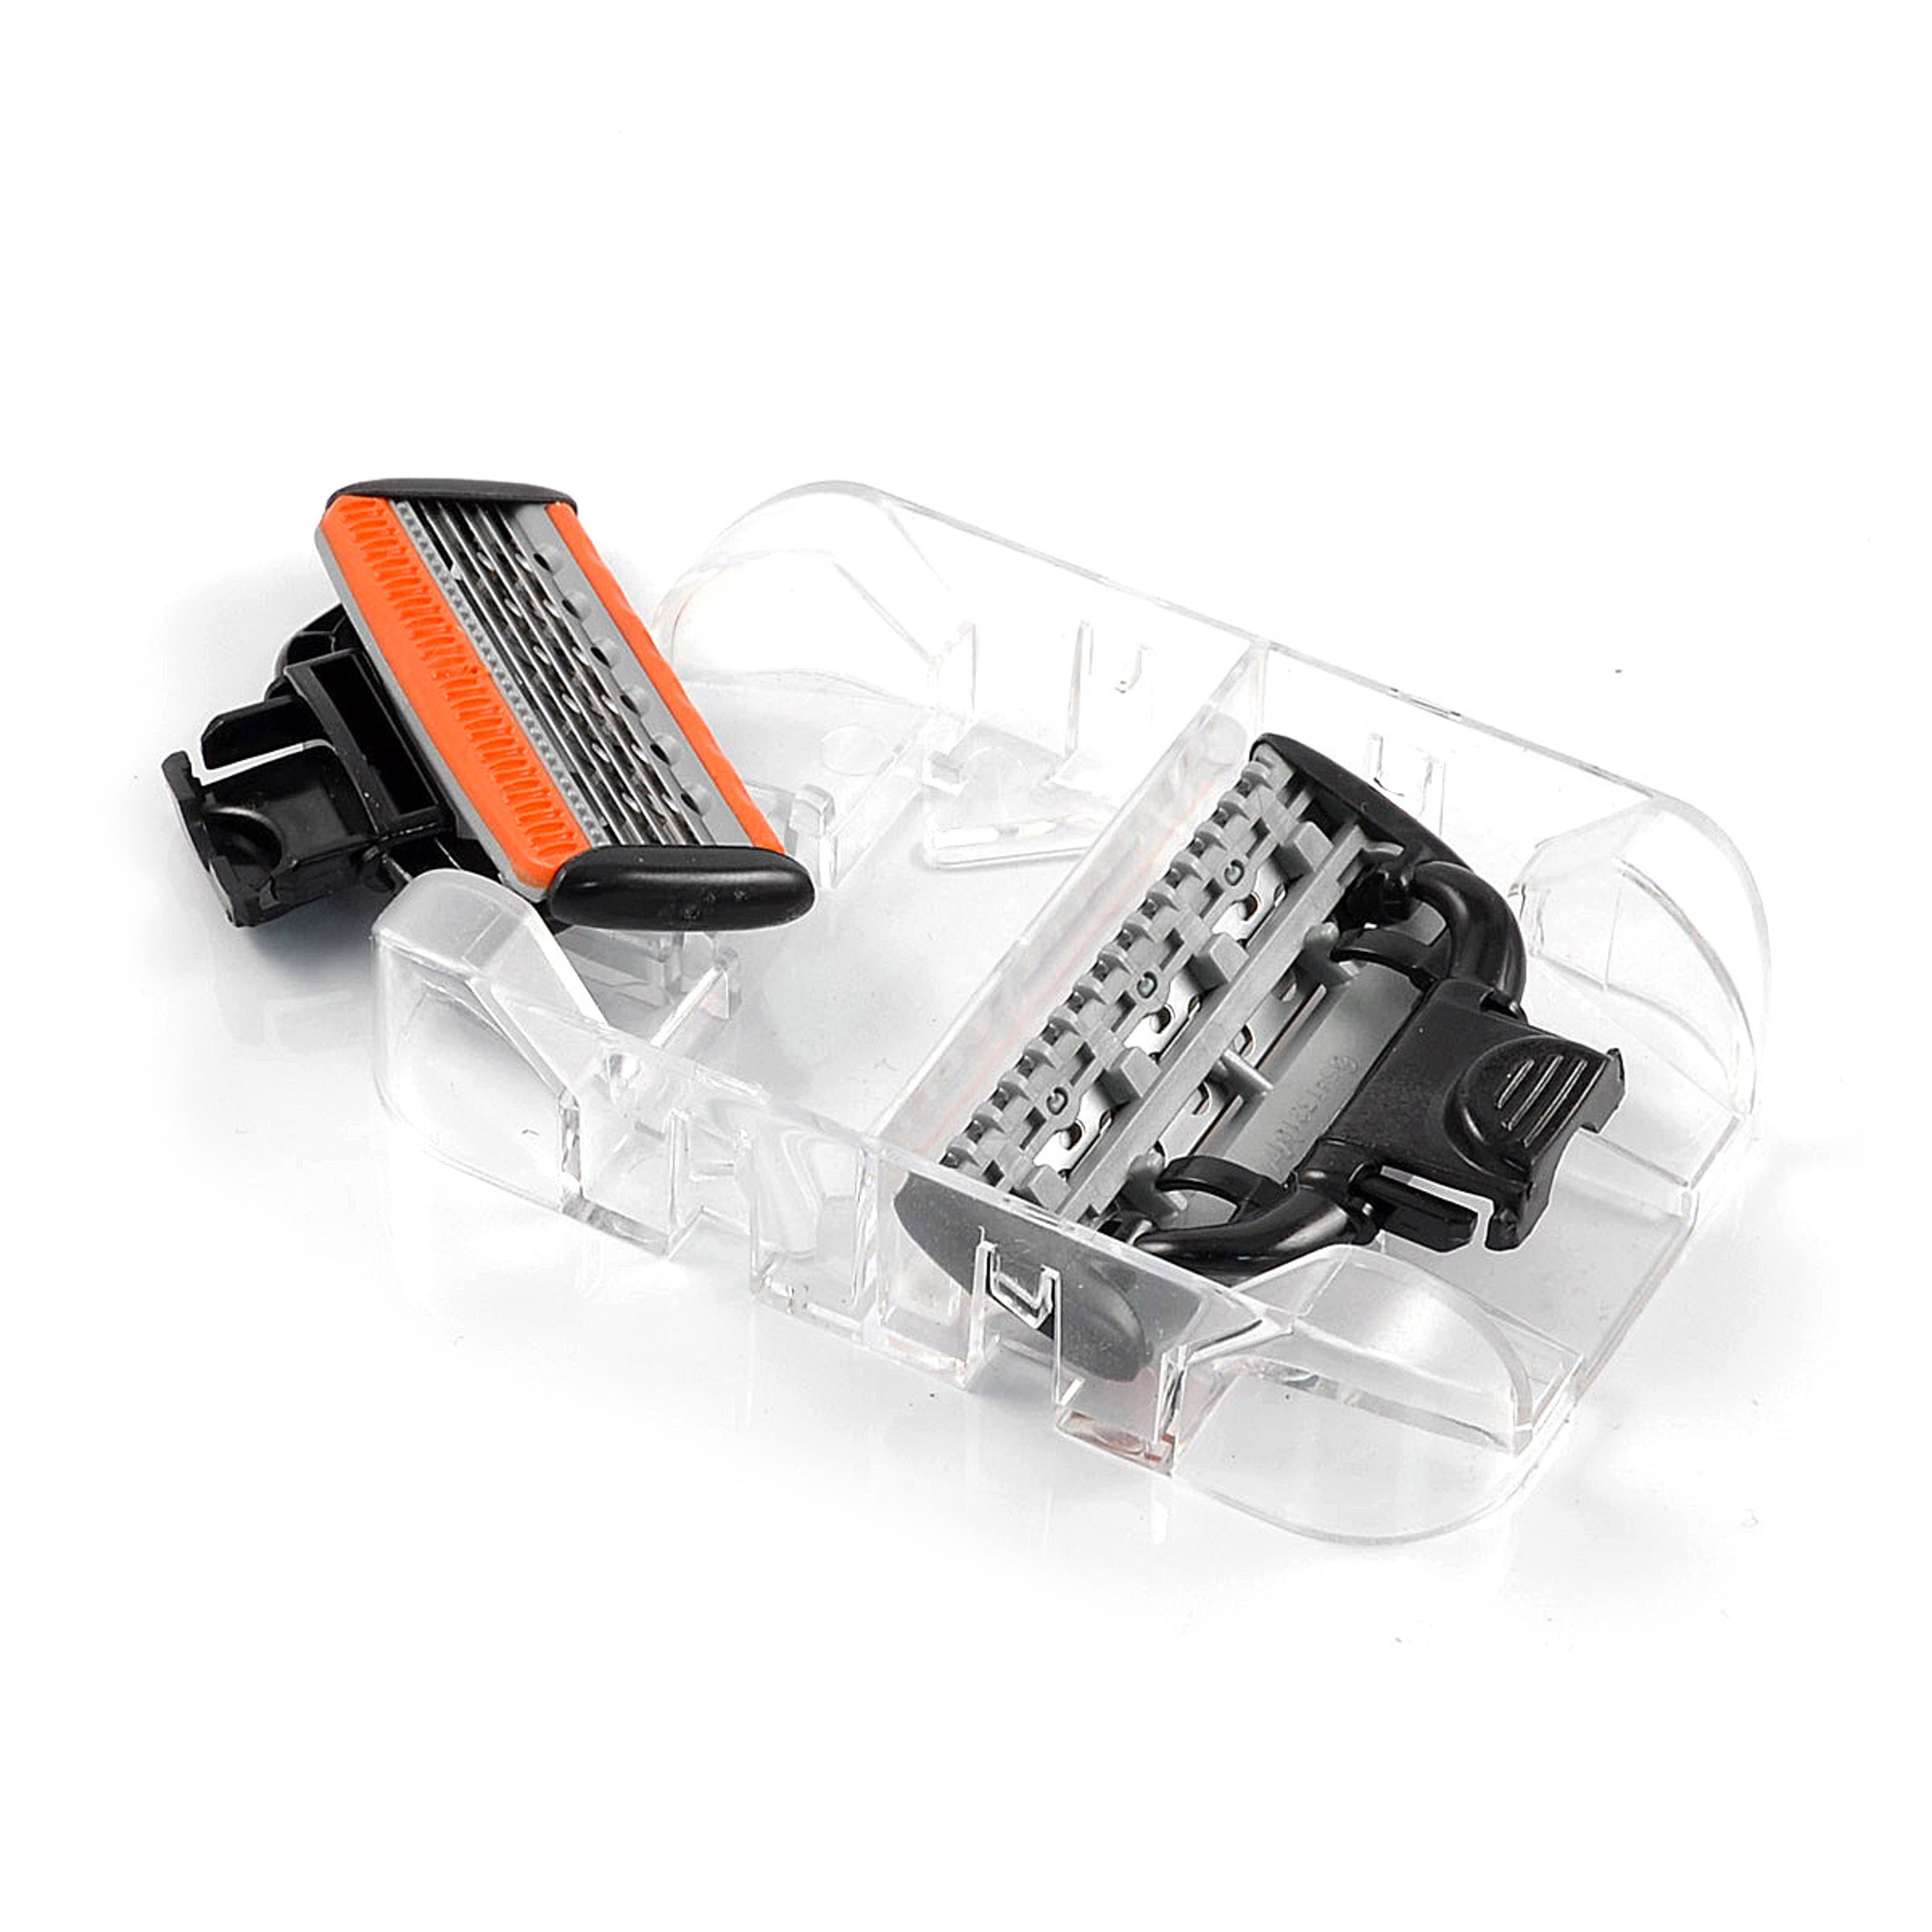
The list of reasons not to invest in a cartridge razor is a long one. While the initial product (the handle) may be cheap, the refill cartridges are not. You’ll have to buy a refill after every 6th shave or so... depending on how much dead skin, hair and shaving cream gets clogged between all of those blades.
Using more blades isn’t better. One good blade is all you need, and it’s kinder to your skin.
If you aren’t quite ready to give up the convenience, at least make sure you use a good cartridge razor.
Safety Razor vs. Cartridge Razor
Our verdict in the razor-superiority debate is in – the razor you choose depends on your personal preference. Maybe it’s not the answer you wanted, but it’s the answer we stand by.
If you make taking care of yourself a priority and have time to commit to the daily ritual of shaving – a safety razor is for you.
If you want to shave quickly and spend a lot of money on replacement cartridges – then a cartridge razor is the right choice. Just make sure it’s your choice and you haven’t fallen victim to a great marketing campaign.
Safety razors are designed to get close results with only one pass while cartridge razors take several to achieve the same level of closeness. More passes lead to increased irritation, redness and razor burn.
Shaving Brush
A shaving brush (or barber brush) is a small handheld brush used to apply shaving soap or cream to your face before shaving. The design includes a handle, typically of metal, wood, horn or synthetic material, and natural or synthetic bristles.
This is a mammoth topic with more nuances than we’ve written here. Getting a great, rich lather is paramount to a close shave.
Click here and read more about shaving brushes and why badger hair is the best you can get.
Shaving Creams & Shaving Soaps
The right brush and the perfect razor only get you so far. You need the right lubricant to ensure the blade glides over your face without dragging and tearing away valuable skin. And a quality cream or soap will hydrate the skin leading to a better post-shave feel.
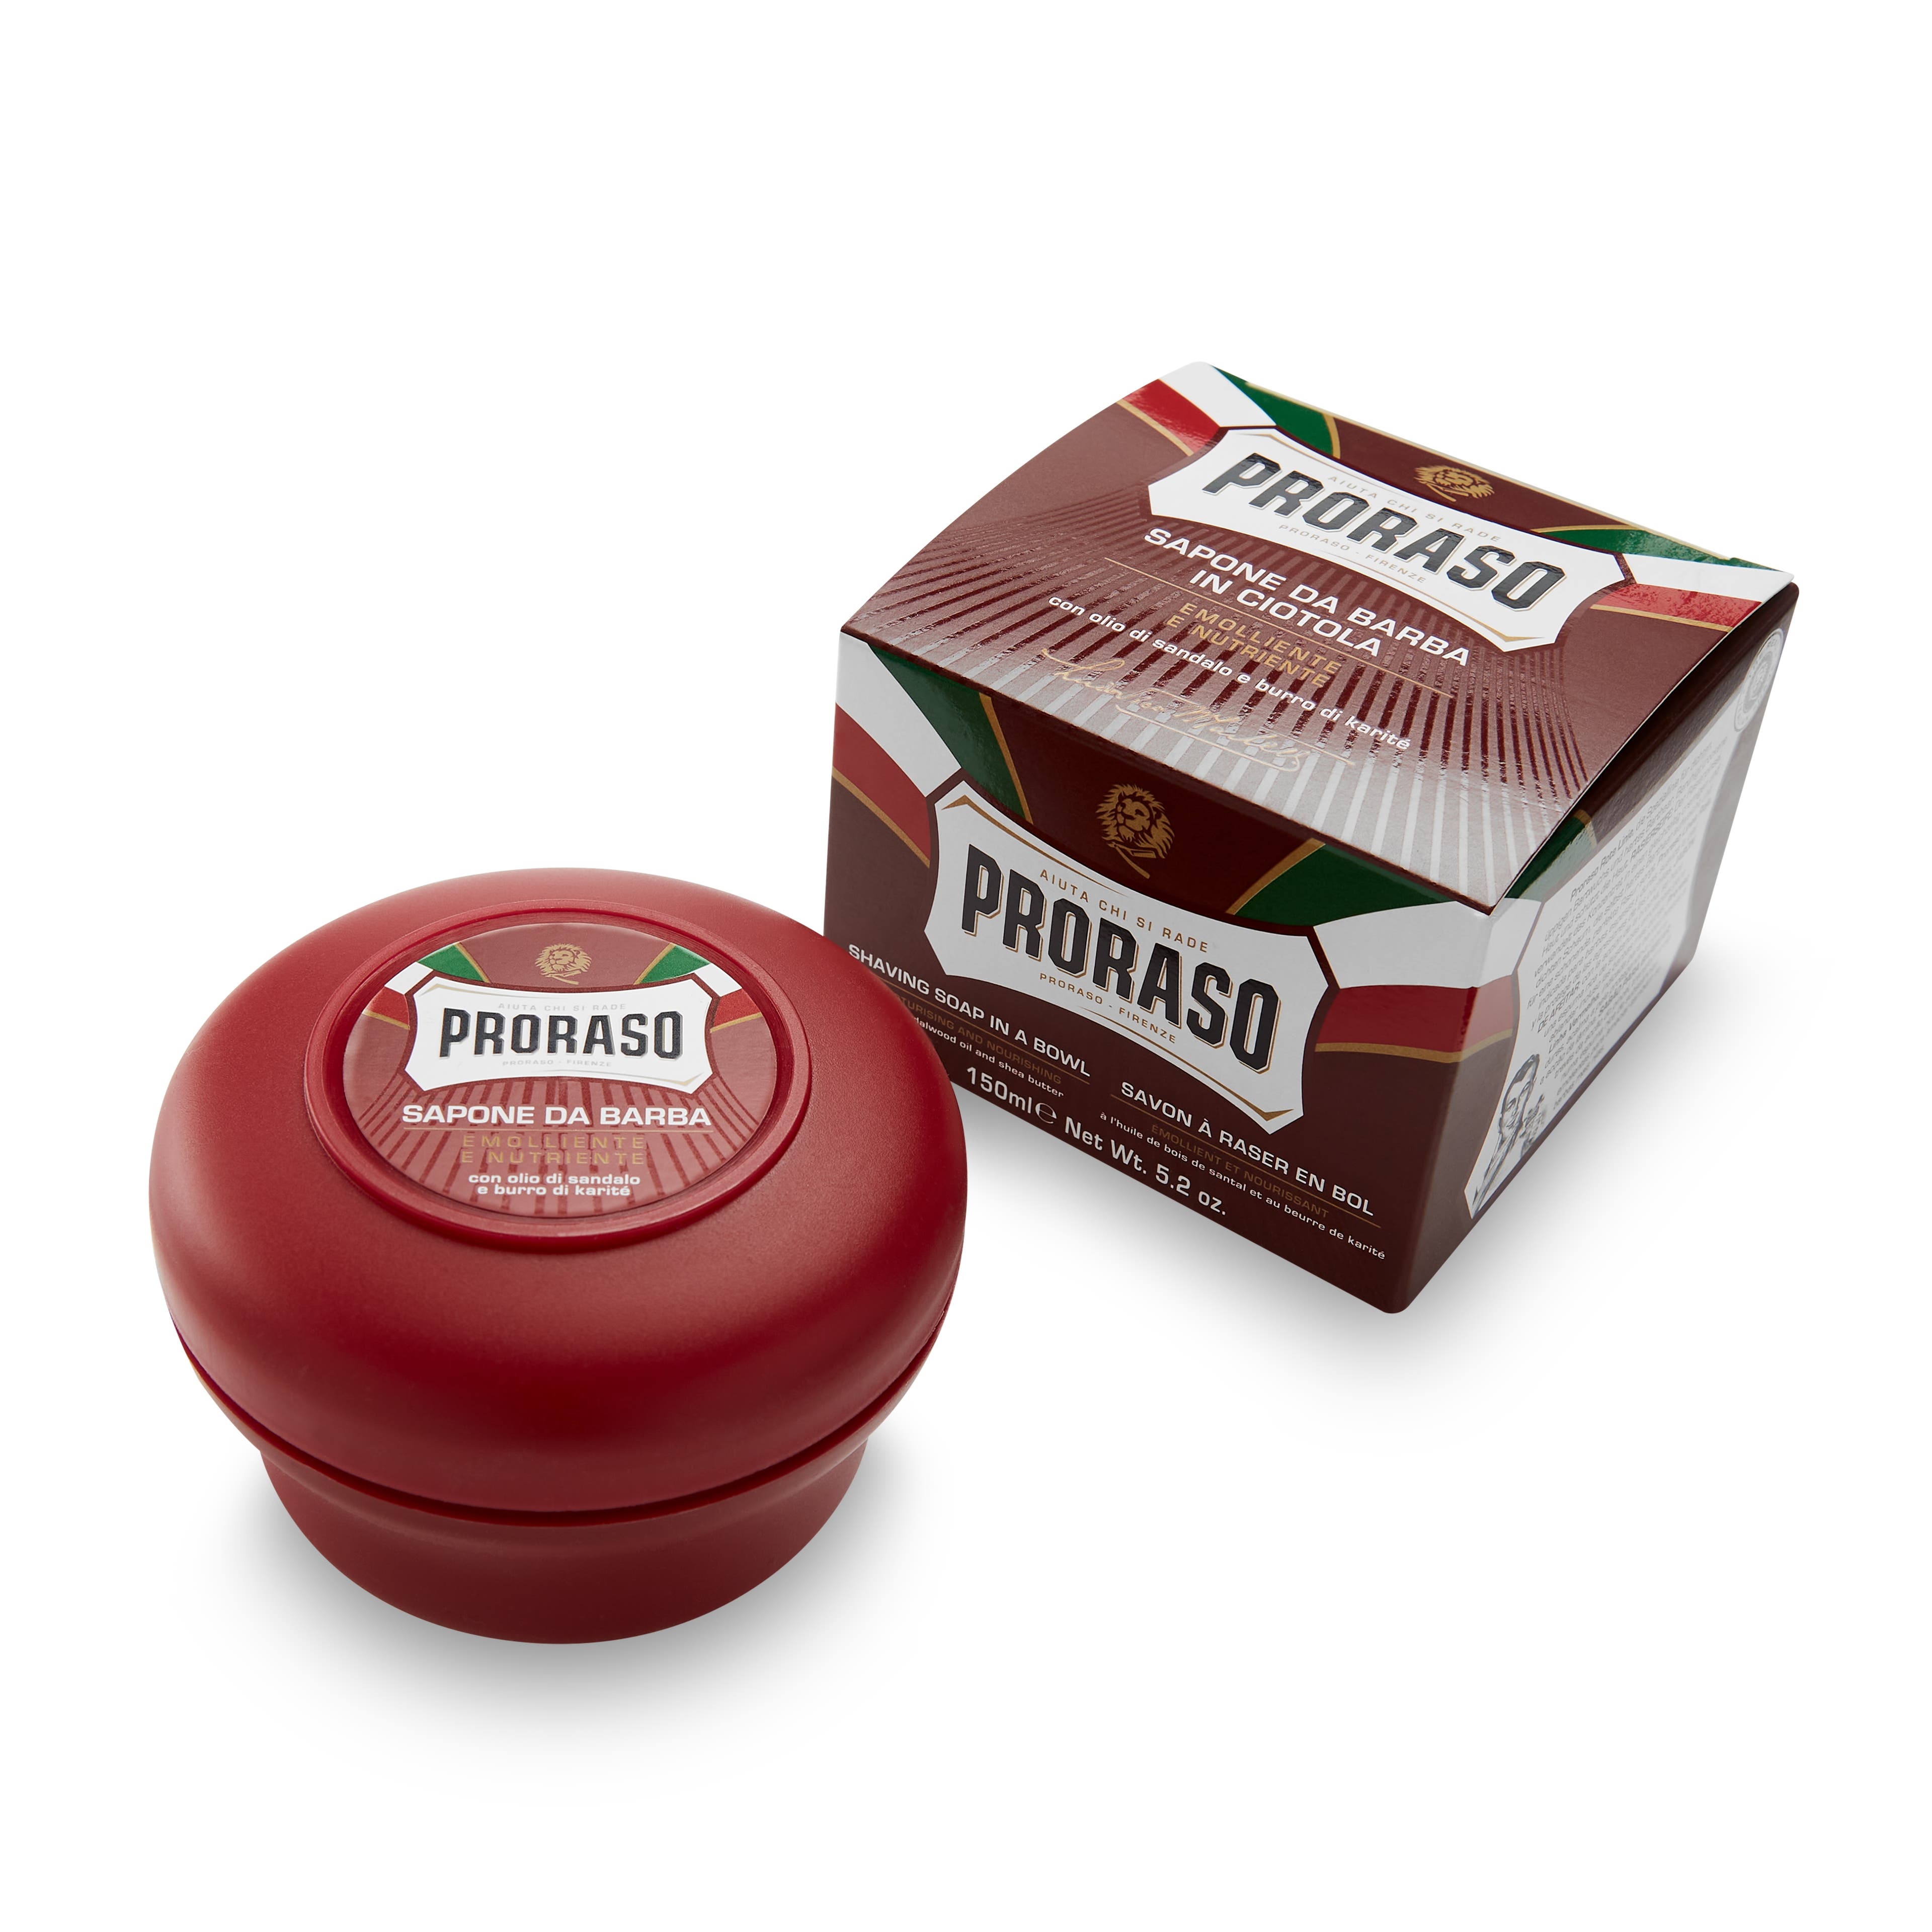
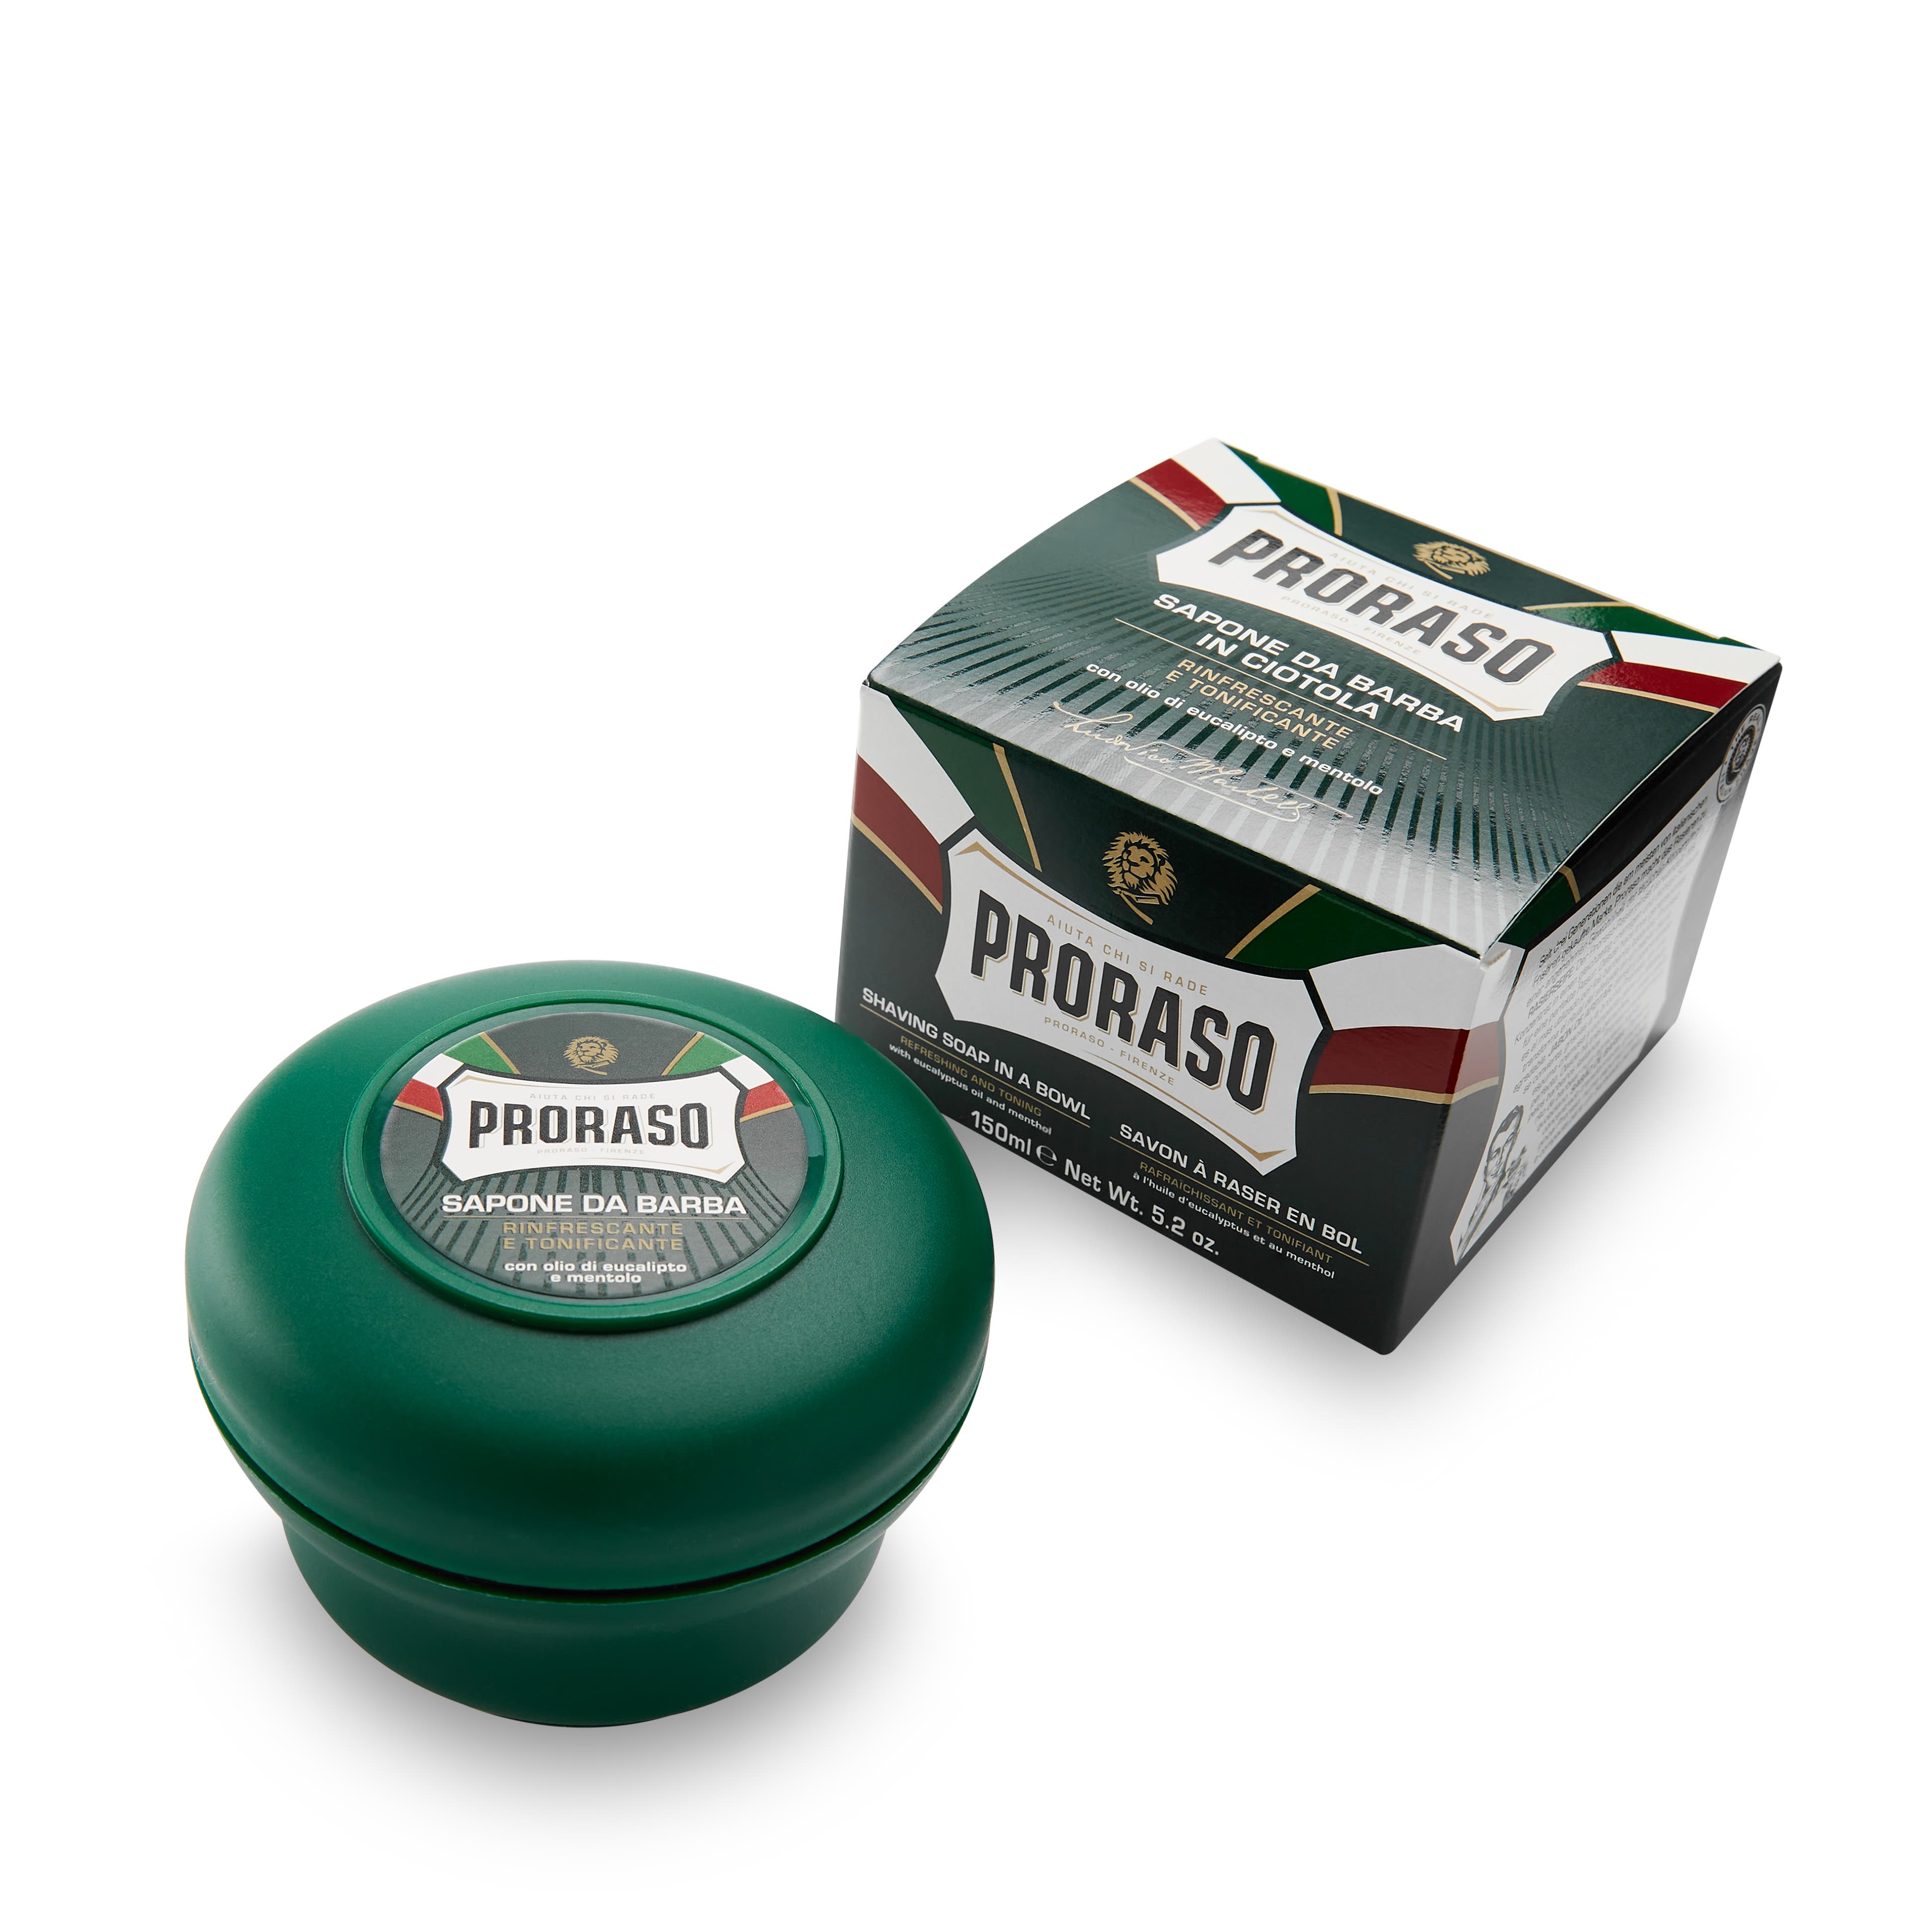
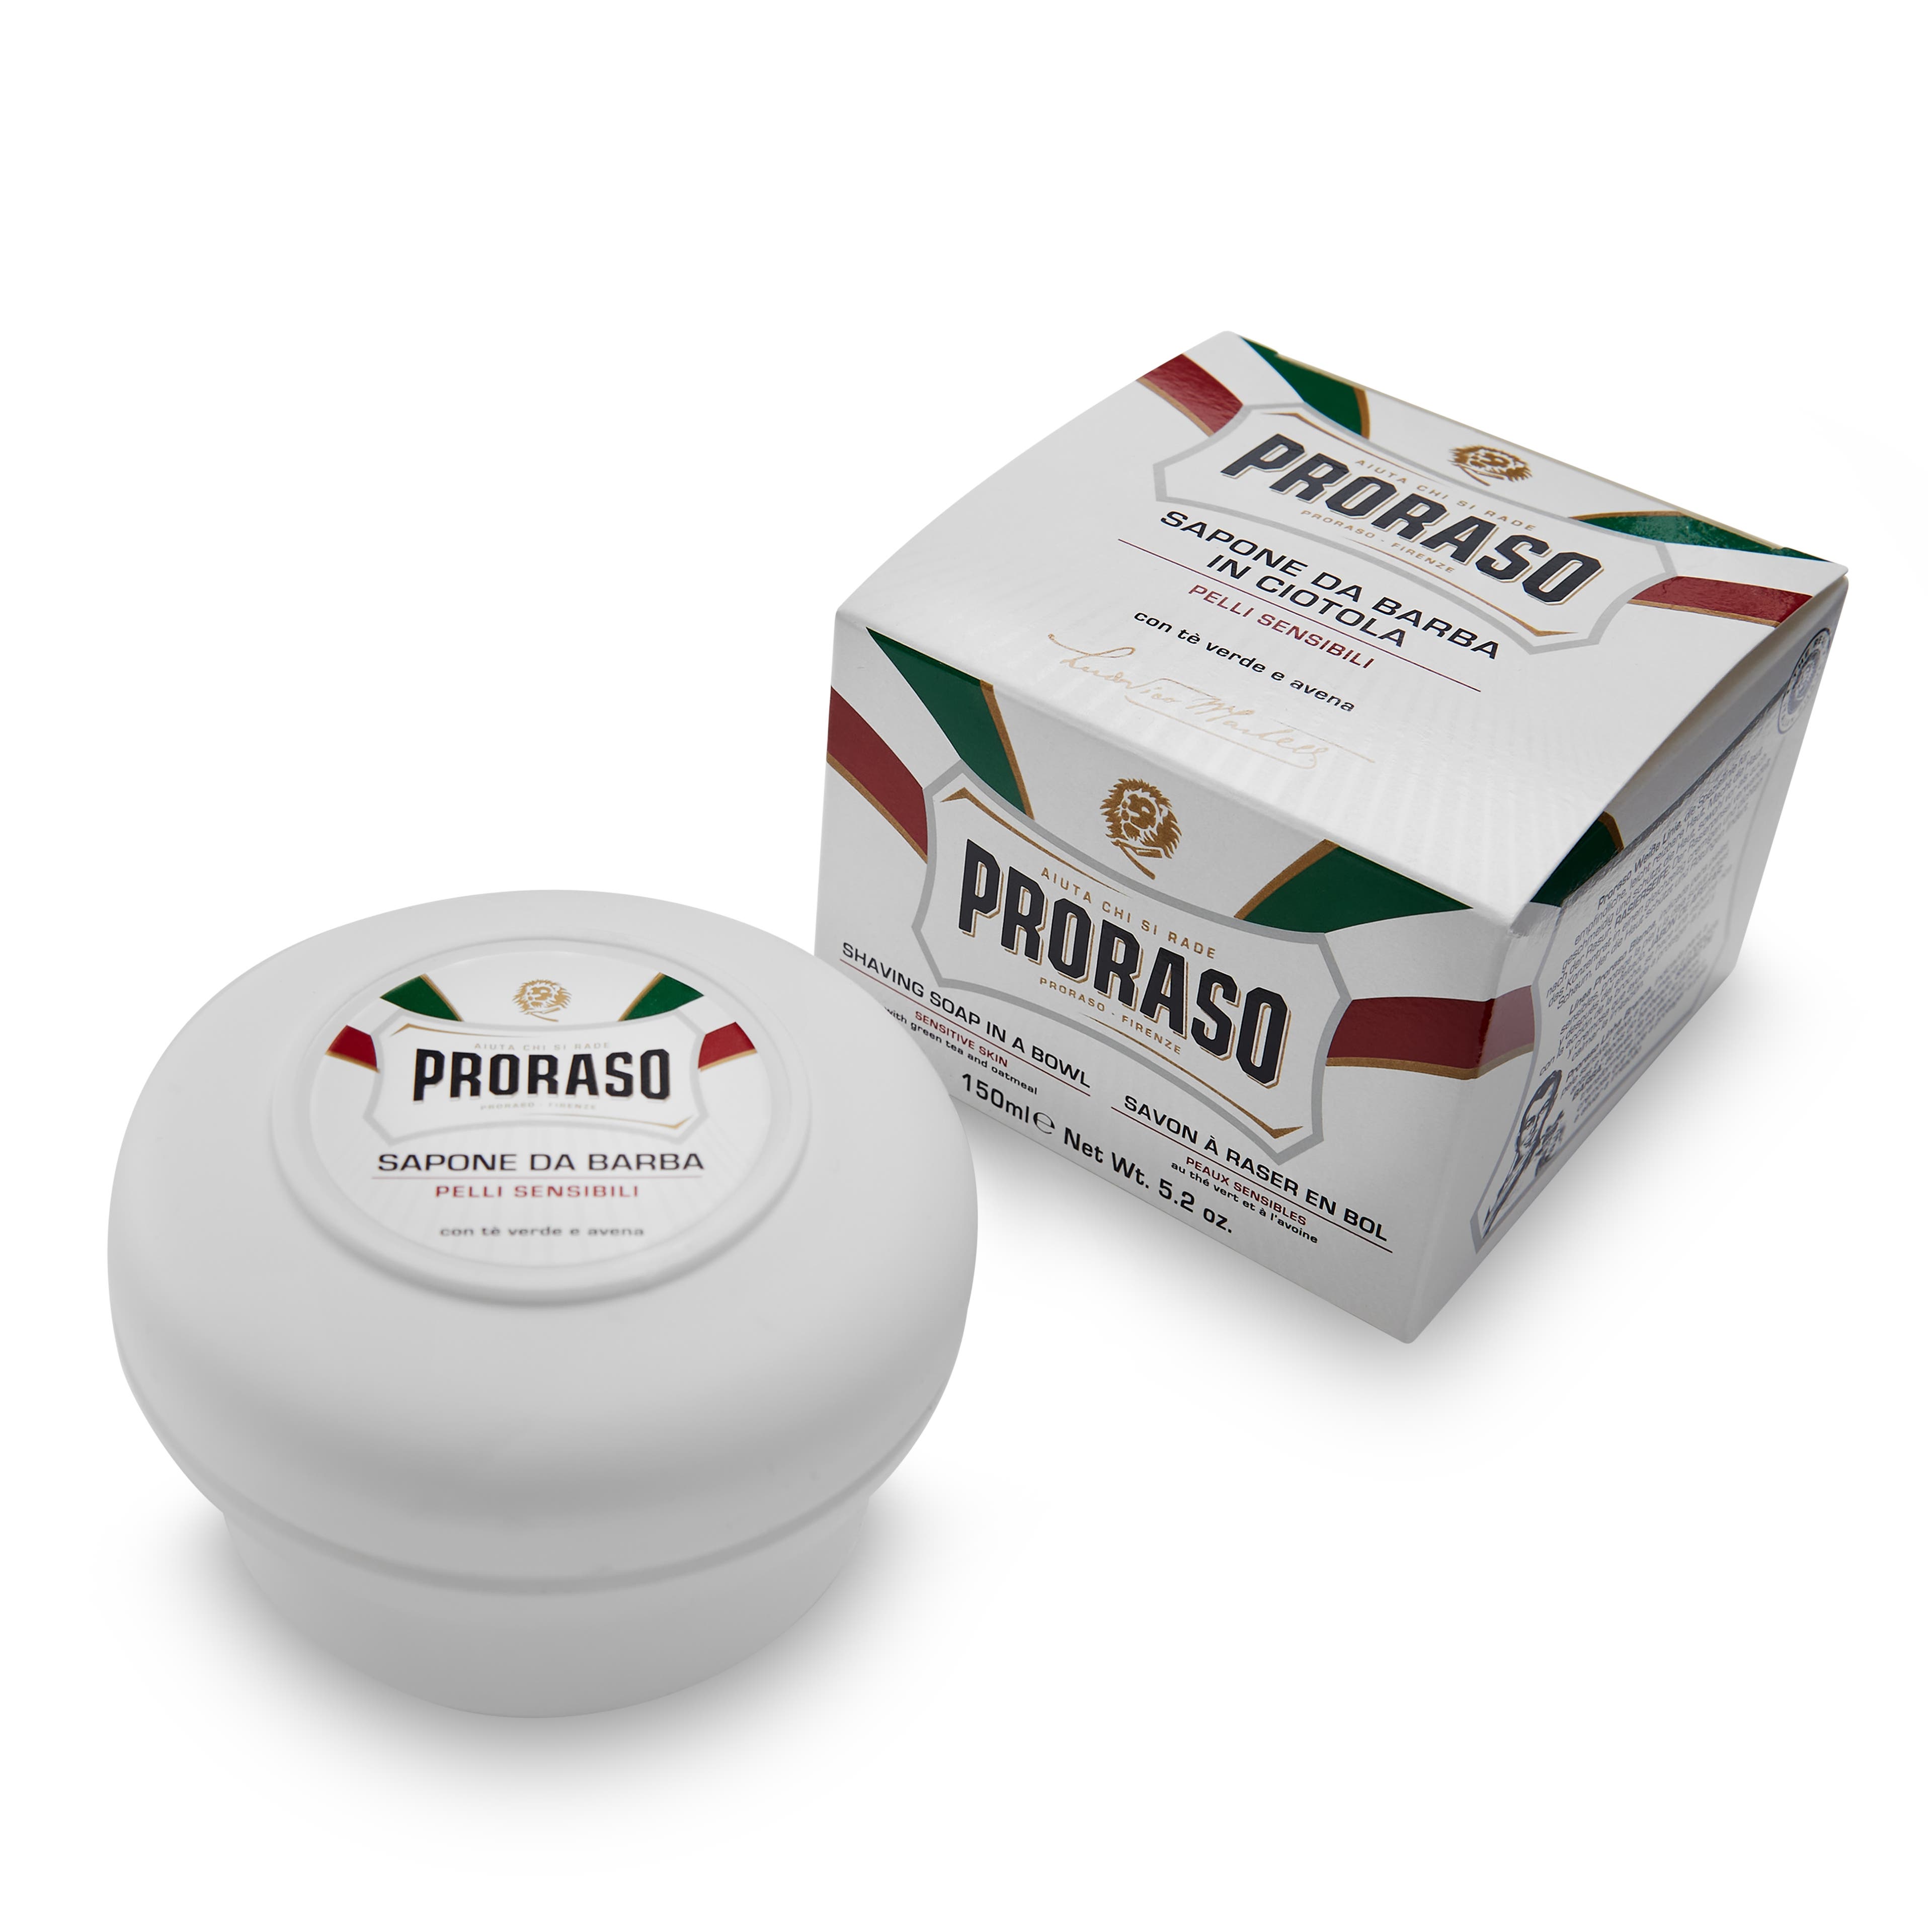
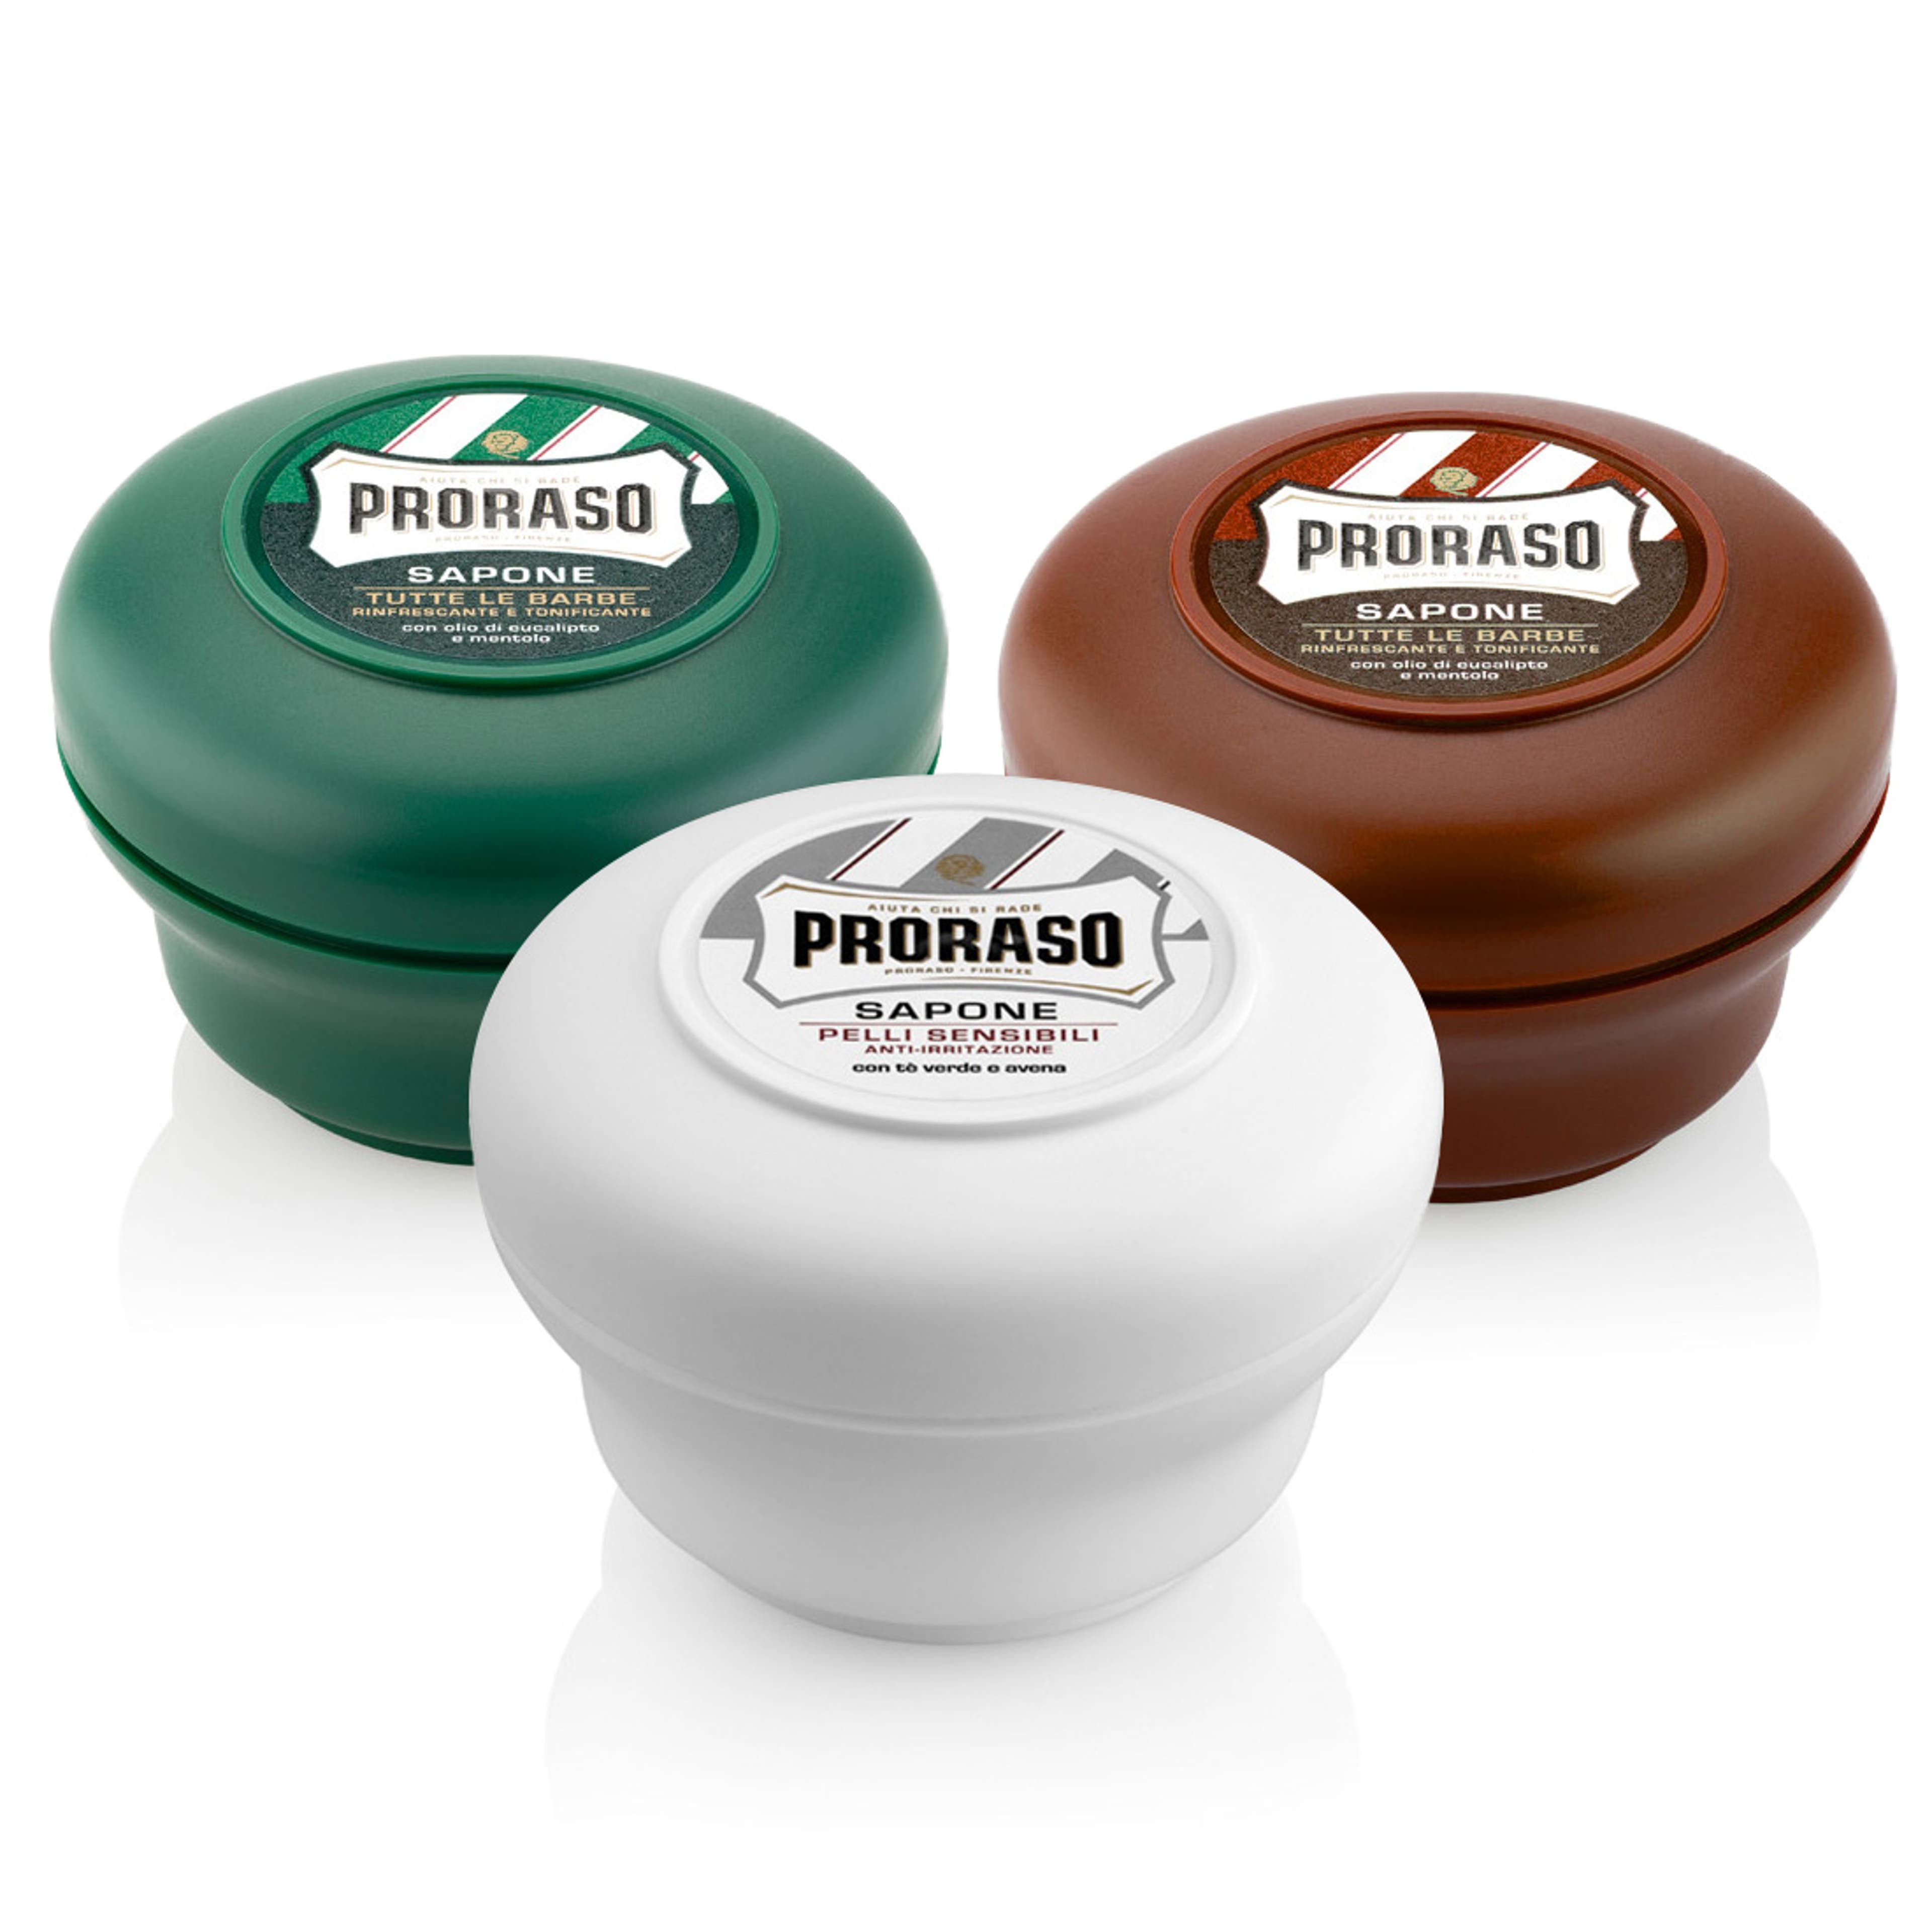
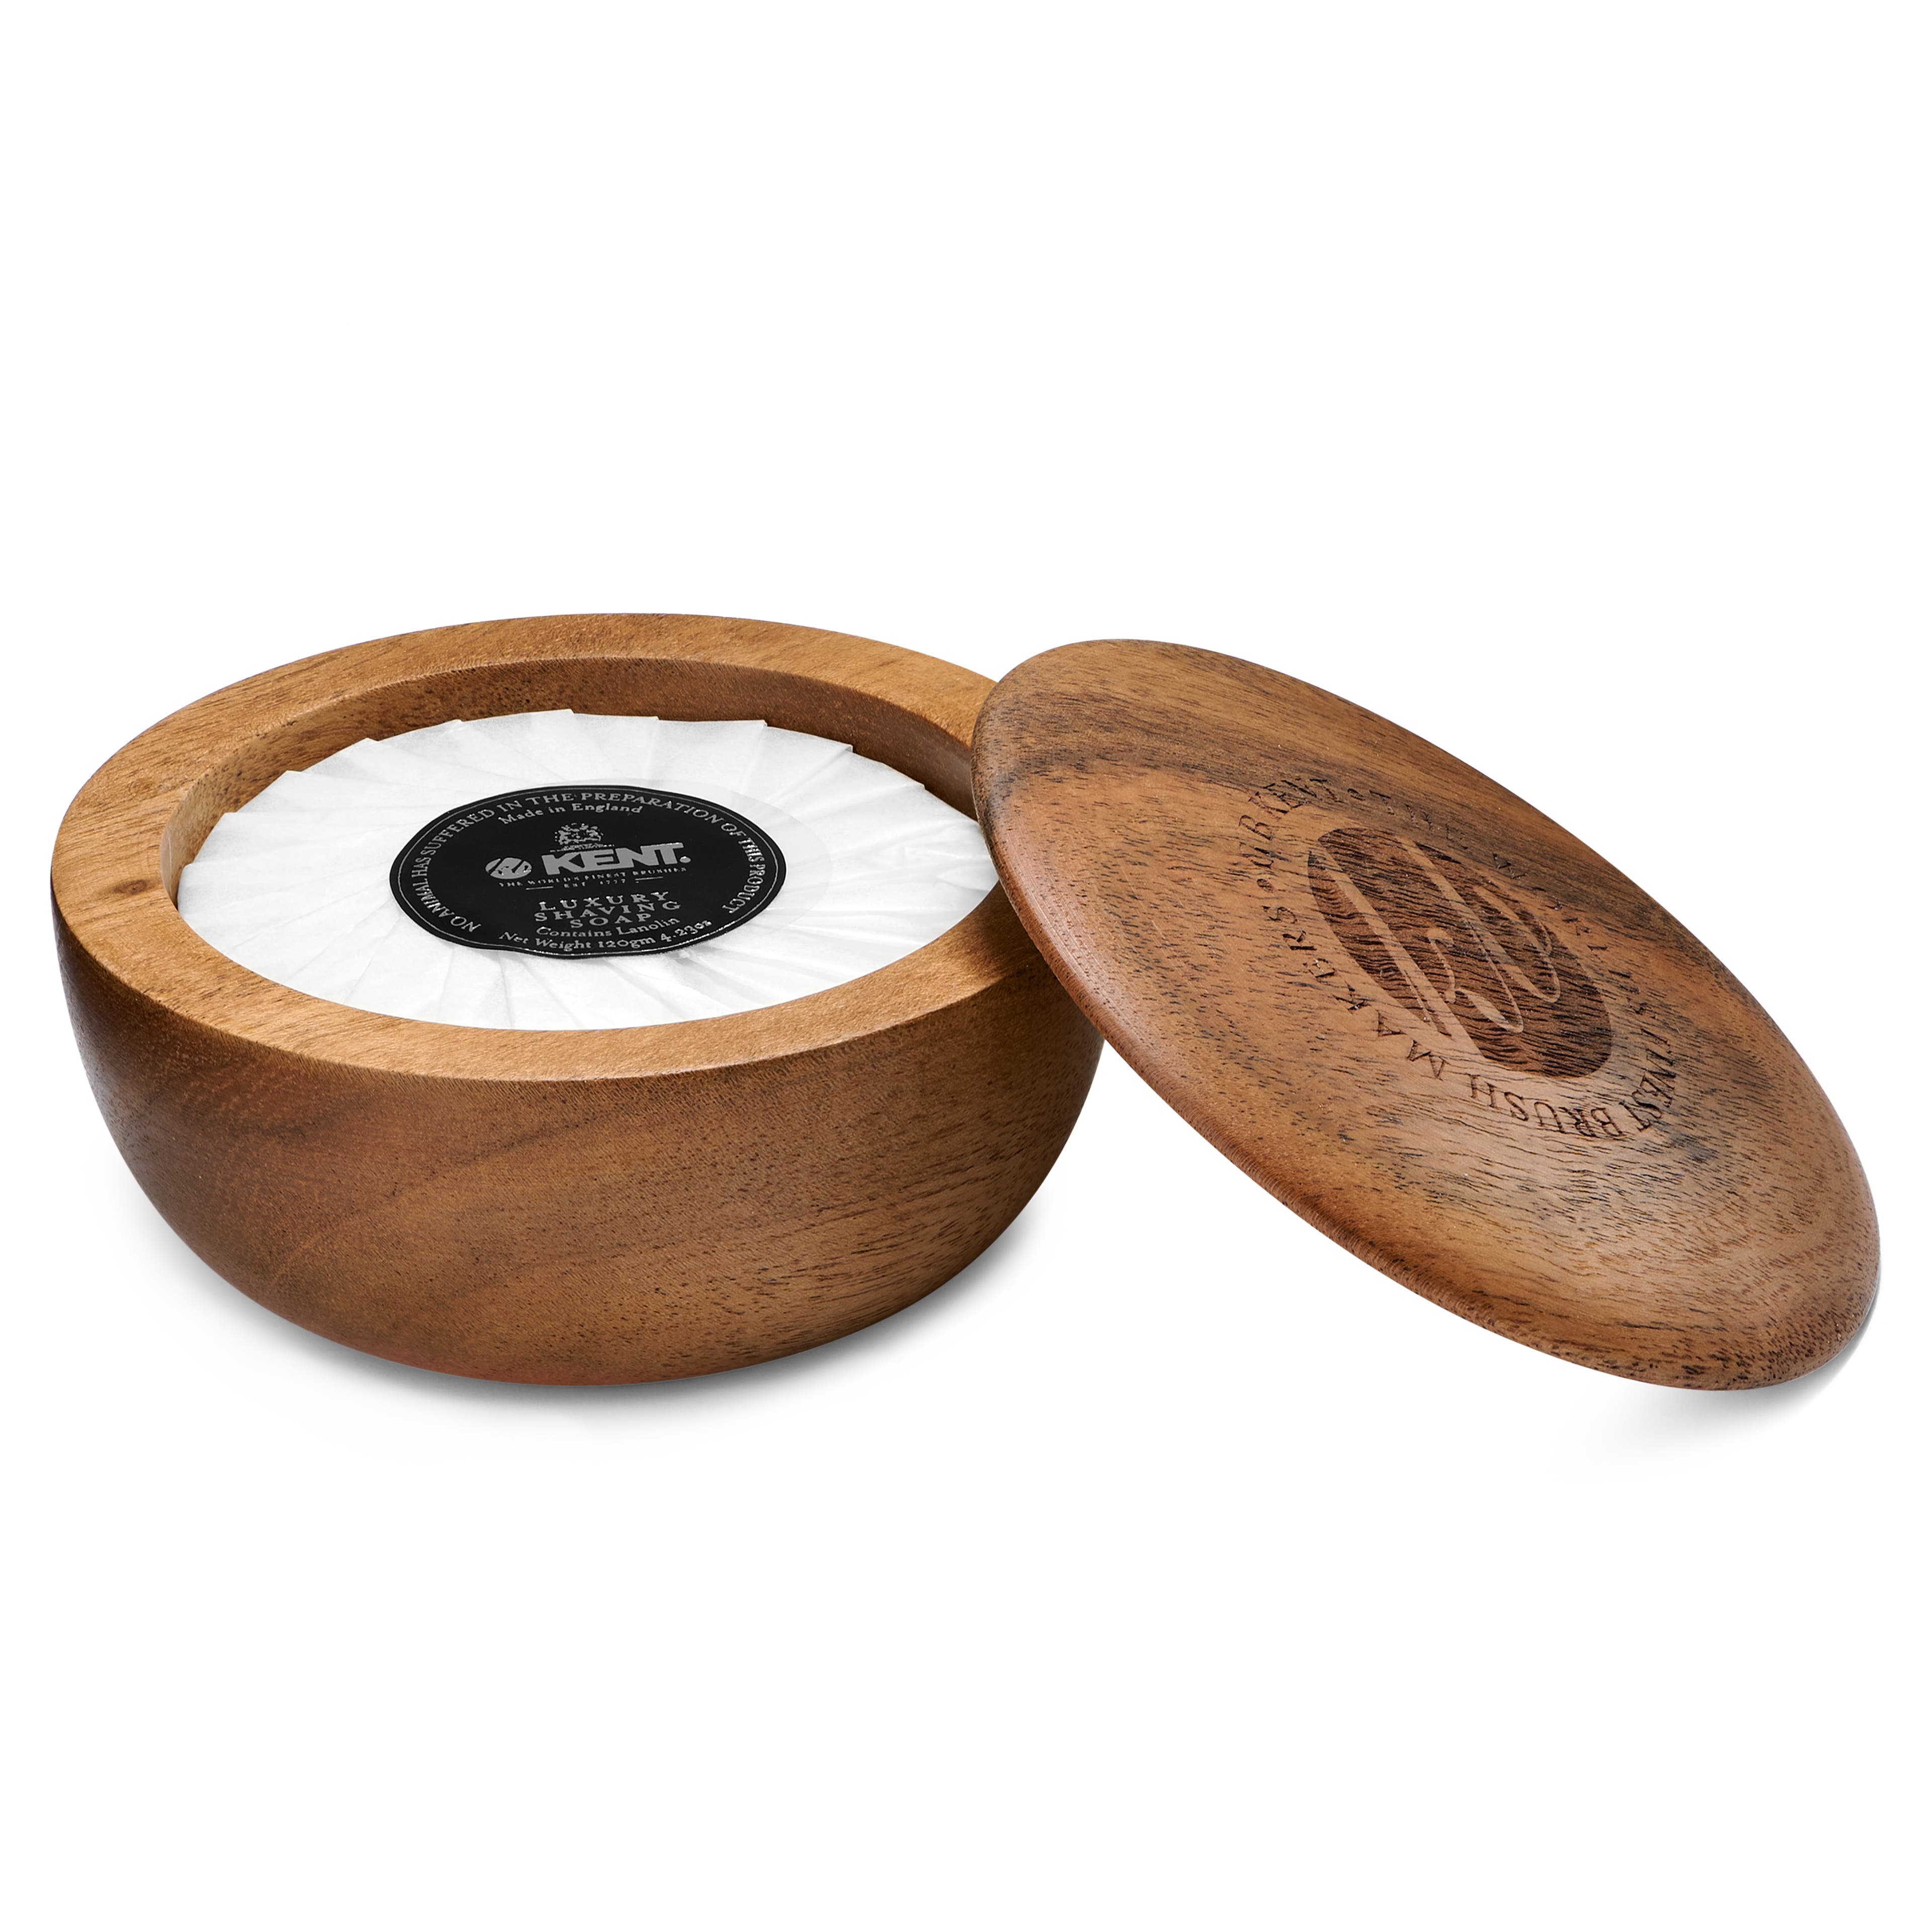
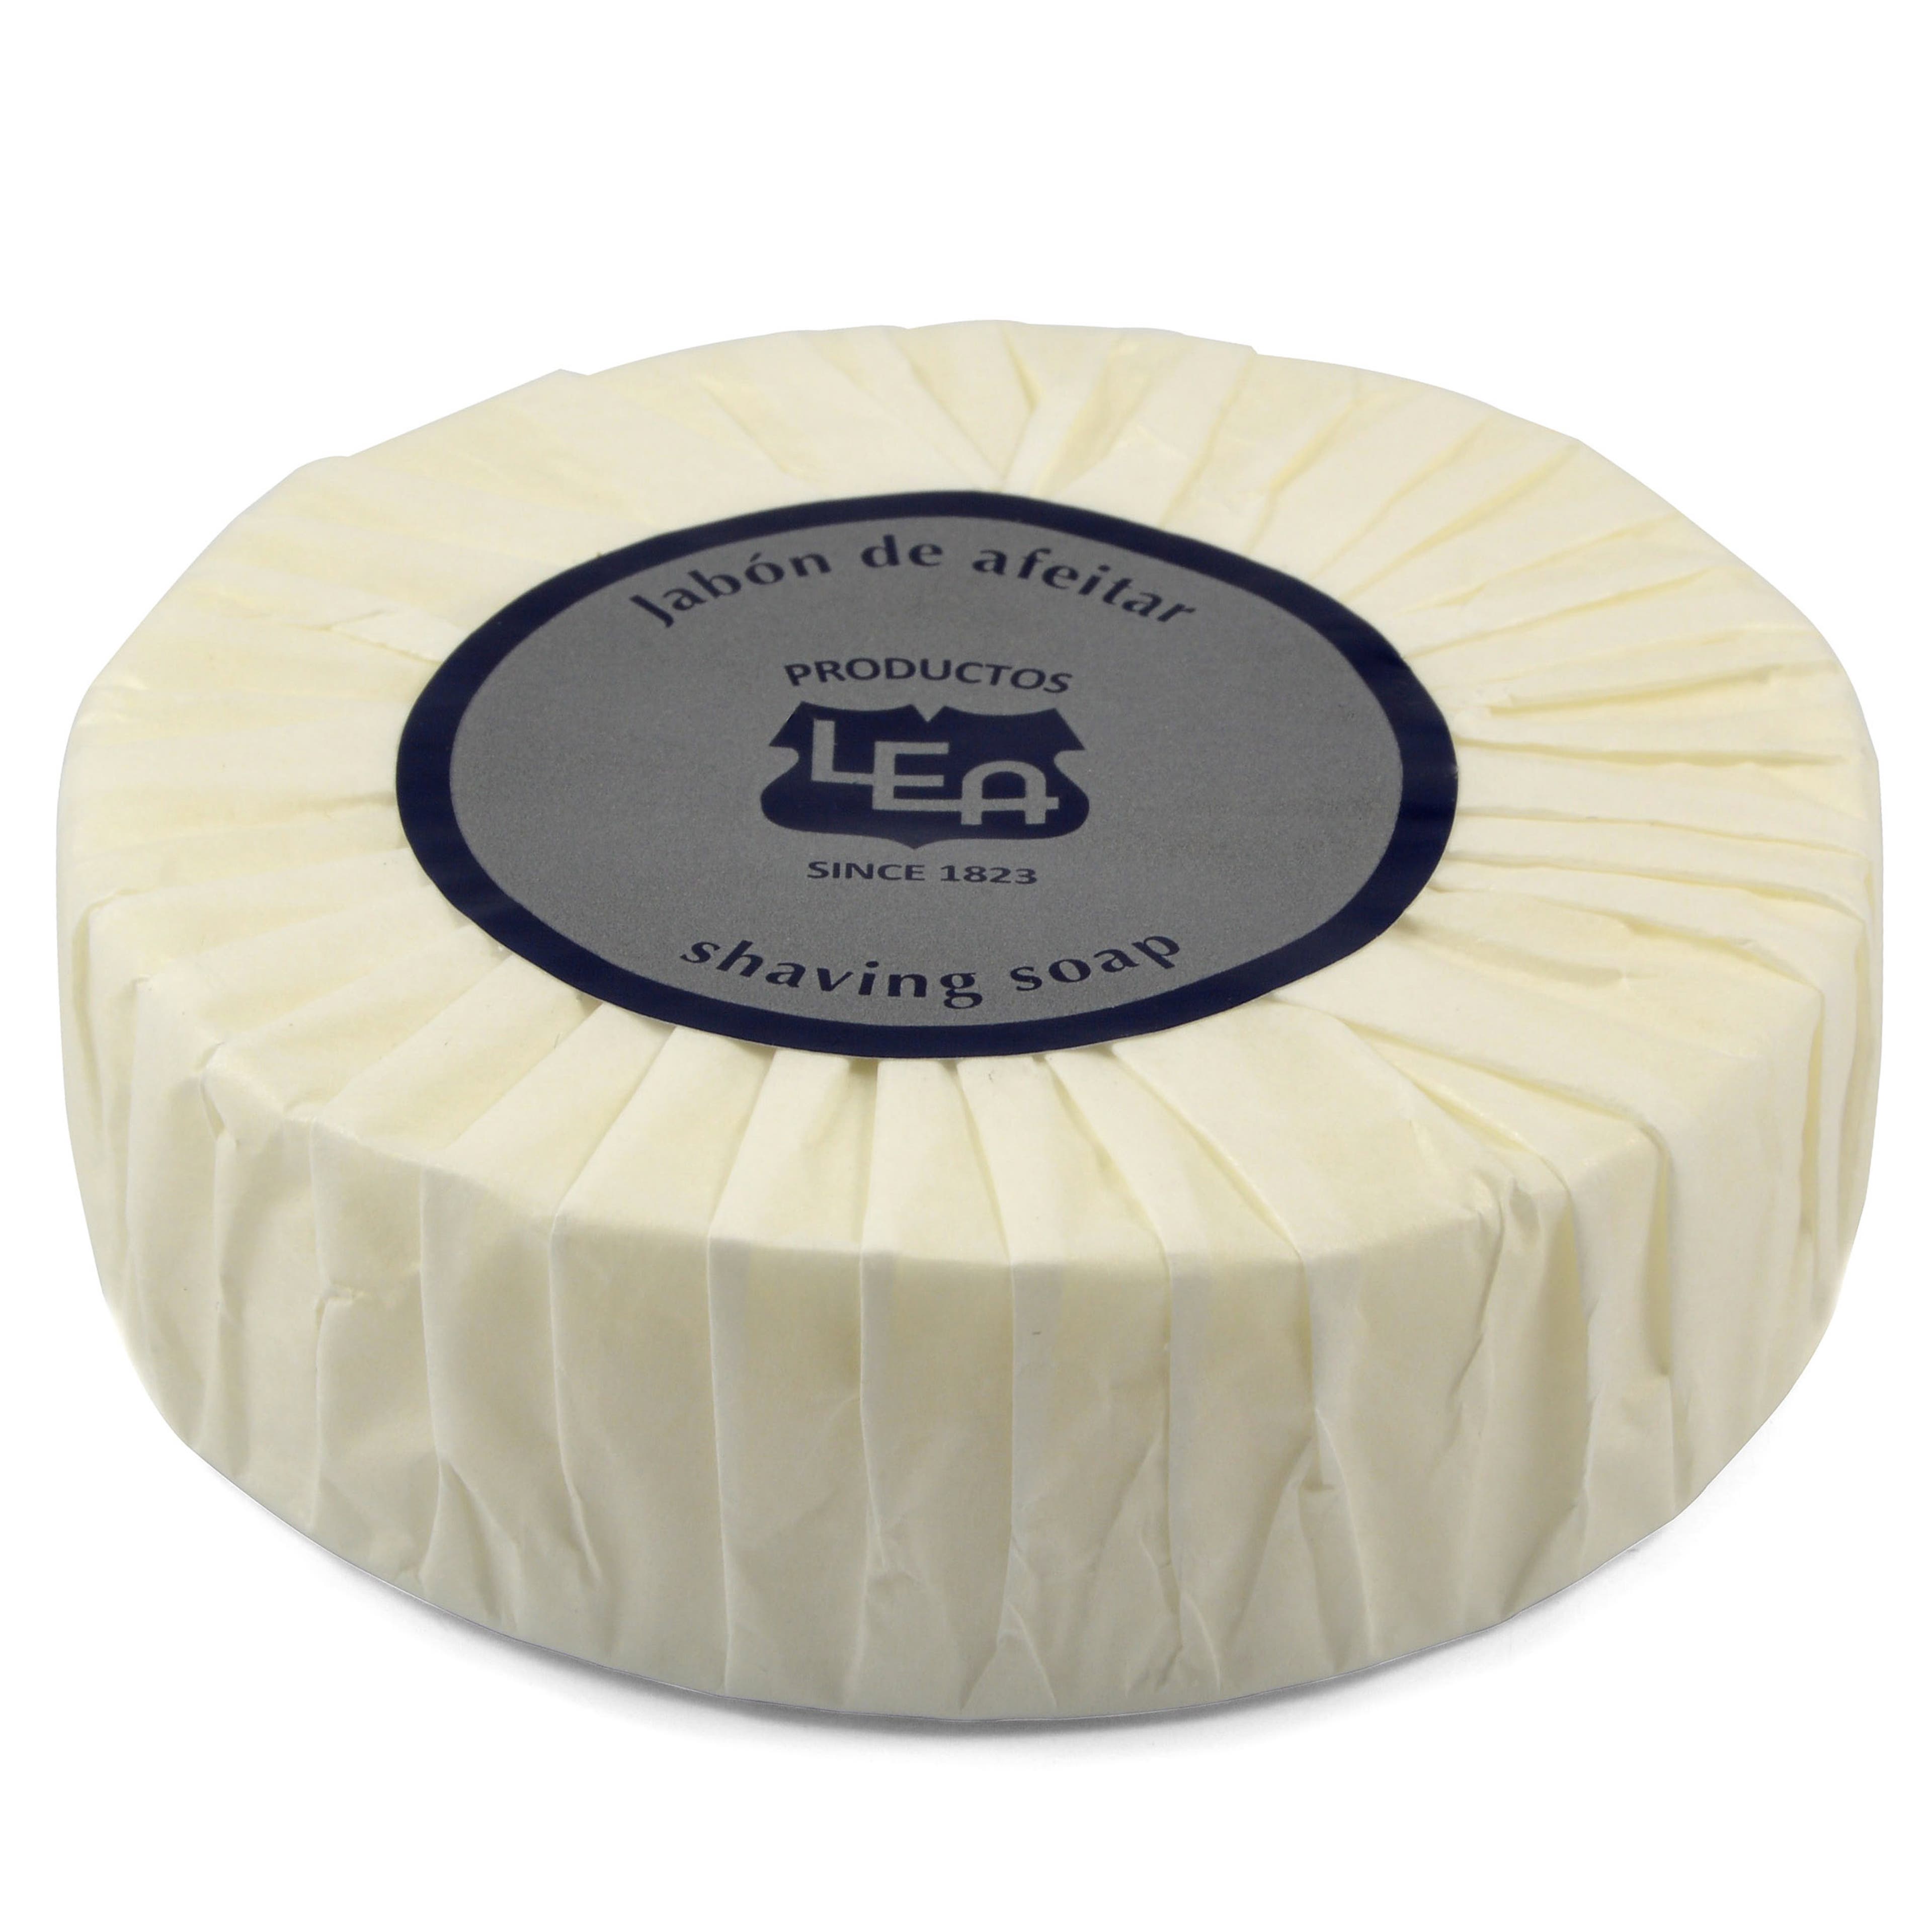
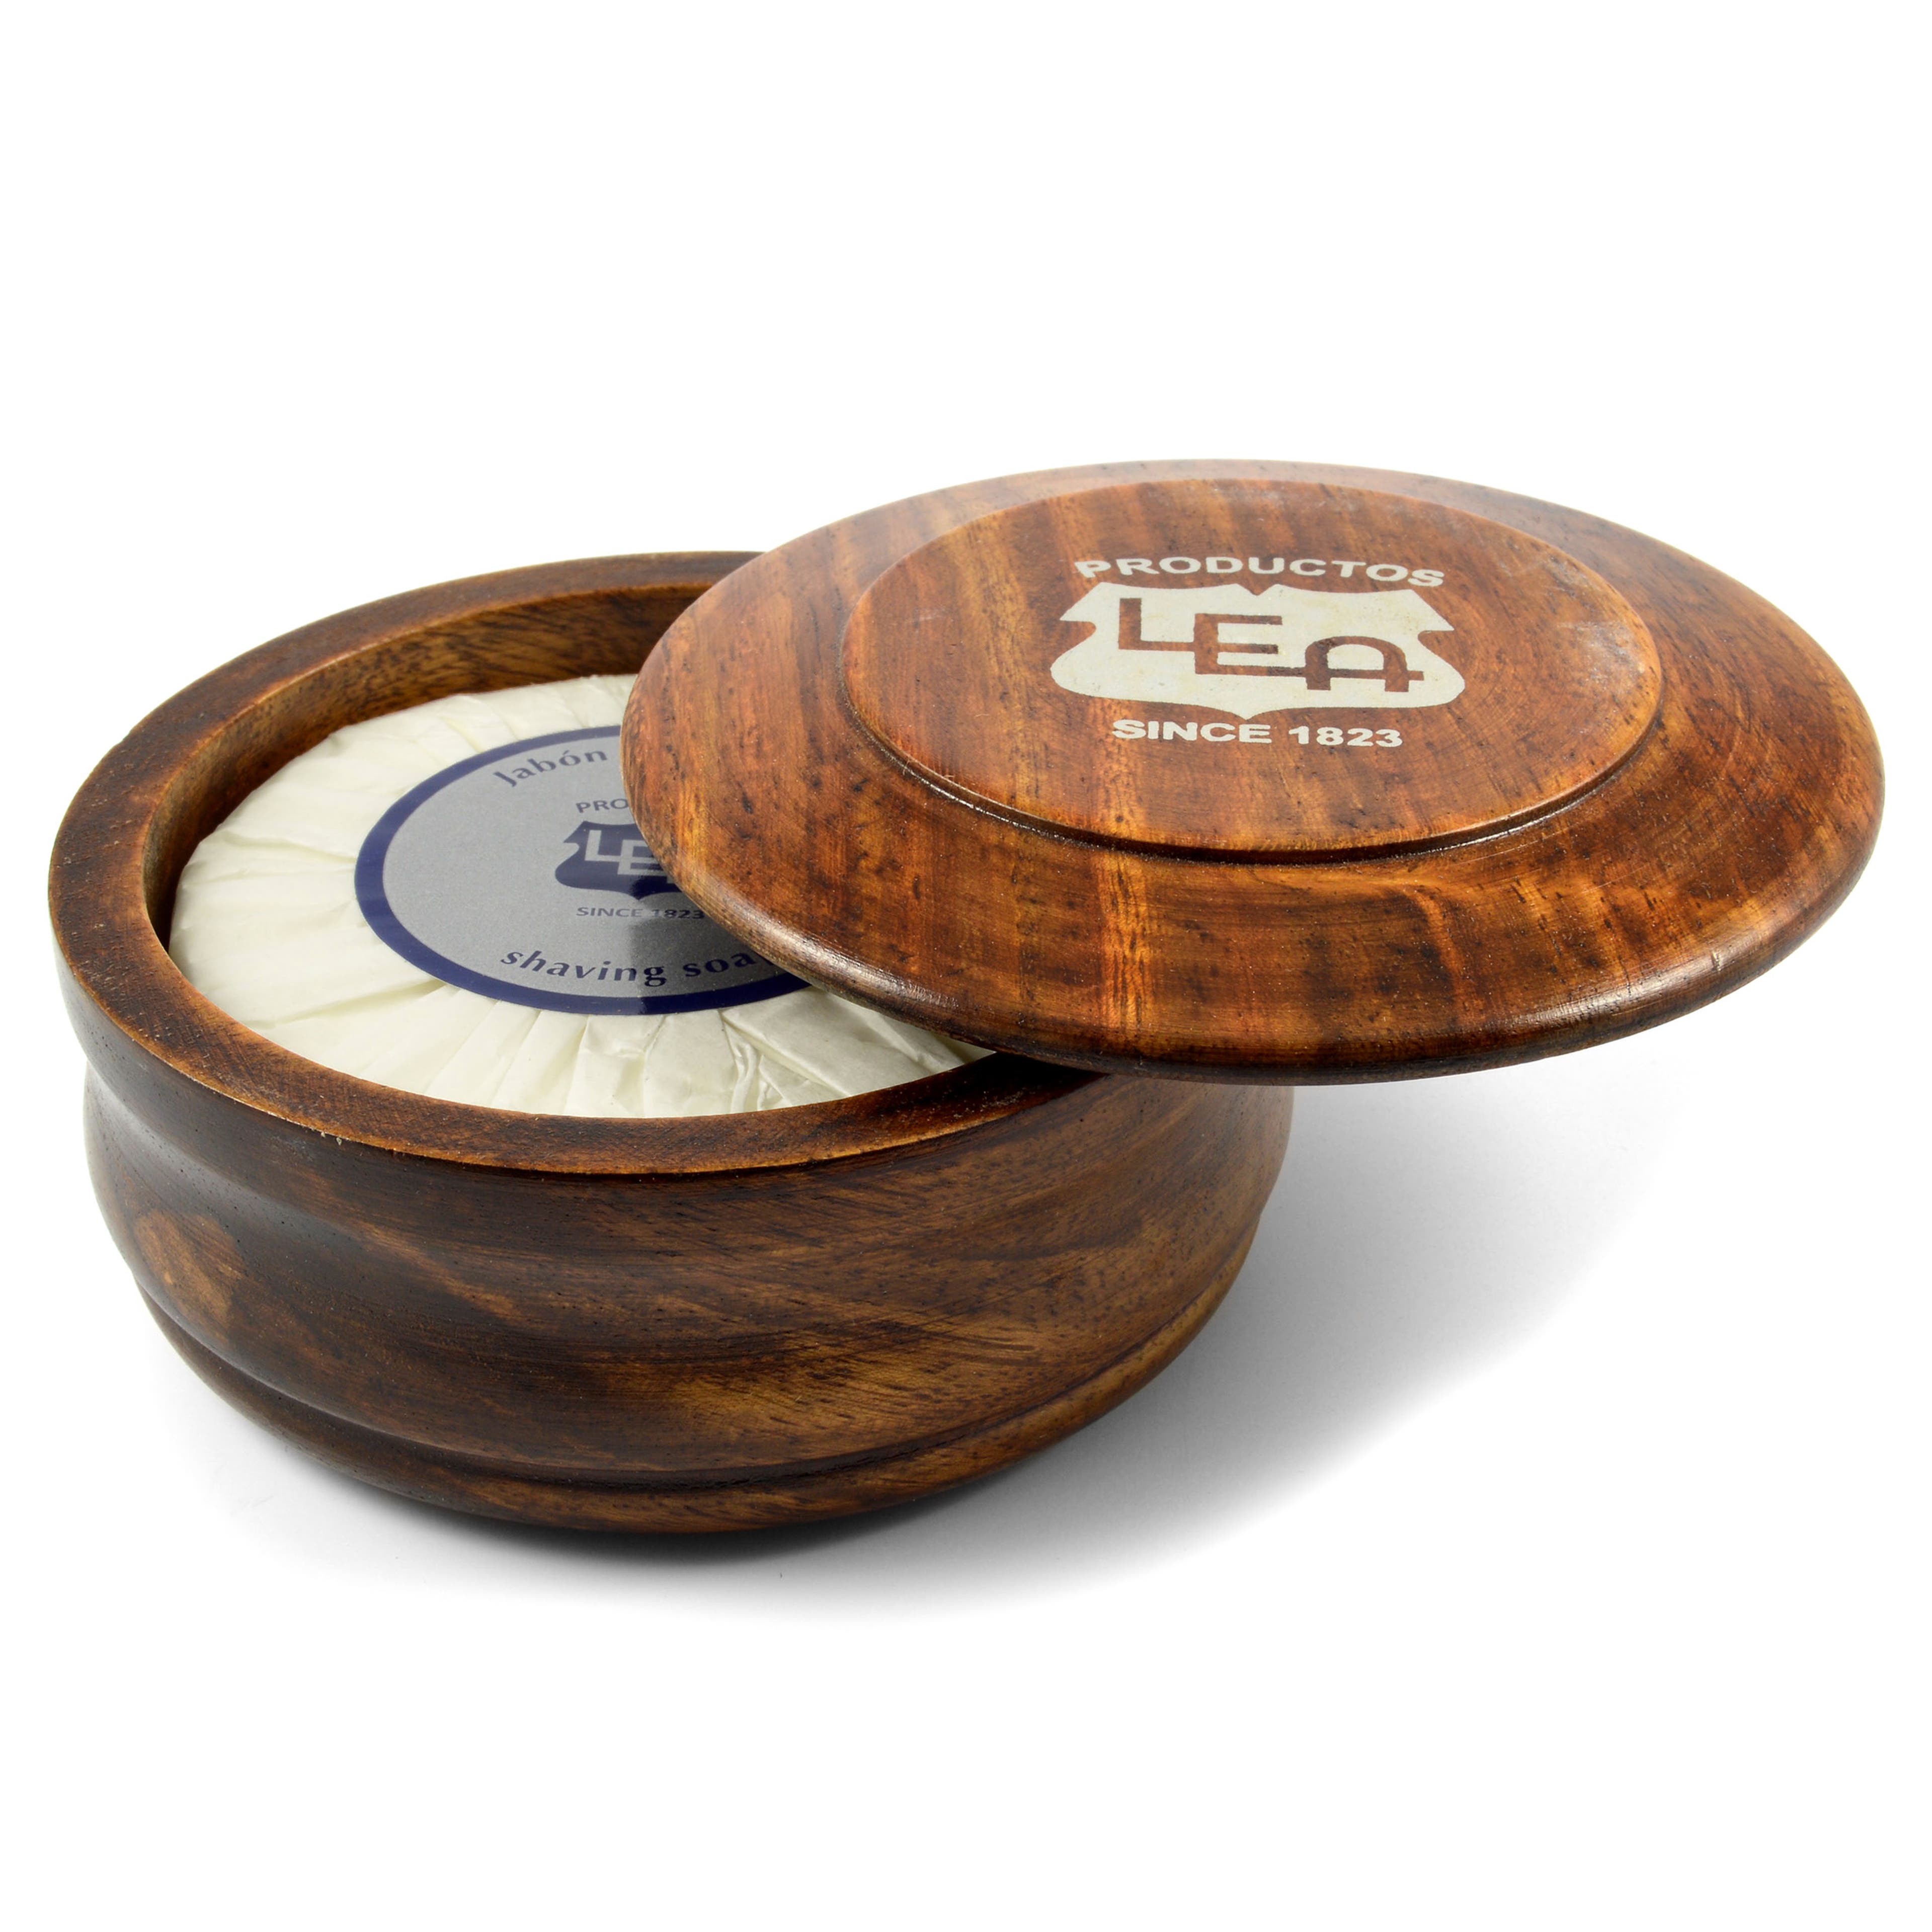
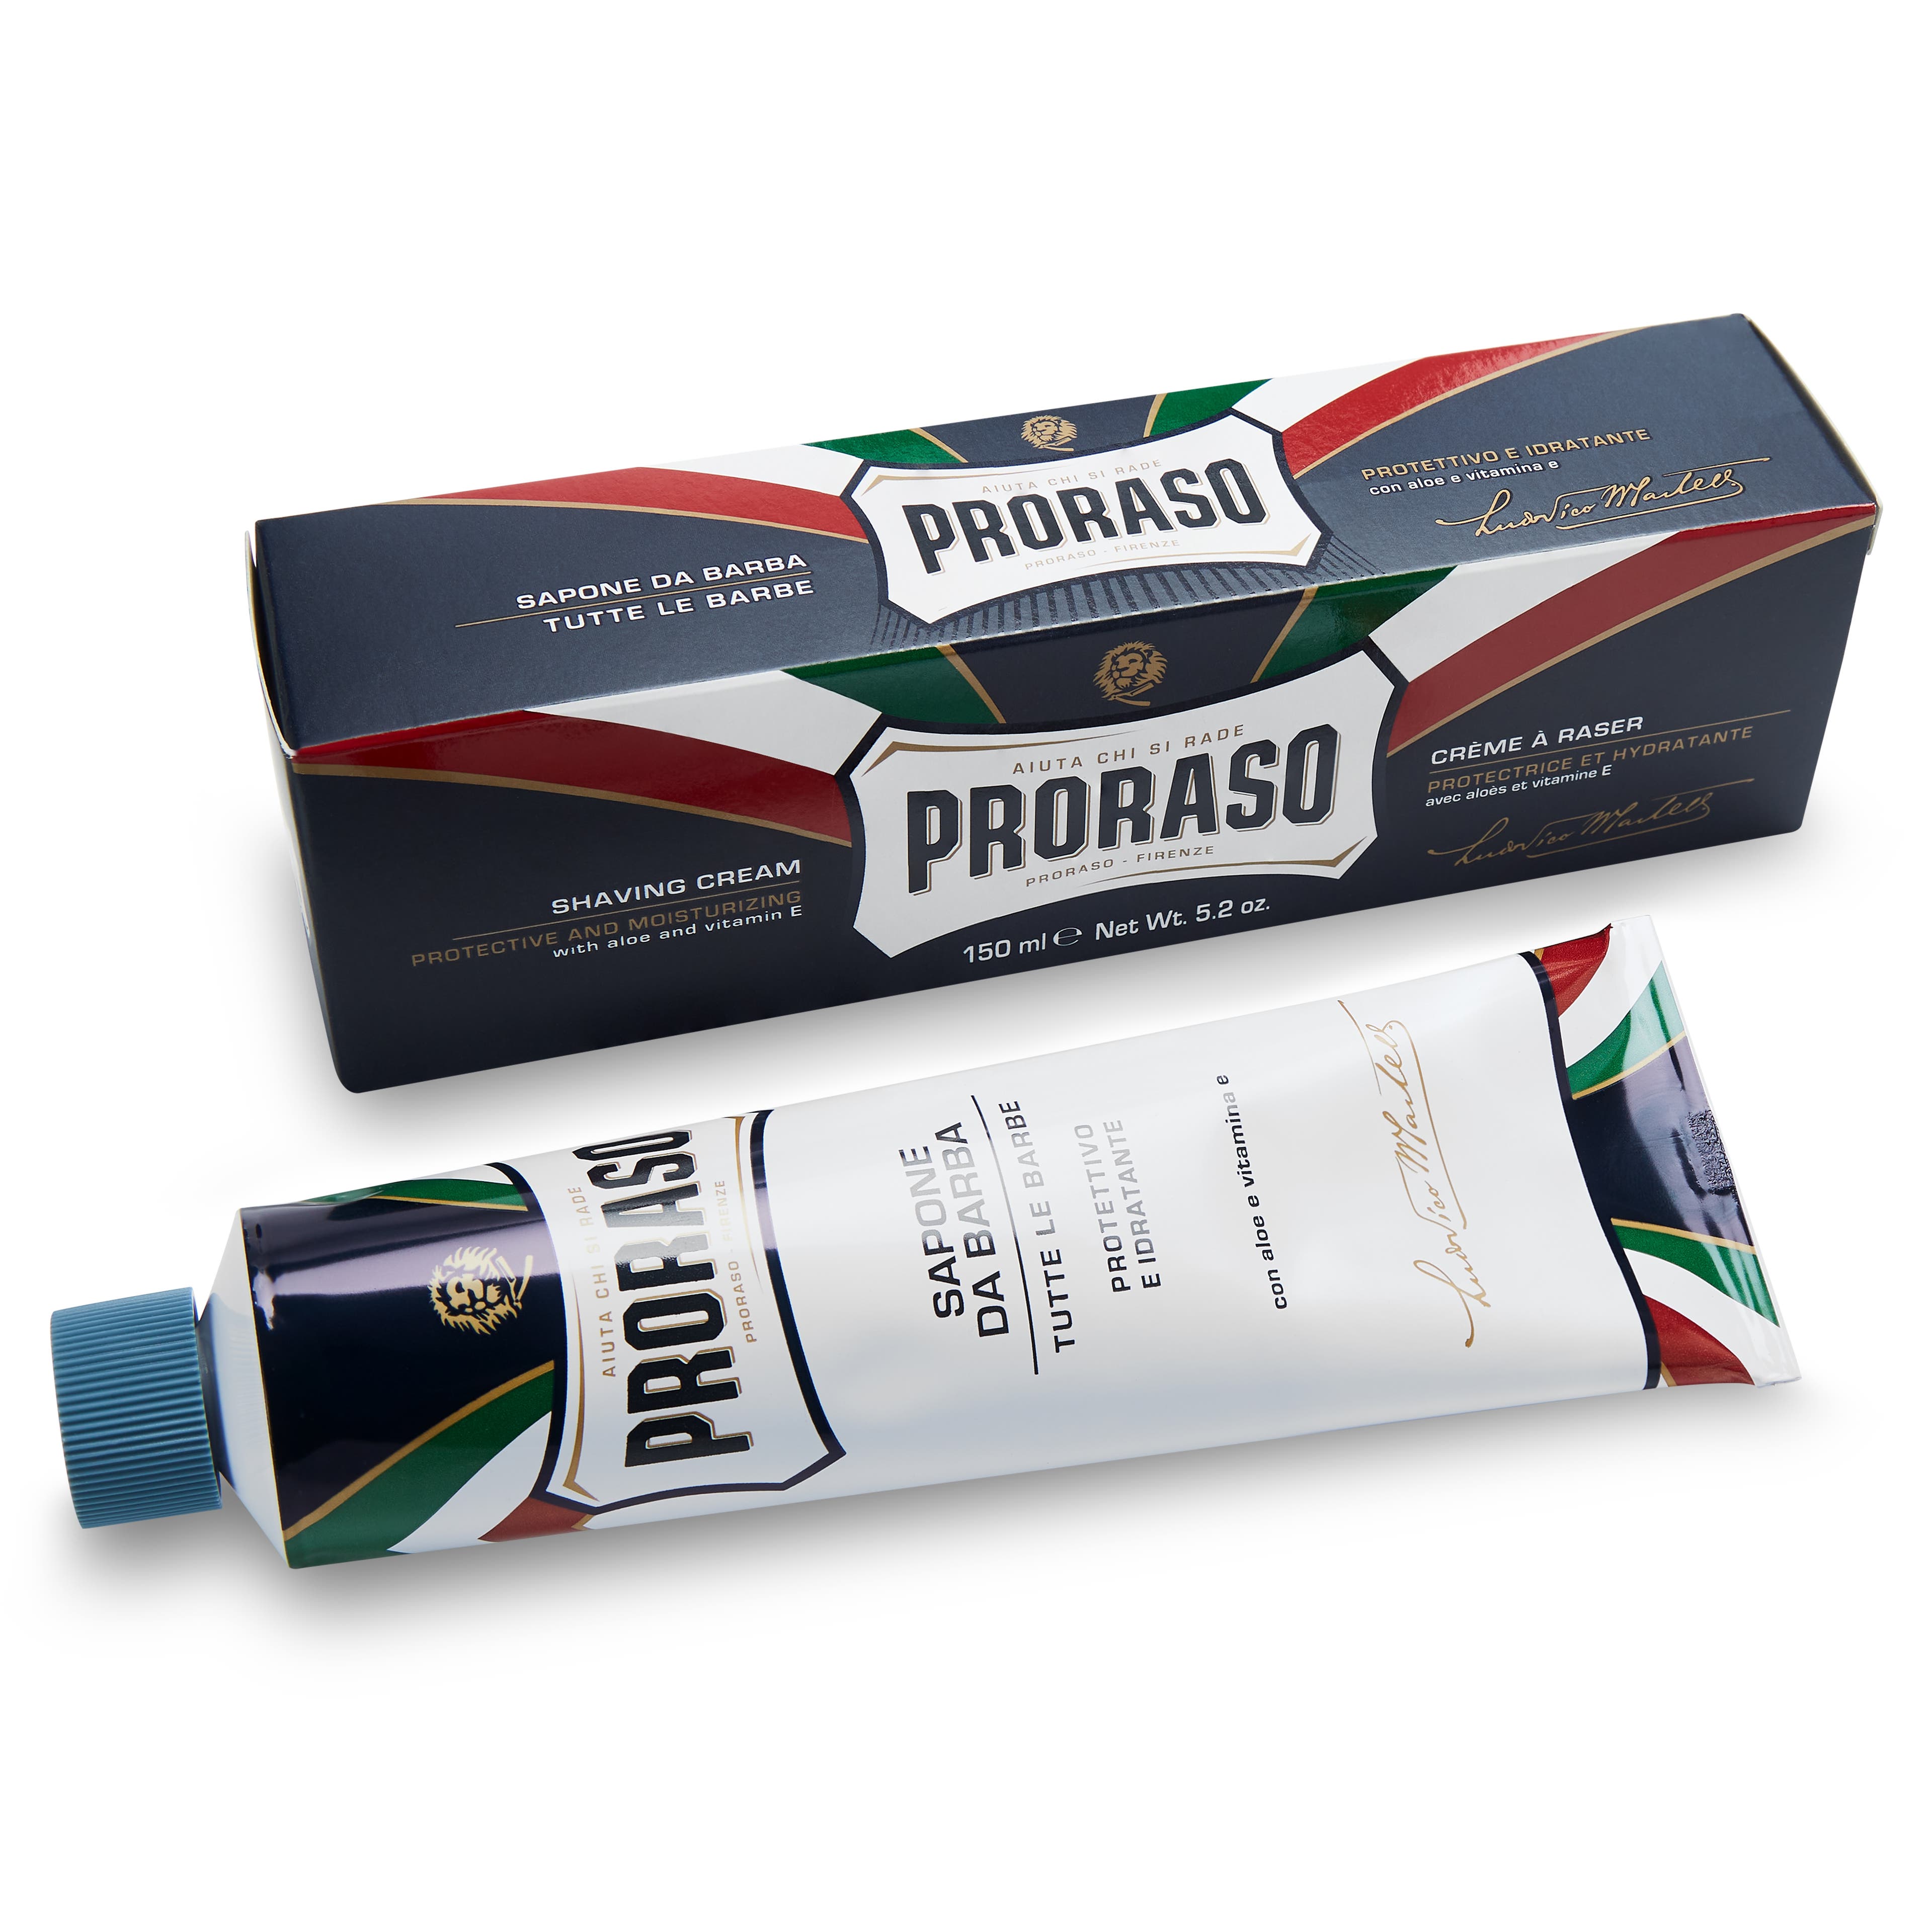
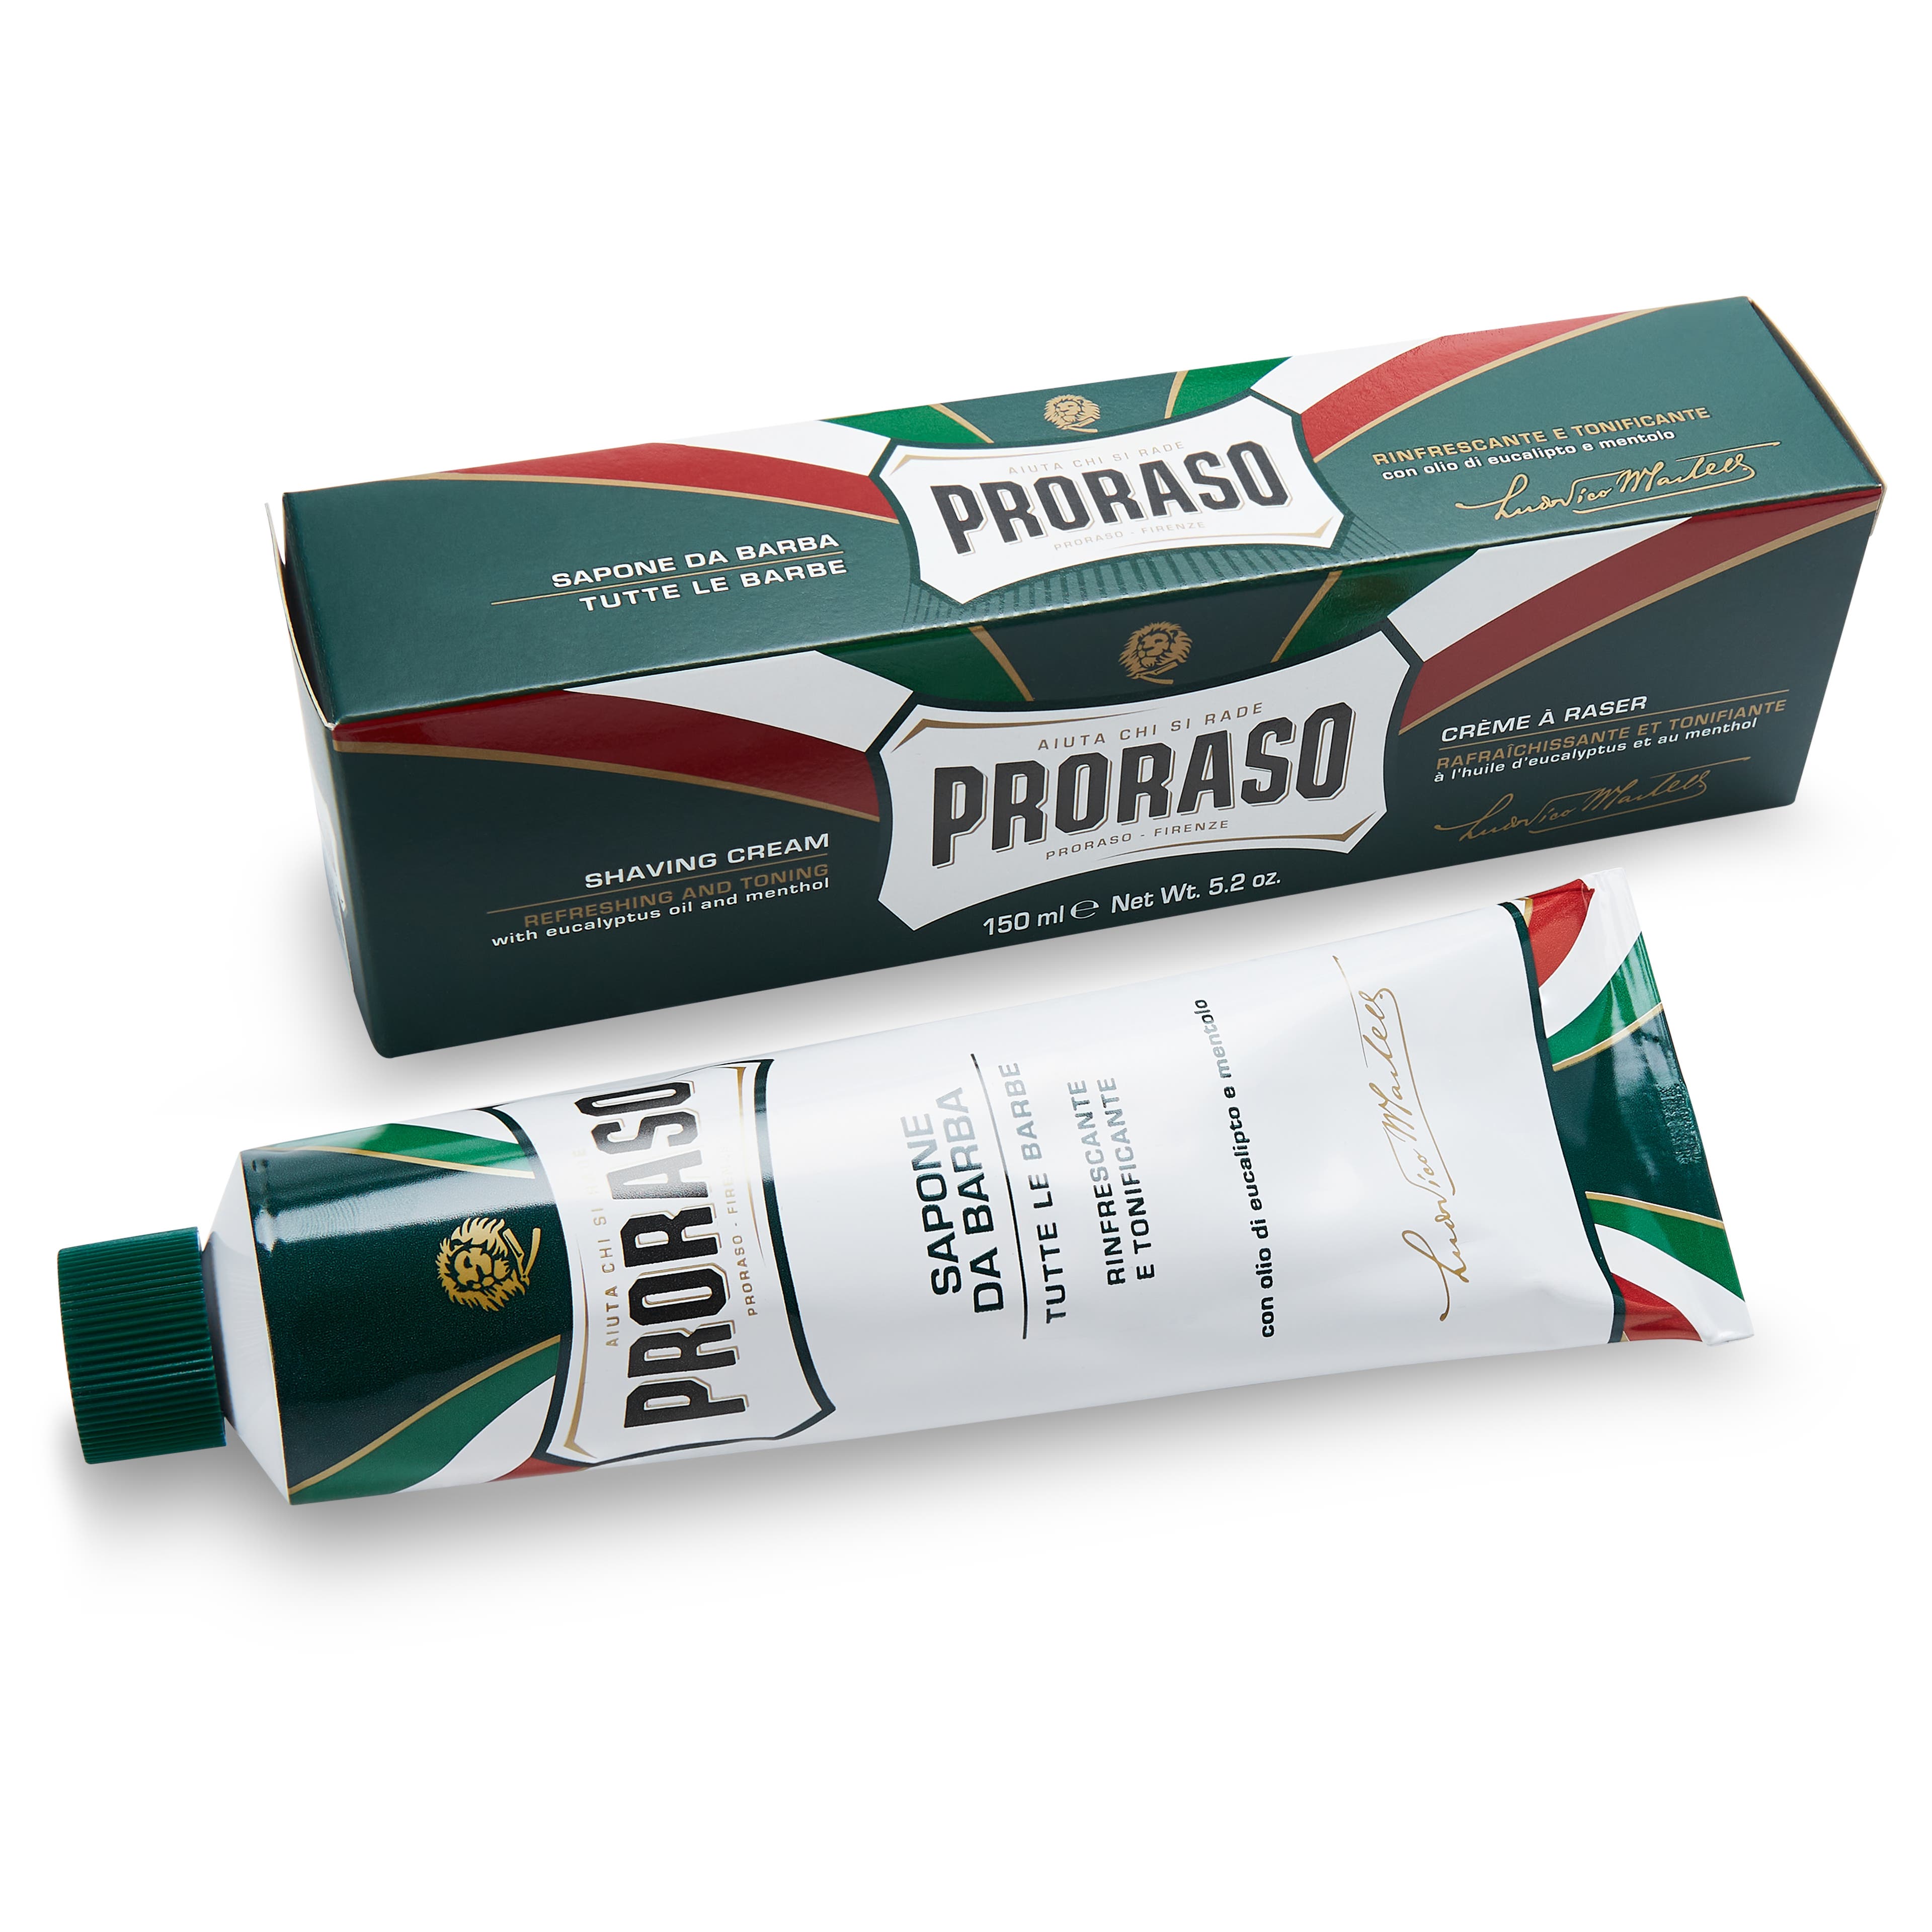
Shaving creams are the easiest to use and take less time creating a warm foamy lather. Soaps come in a hard form – like a standard bath soap – and require more water and brushwork to froth.
The most important factors to consider when shopping for shaving cream or soap is the ‘cushion’ and ‘slickness’ of the final lather. These two properties refer to the protection from the blade (cushion) and the amount of glide (slickness) they provide to the razor.
Scent is also important. Treat yourself to sandalwood or wake up with menthol – there’s no need to smell aerosol shaving cream ever again.
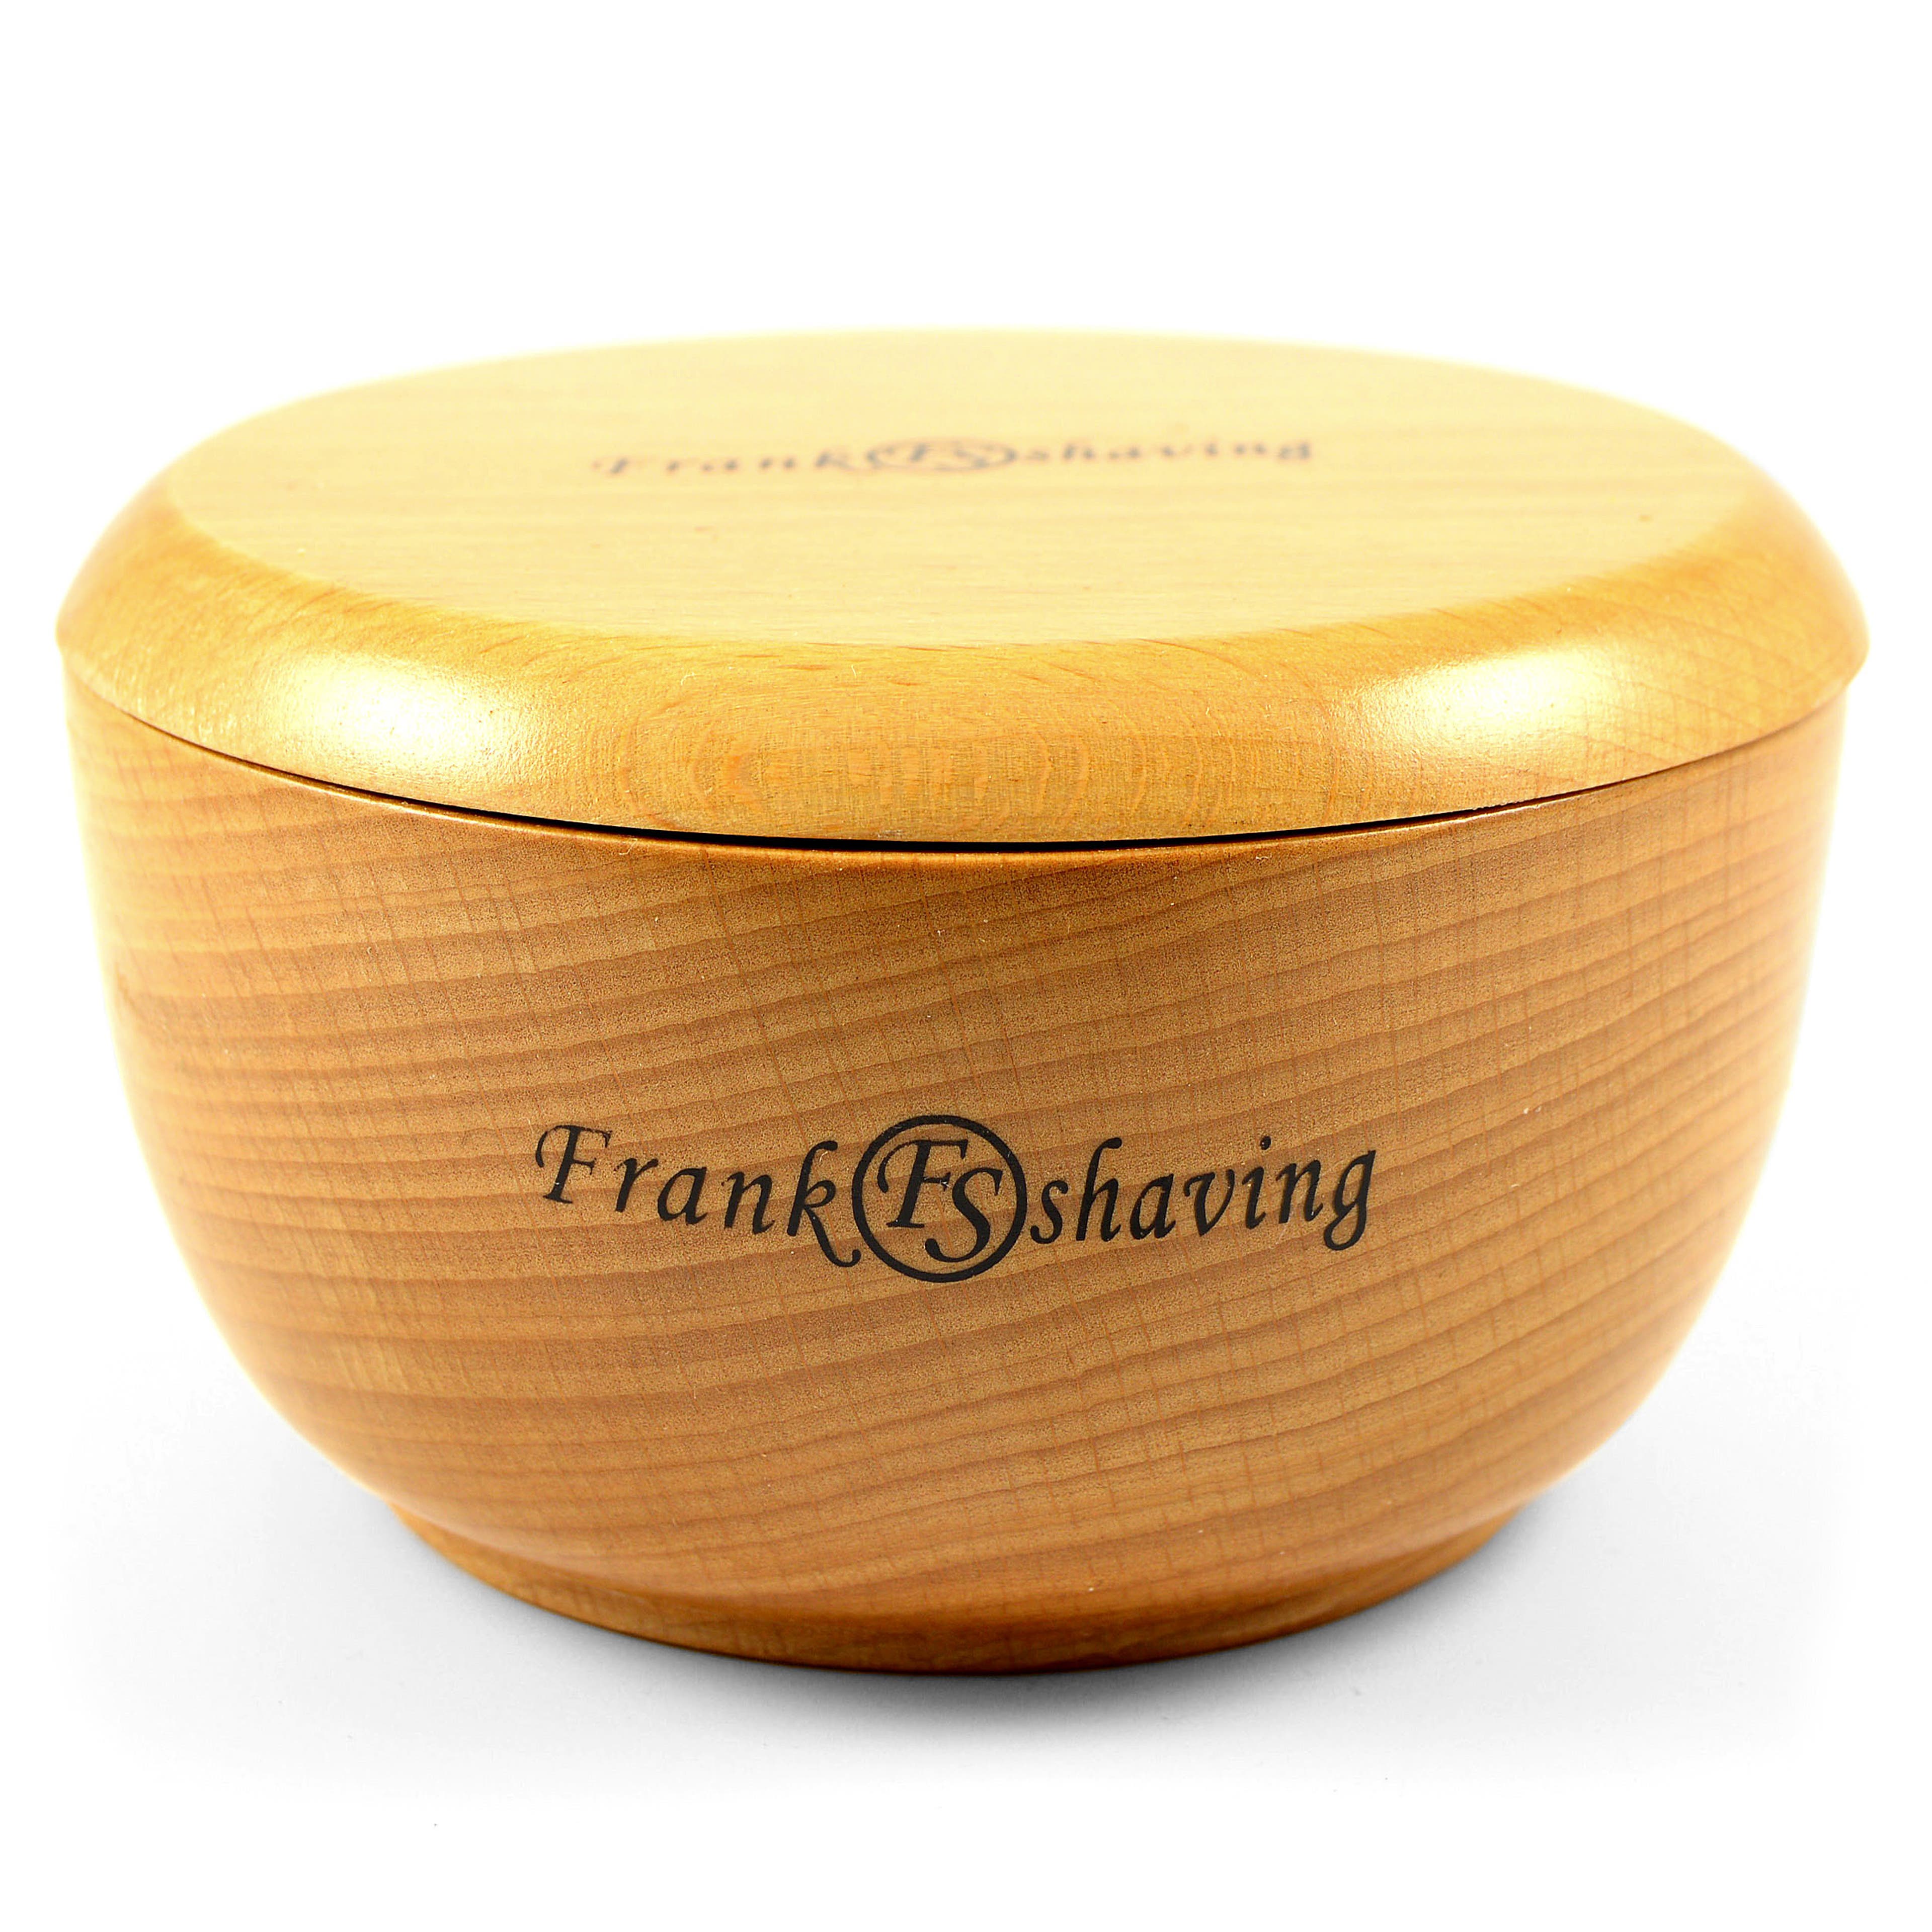
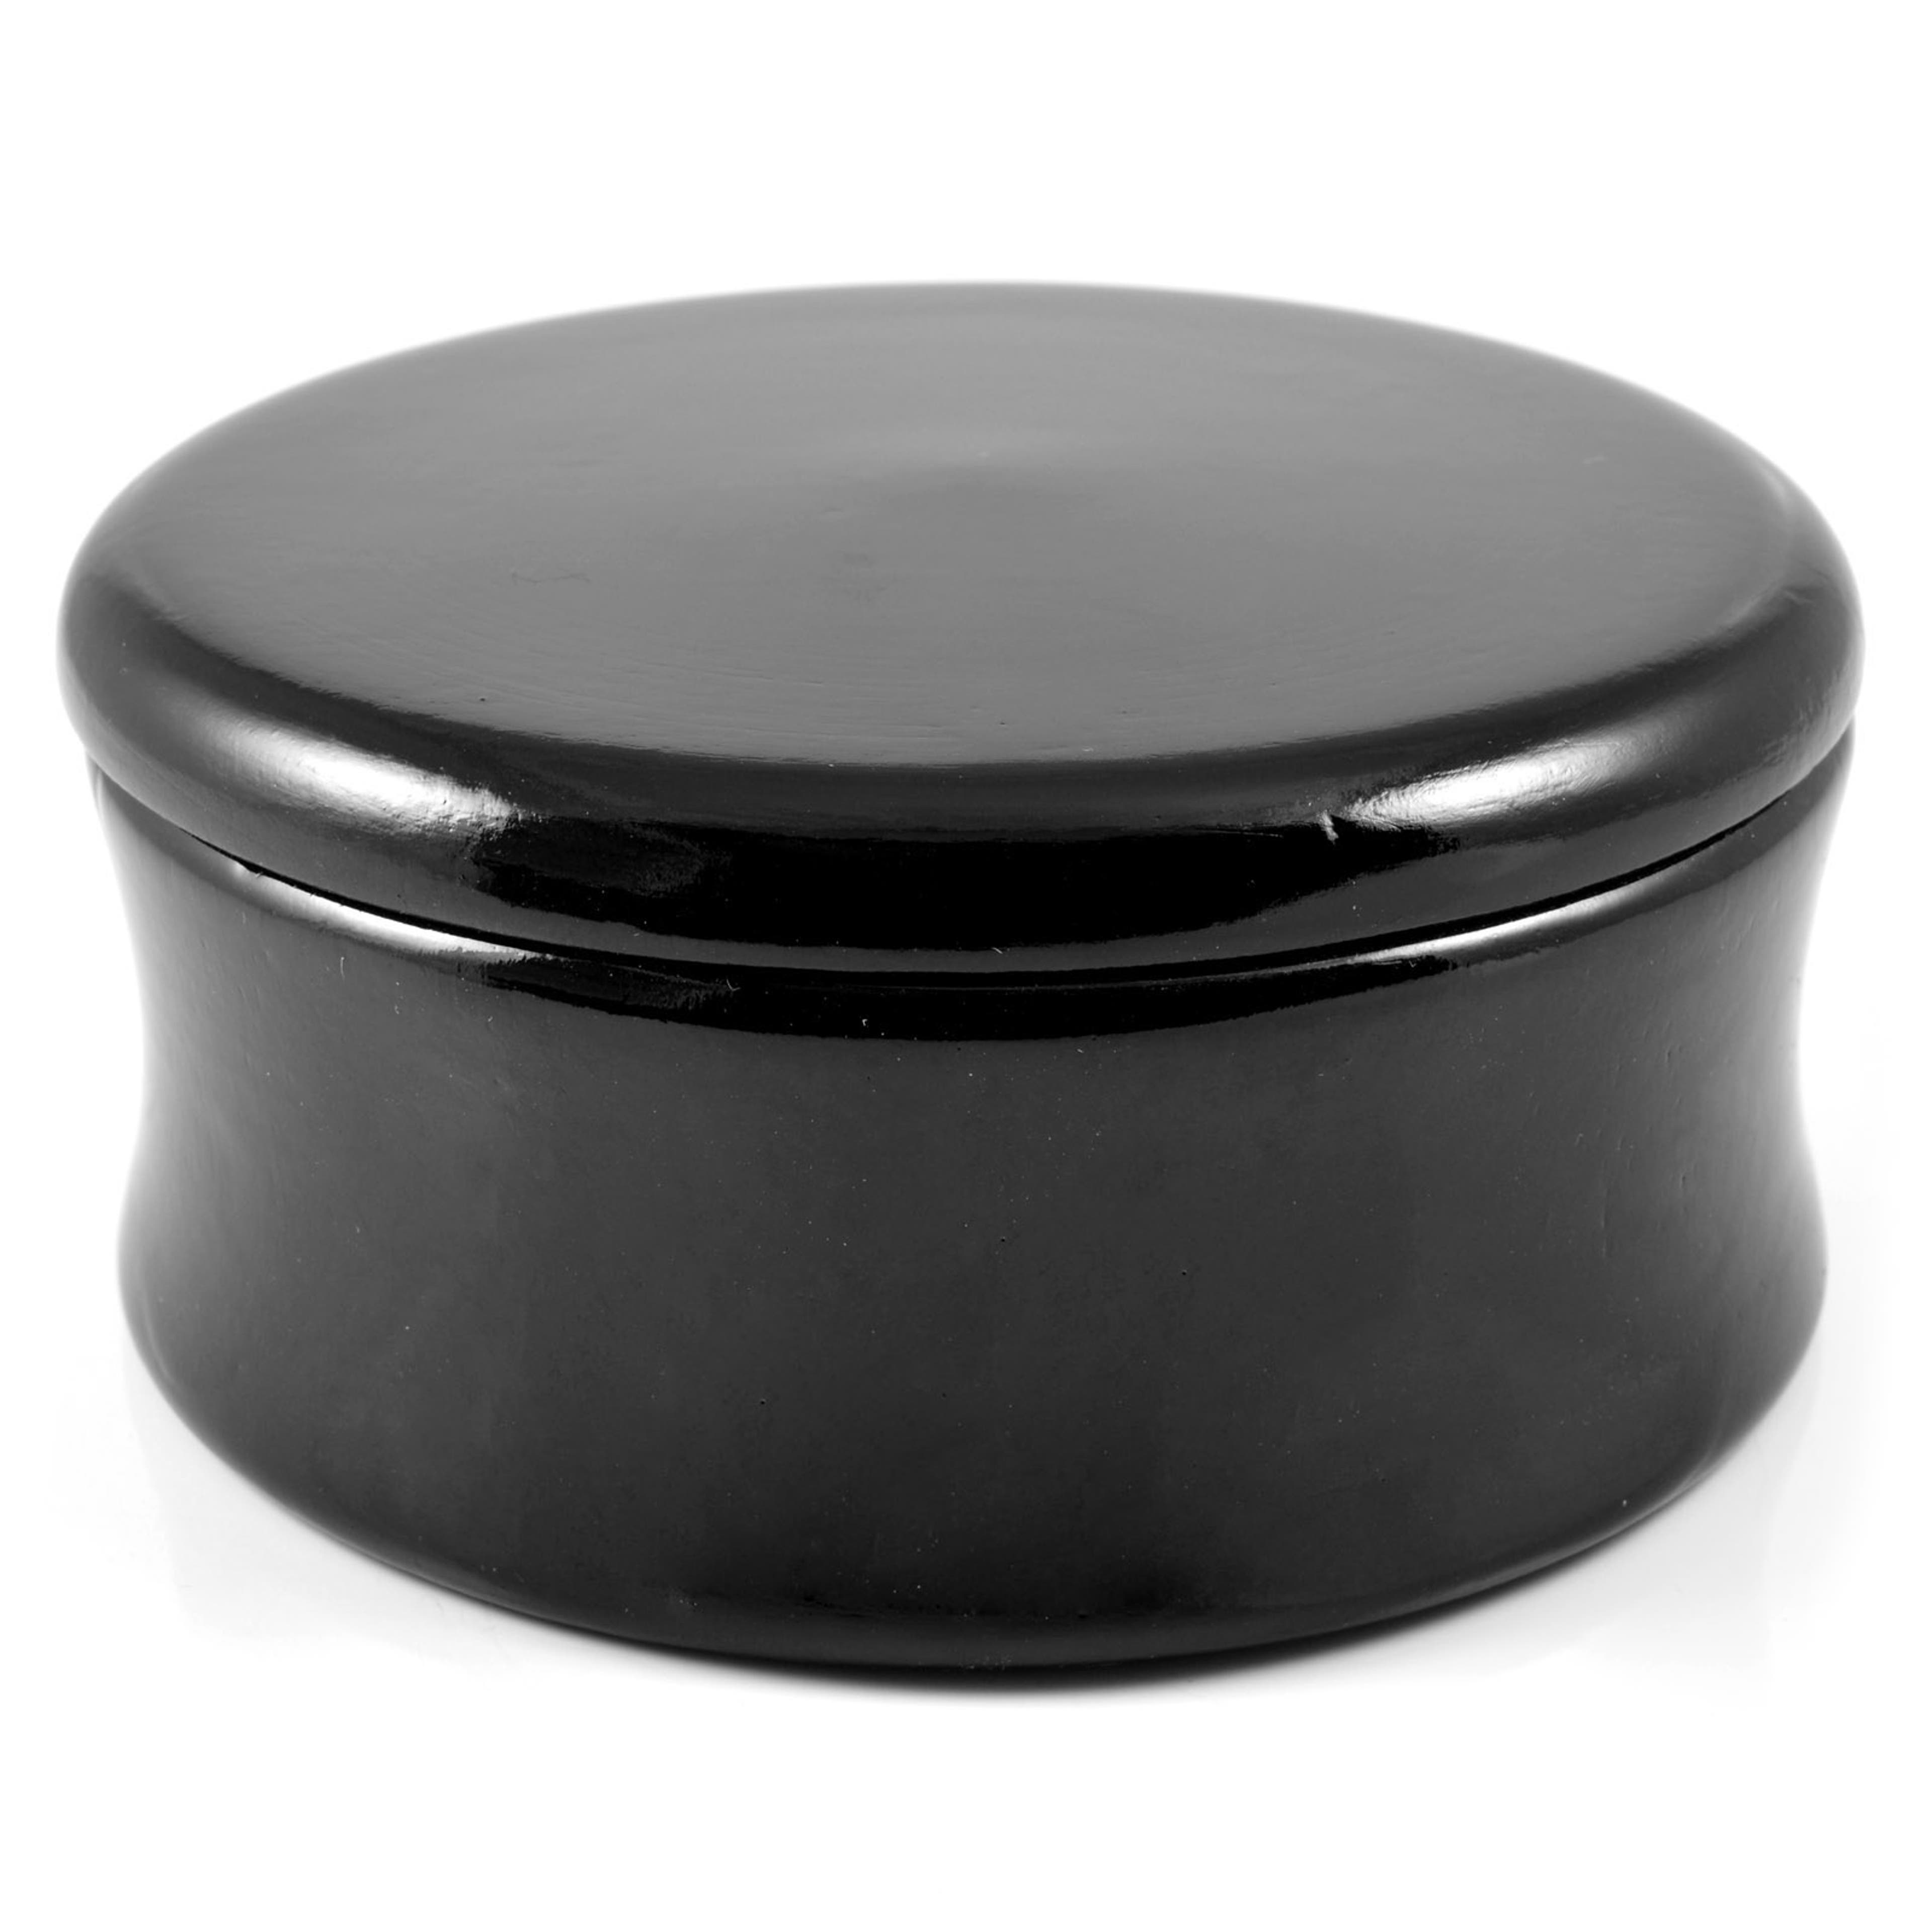
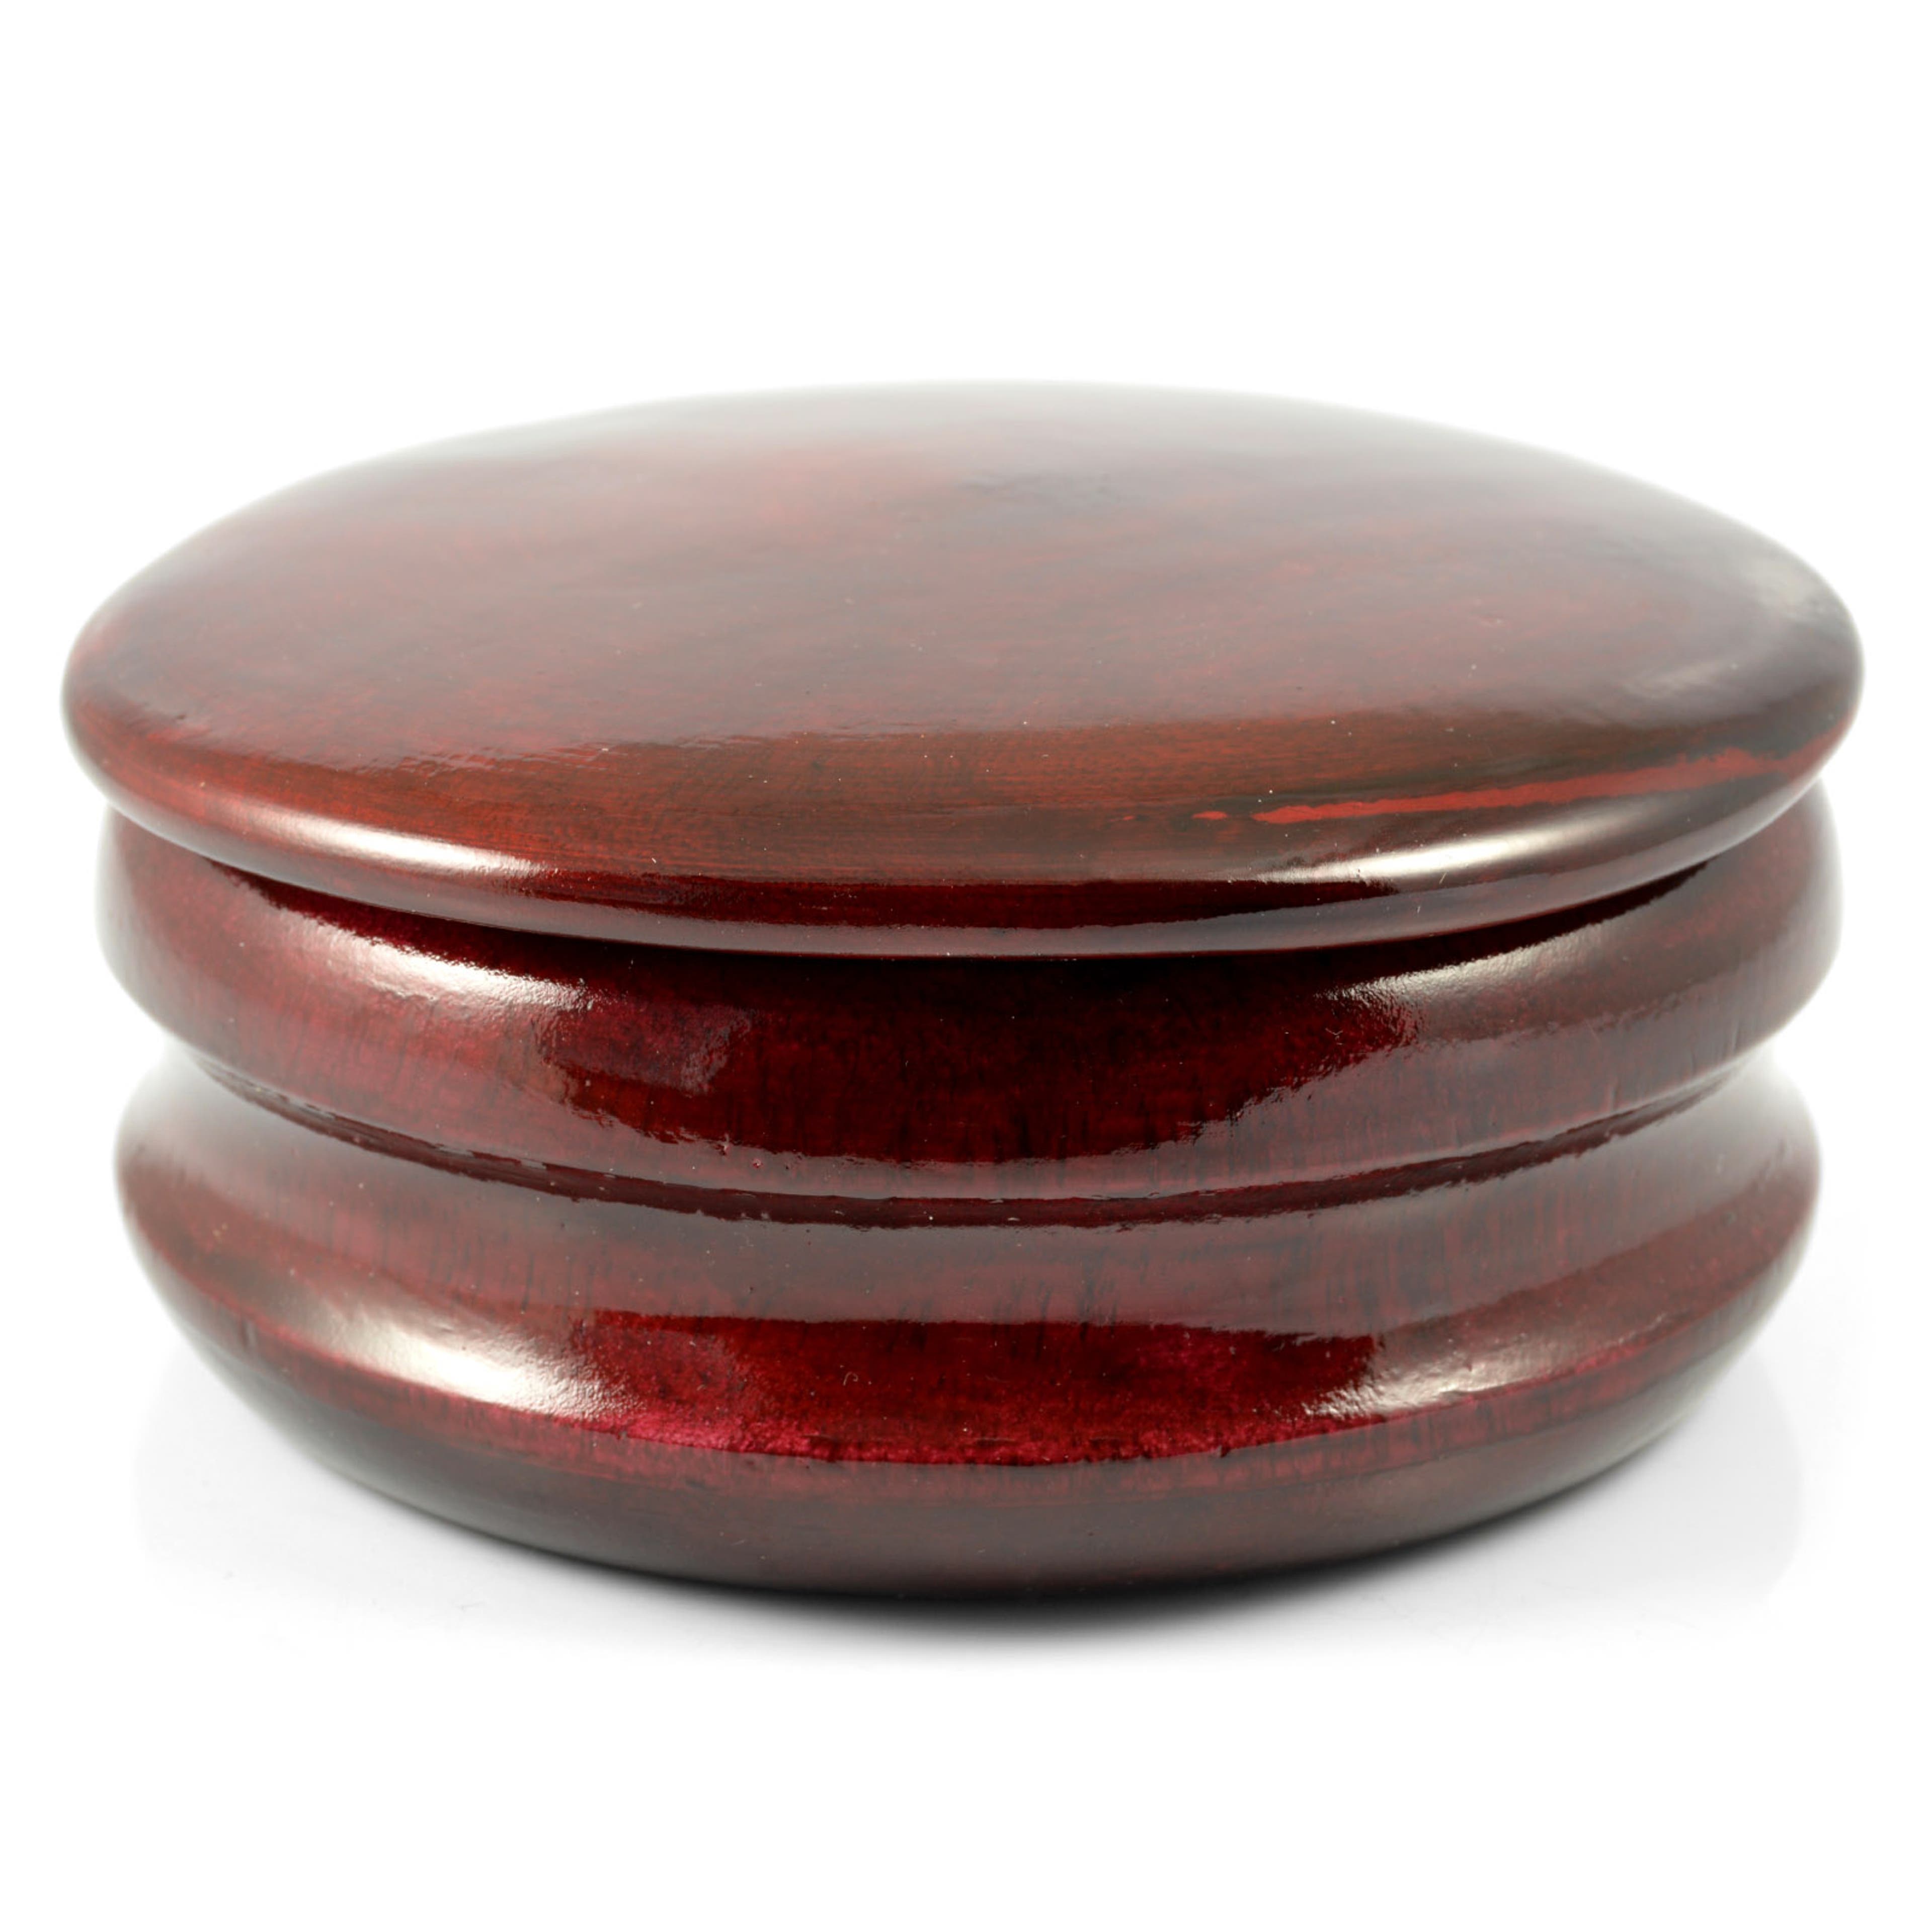
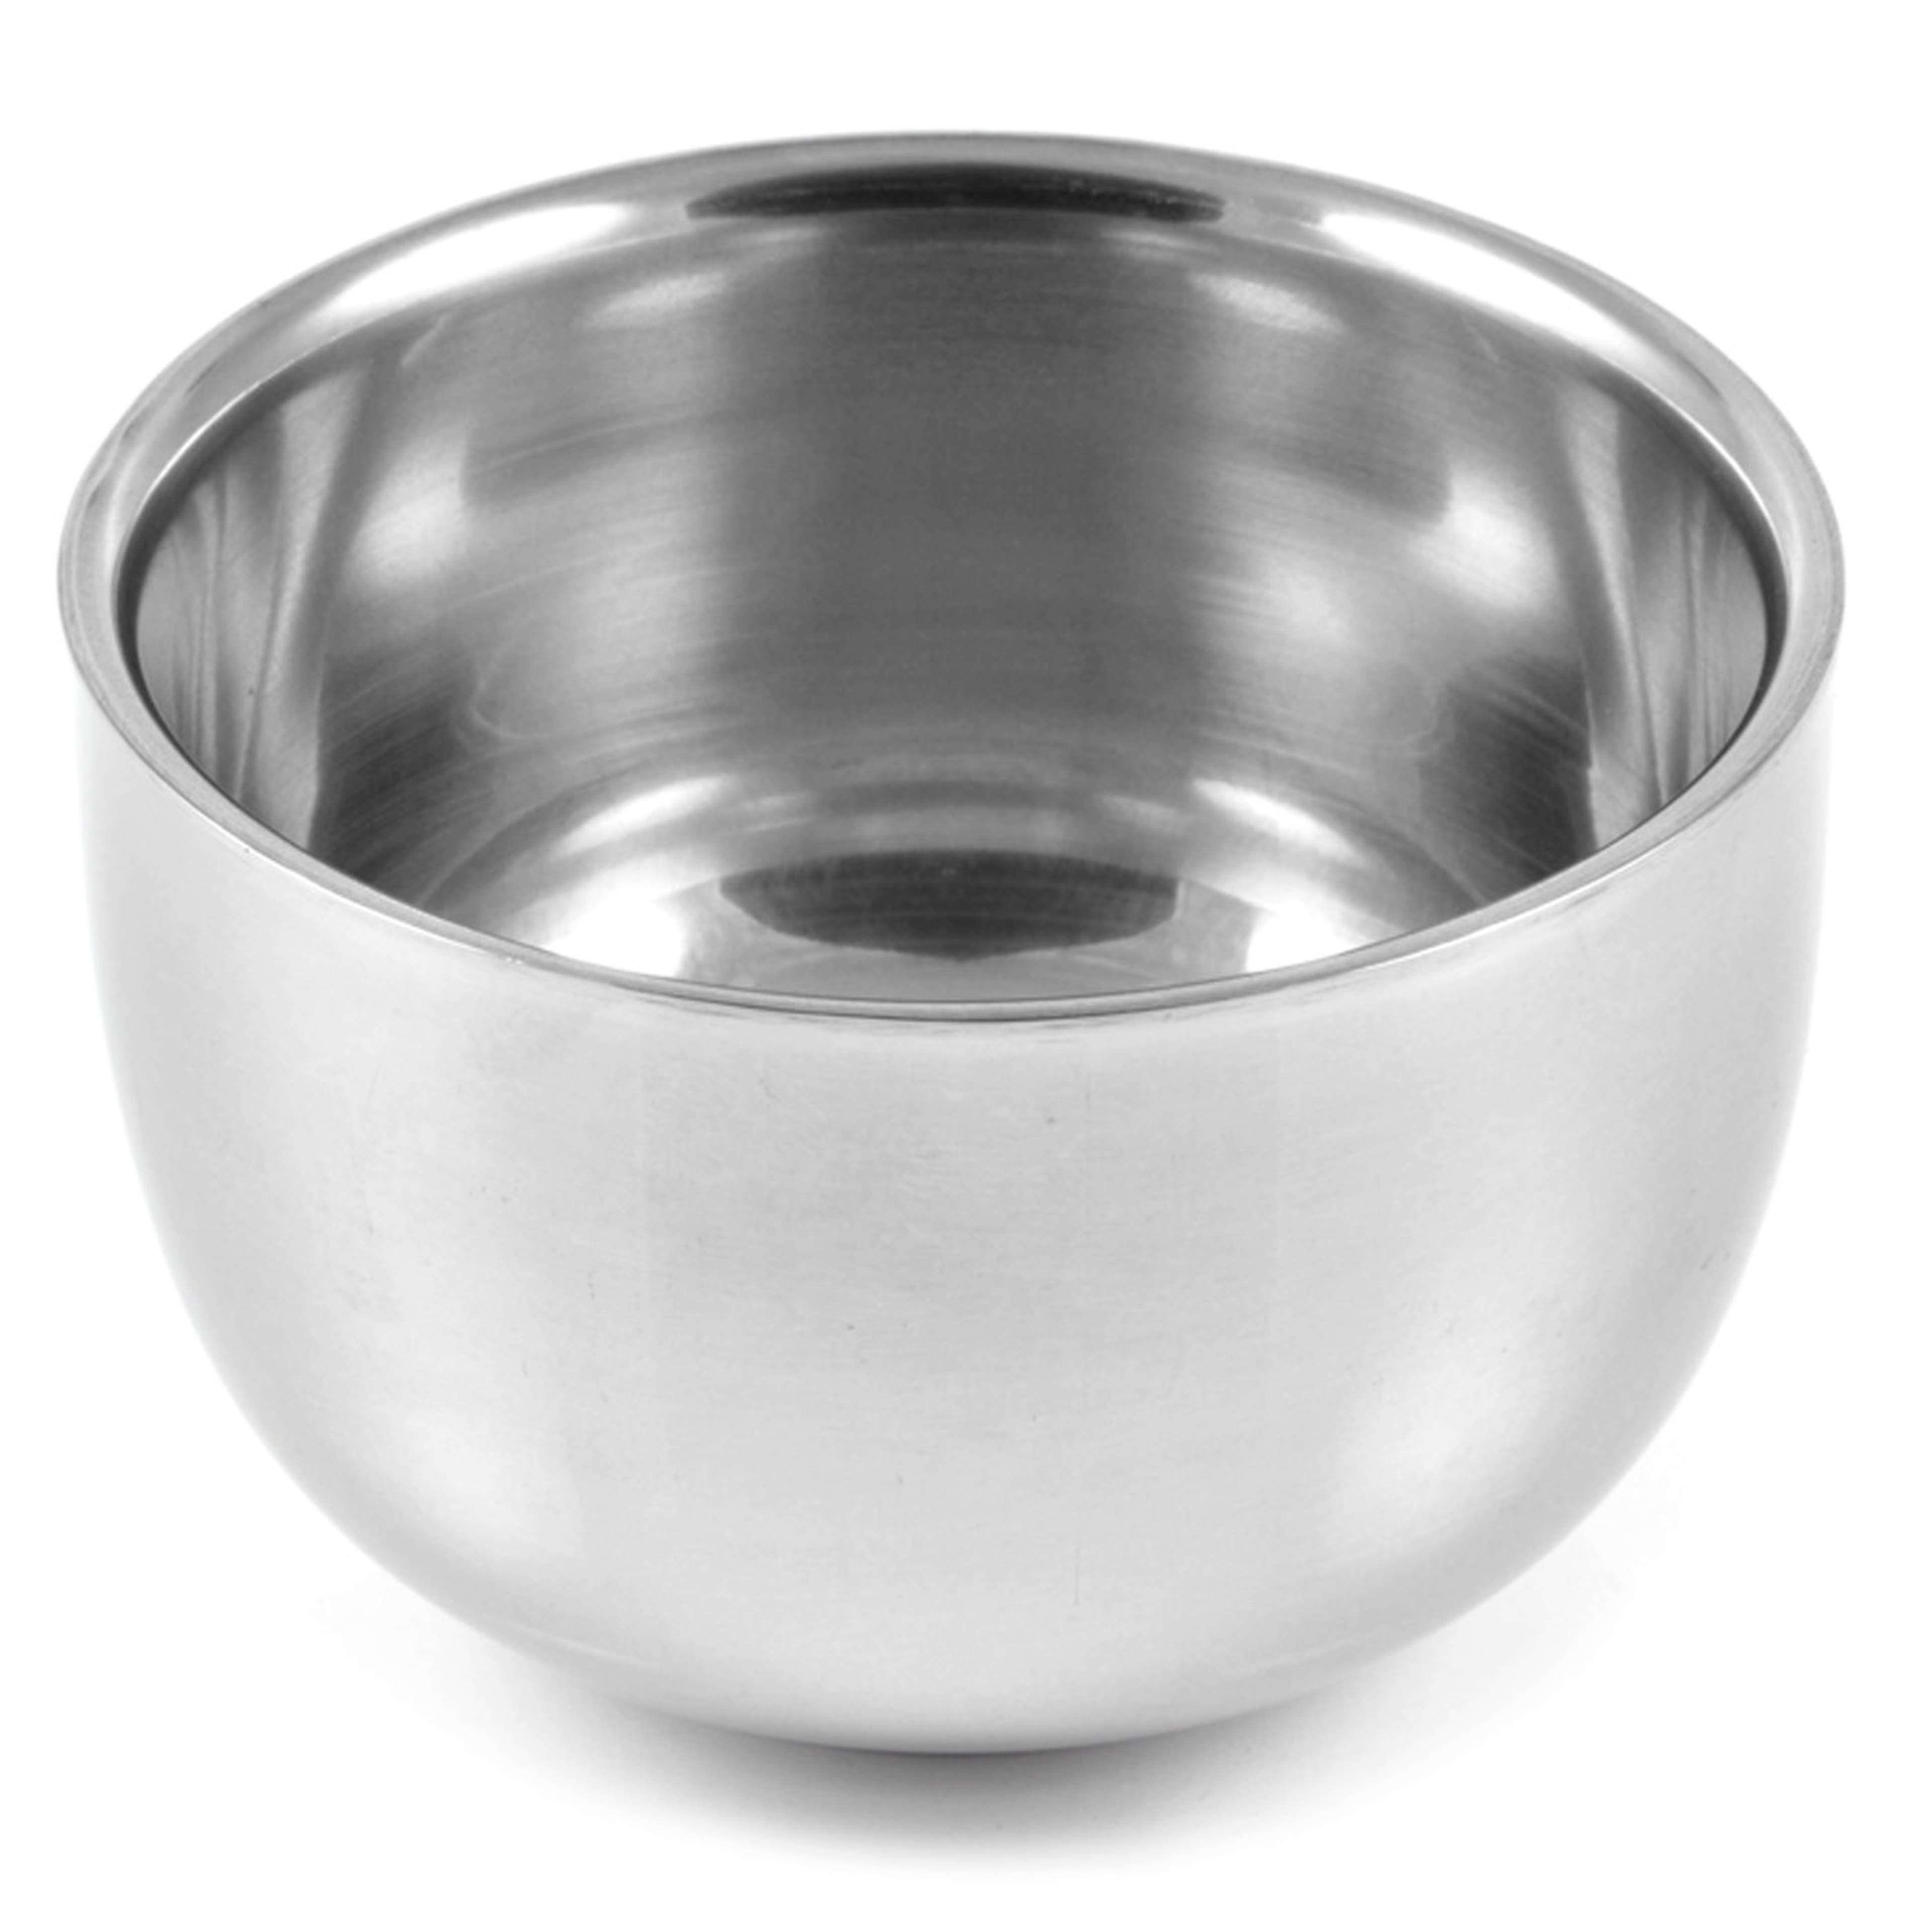
Shaving Bowls, Mugs & Scuttles
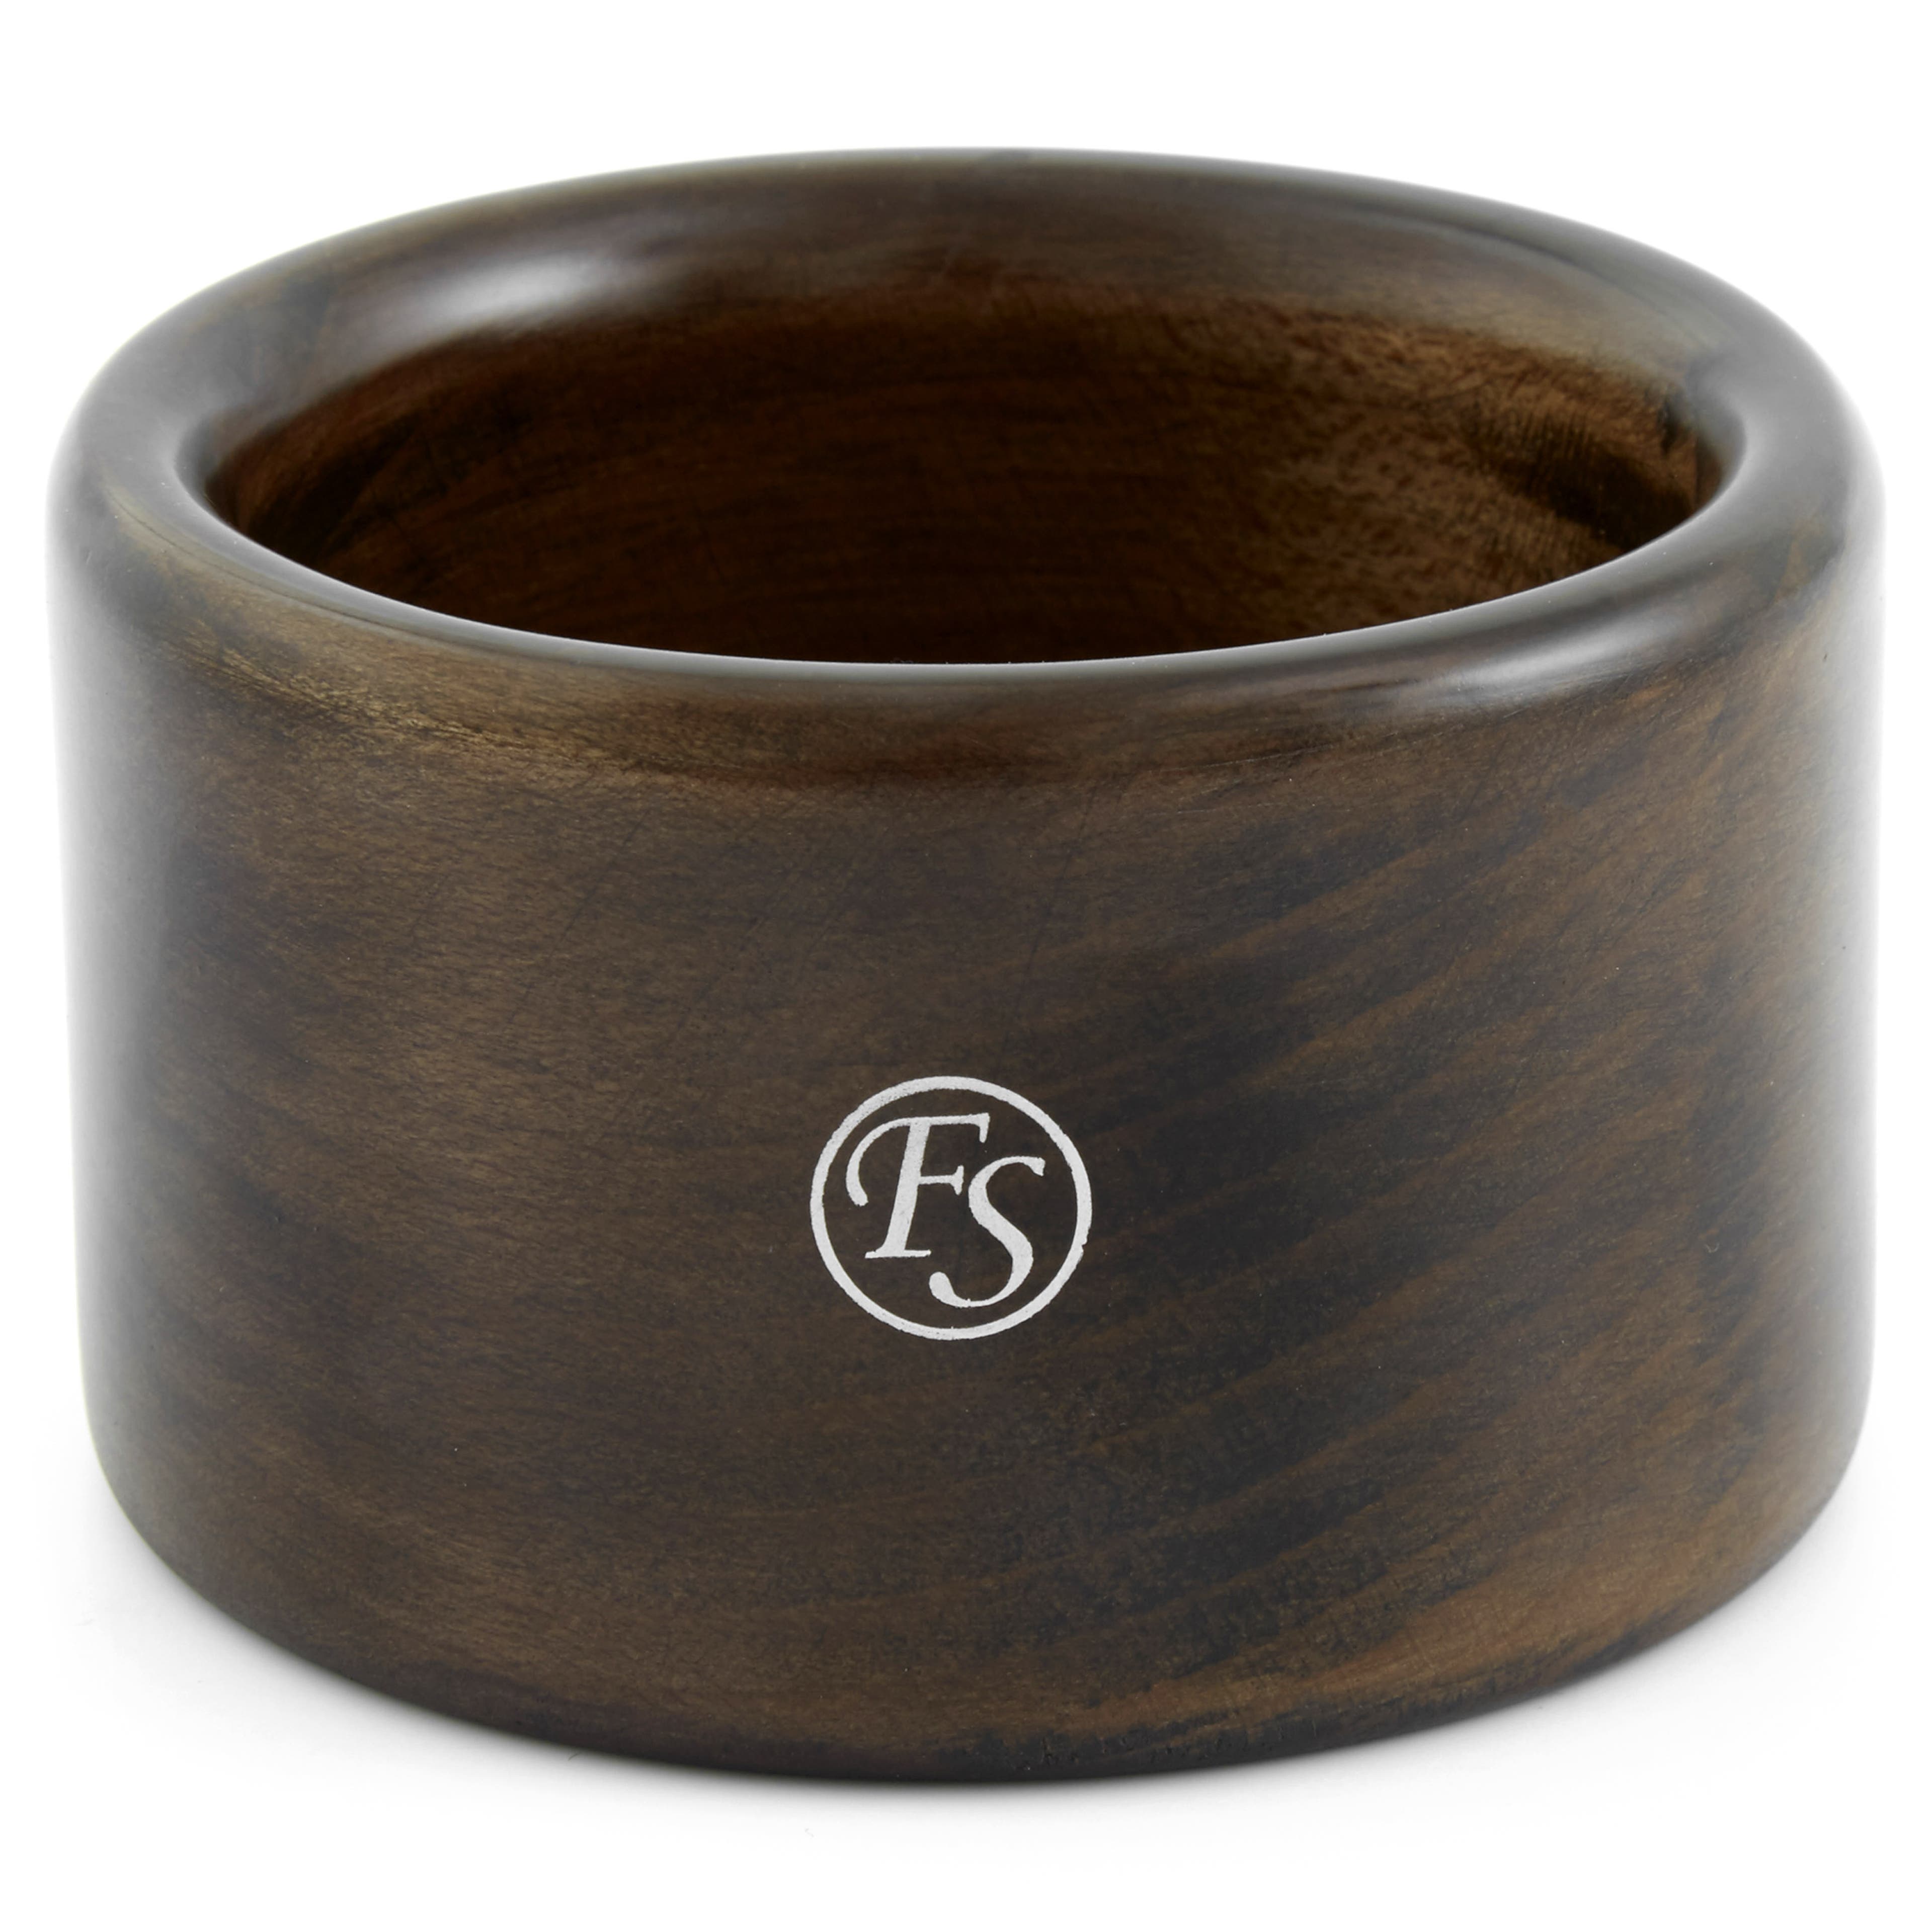
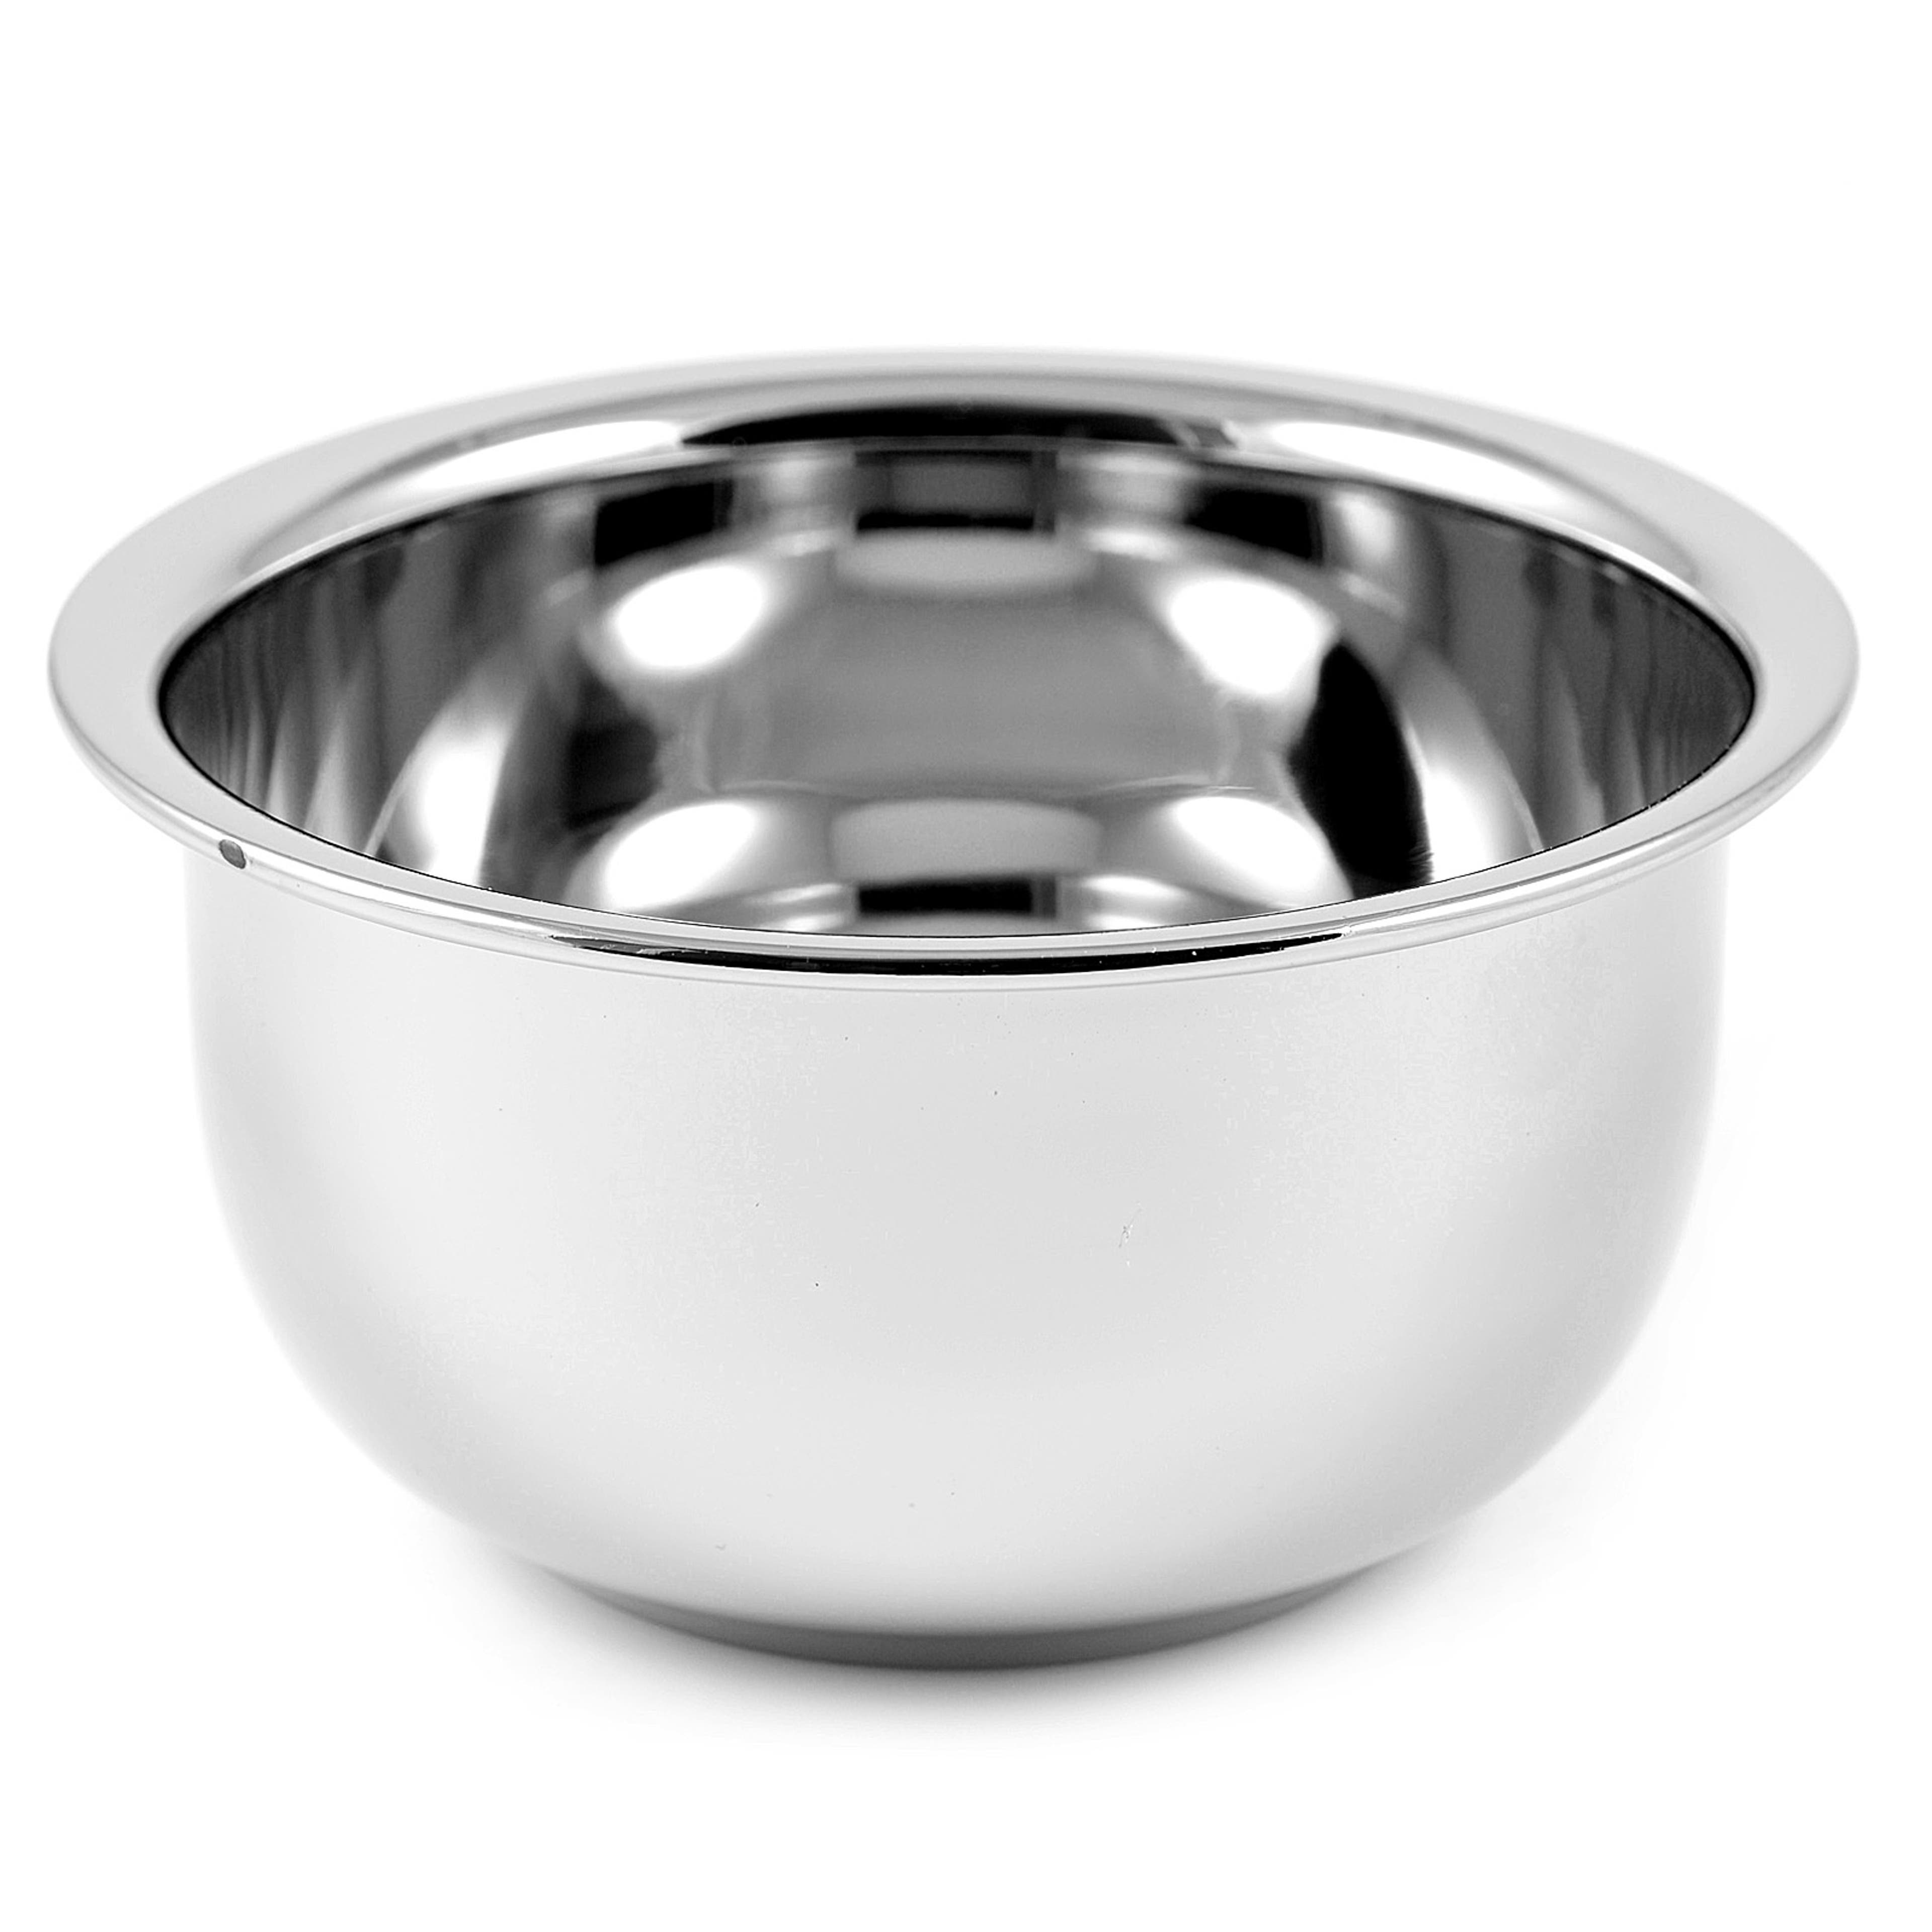
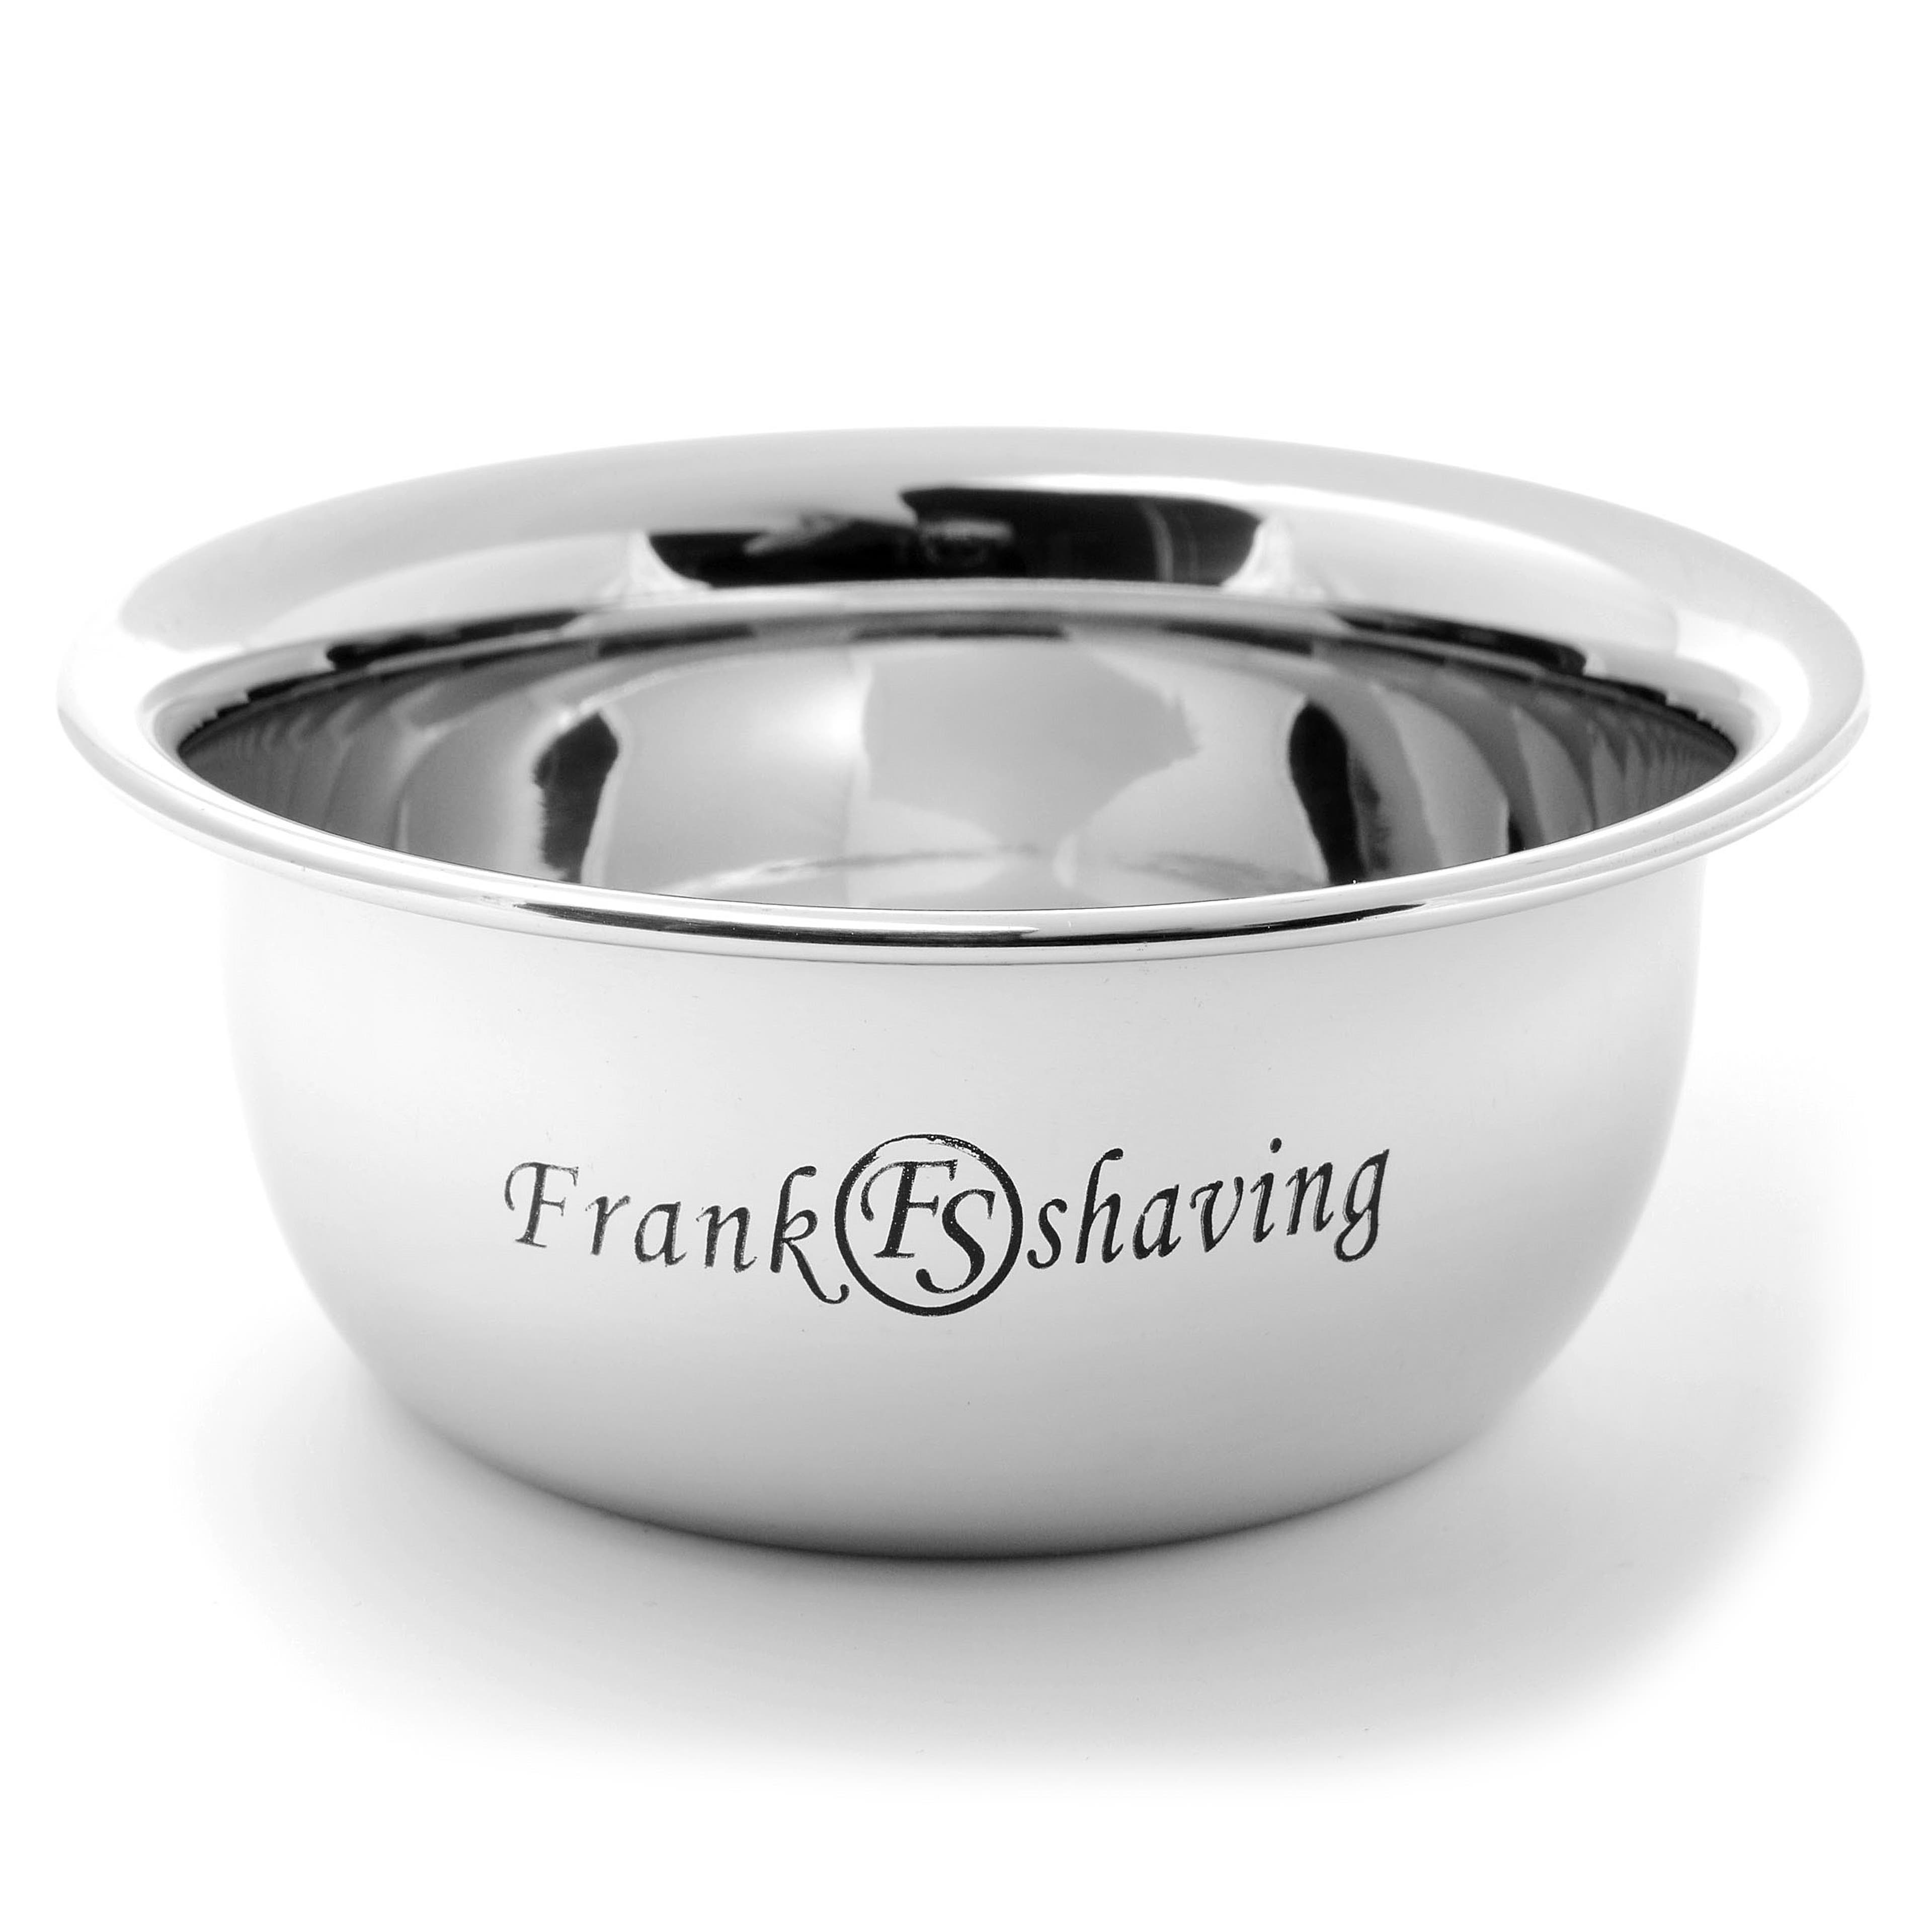
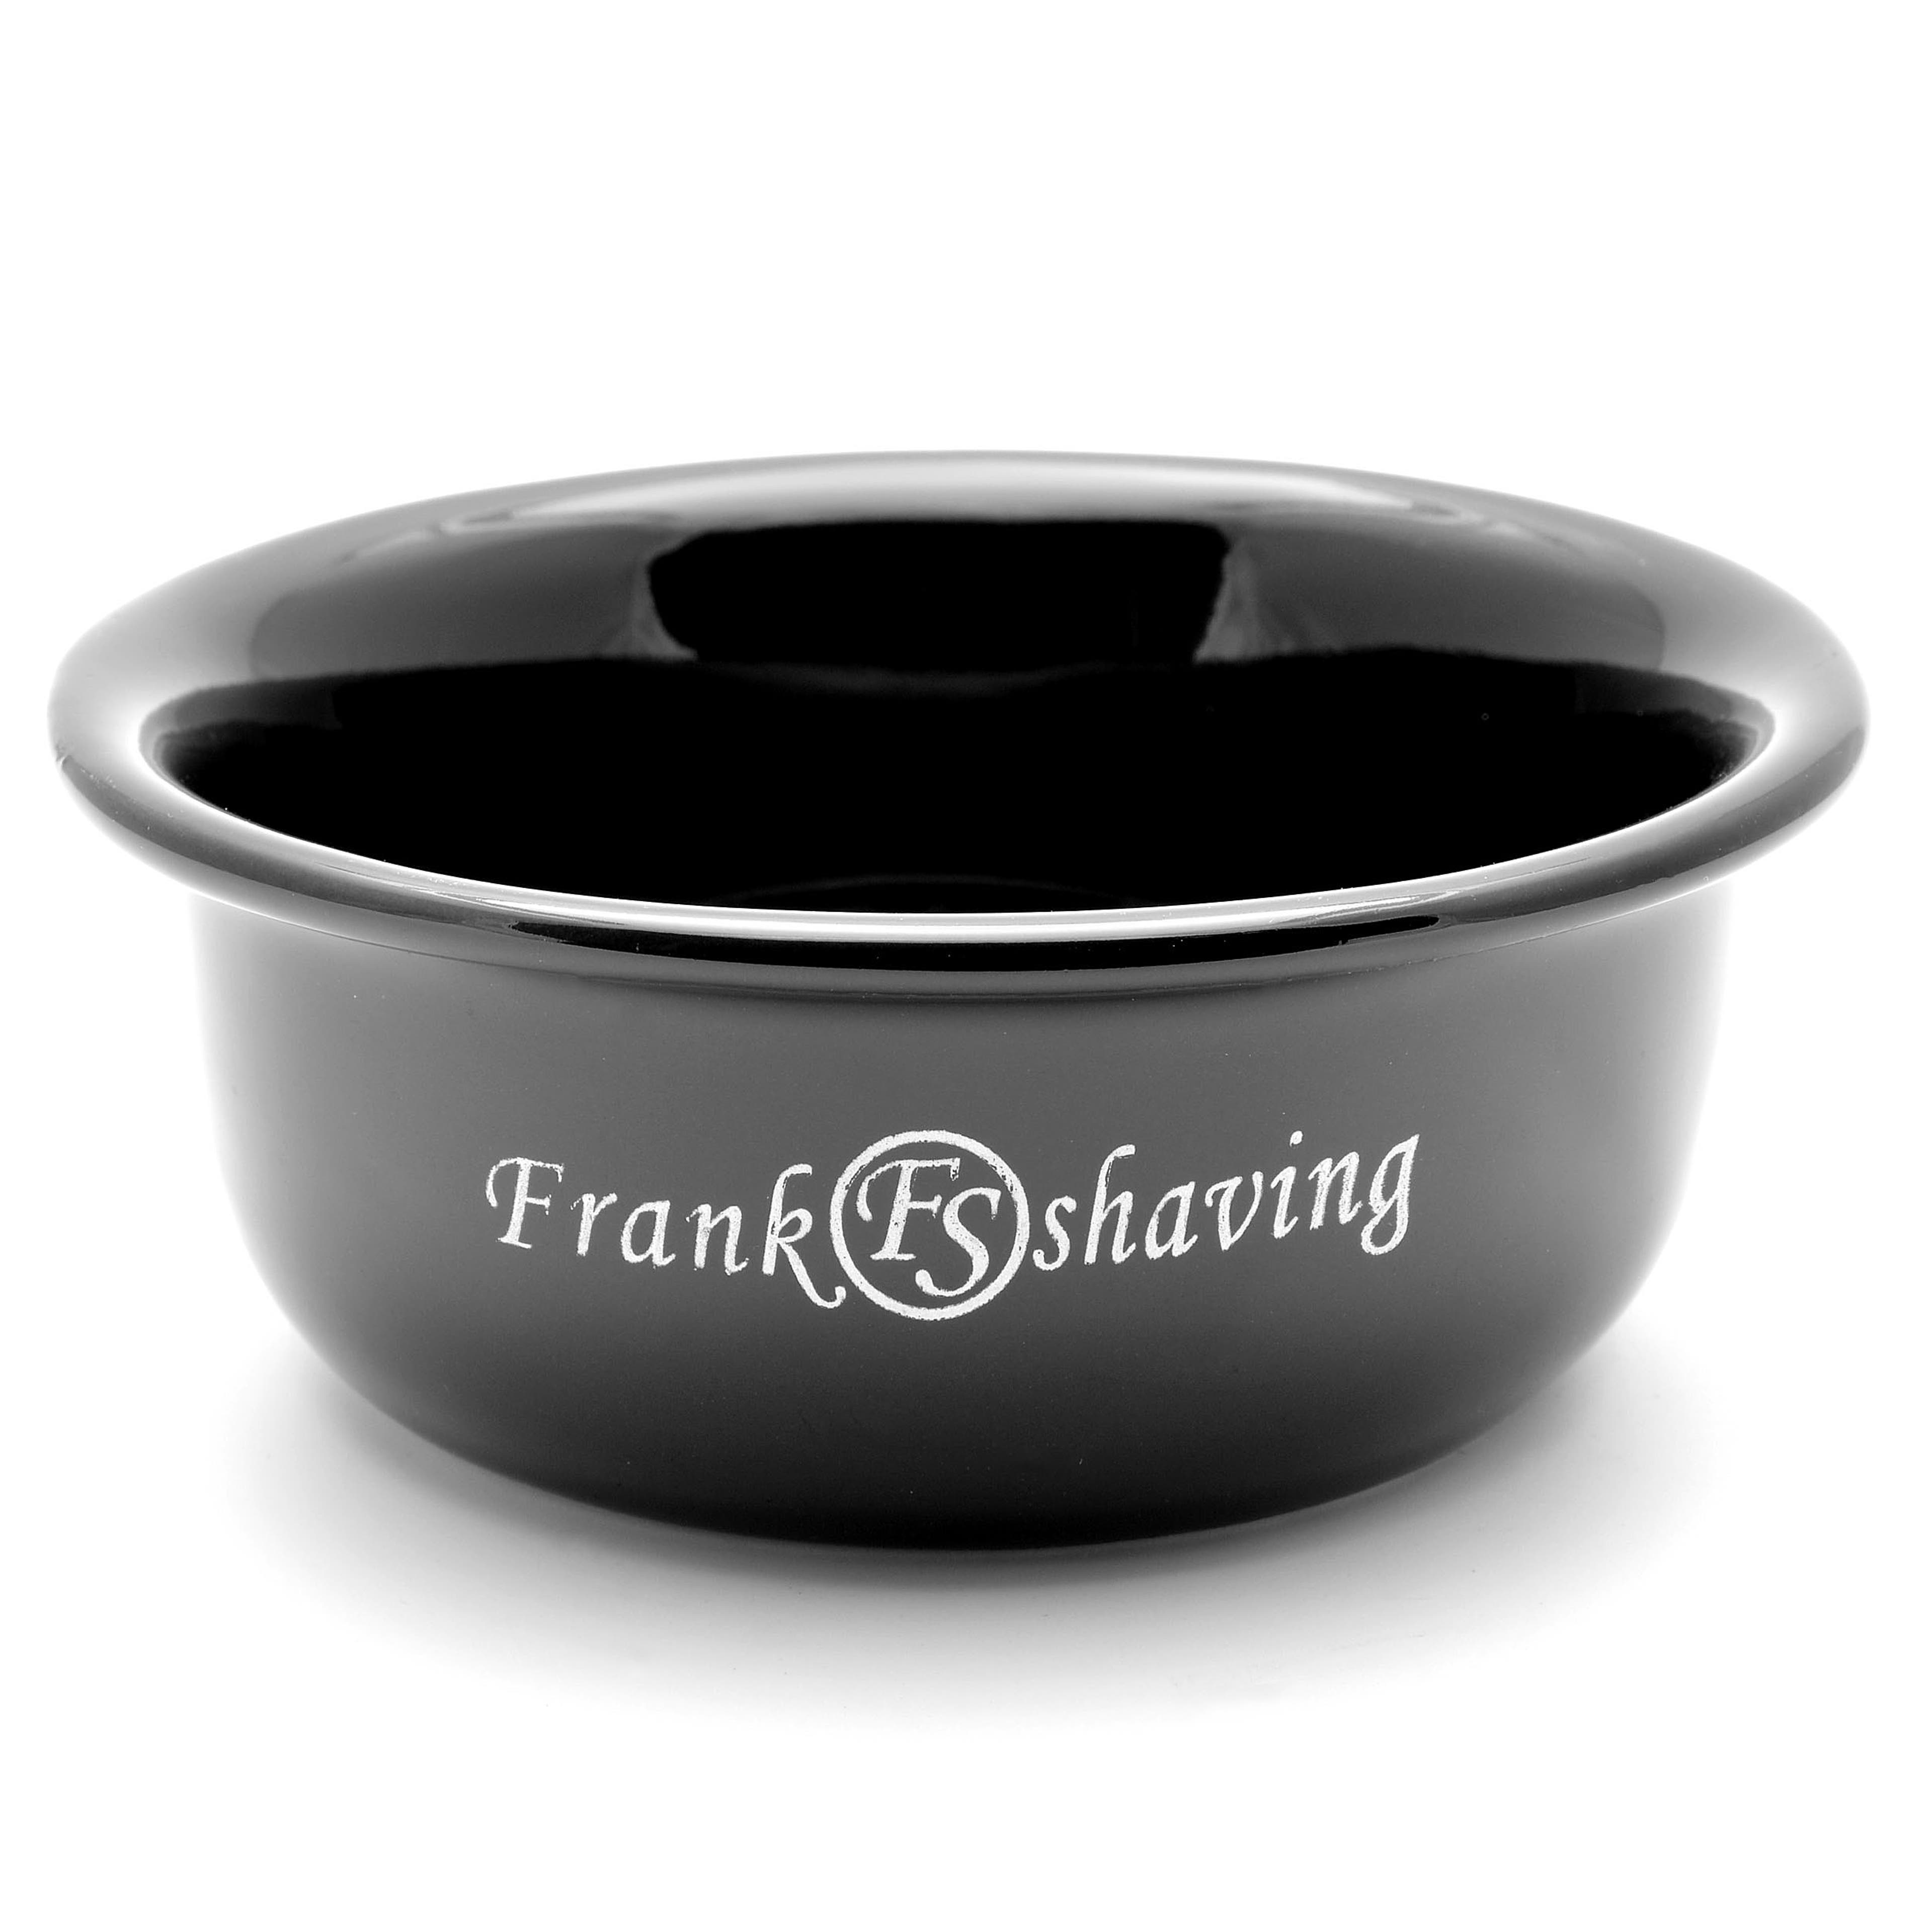
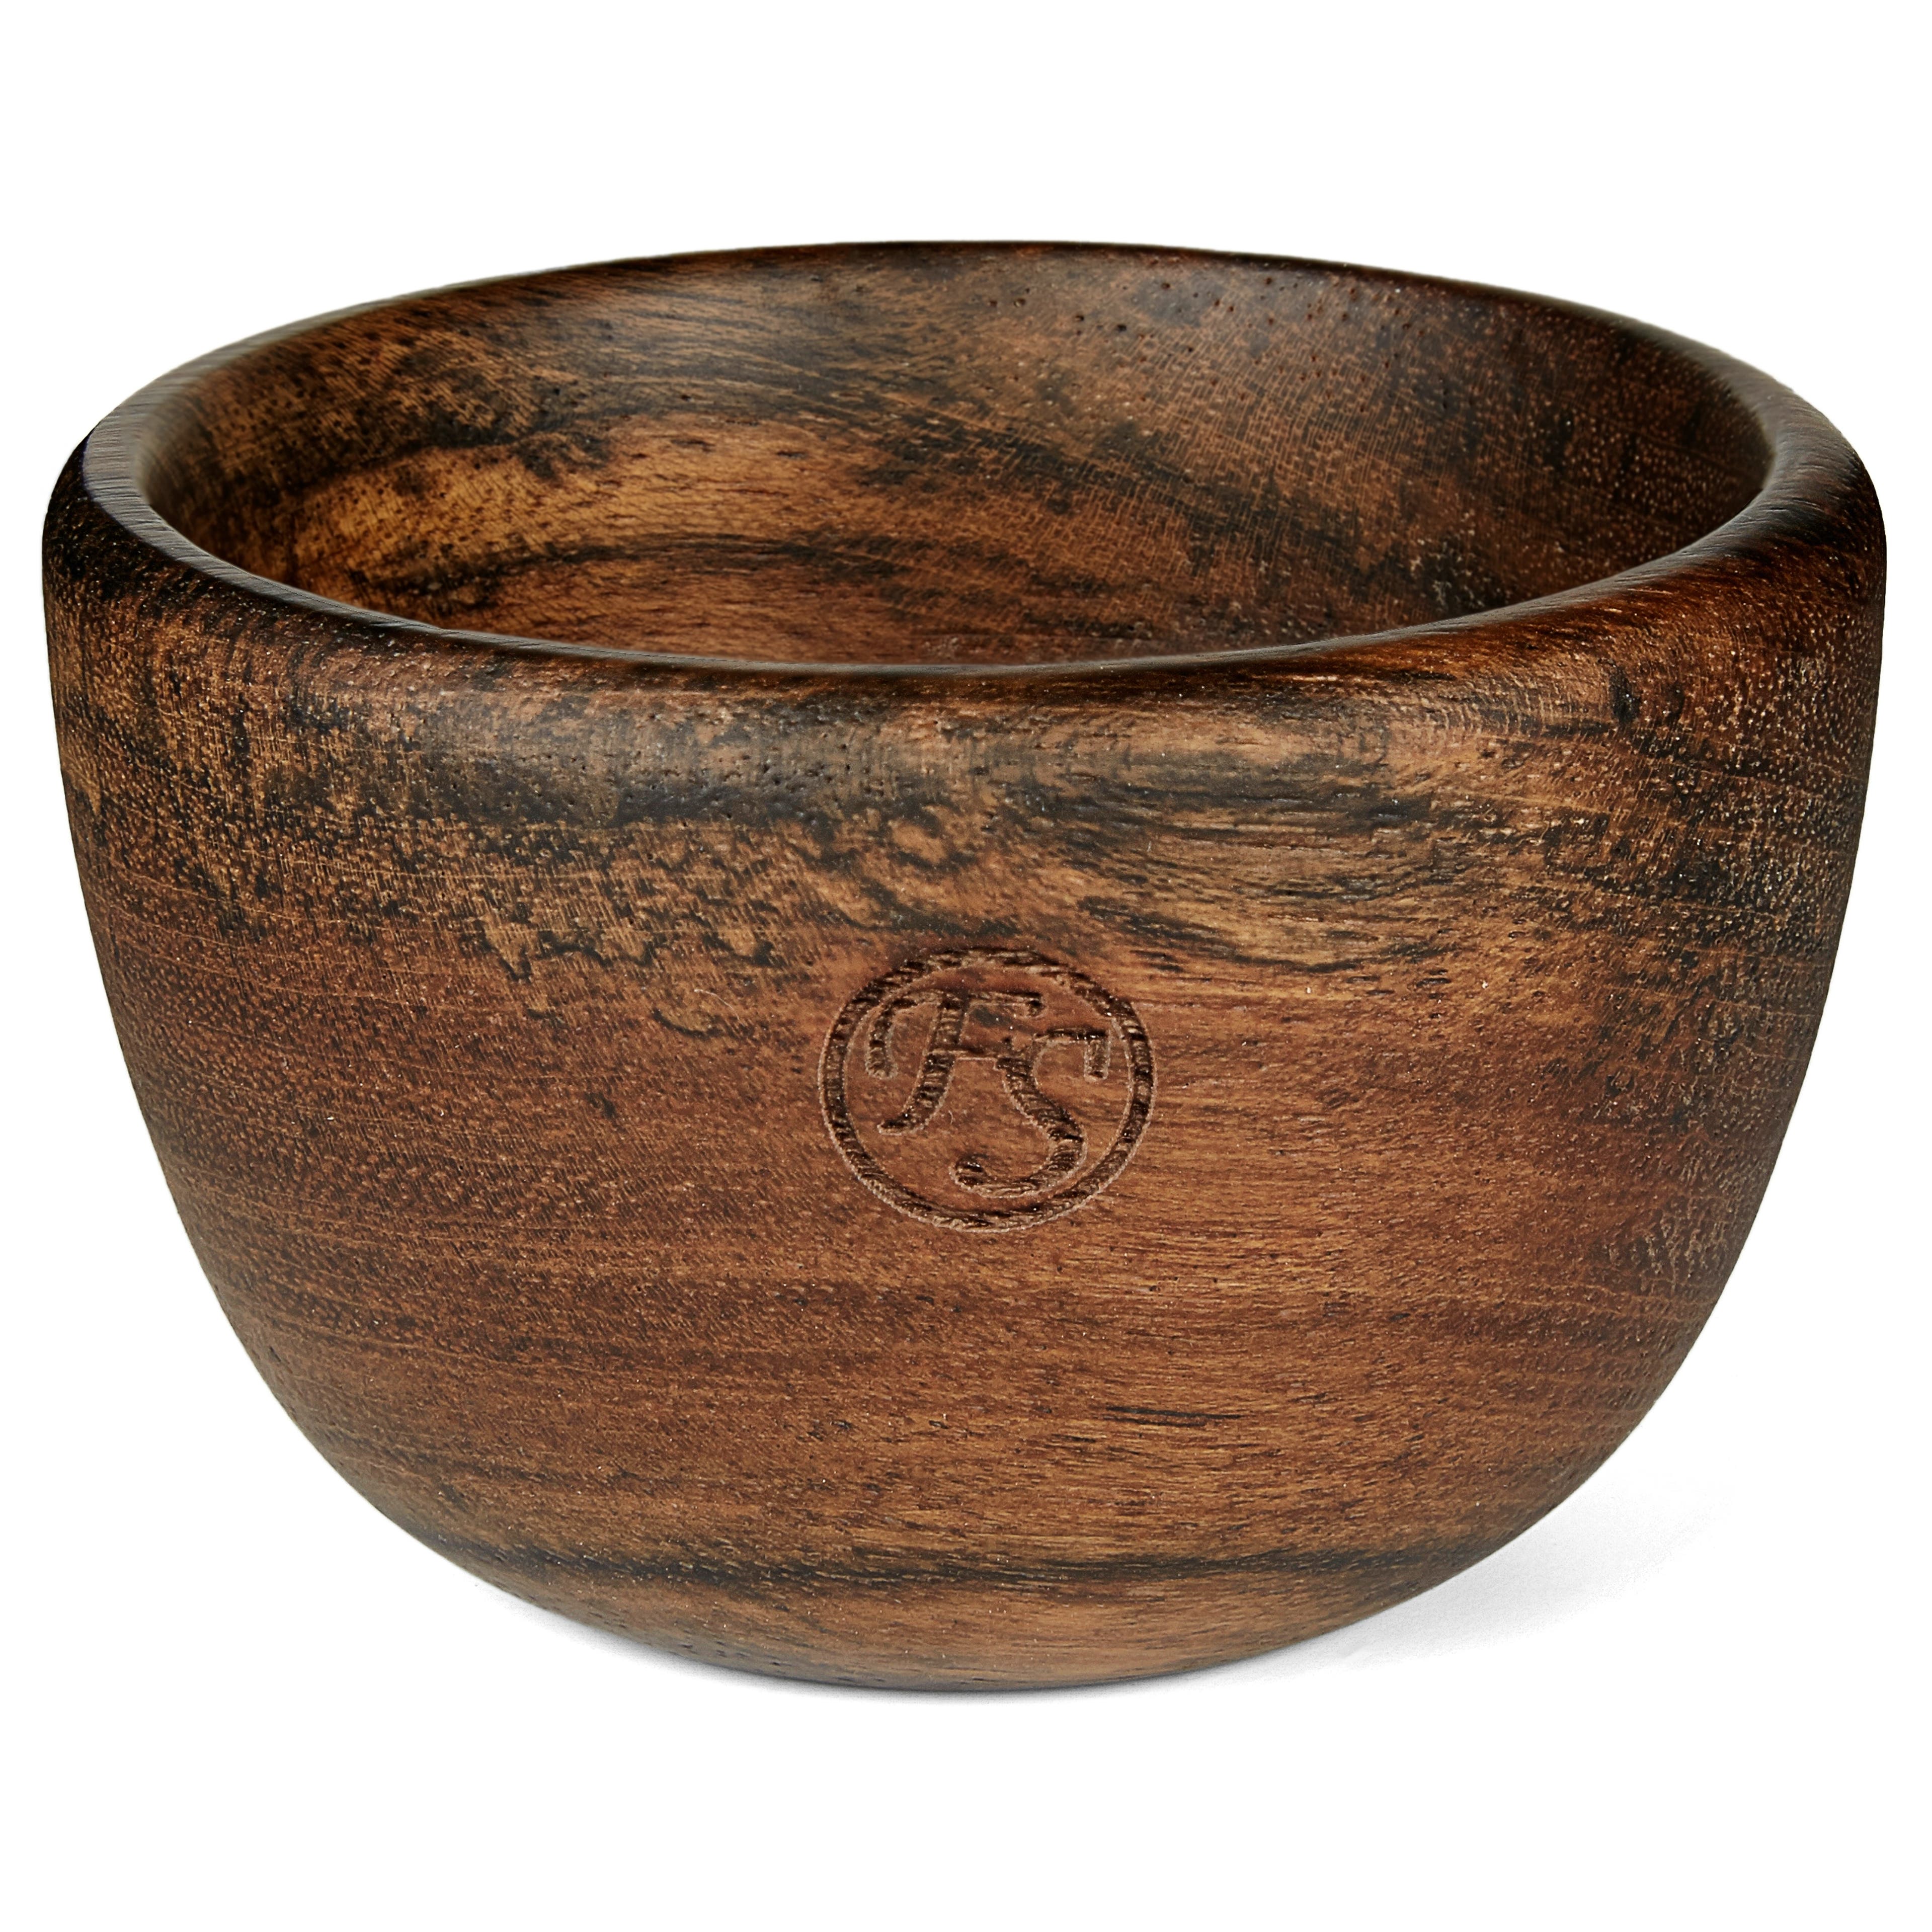
The basic purpose of a shaving scuttle, mug or bowl is to build a creamy lather and keep it warm. The actual lather depends more on the brush and the cream than on the bowl or scuttle.
Many shaving soaps come in their own bowl. It’s usually the exact size as the soap and you end up with lather foaming all over the place. Investing in a deeper shaving bowl, created exclusively for creating lather, is your best bet.
Pre-Shave Oil
Using a product to prep your beard and skin before applying shaving cream is a topic of personal preference. If you have thick hair, you may find a pre-shave treatment beneficial. There are many great products available, but we suggest using organic coconut oil.
Coconut oil is easily purchased and softens the hair and skin prepping it for the act of shaving. And it’s much more affordable than pharmacy products.
To use: Take a small amount in your hands and allow it to melt before smearing it on the area to be shaved.
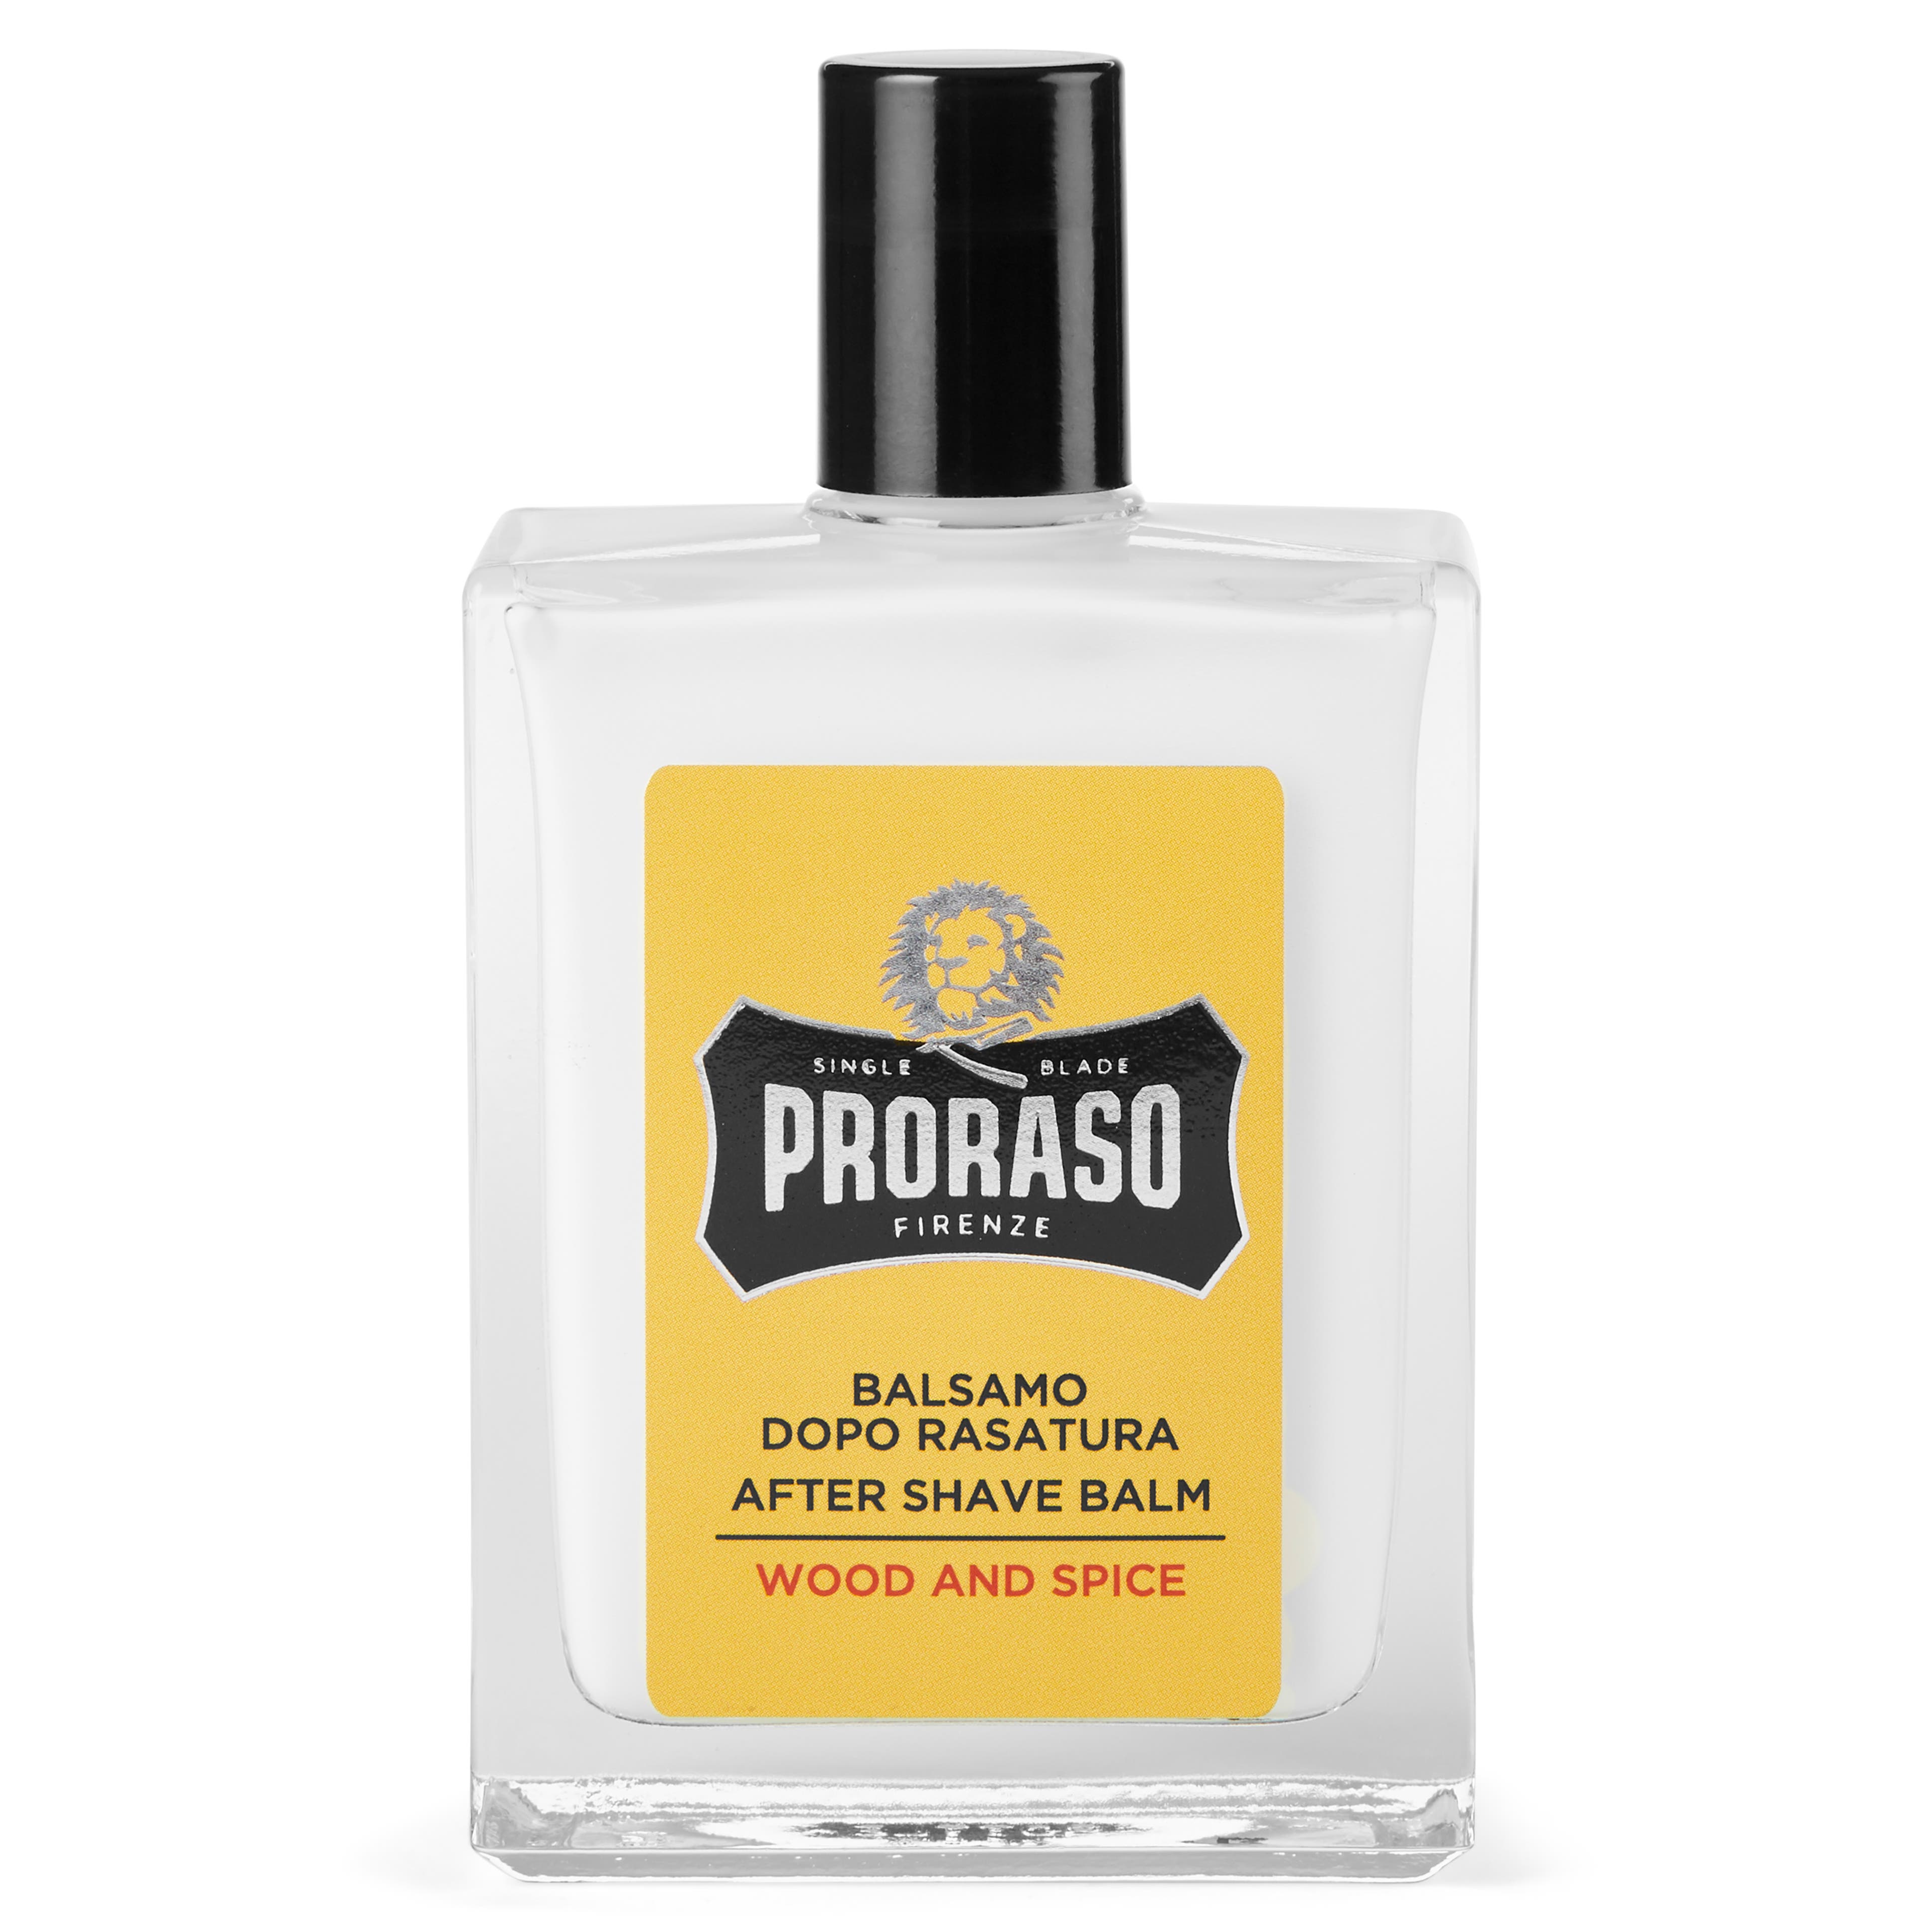
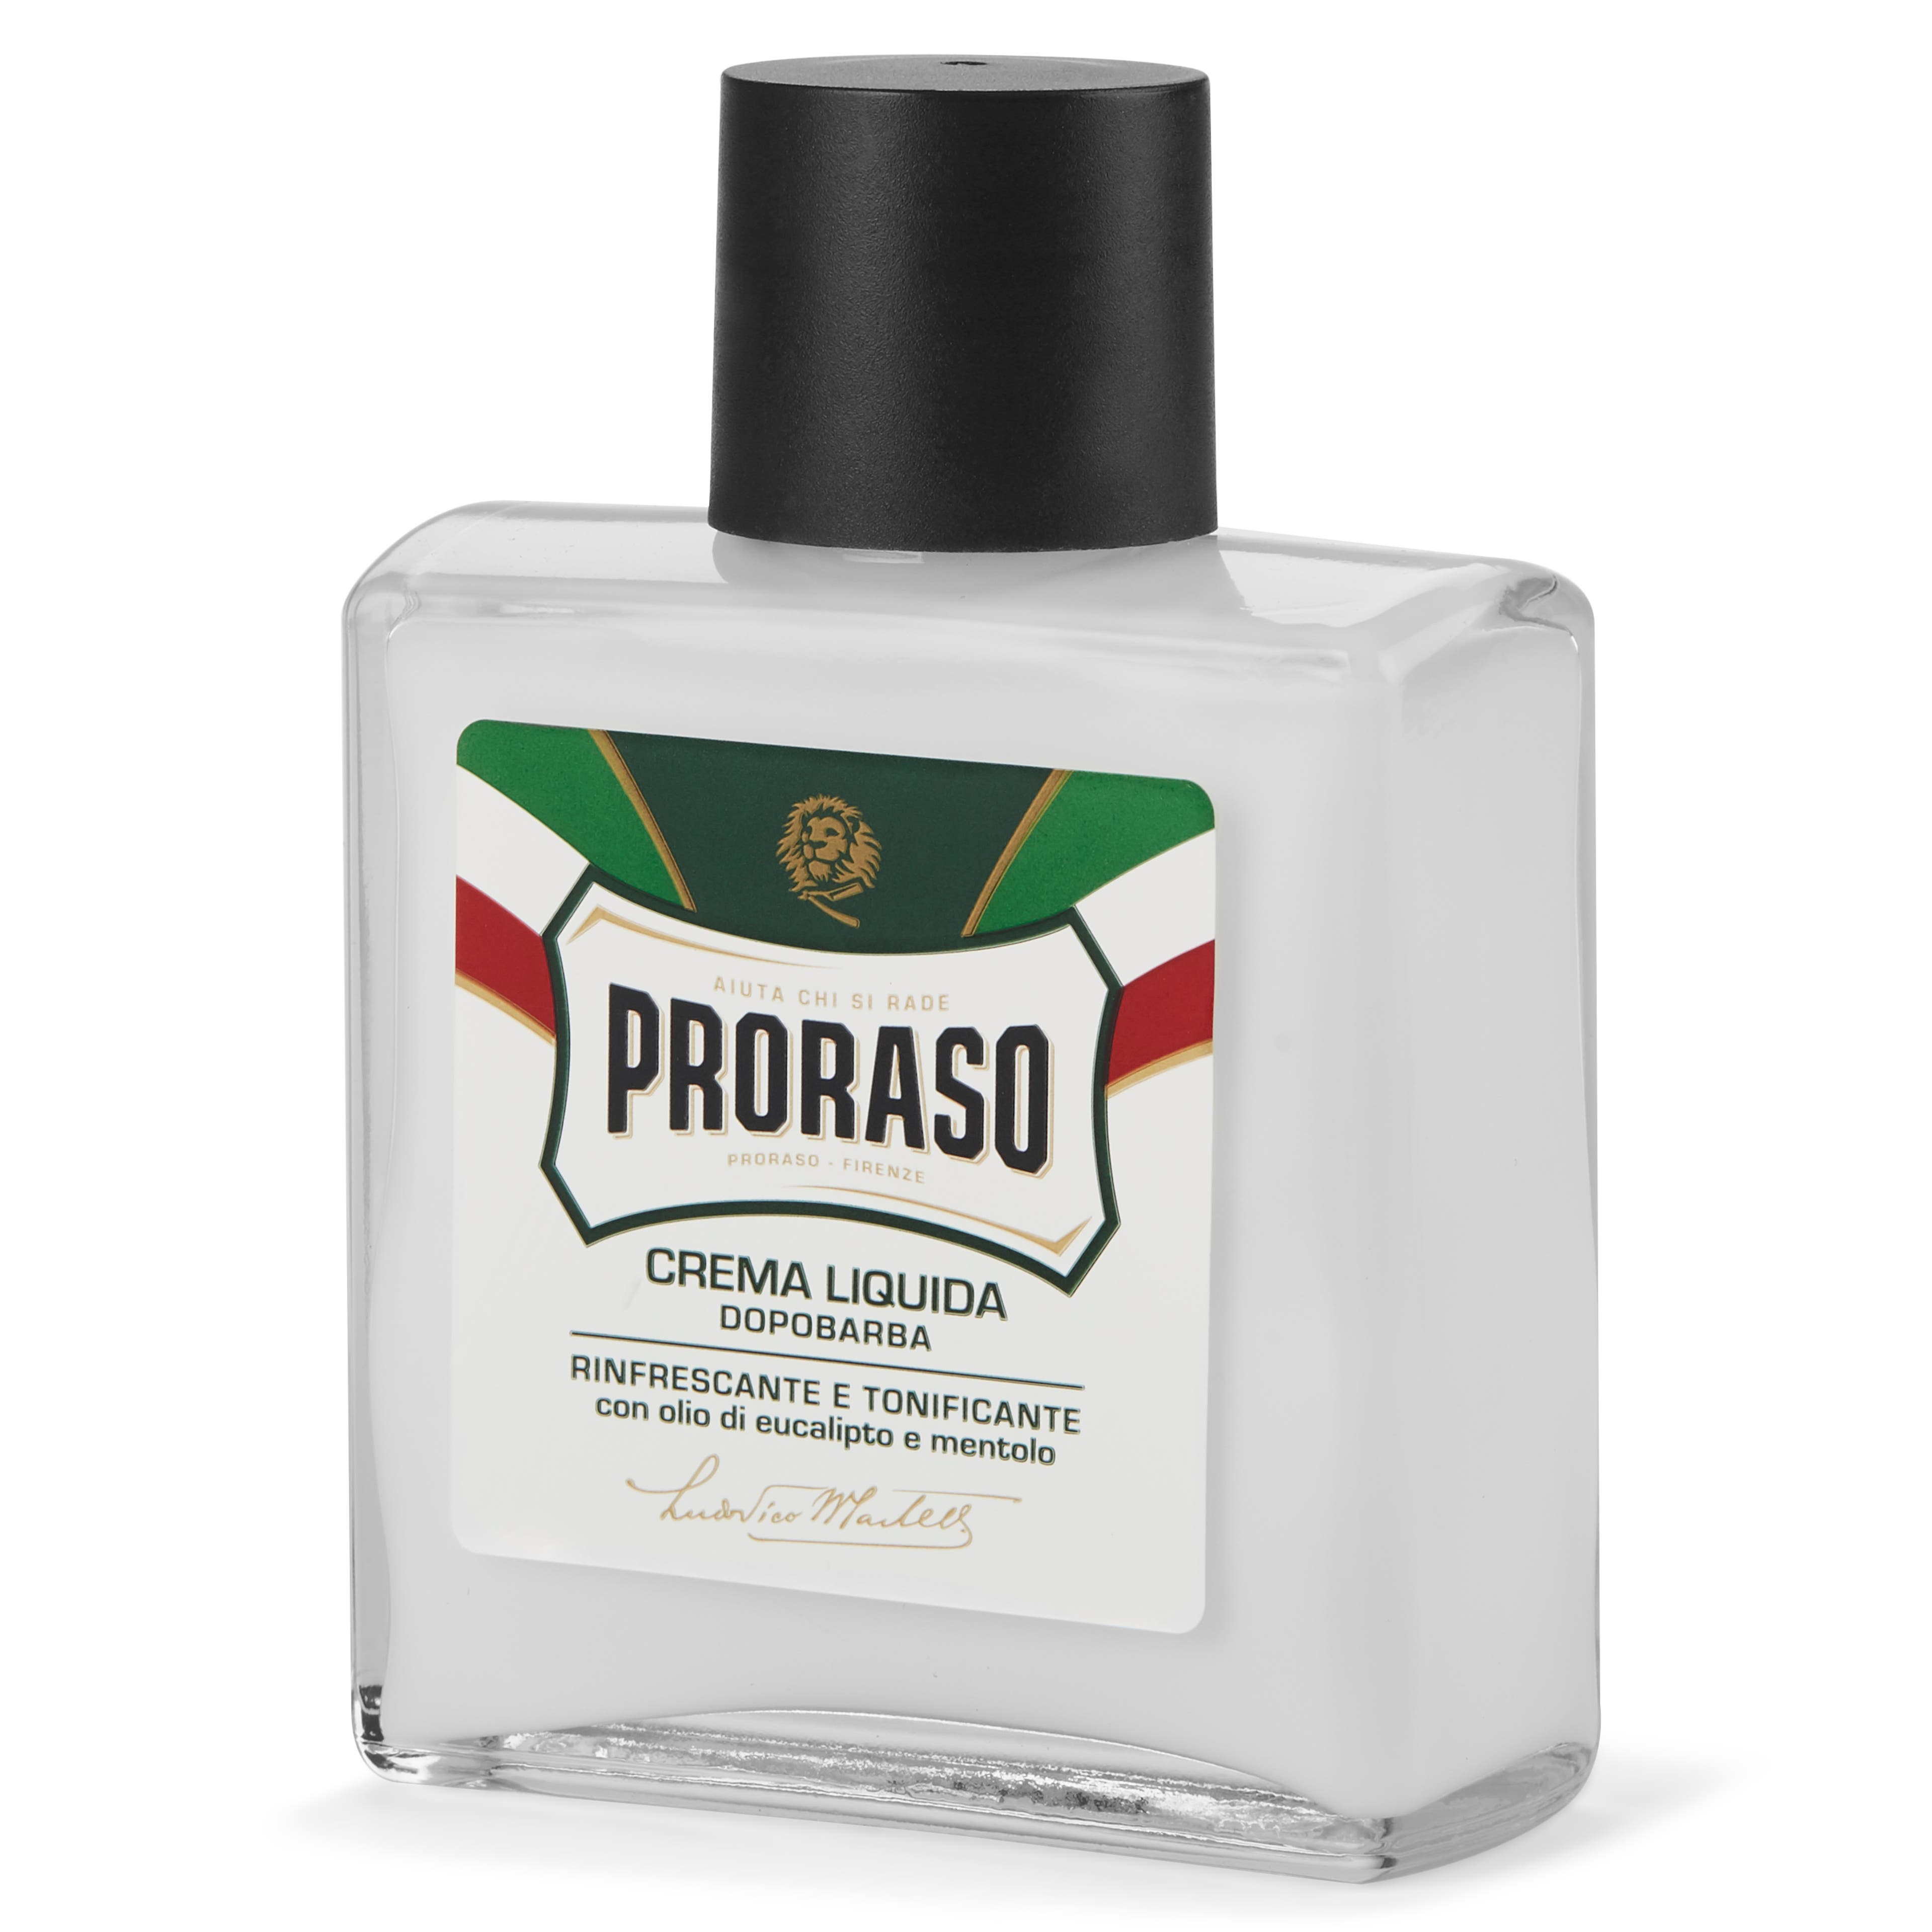
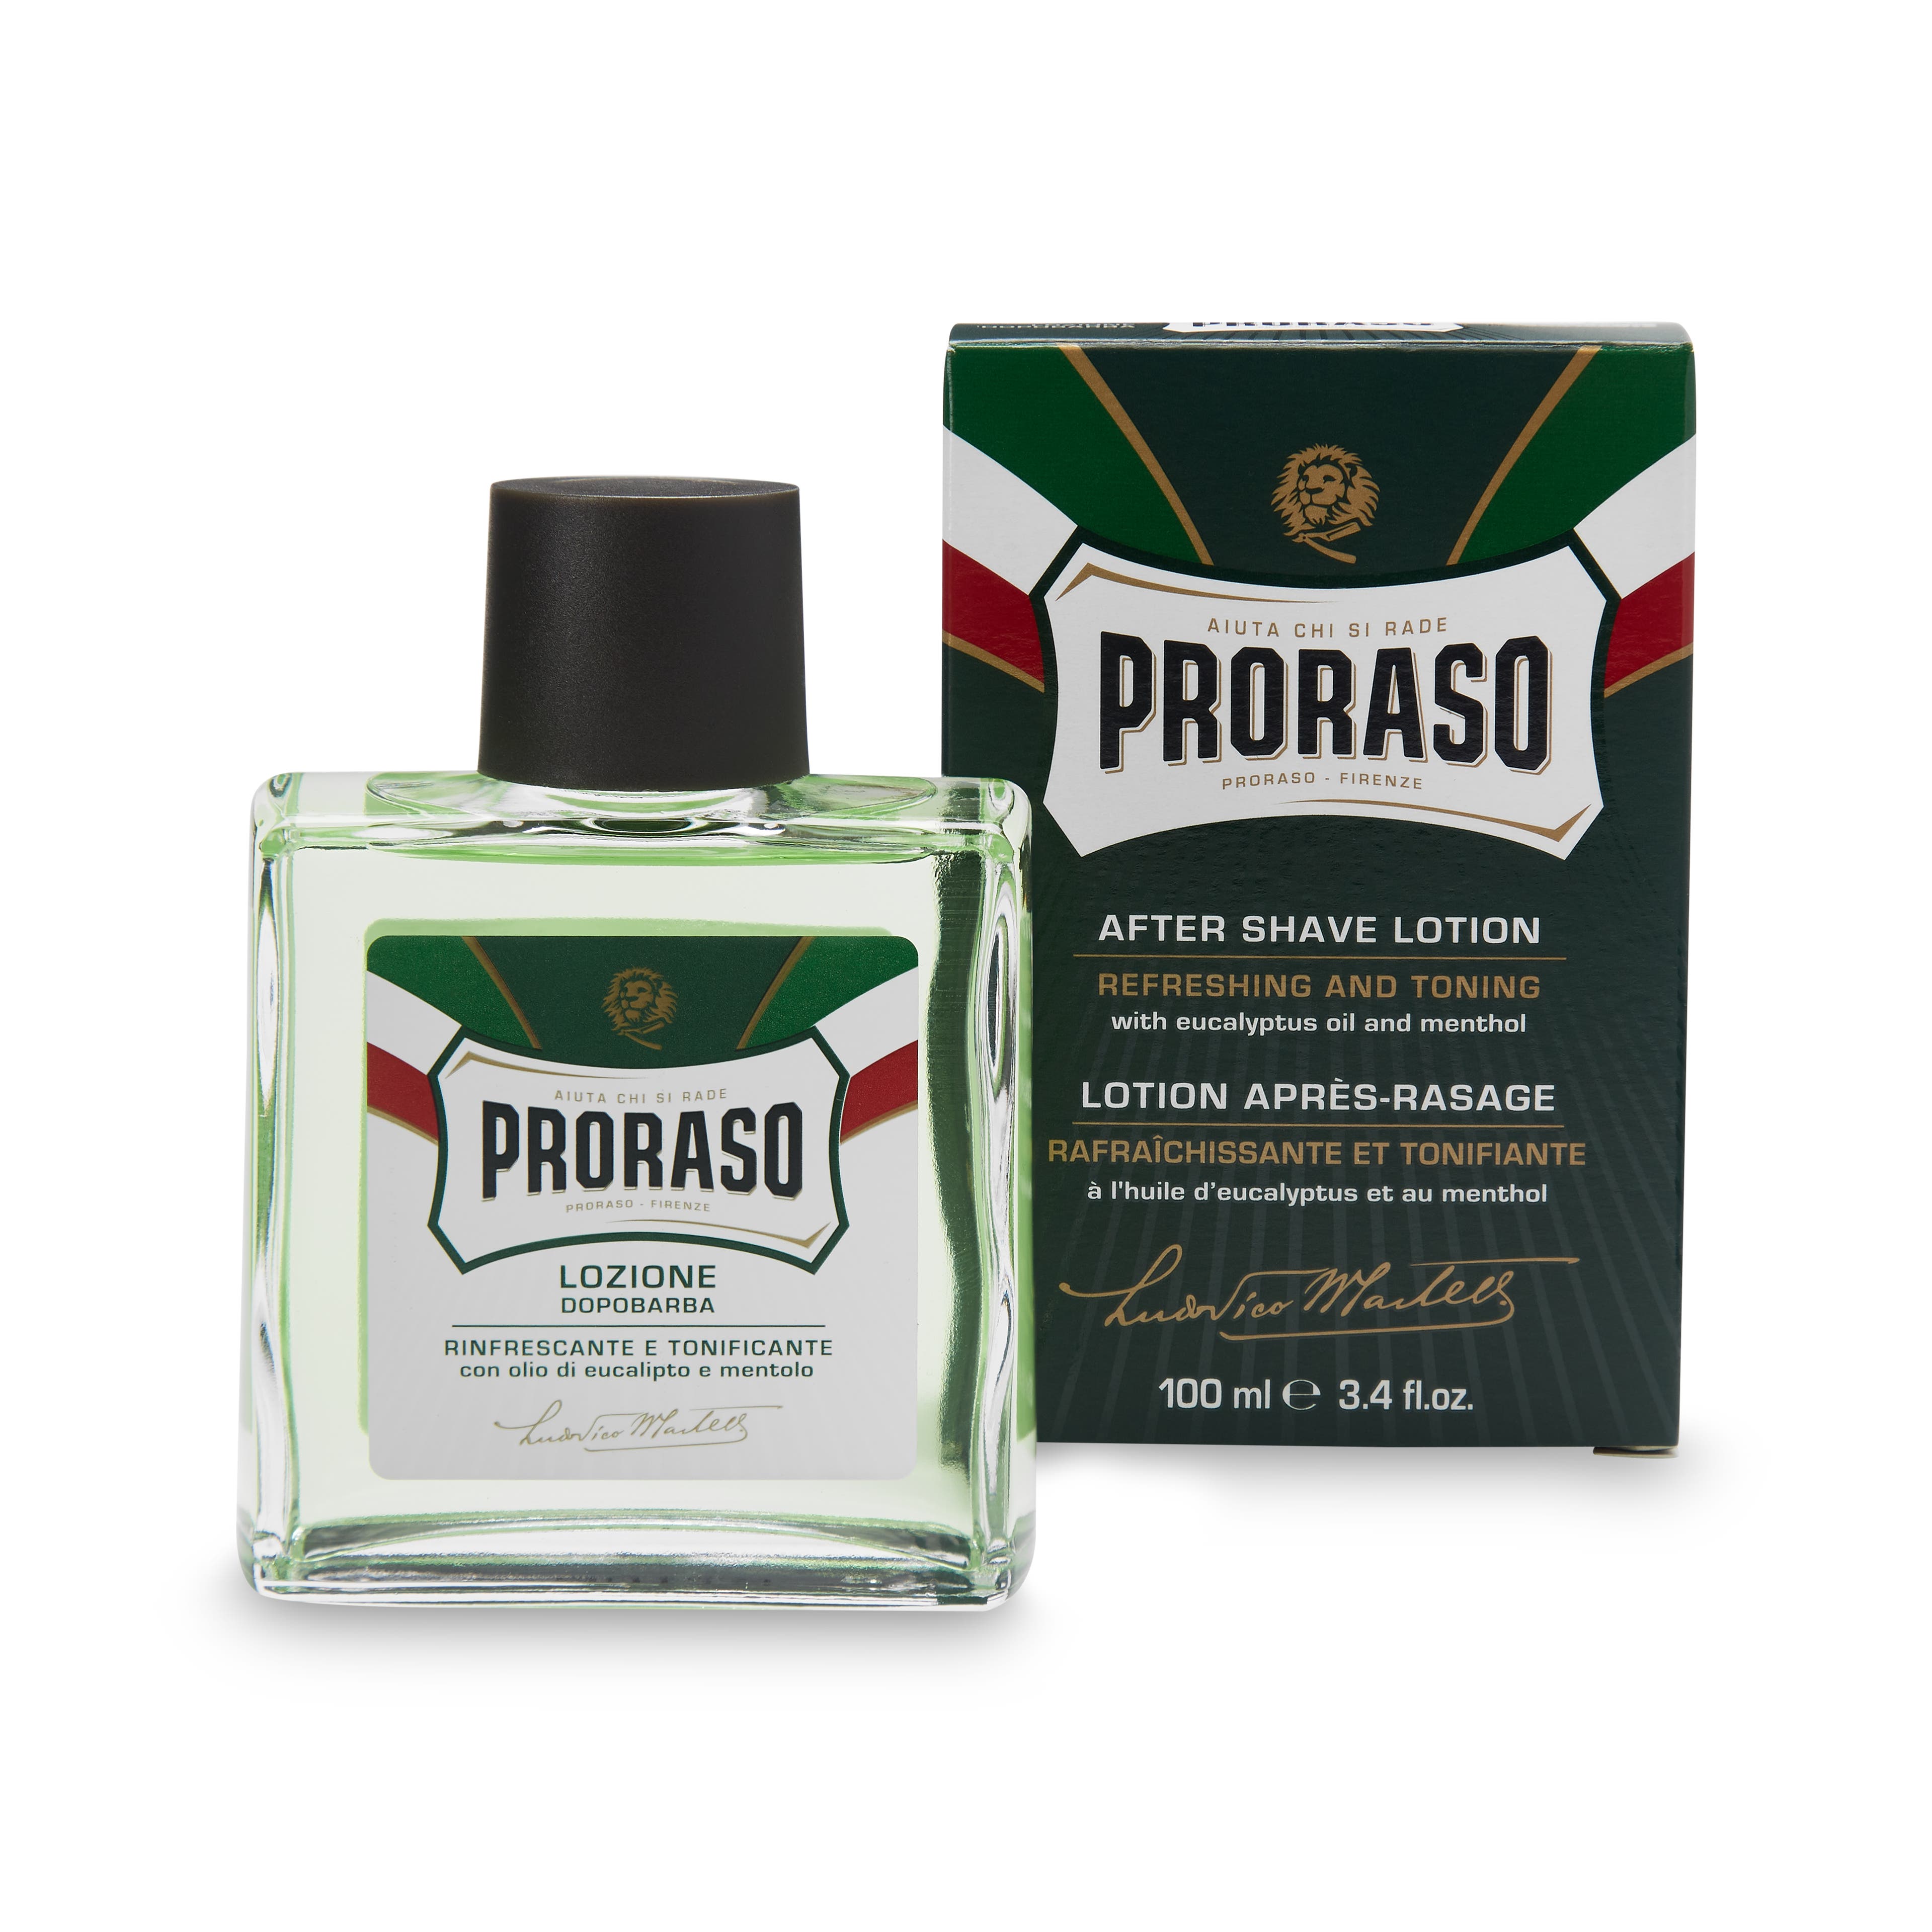
Aftershave
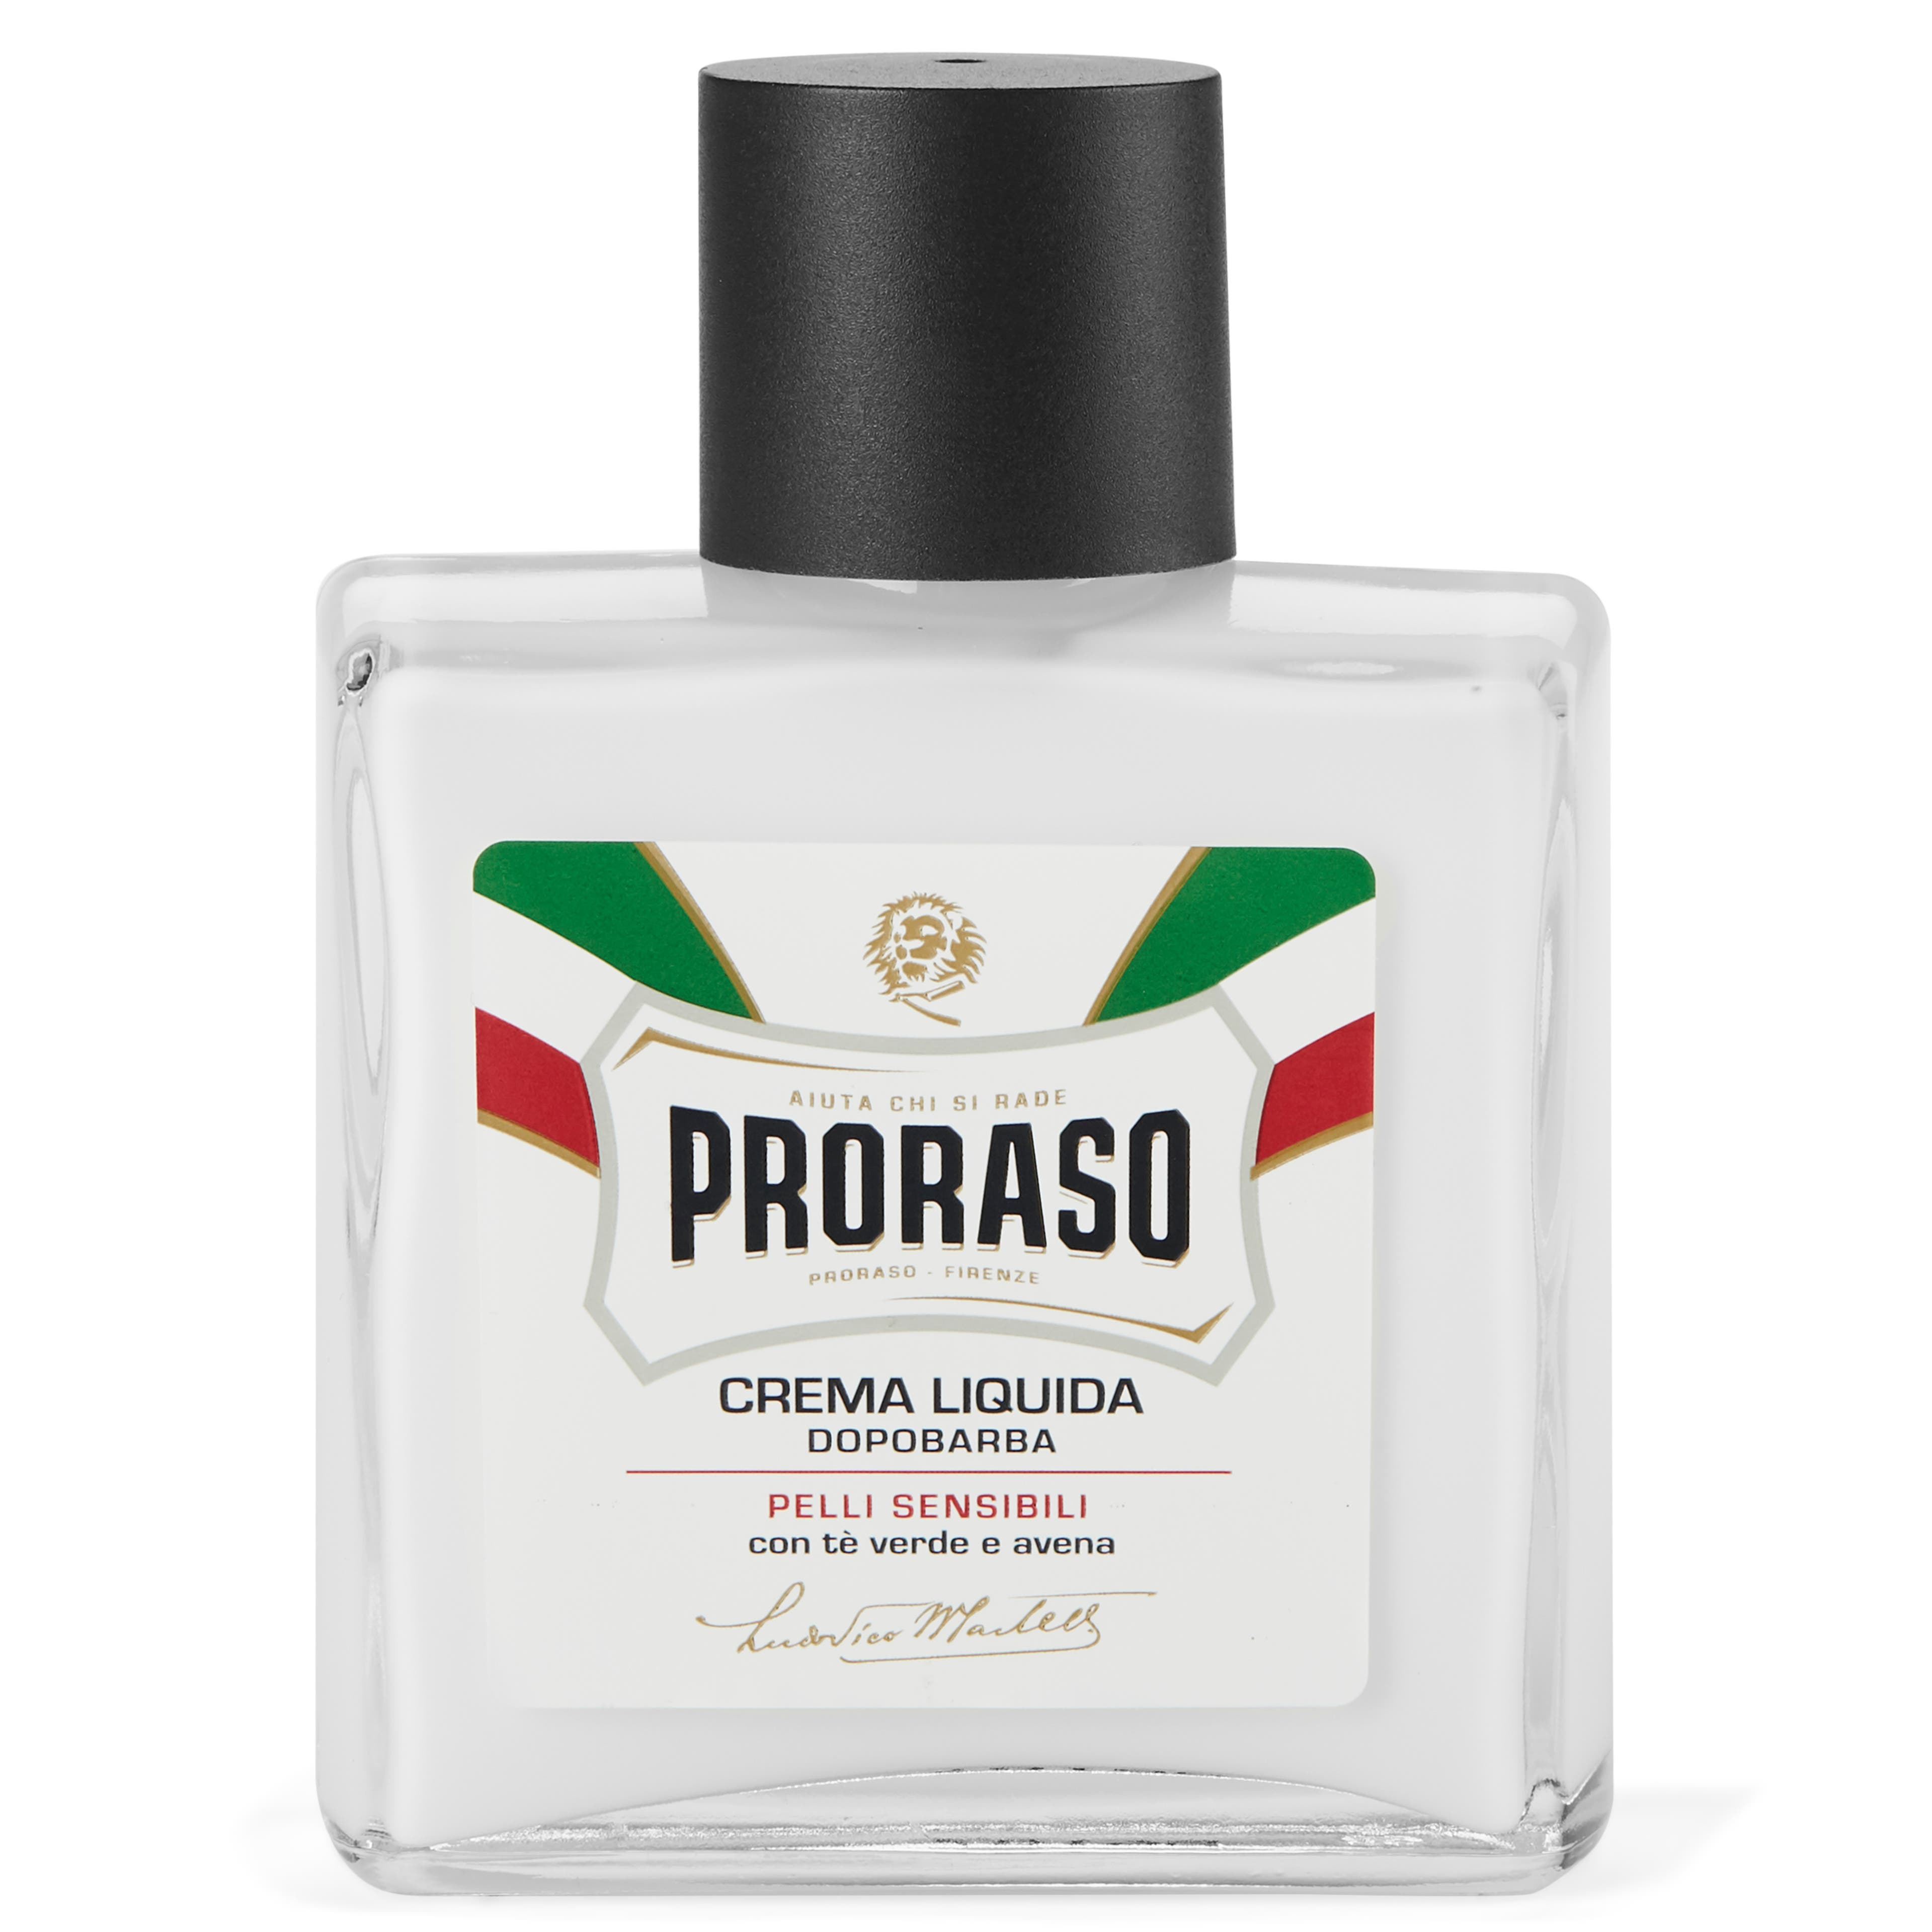
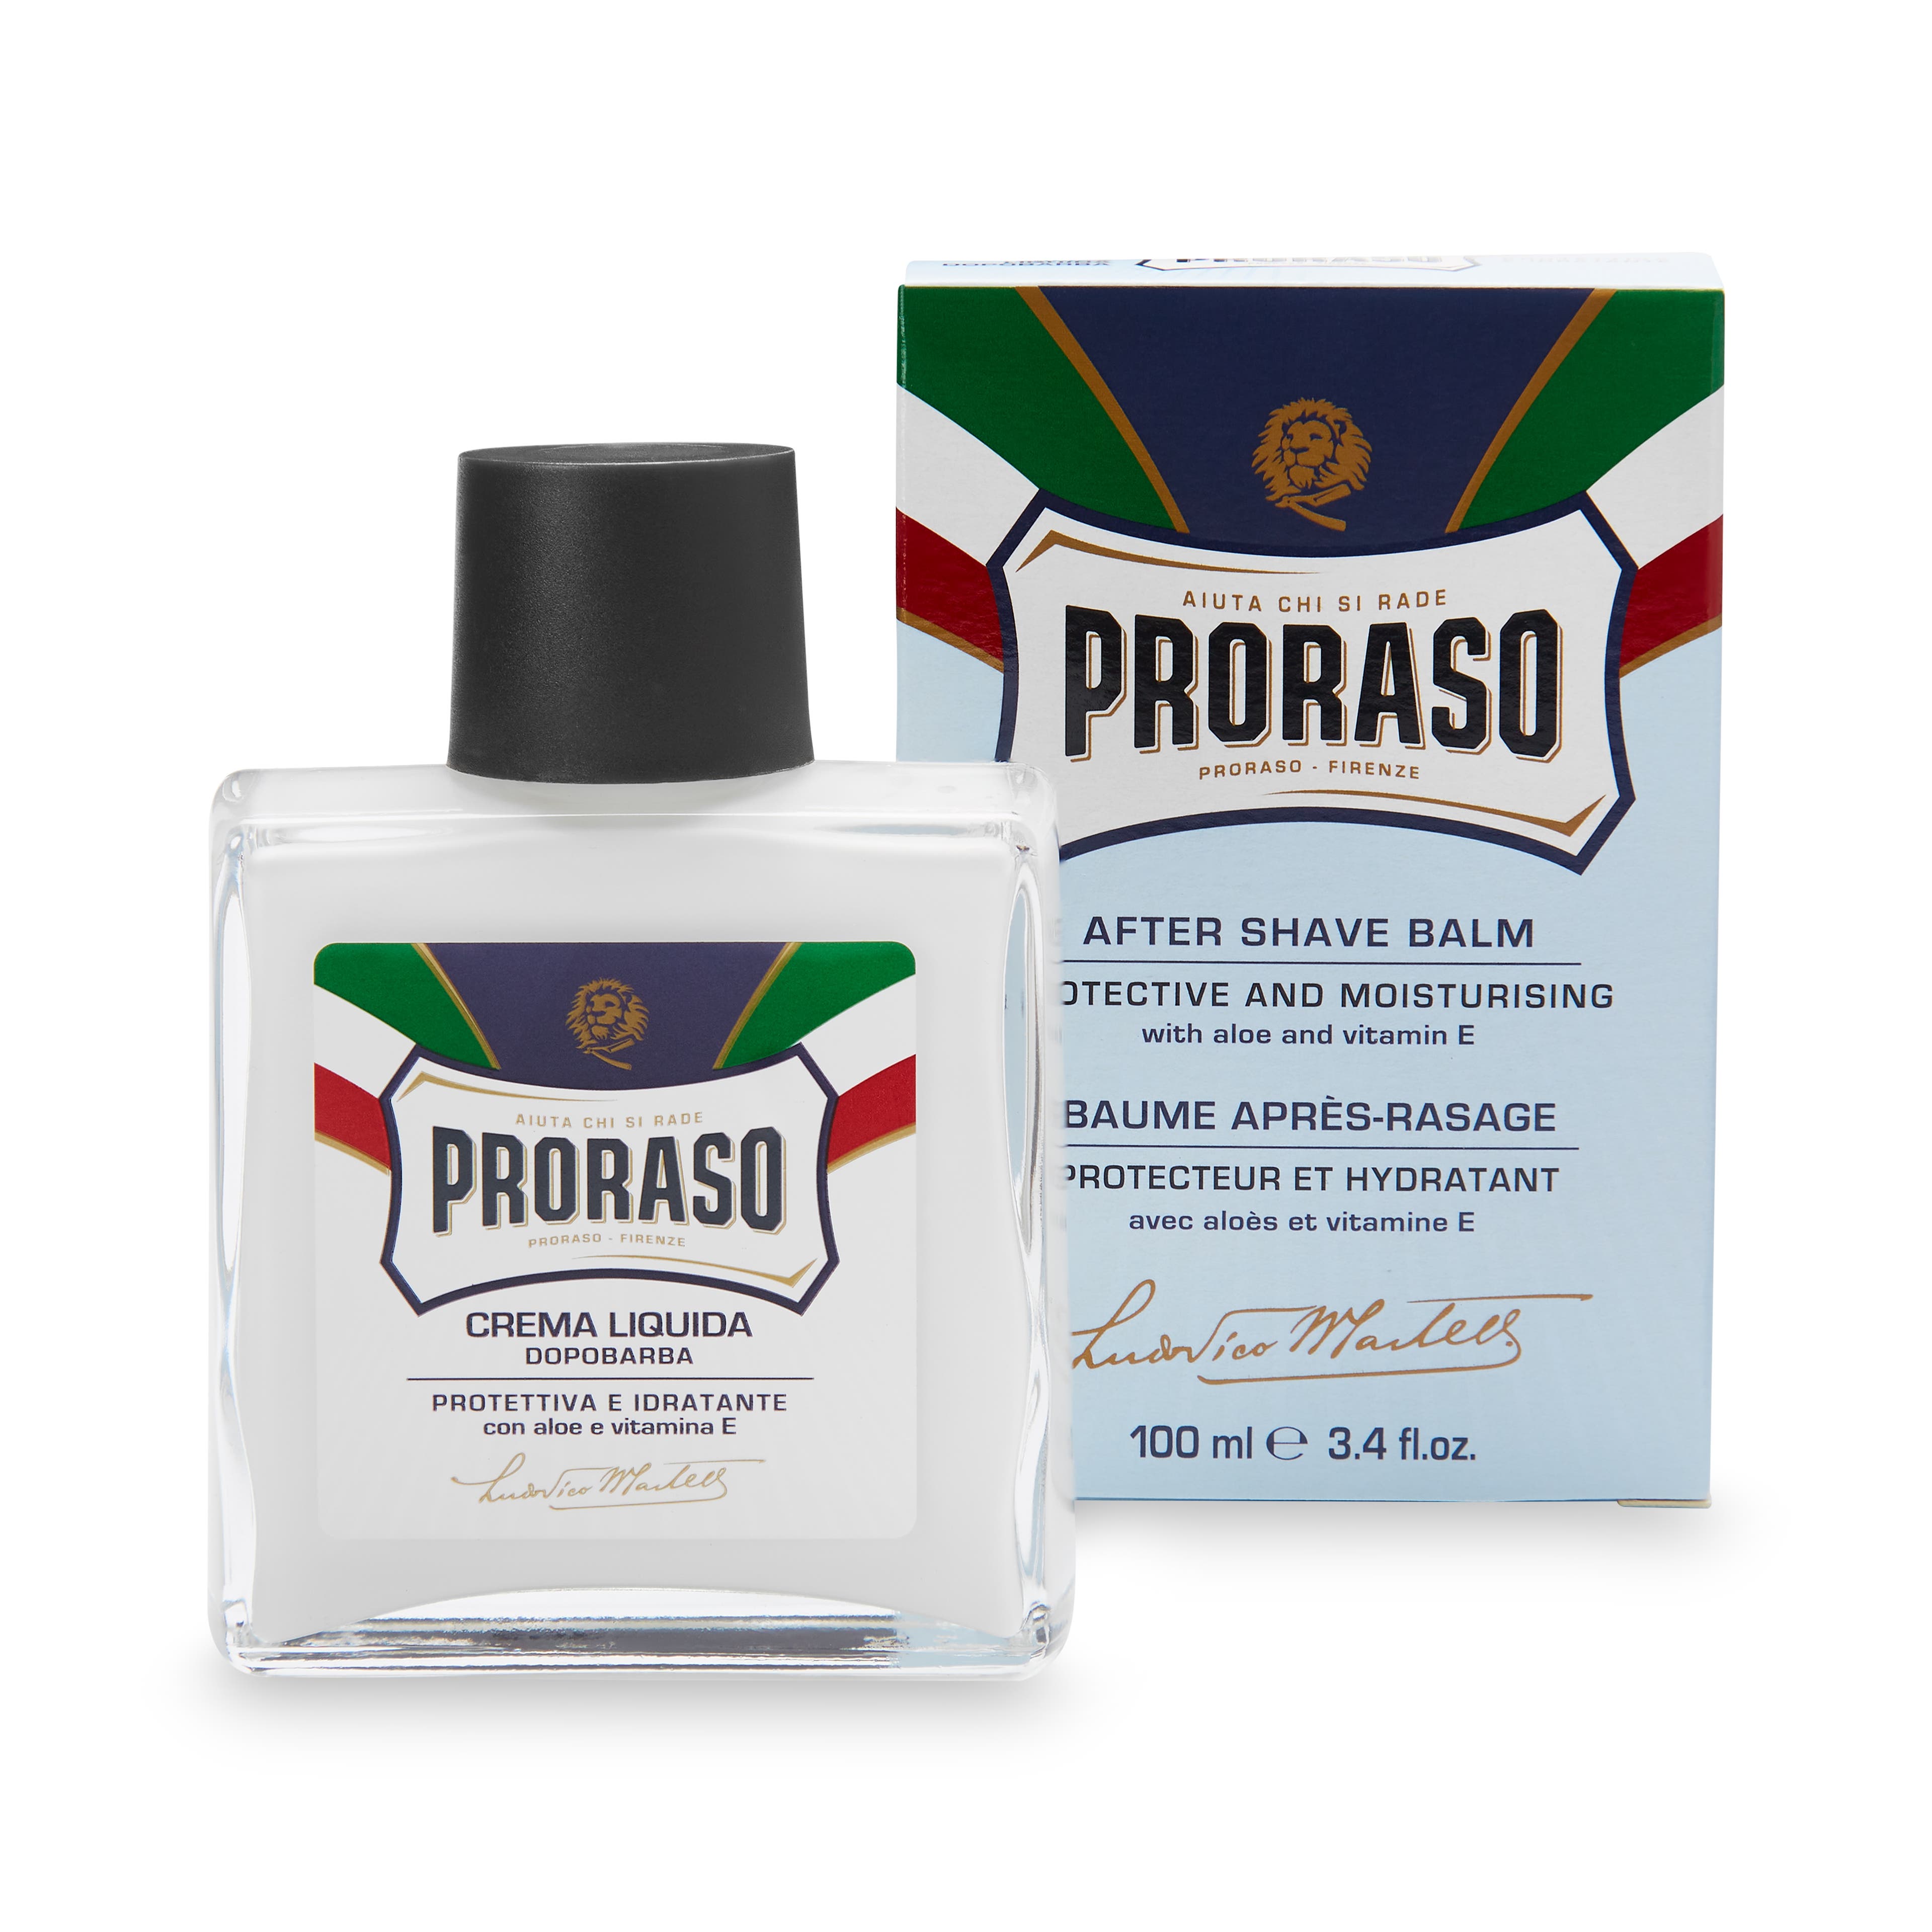
While aftershave does have a nice scent, that is not its sole purpose. It’s a good option if you have acne or are prone to breakouts and irritation after shaving.
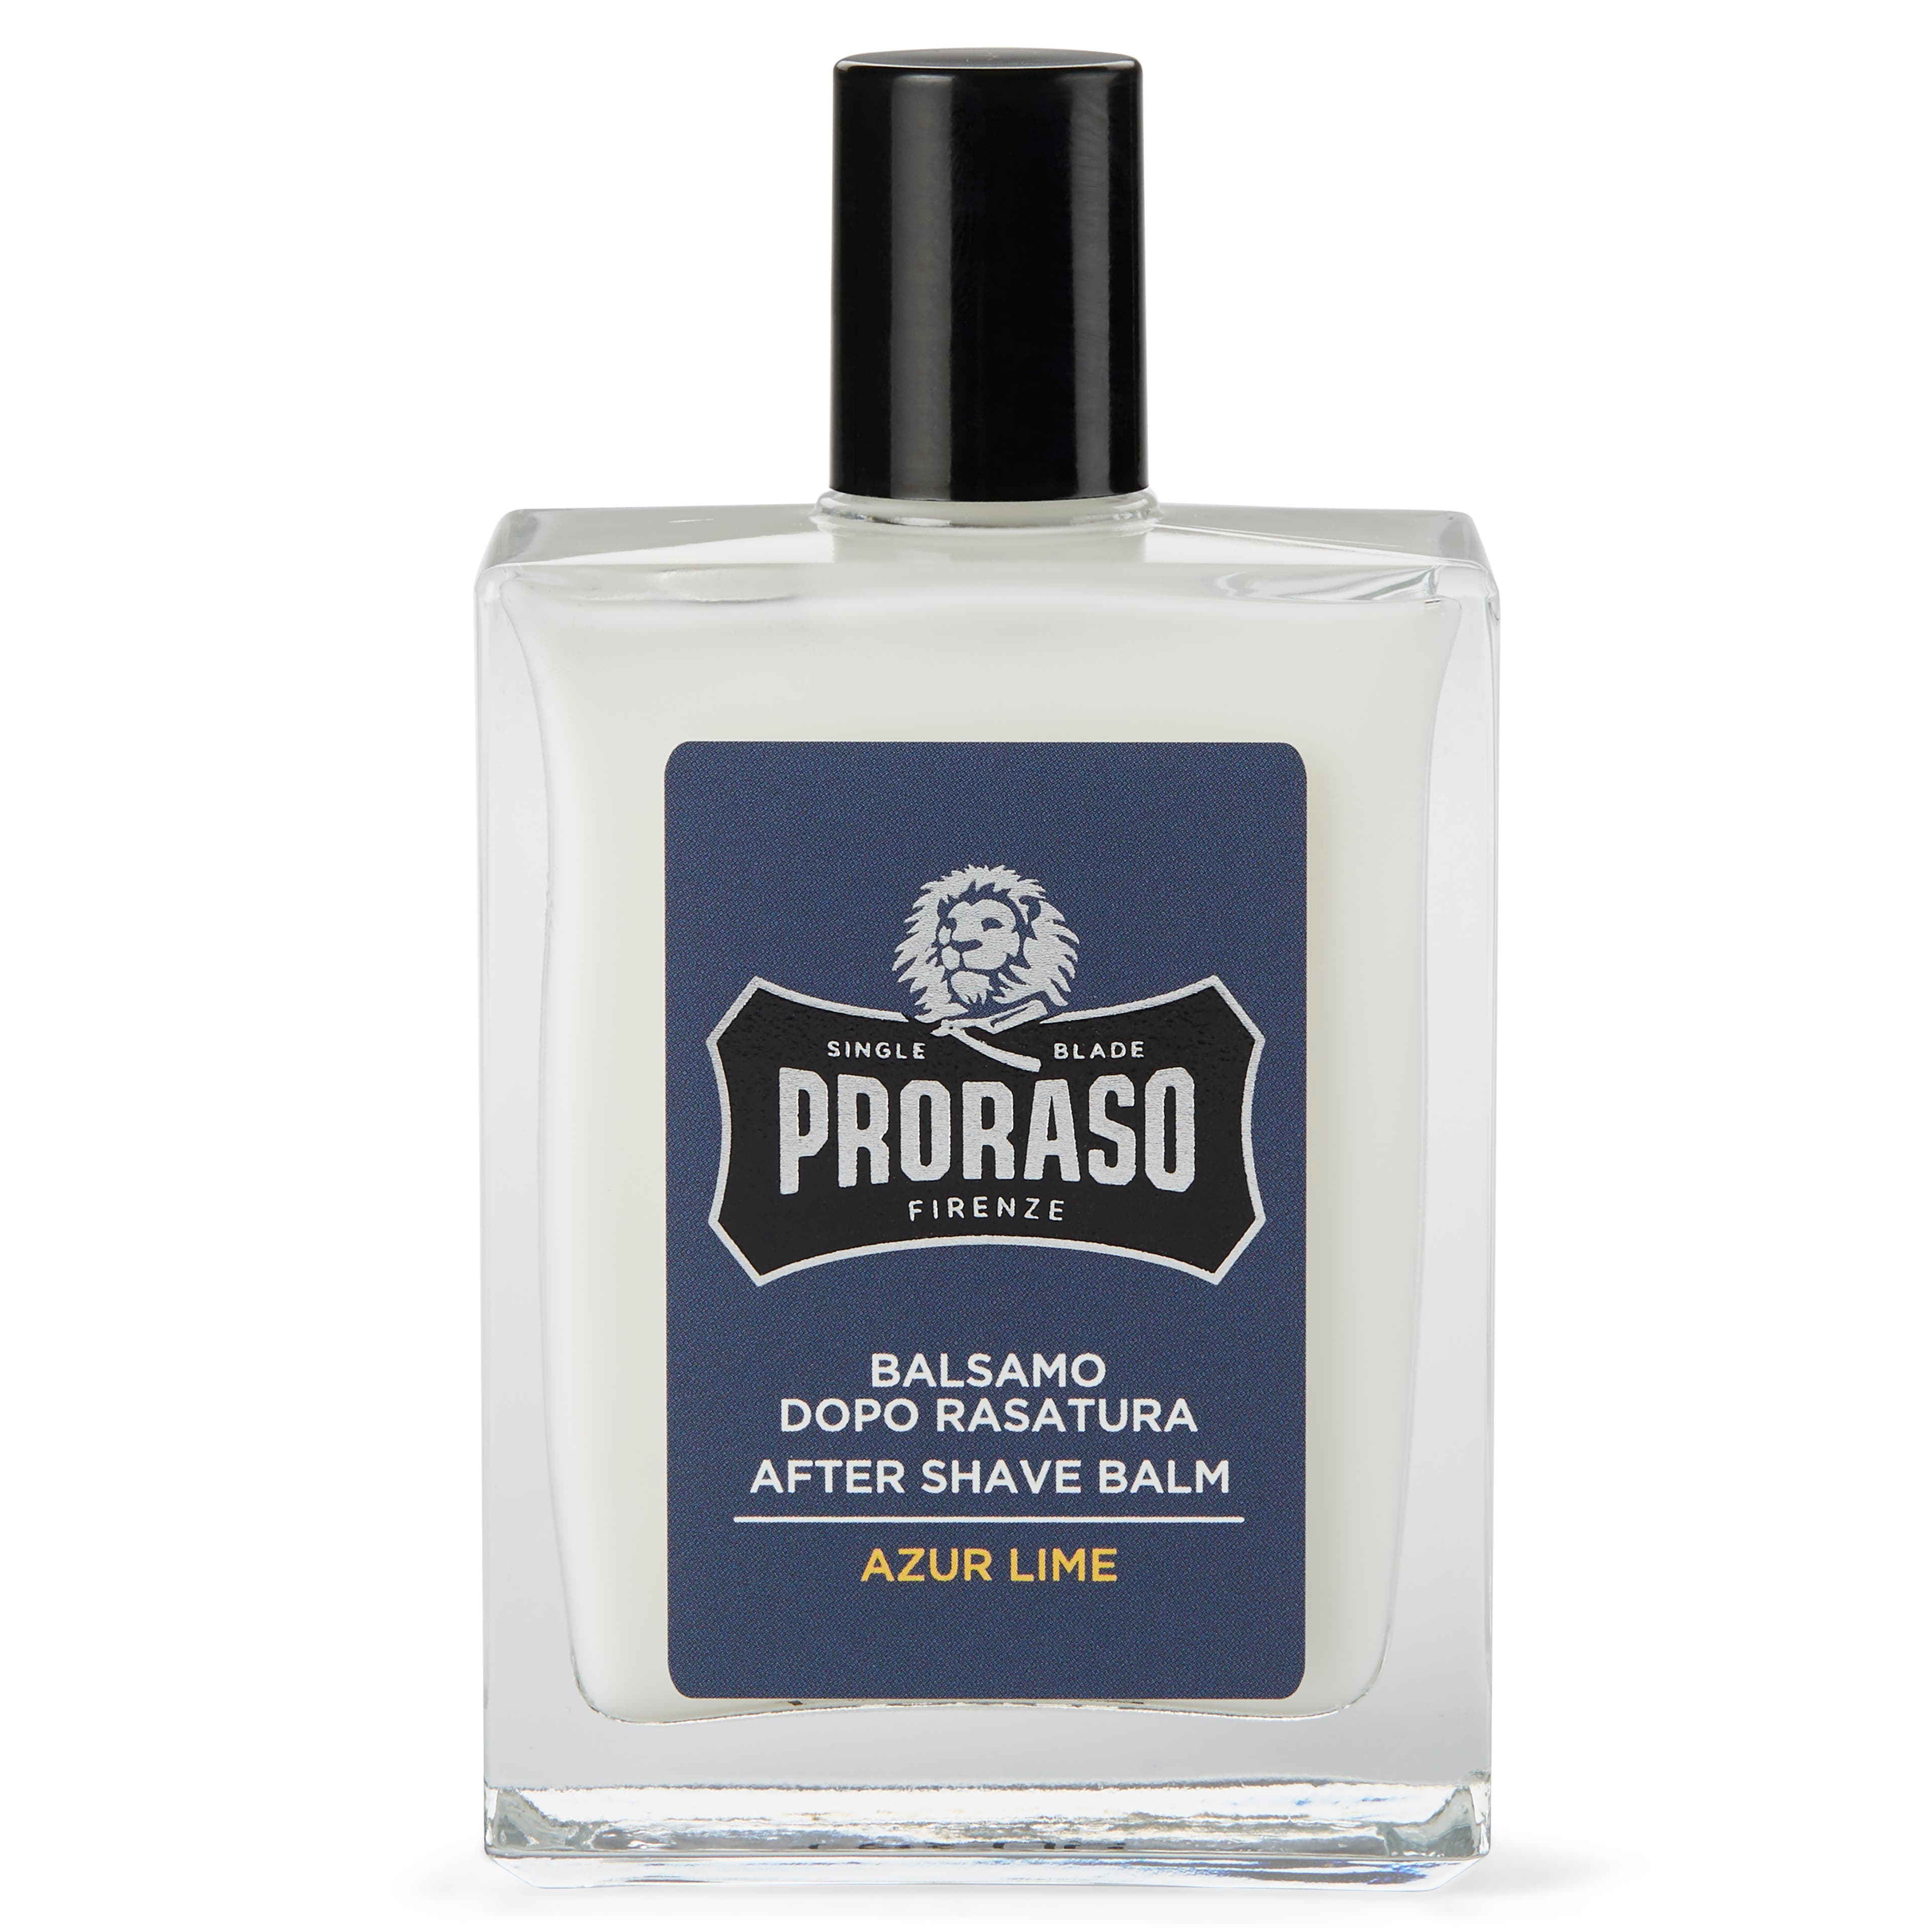
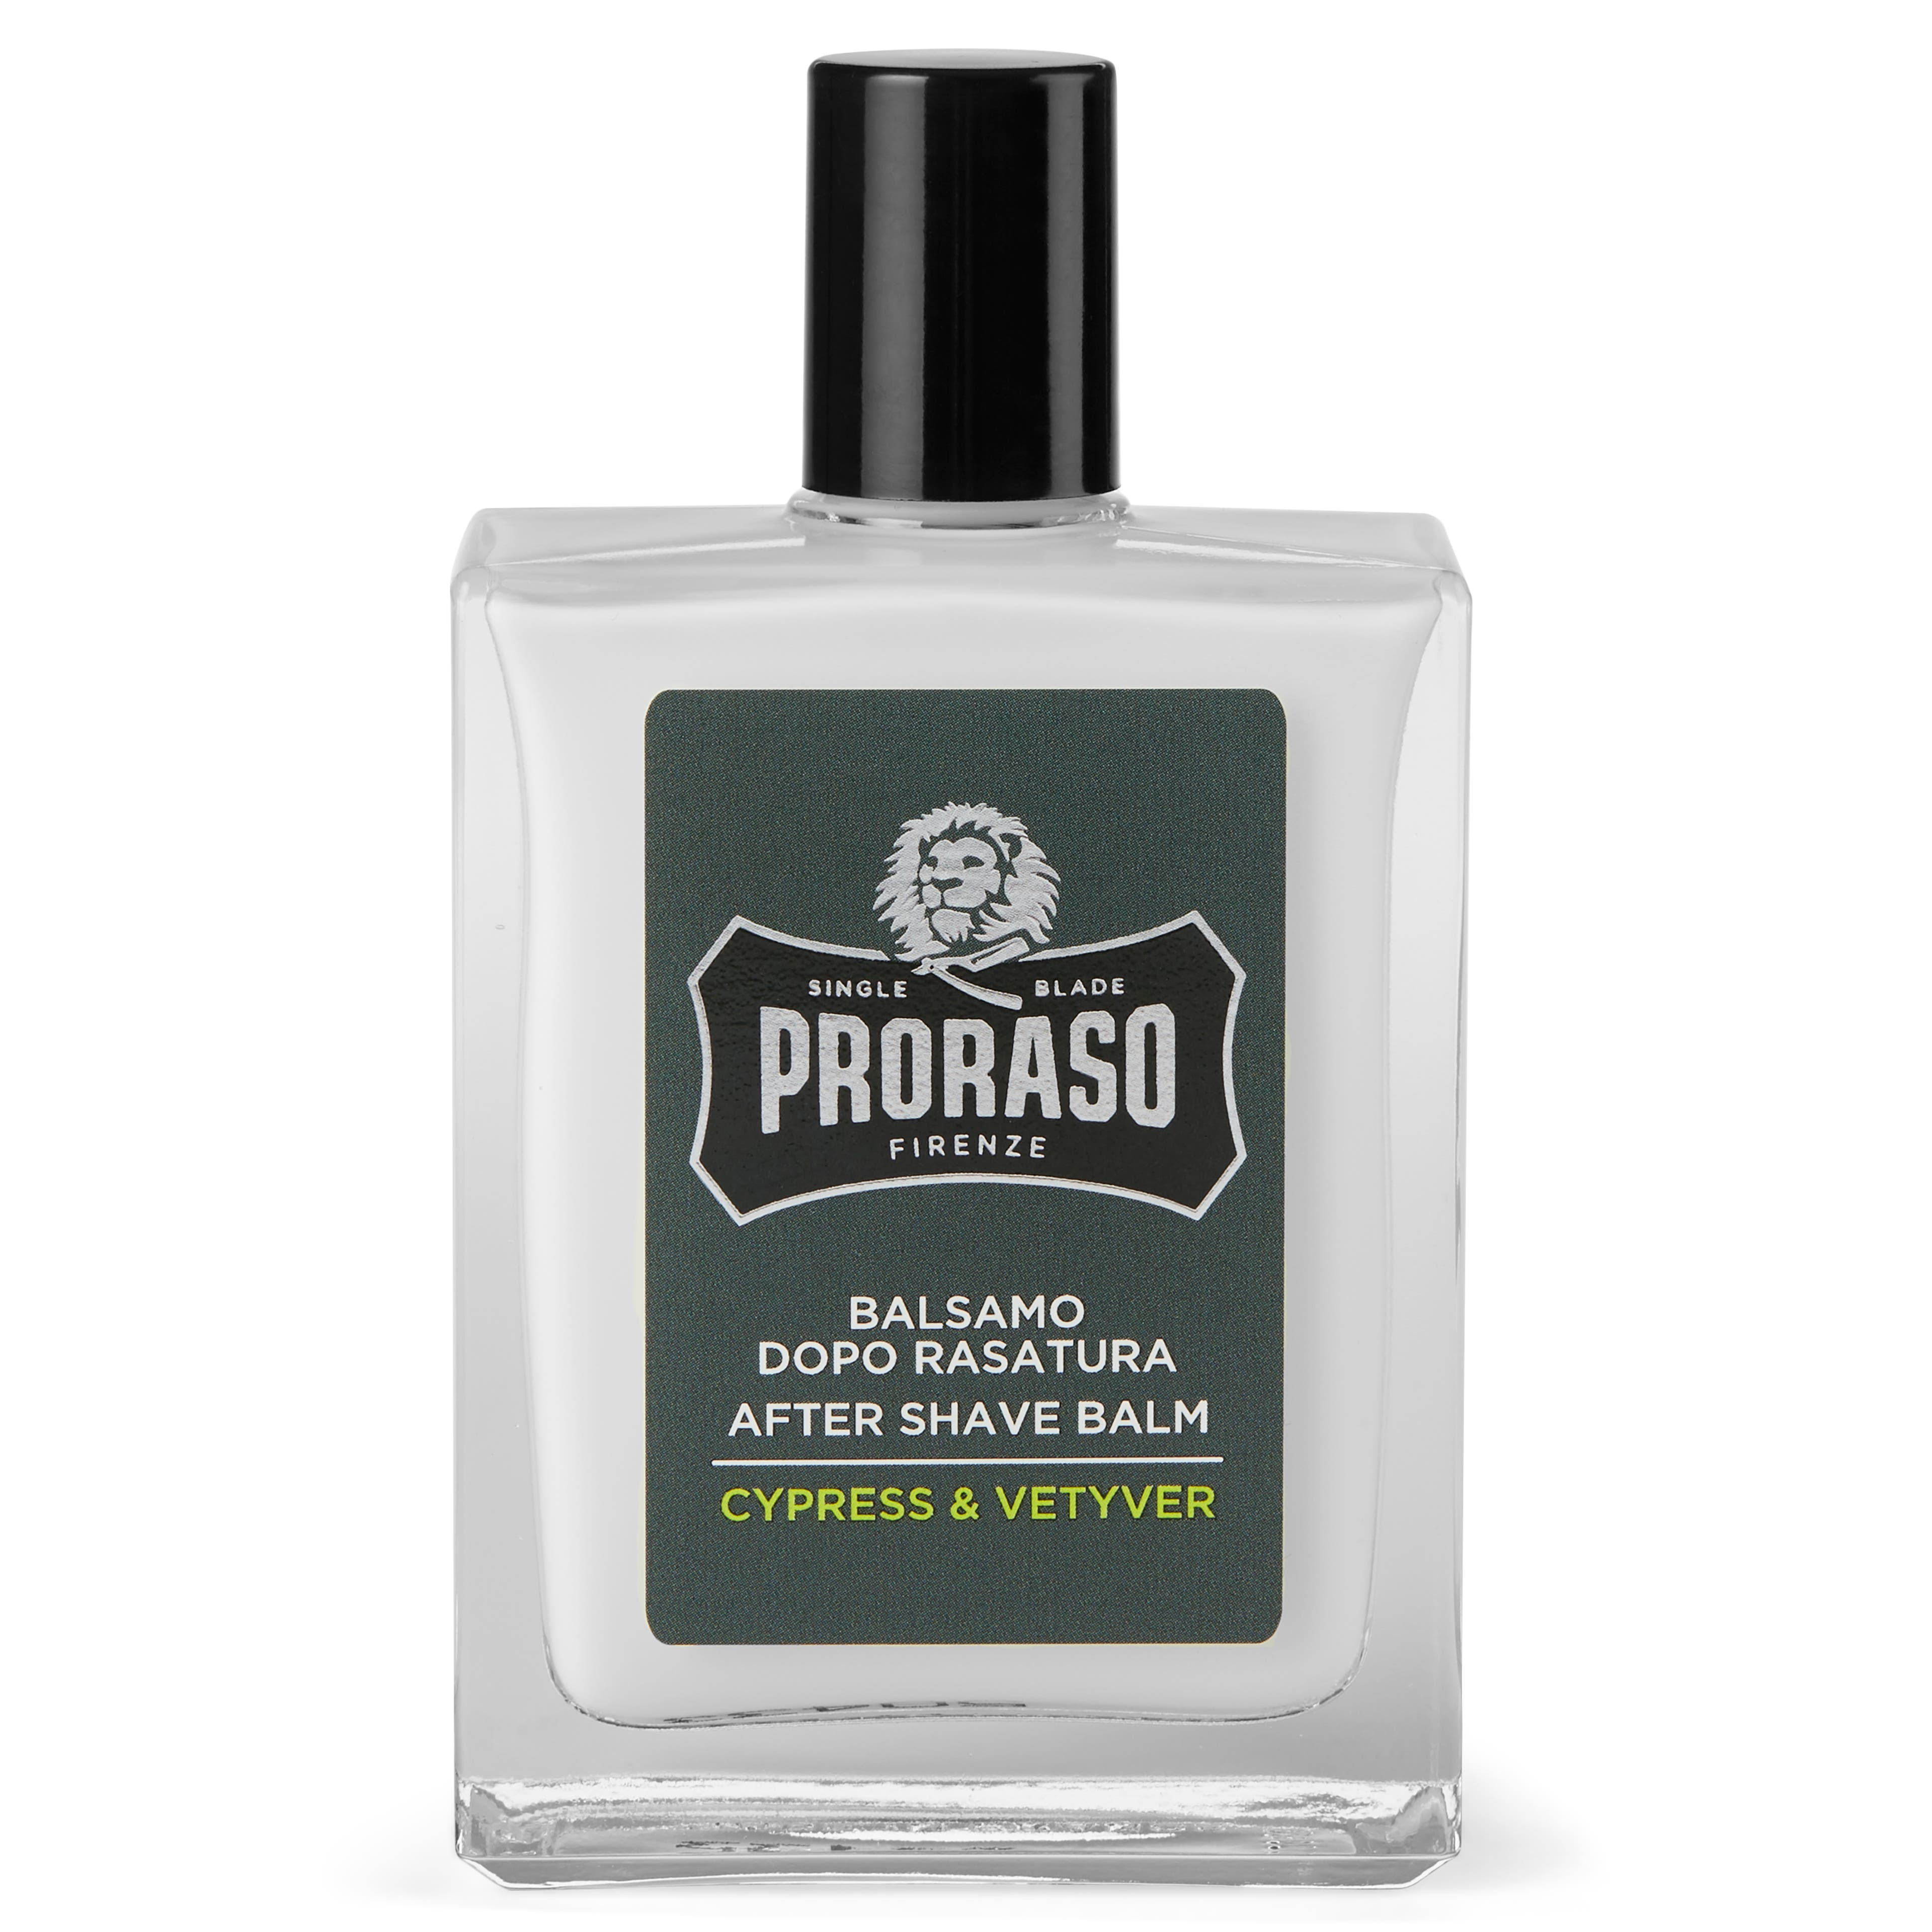
Aftershave is used to clear bacteria out your pores left from the razor blade or shaving cream. Most have astringent properties which mean they tighten the face and give you that fresh-and-ready feeling.
Ingredients to look for:
- Witch hazel
- Aloe vera
- Tea tree essential oil
Ingredients to be aware of:
- Alcohol – Alcohol may dry your skin and cause irritation.
Apply aftershave after you’ve rinsed off any remaining shaving cream with cold water.
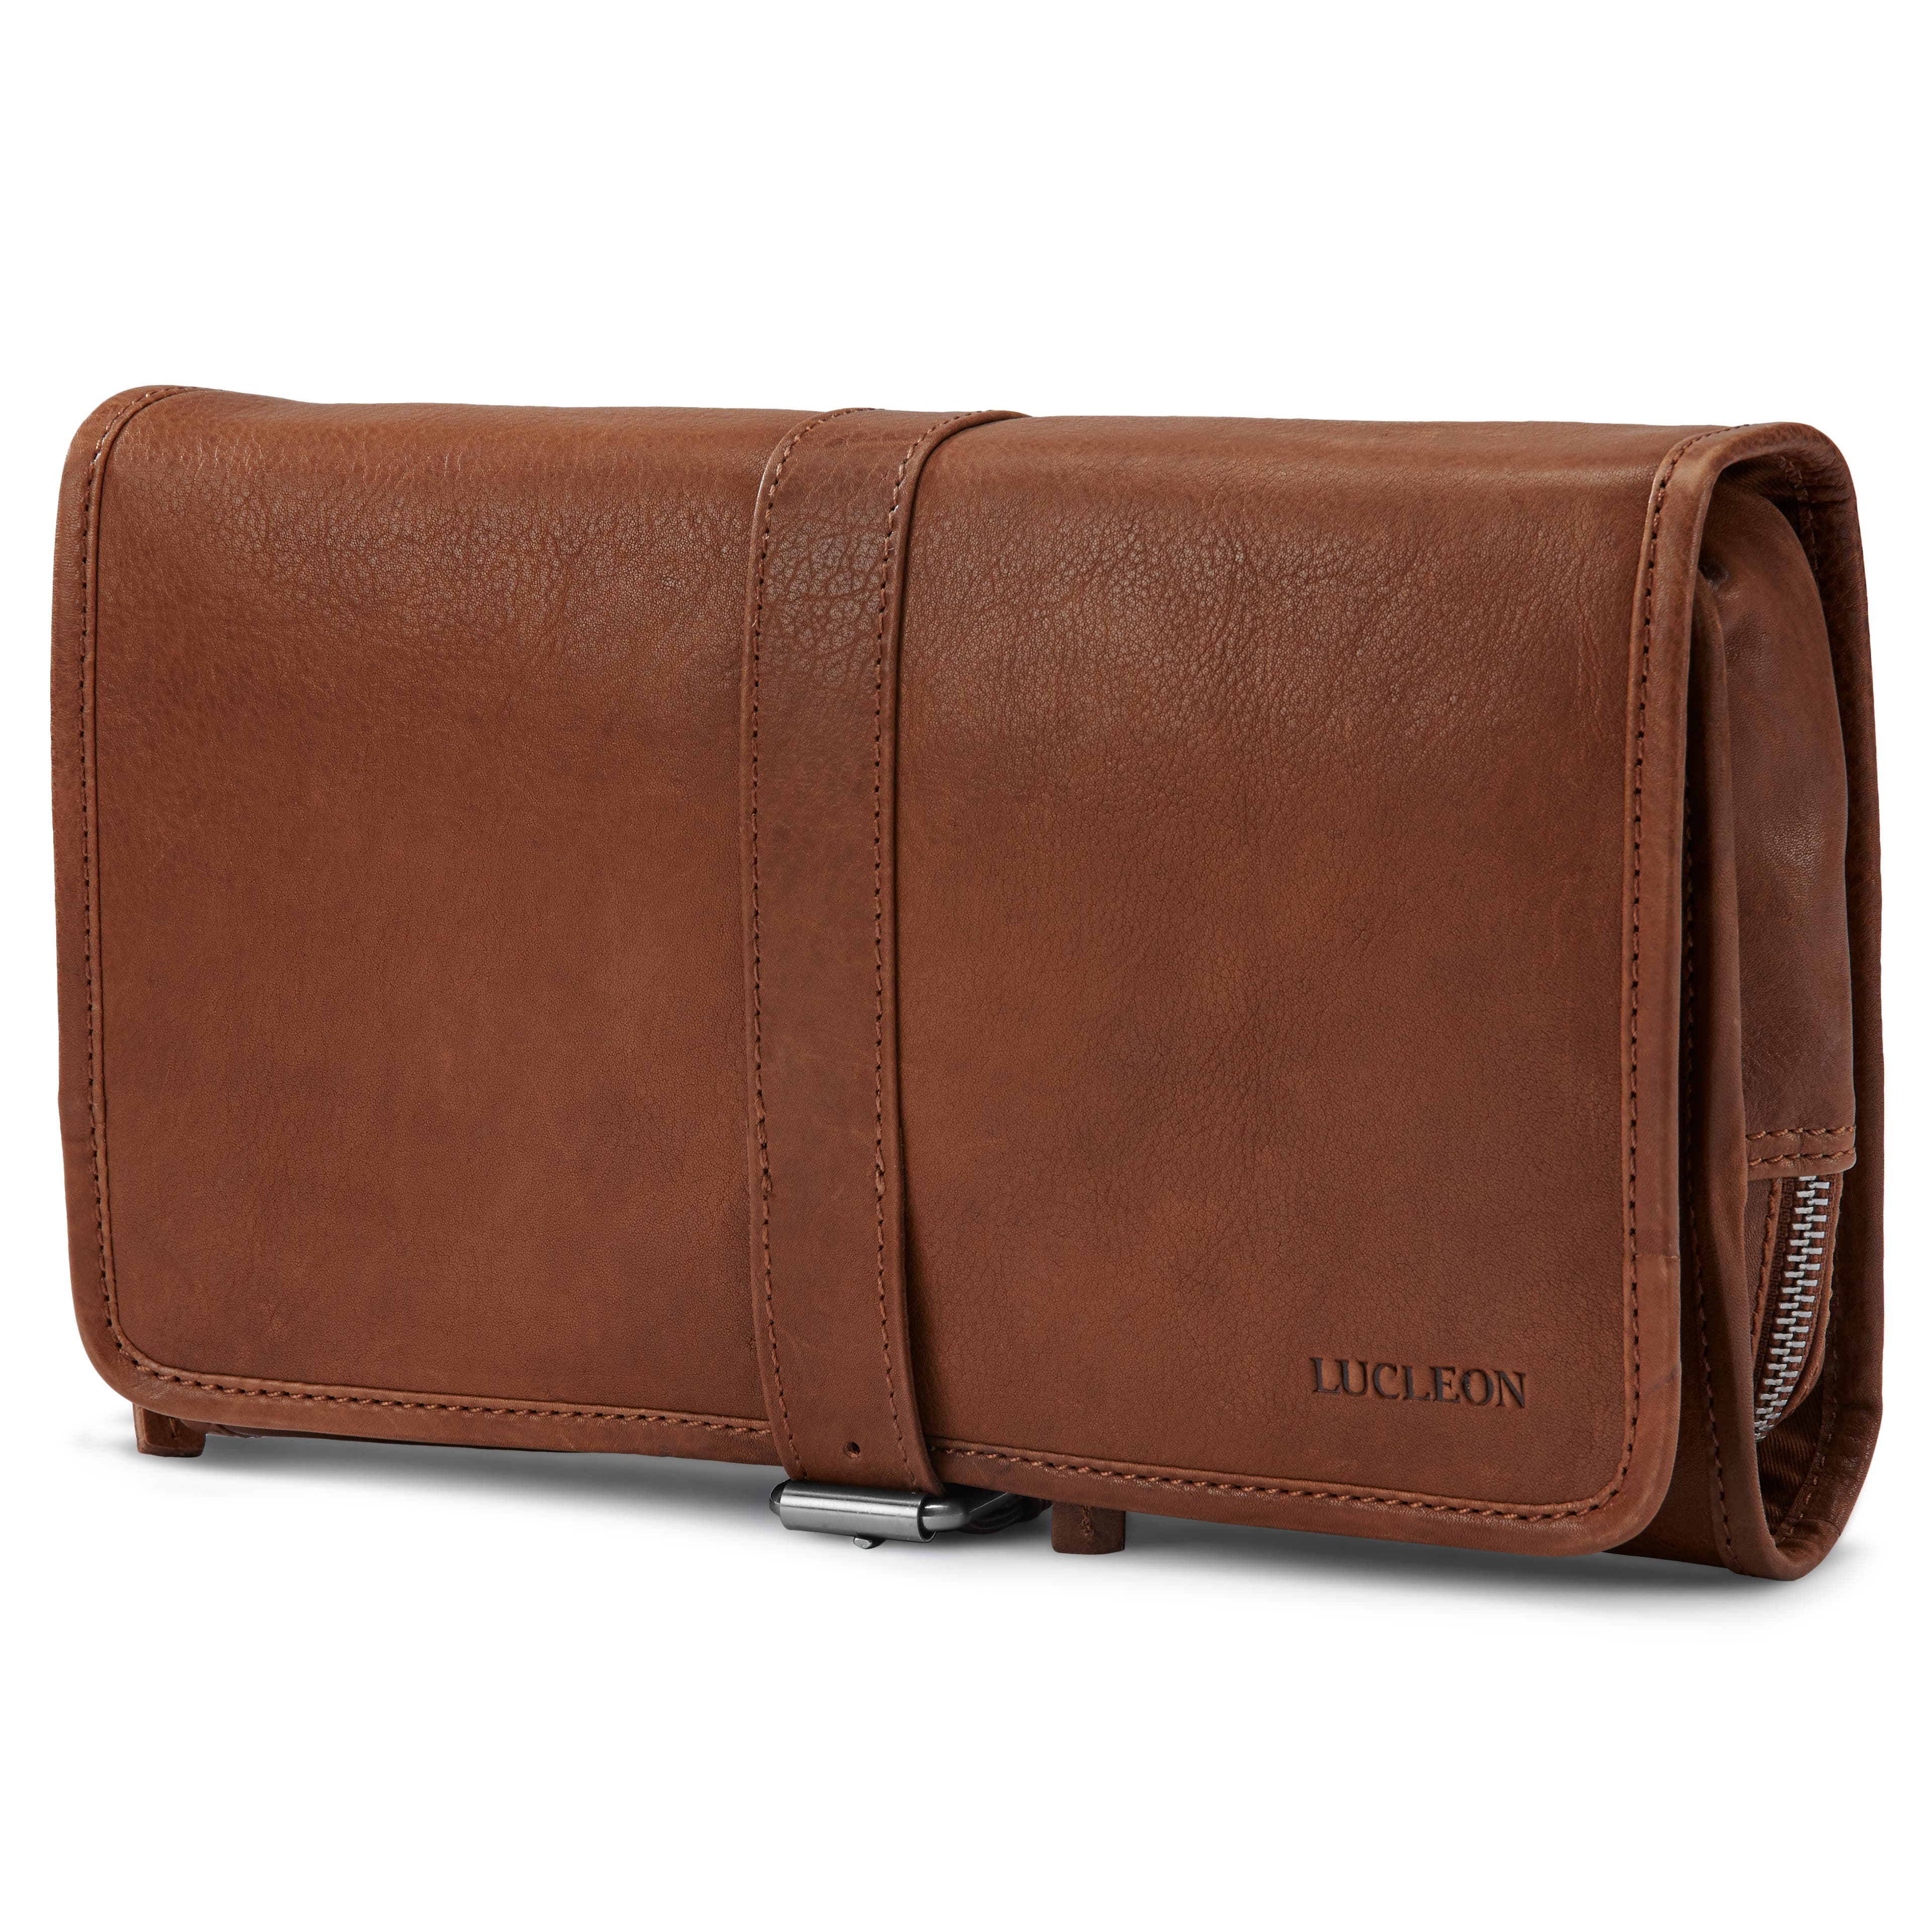
Toiletry Bag
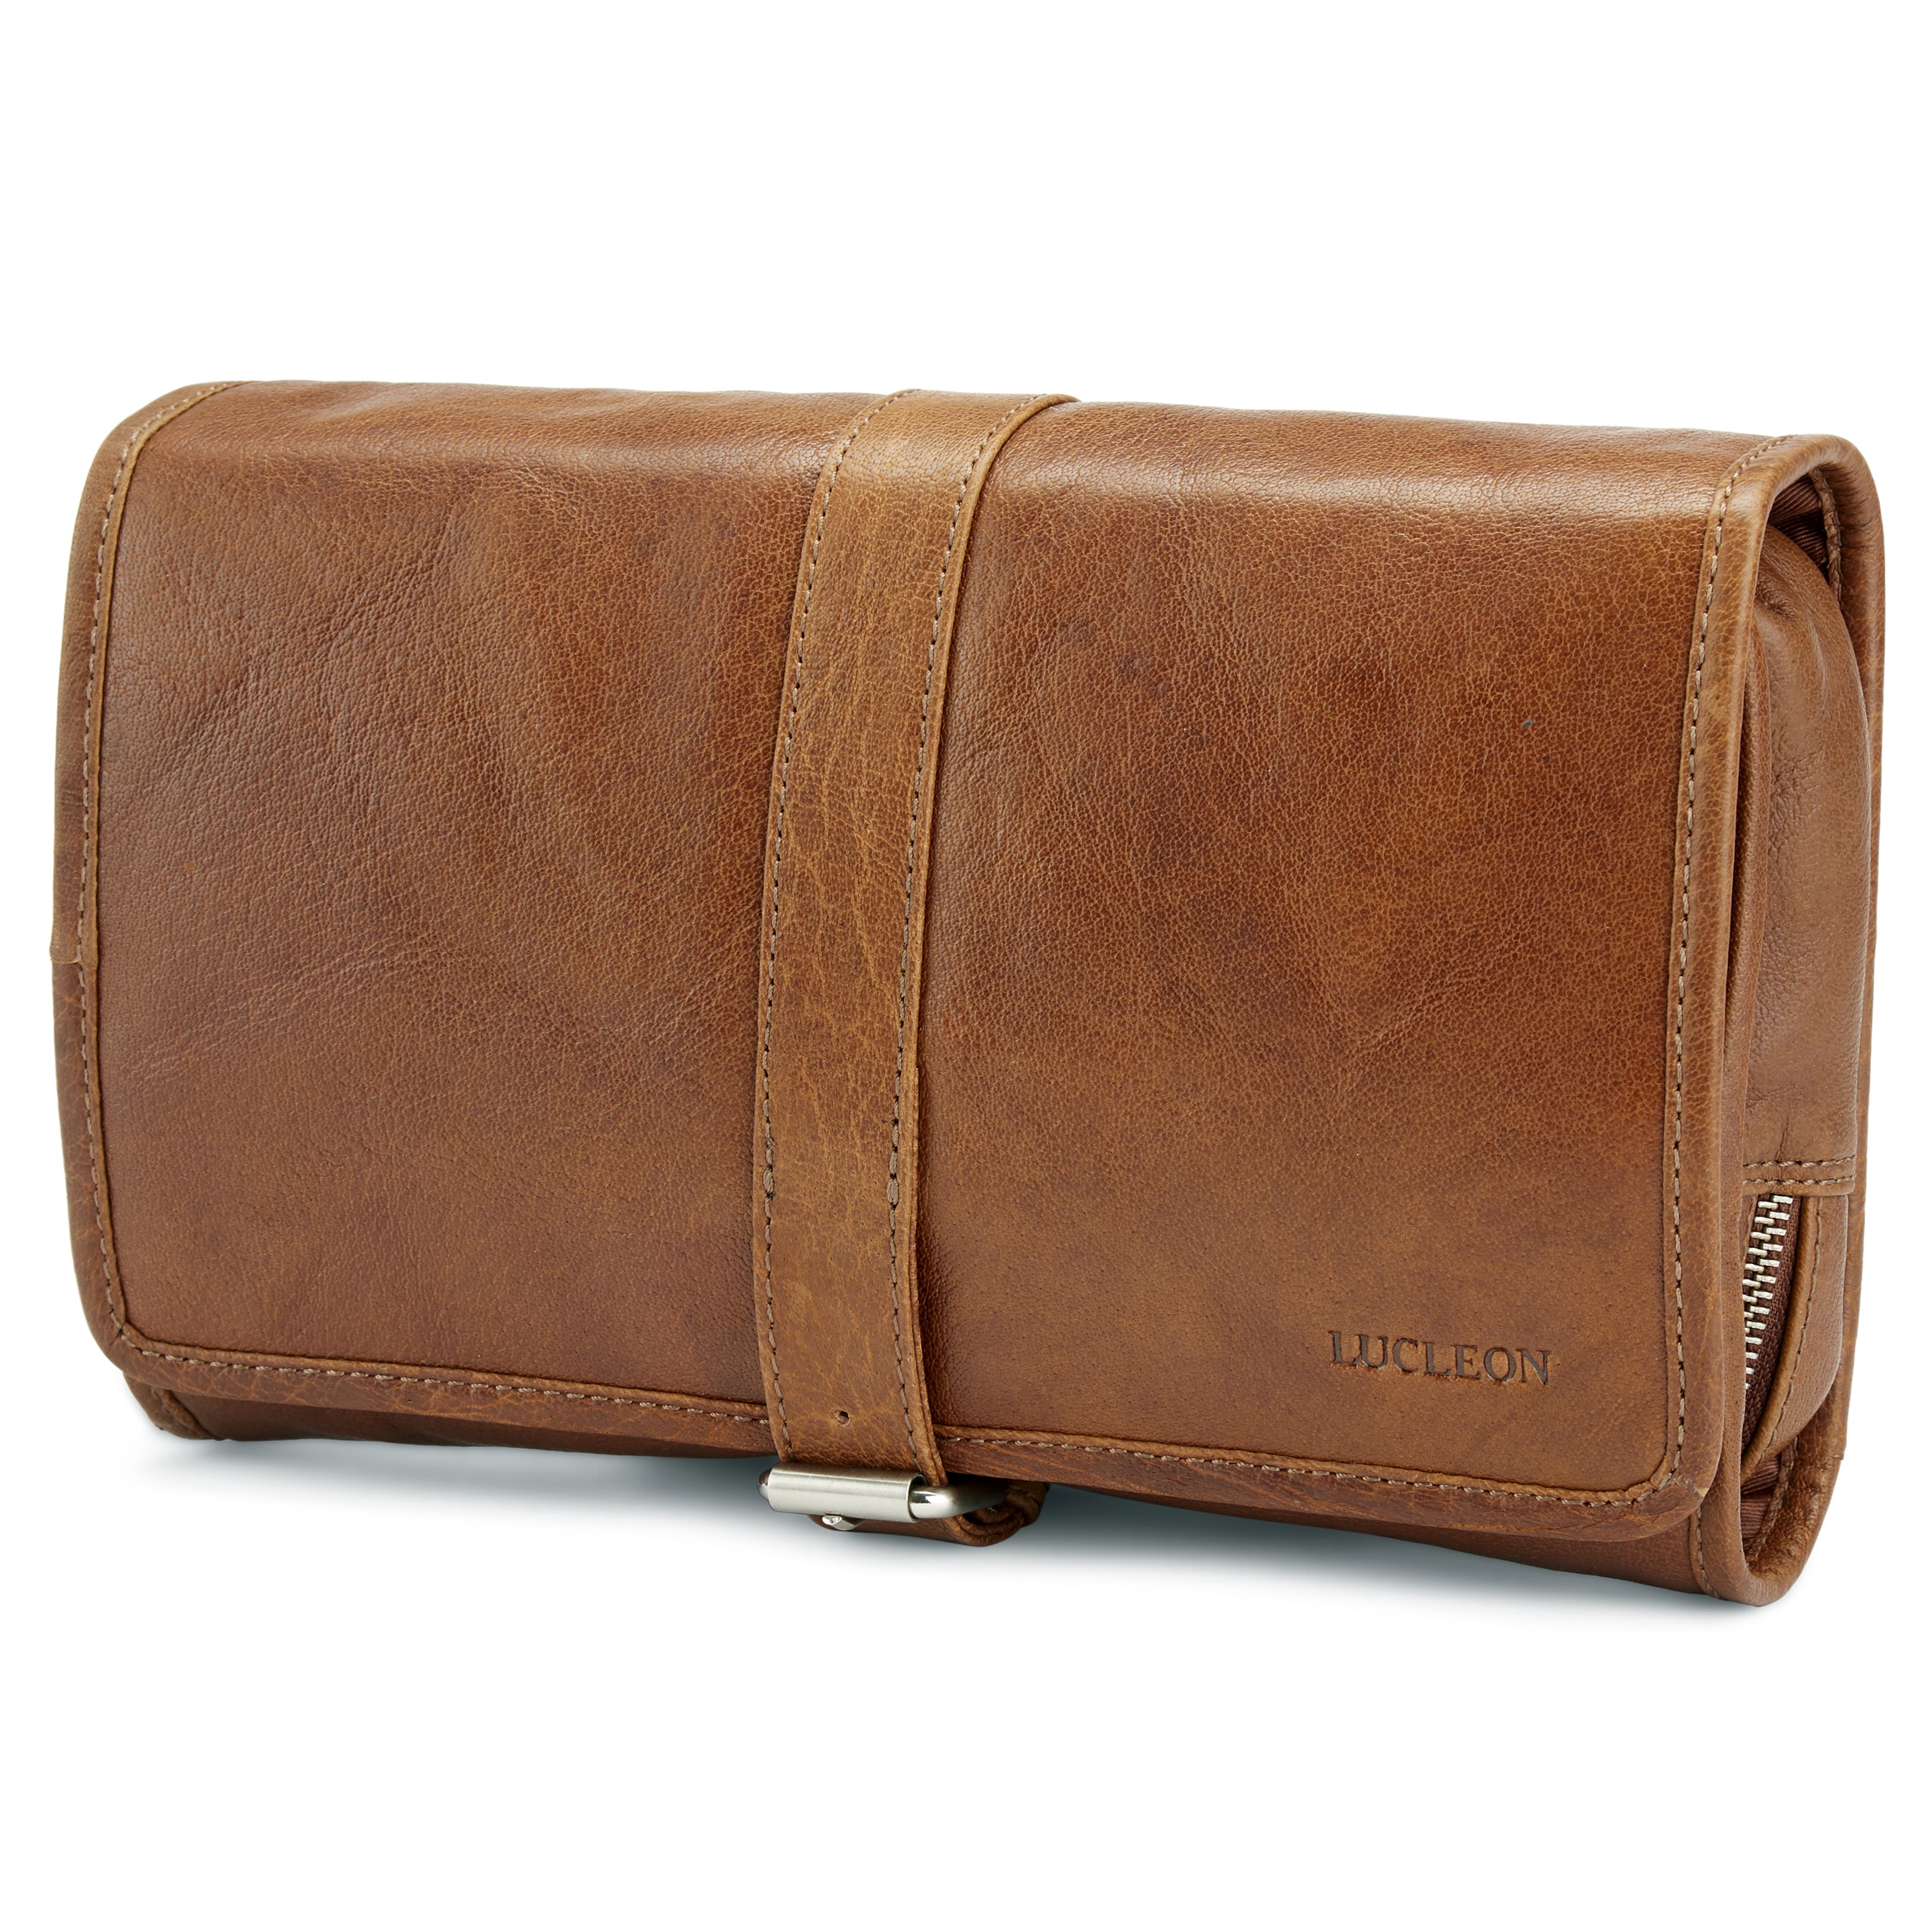
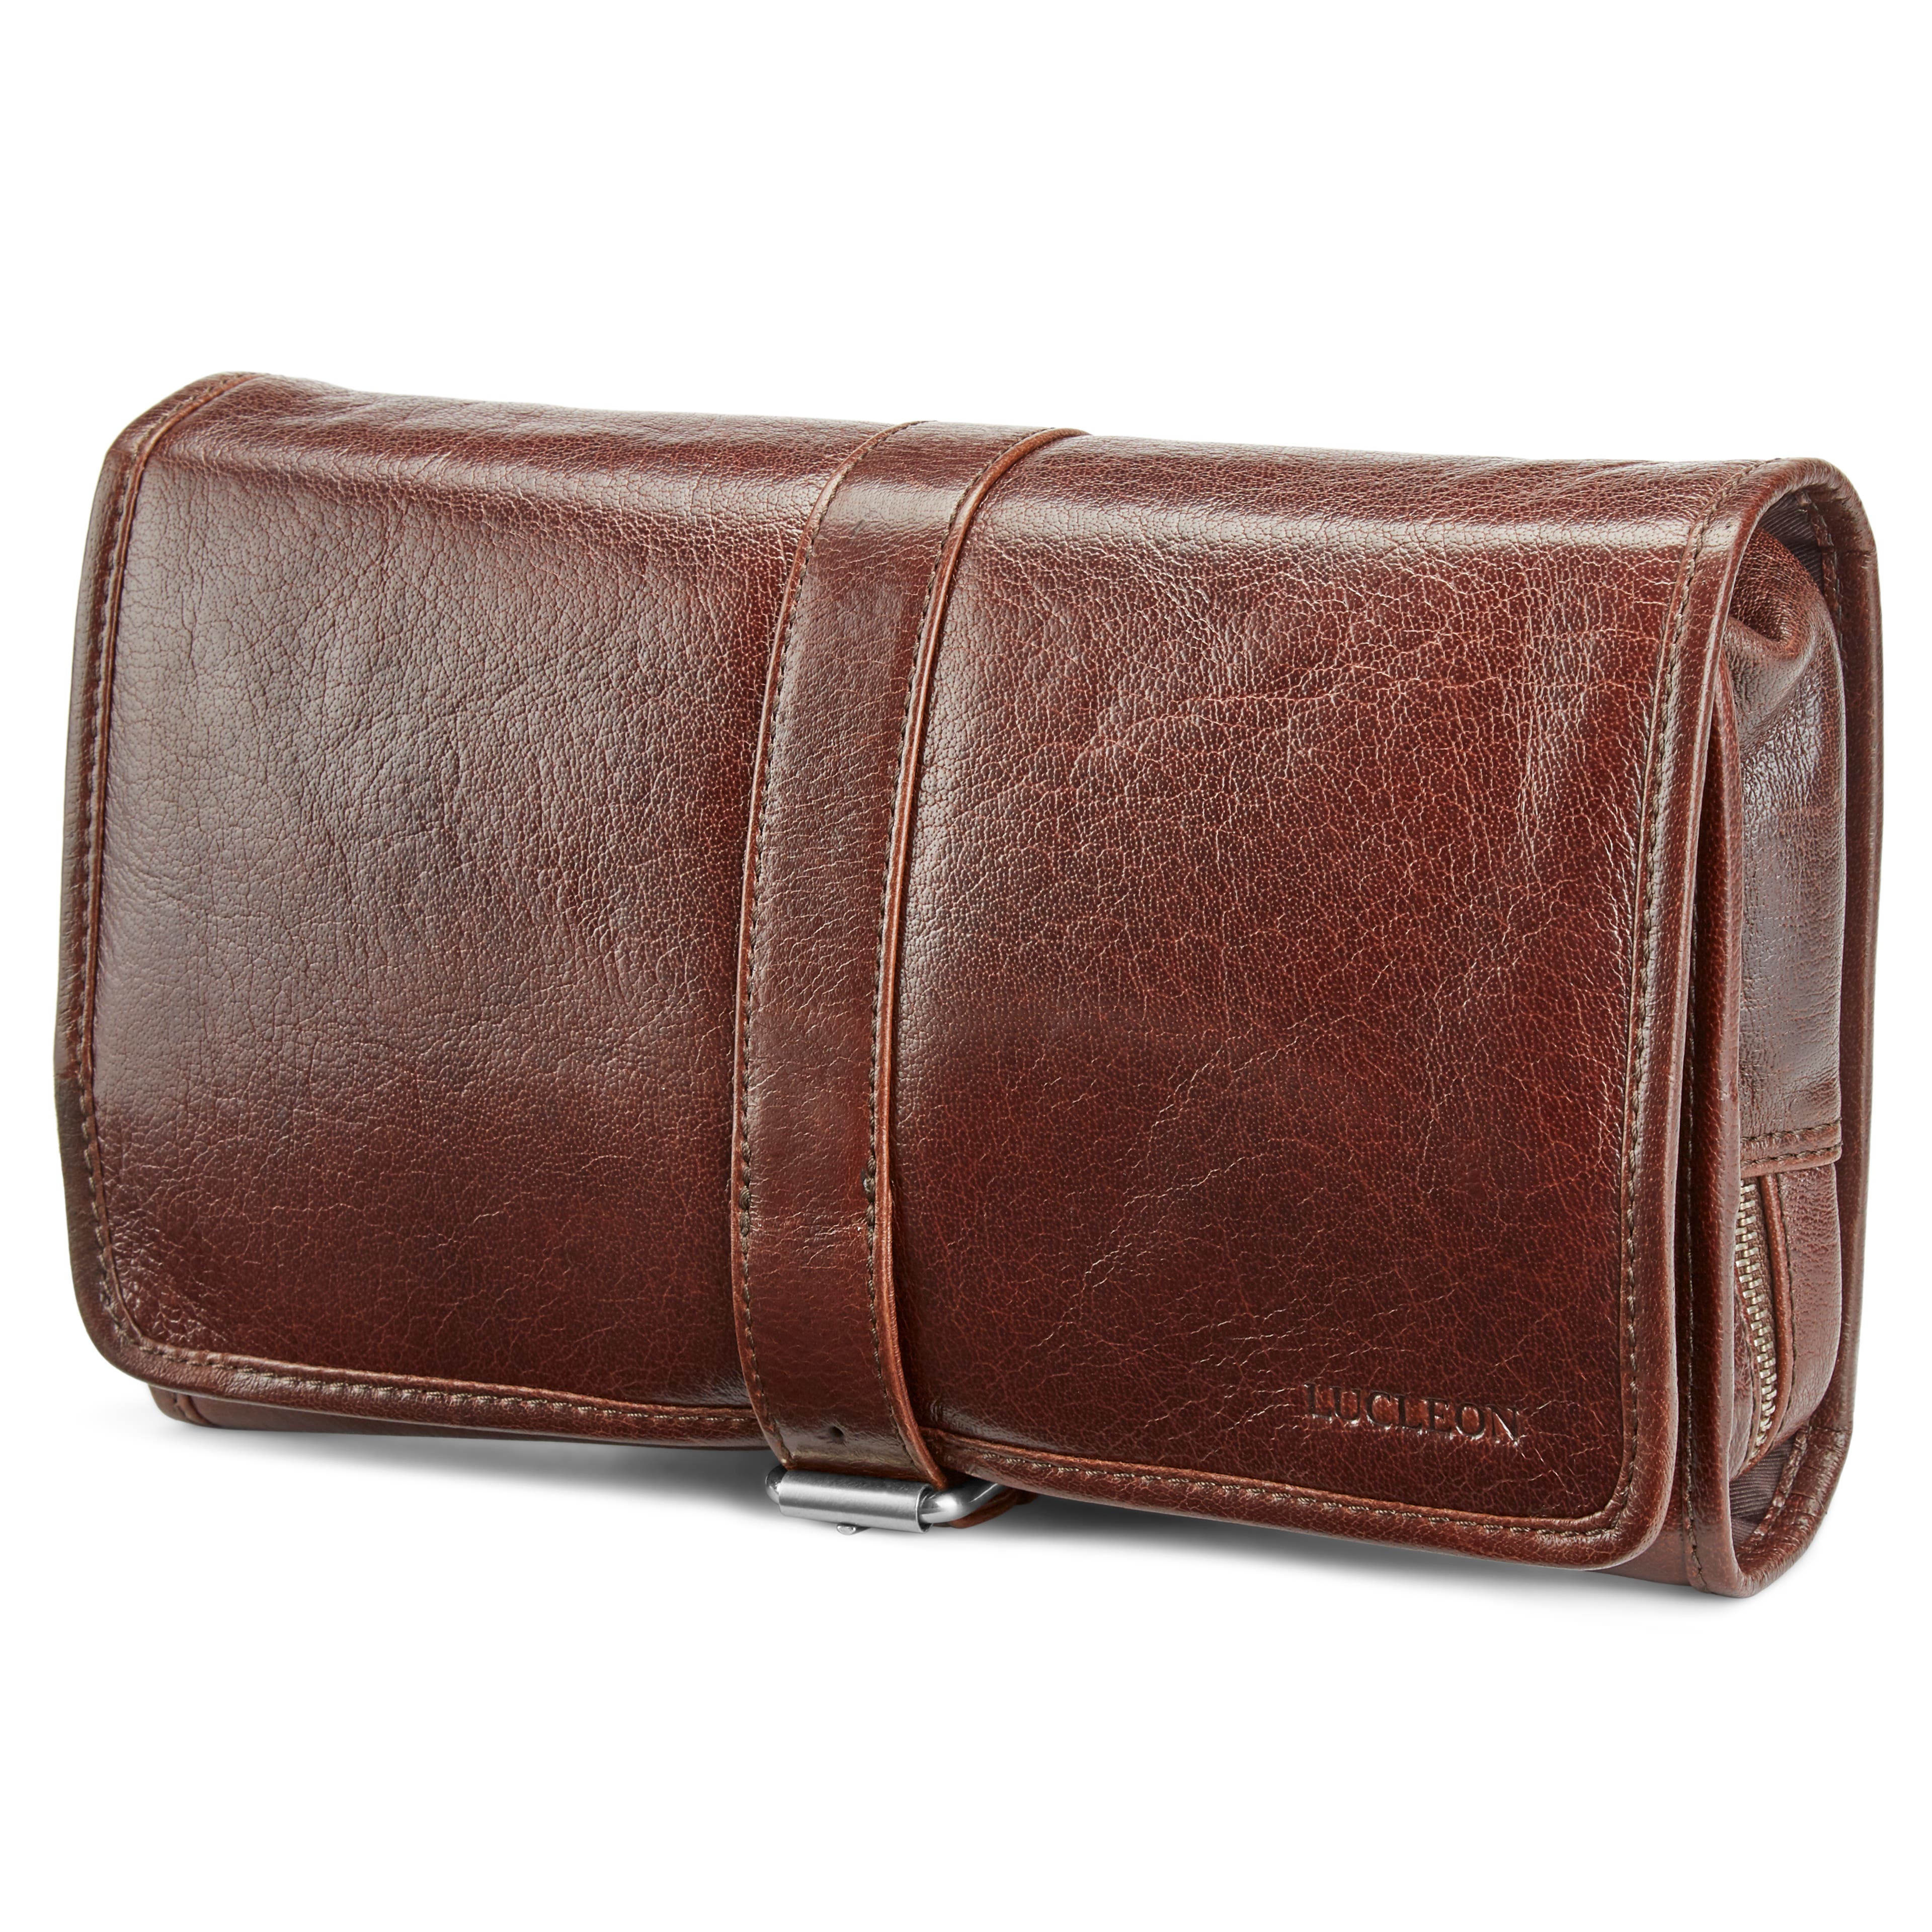
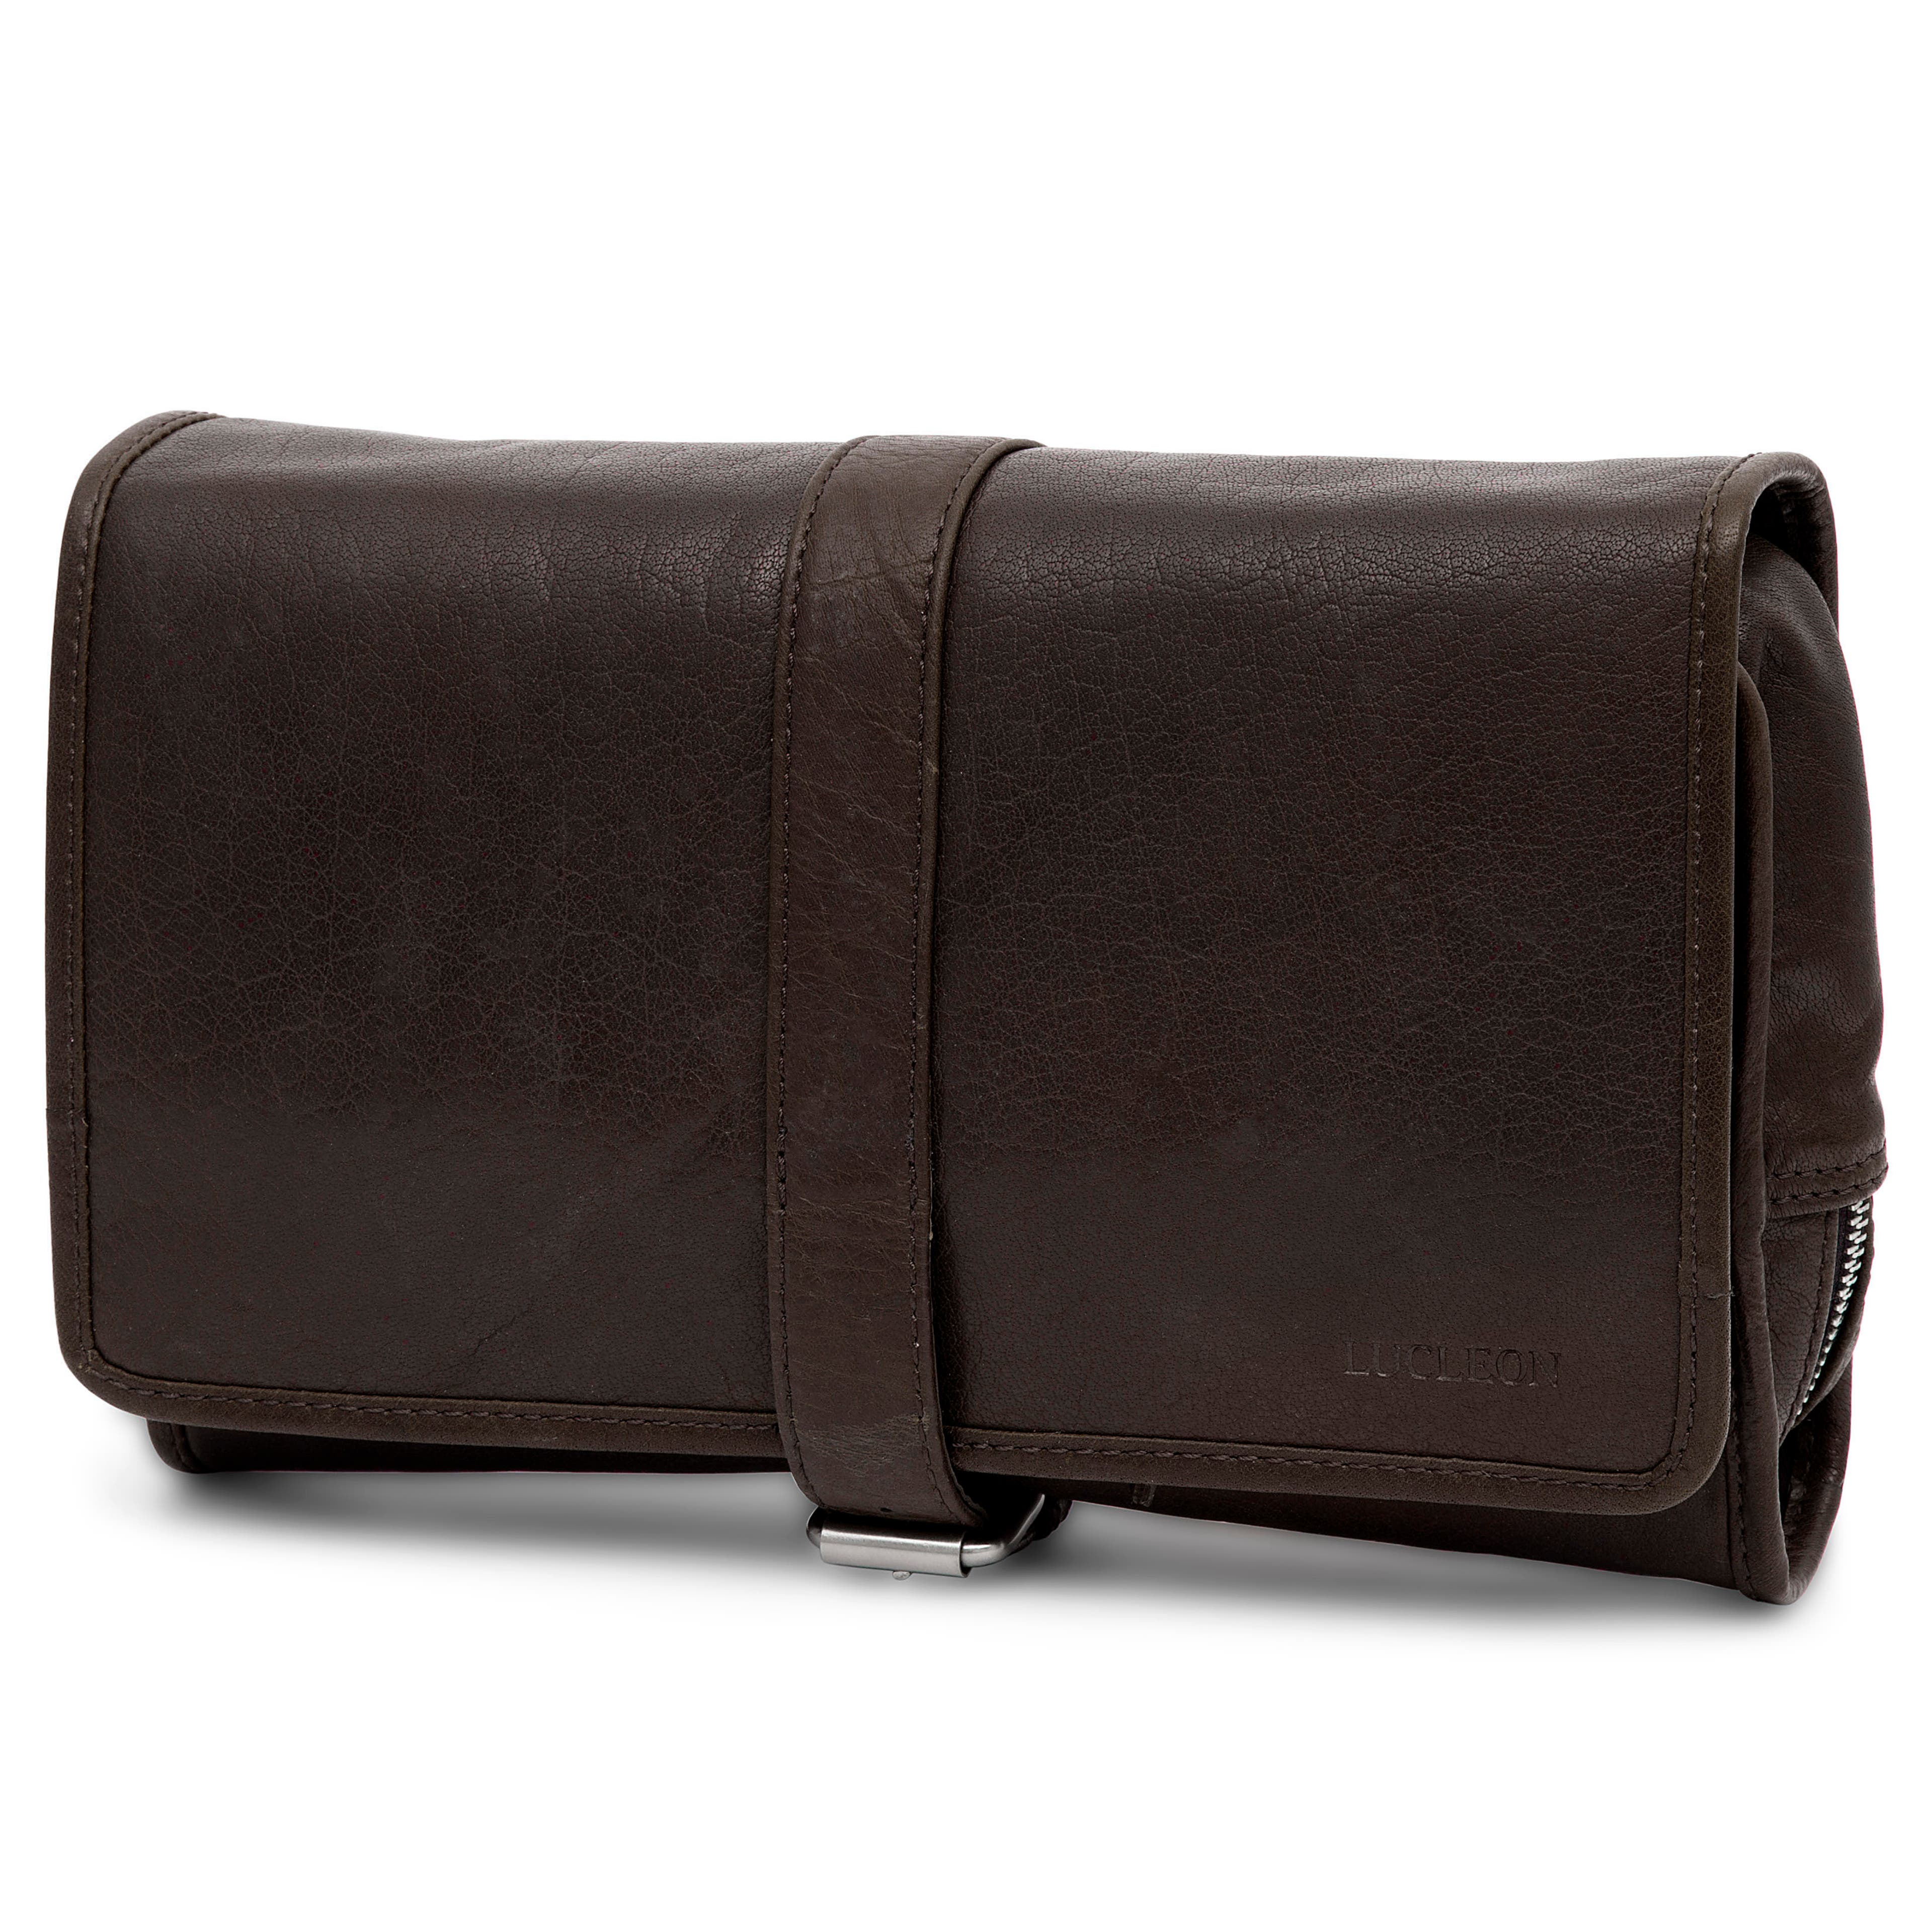
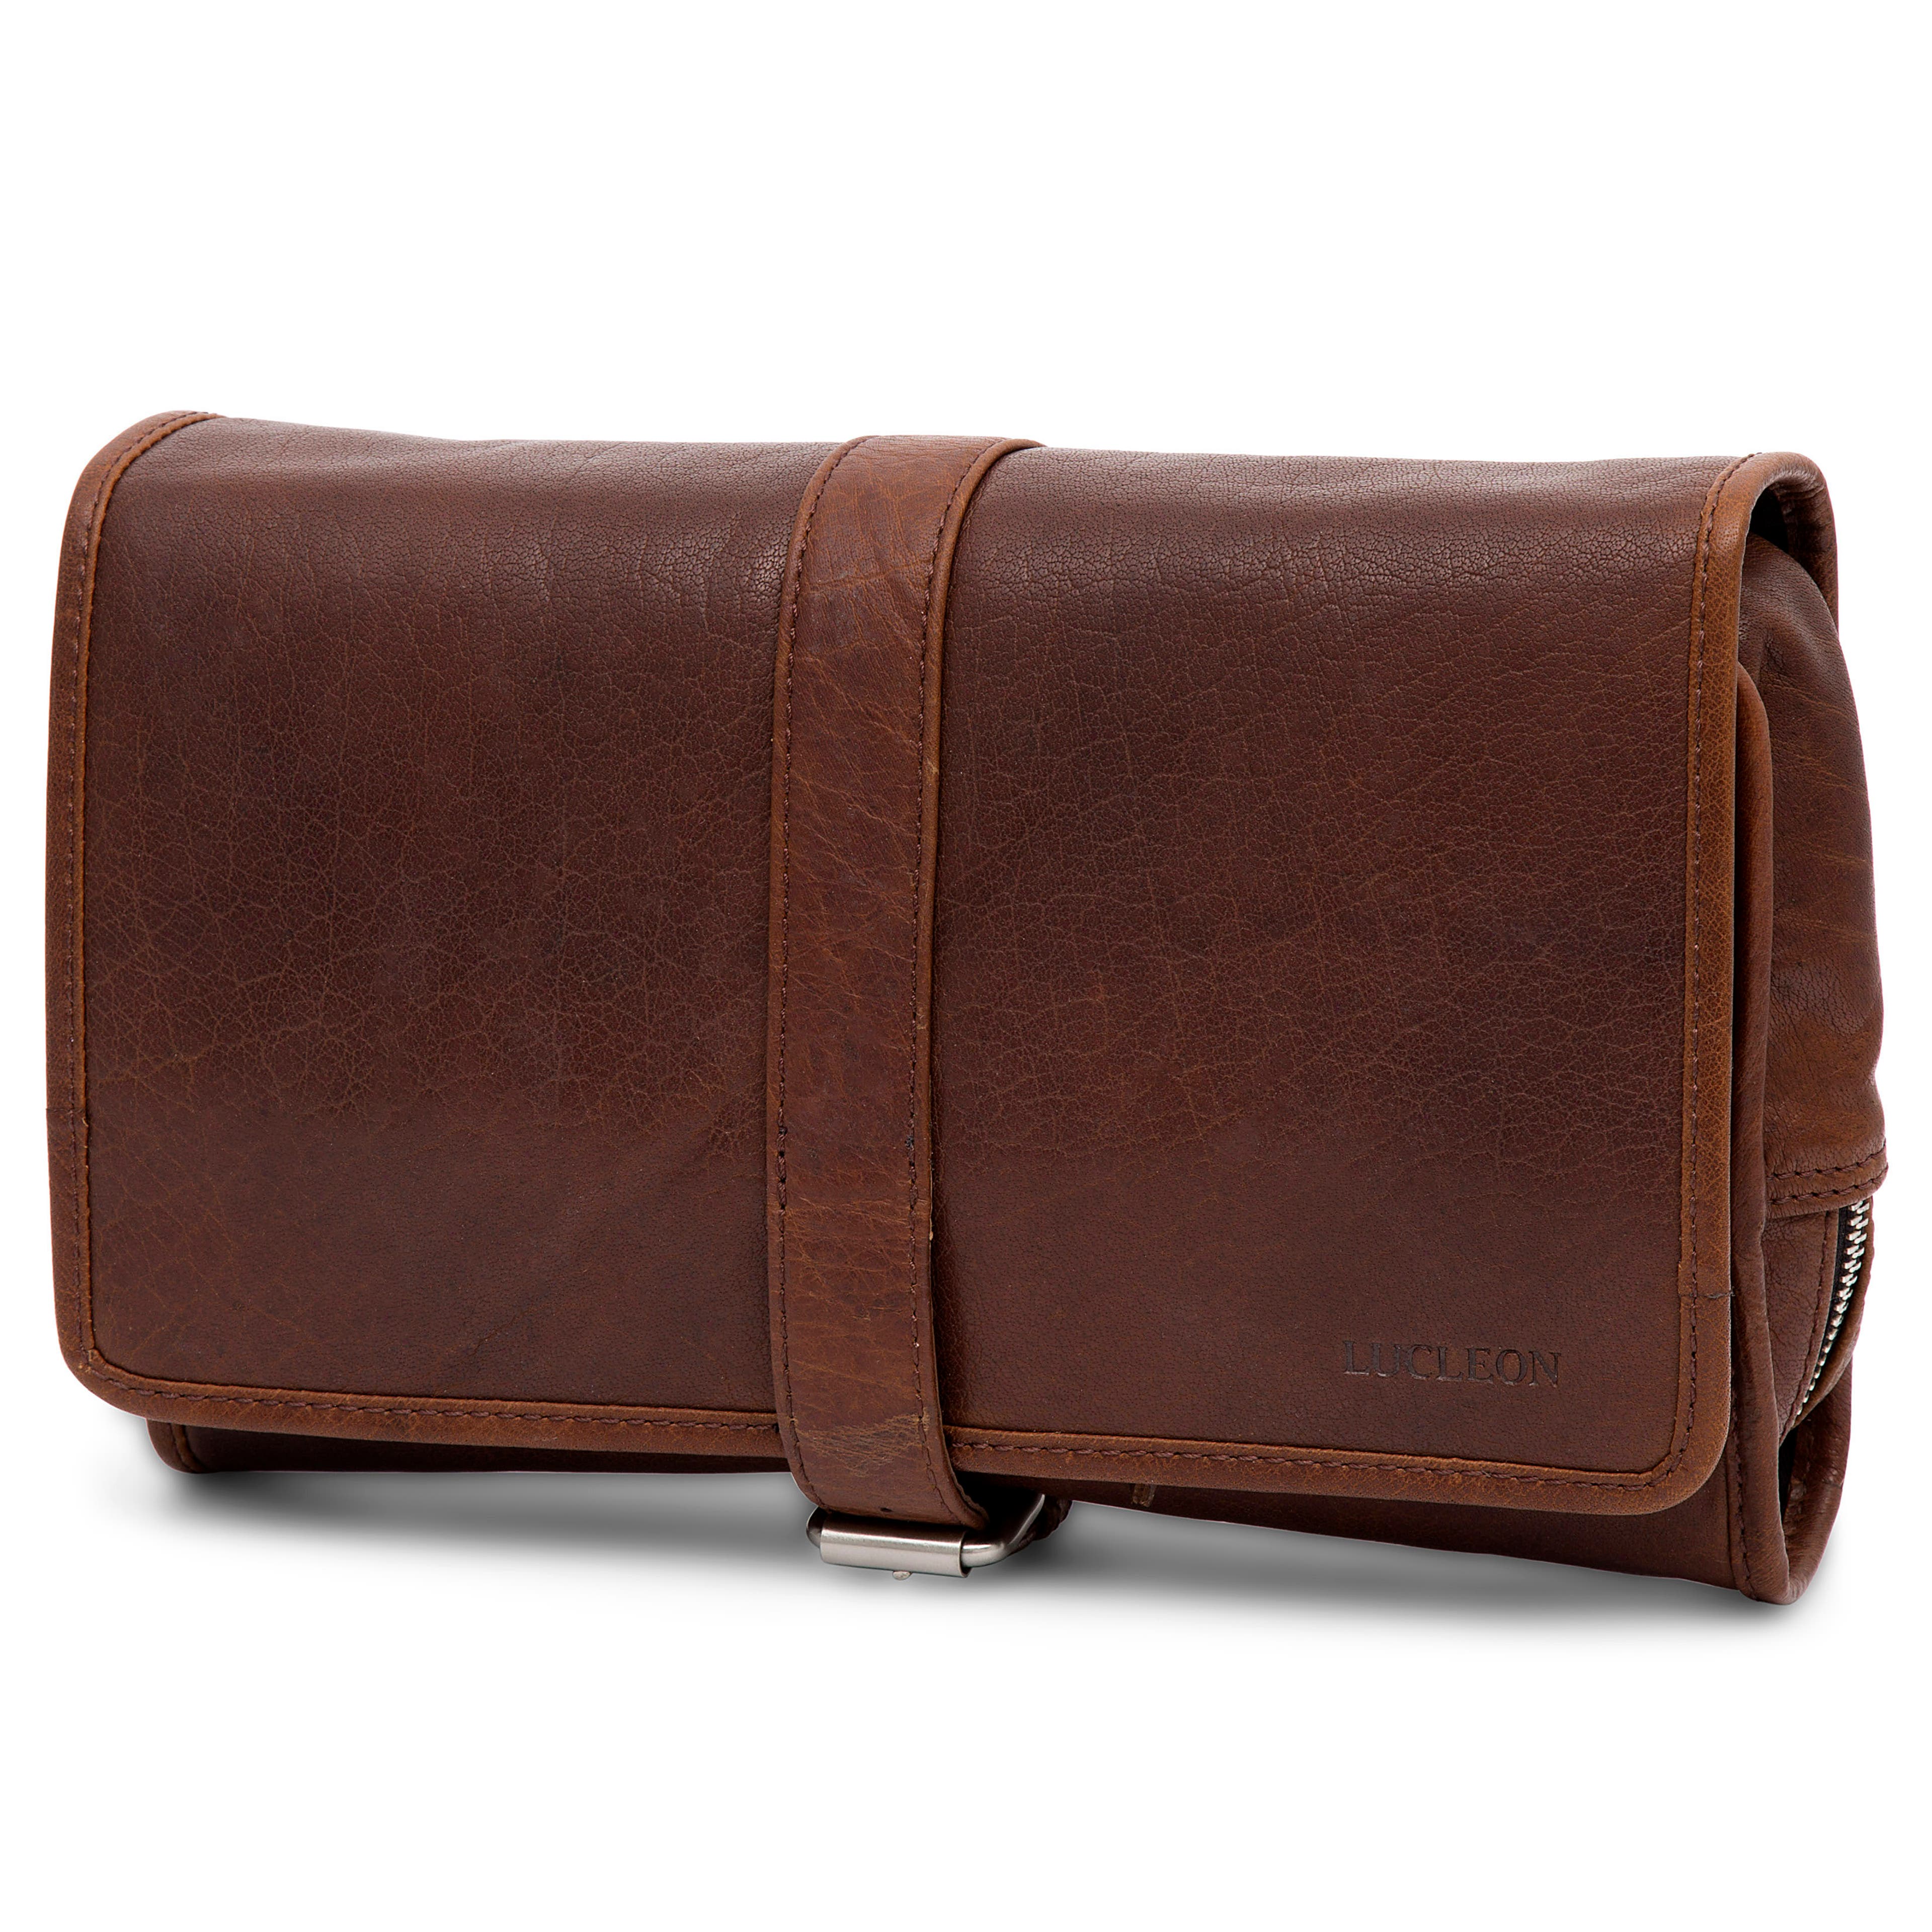
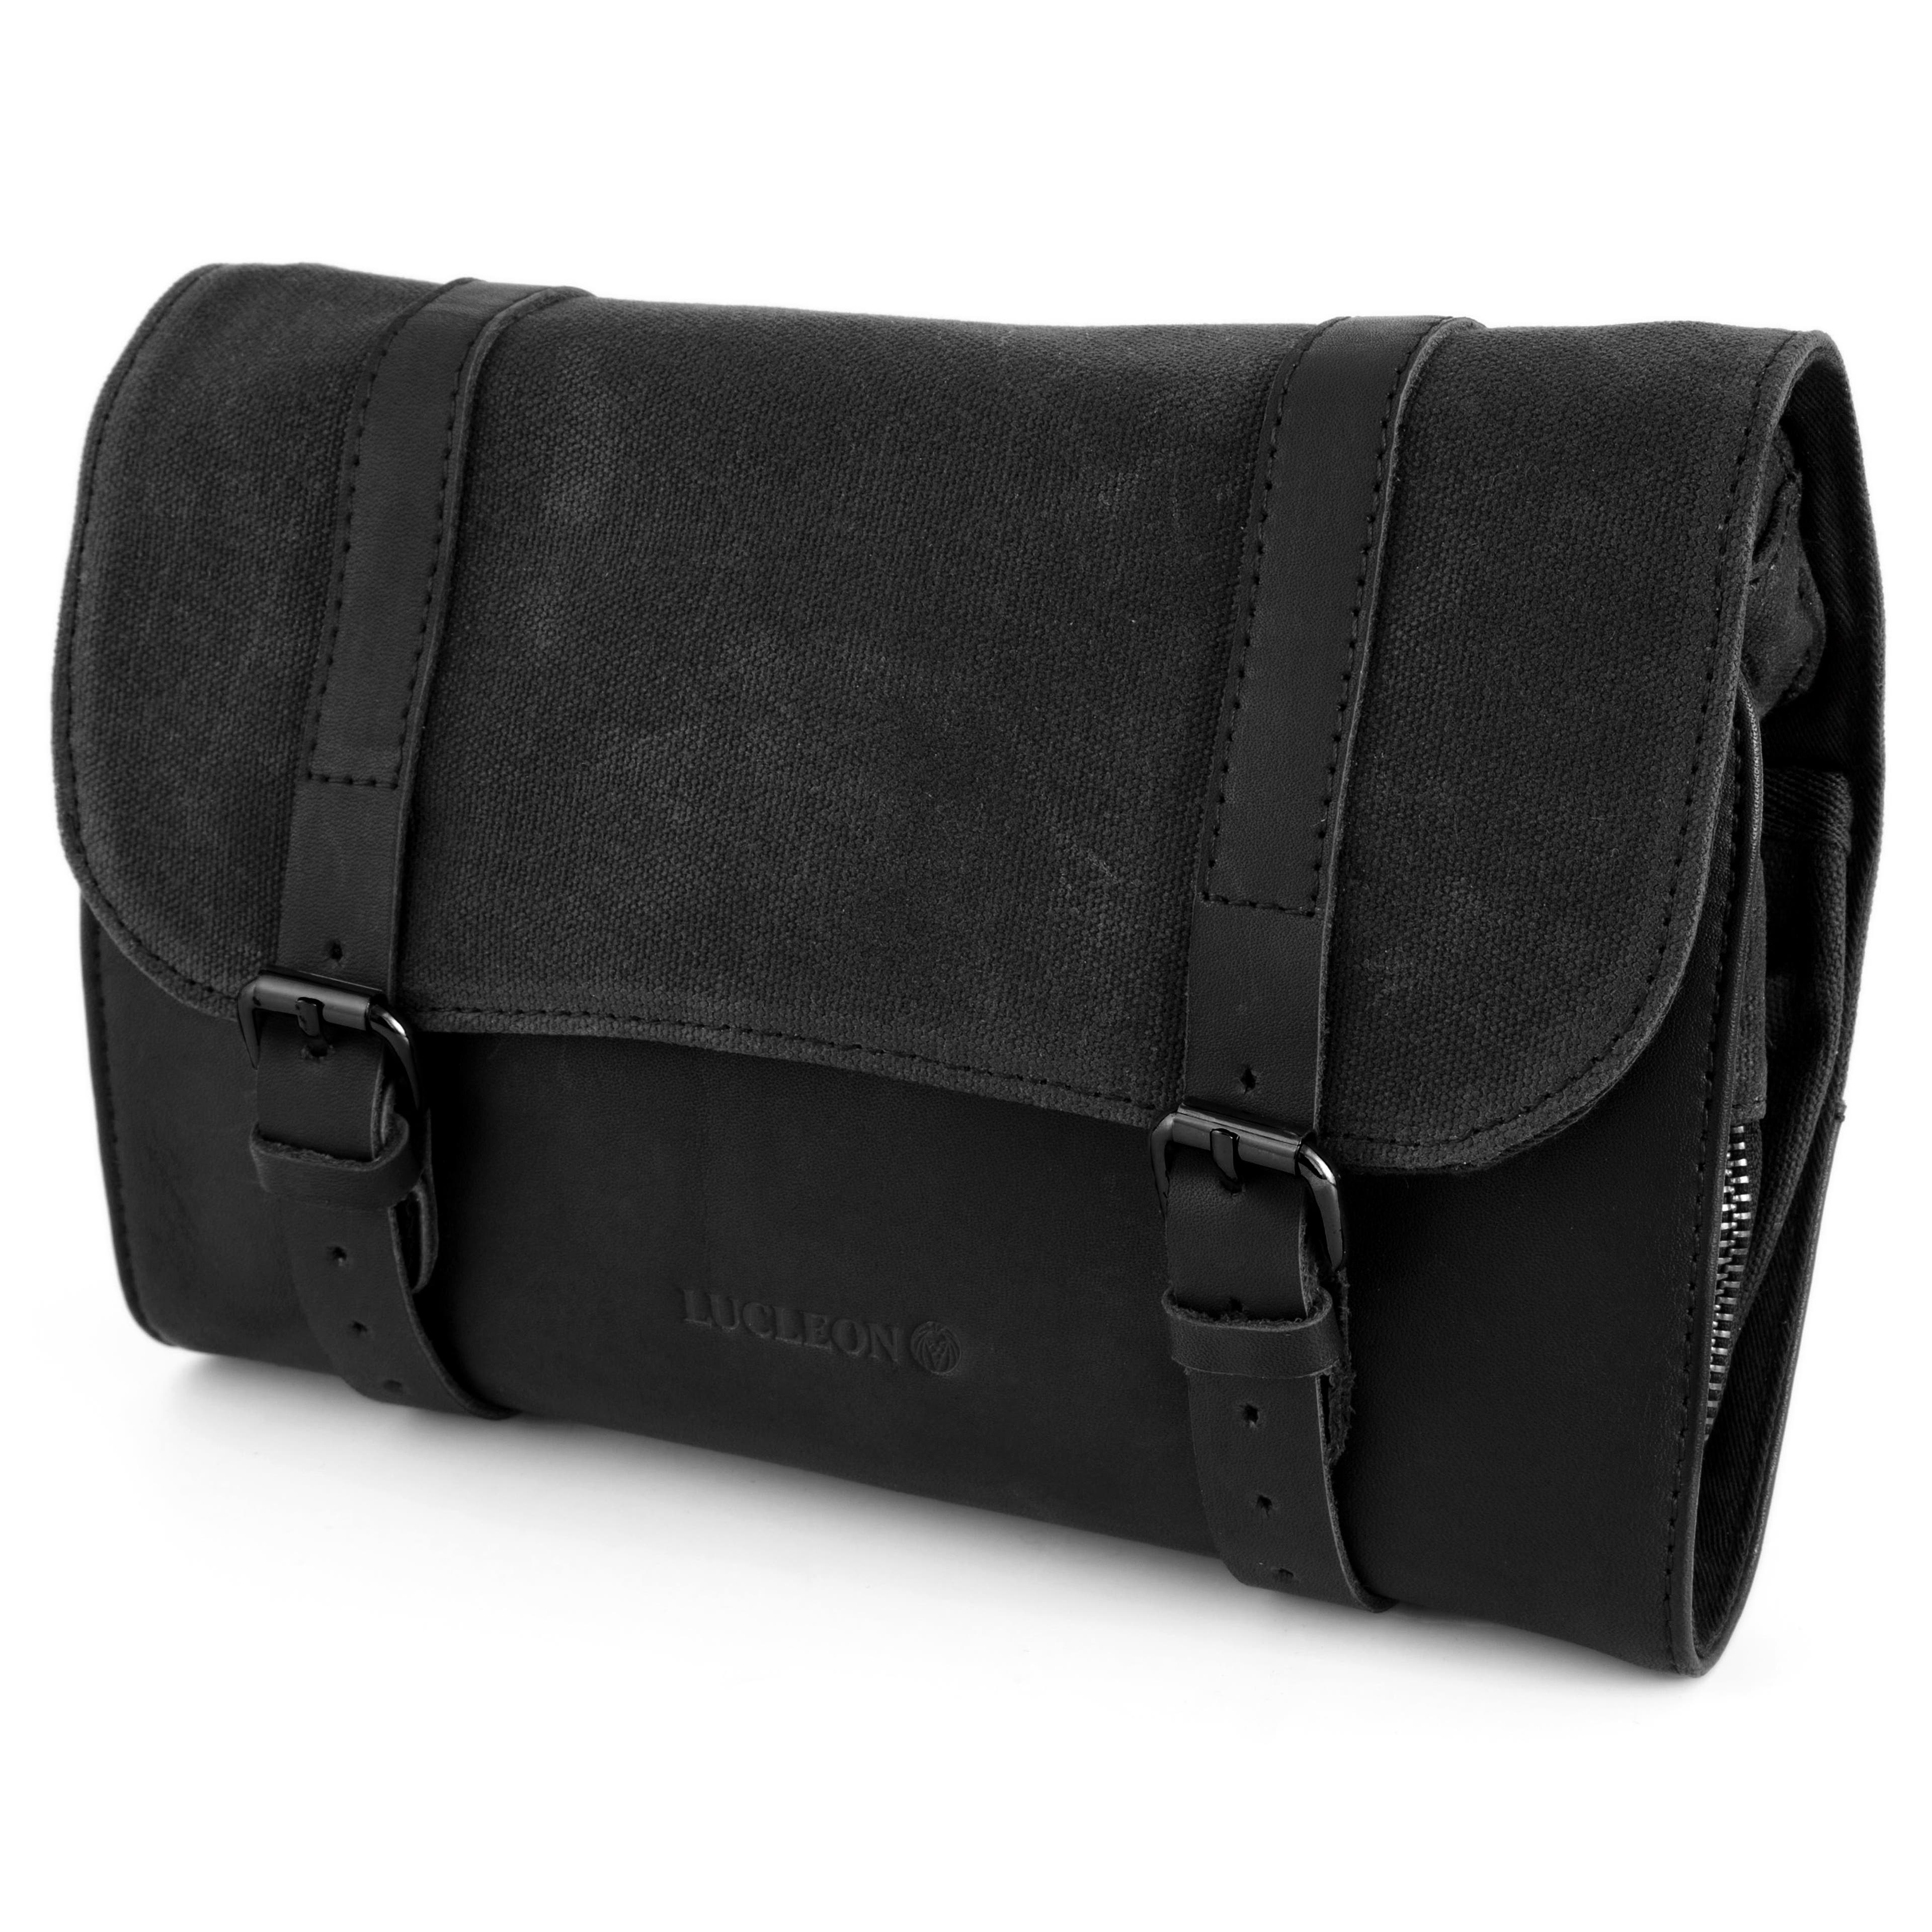
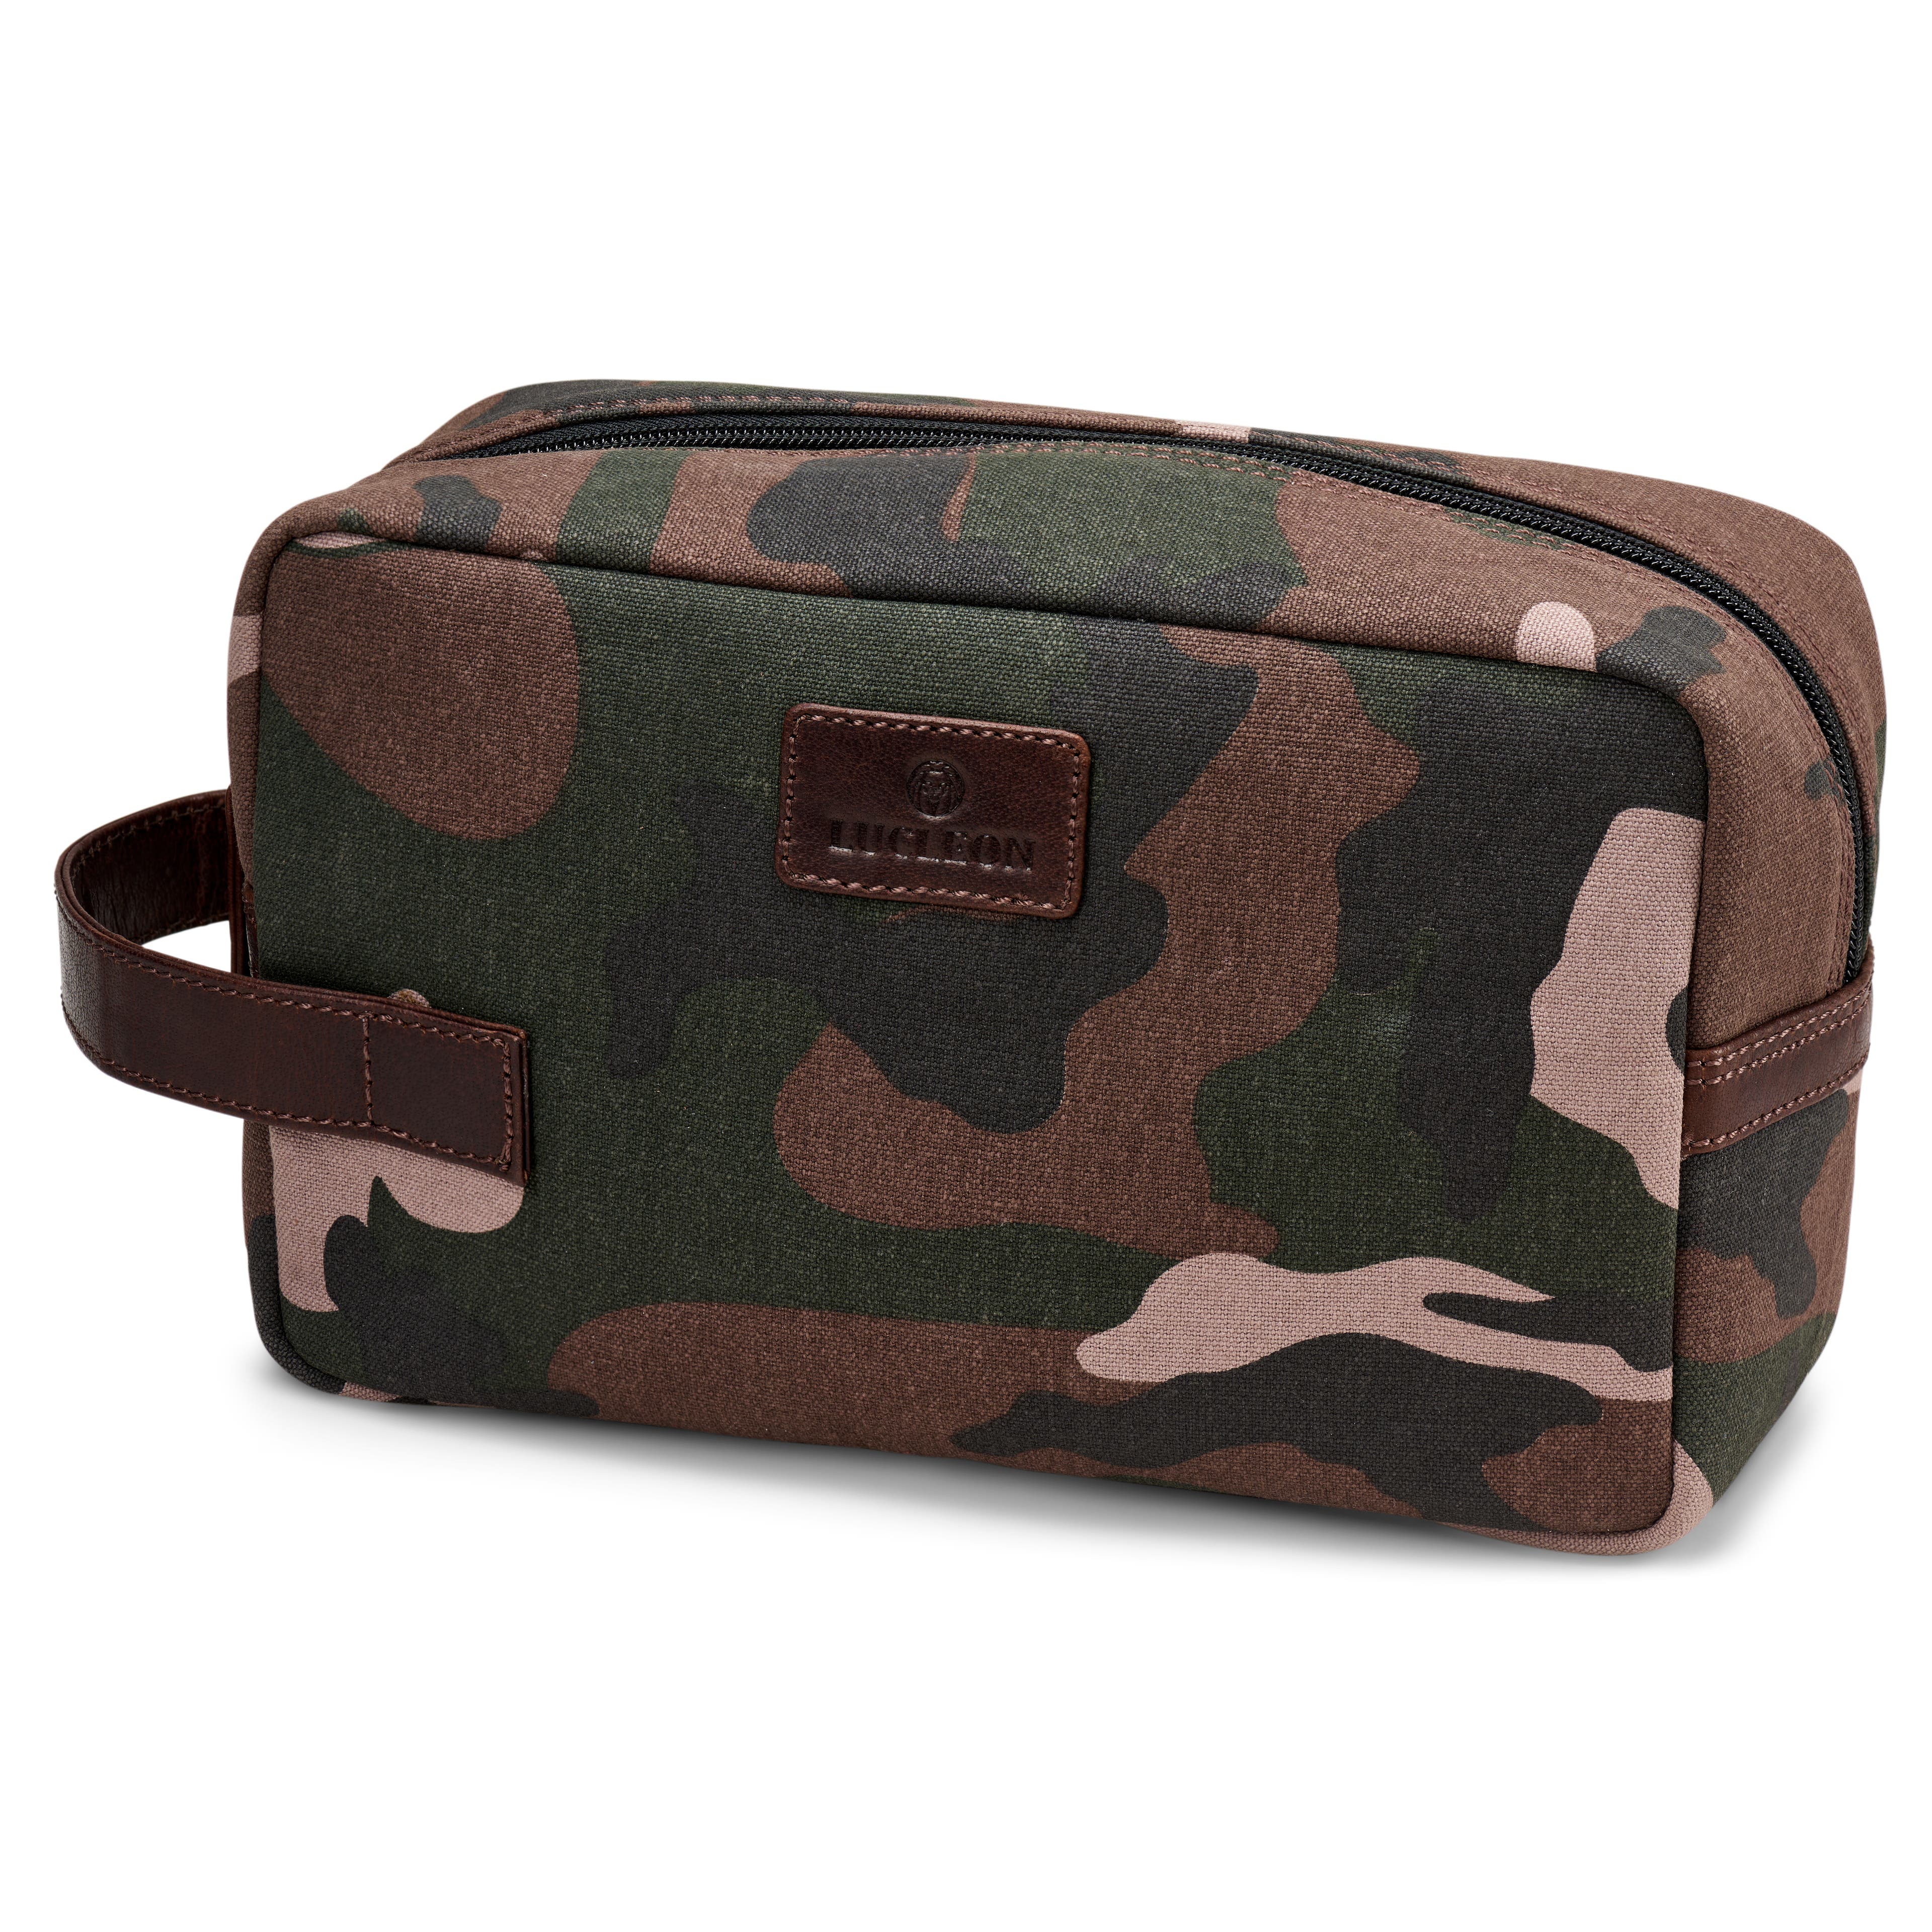
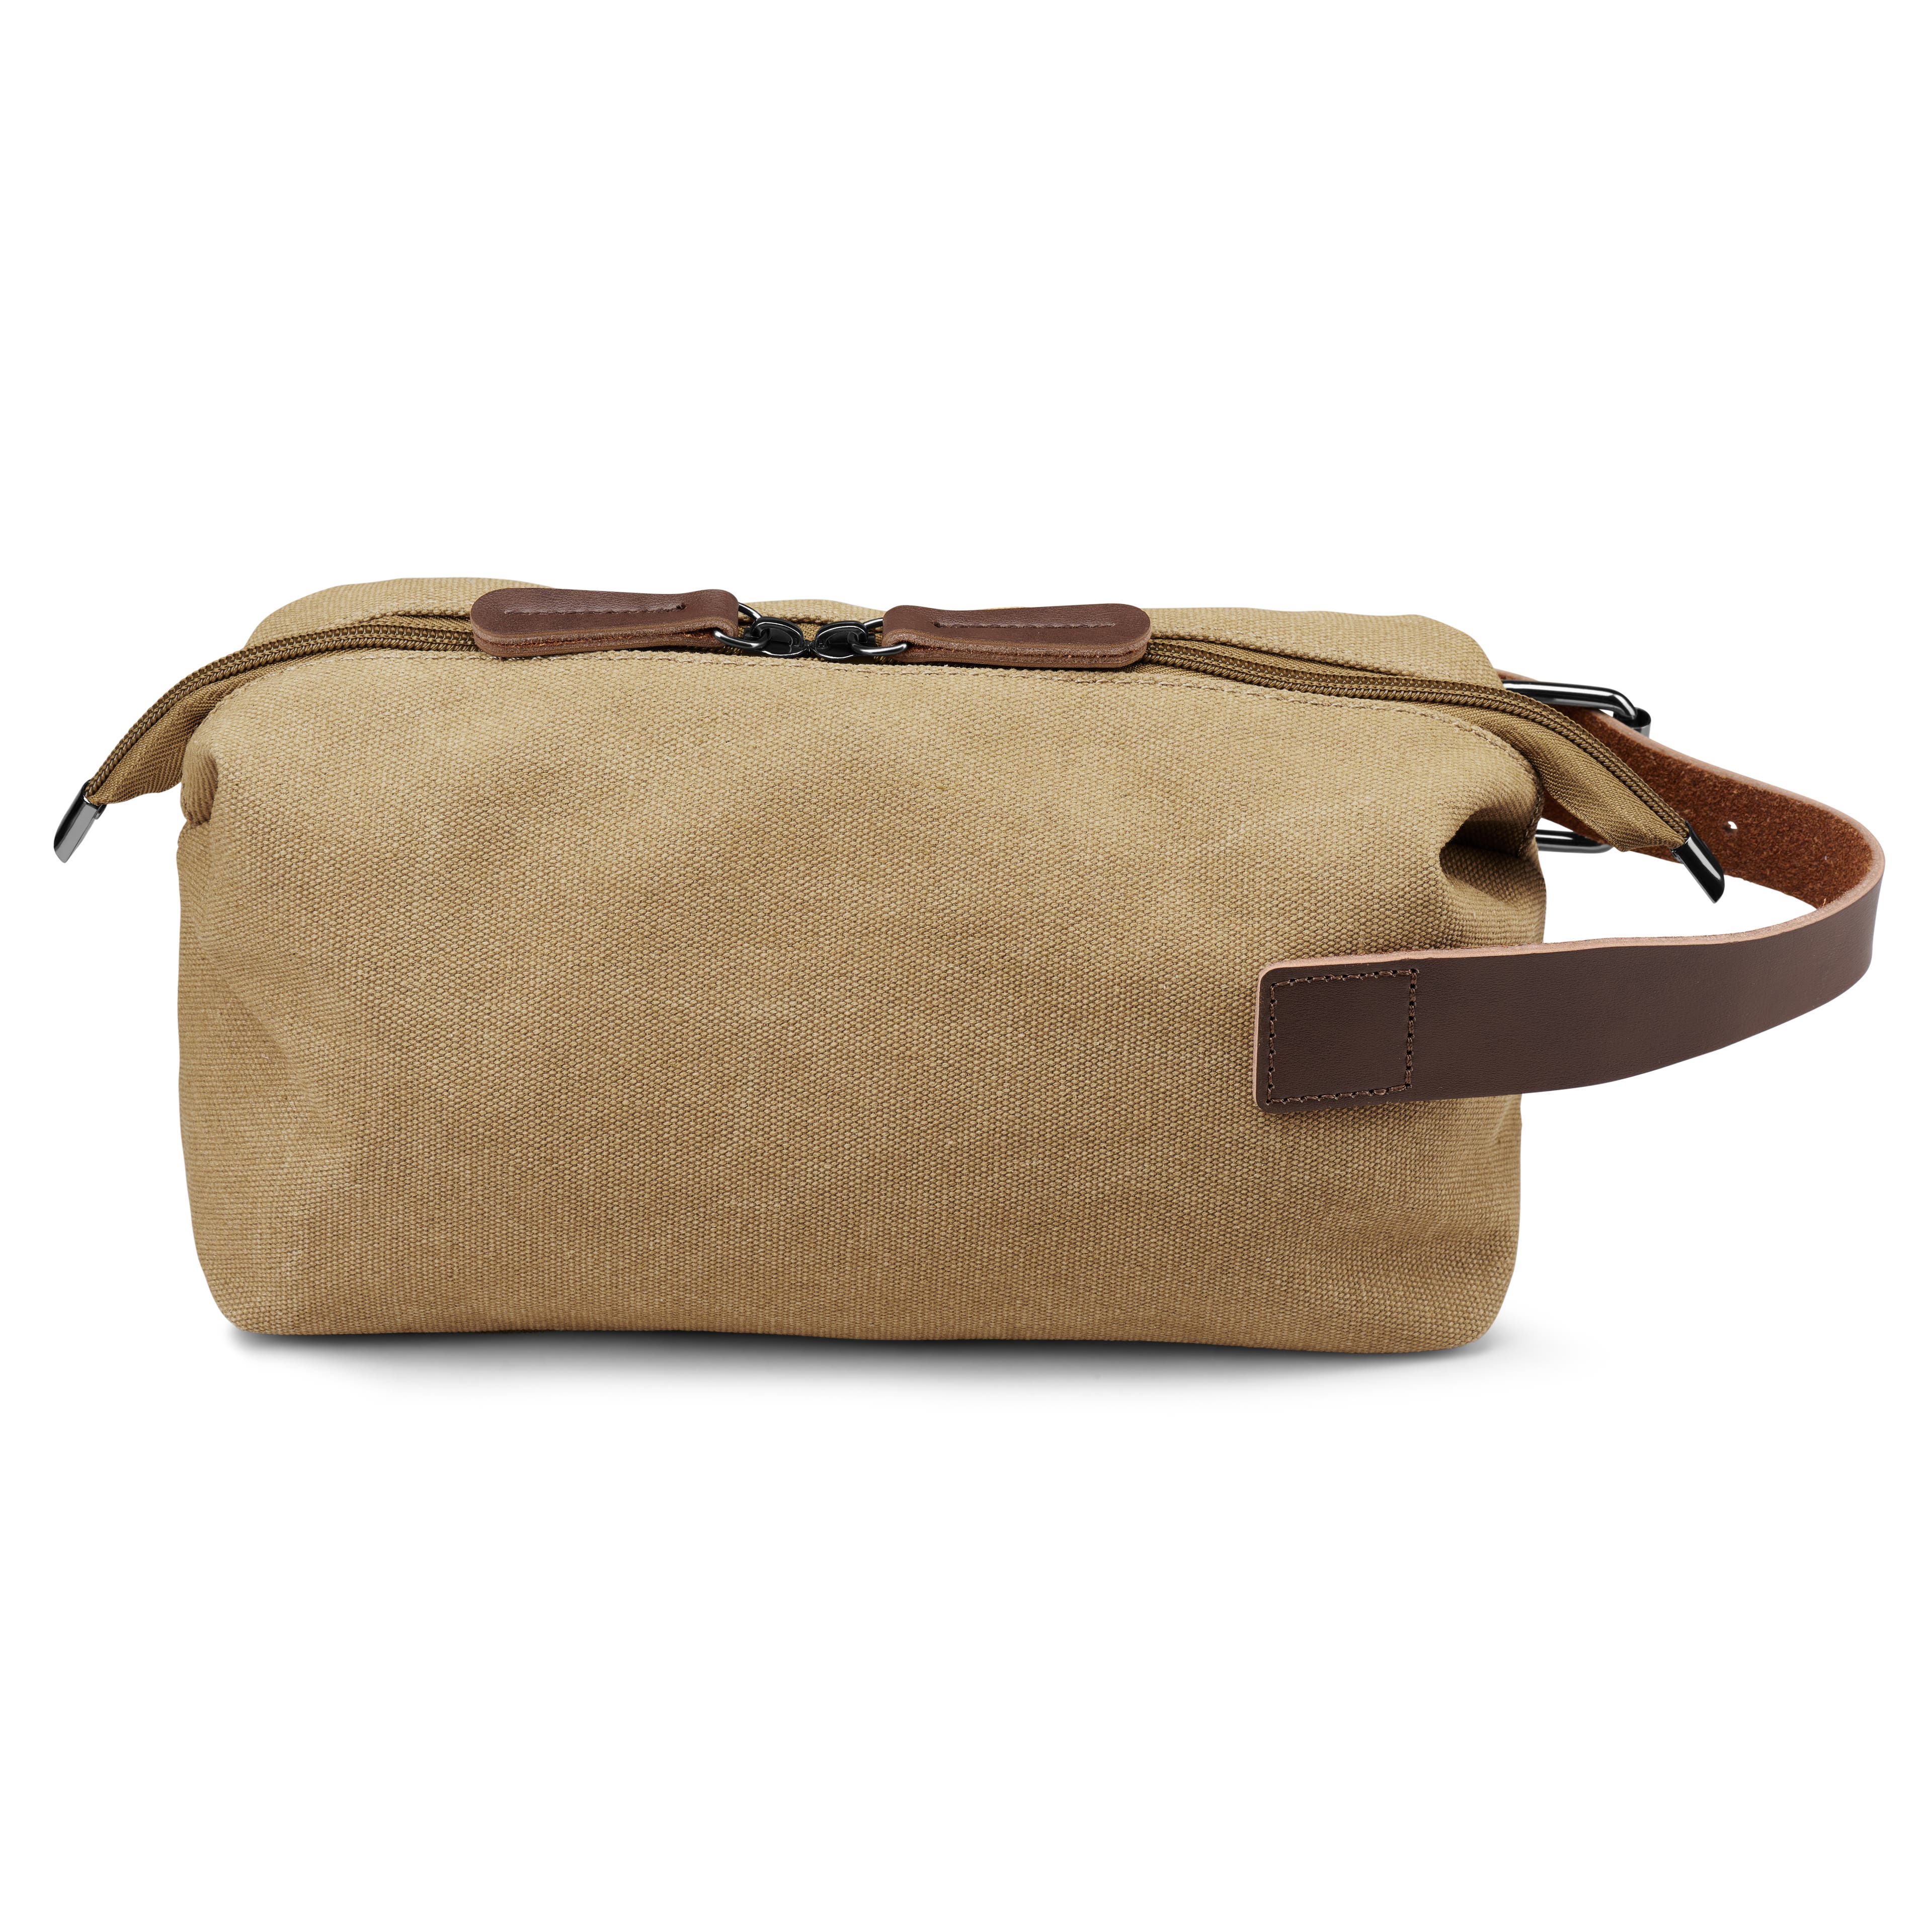
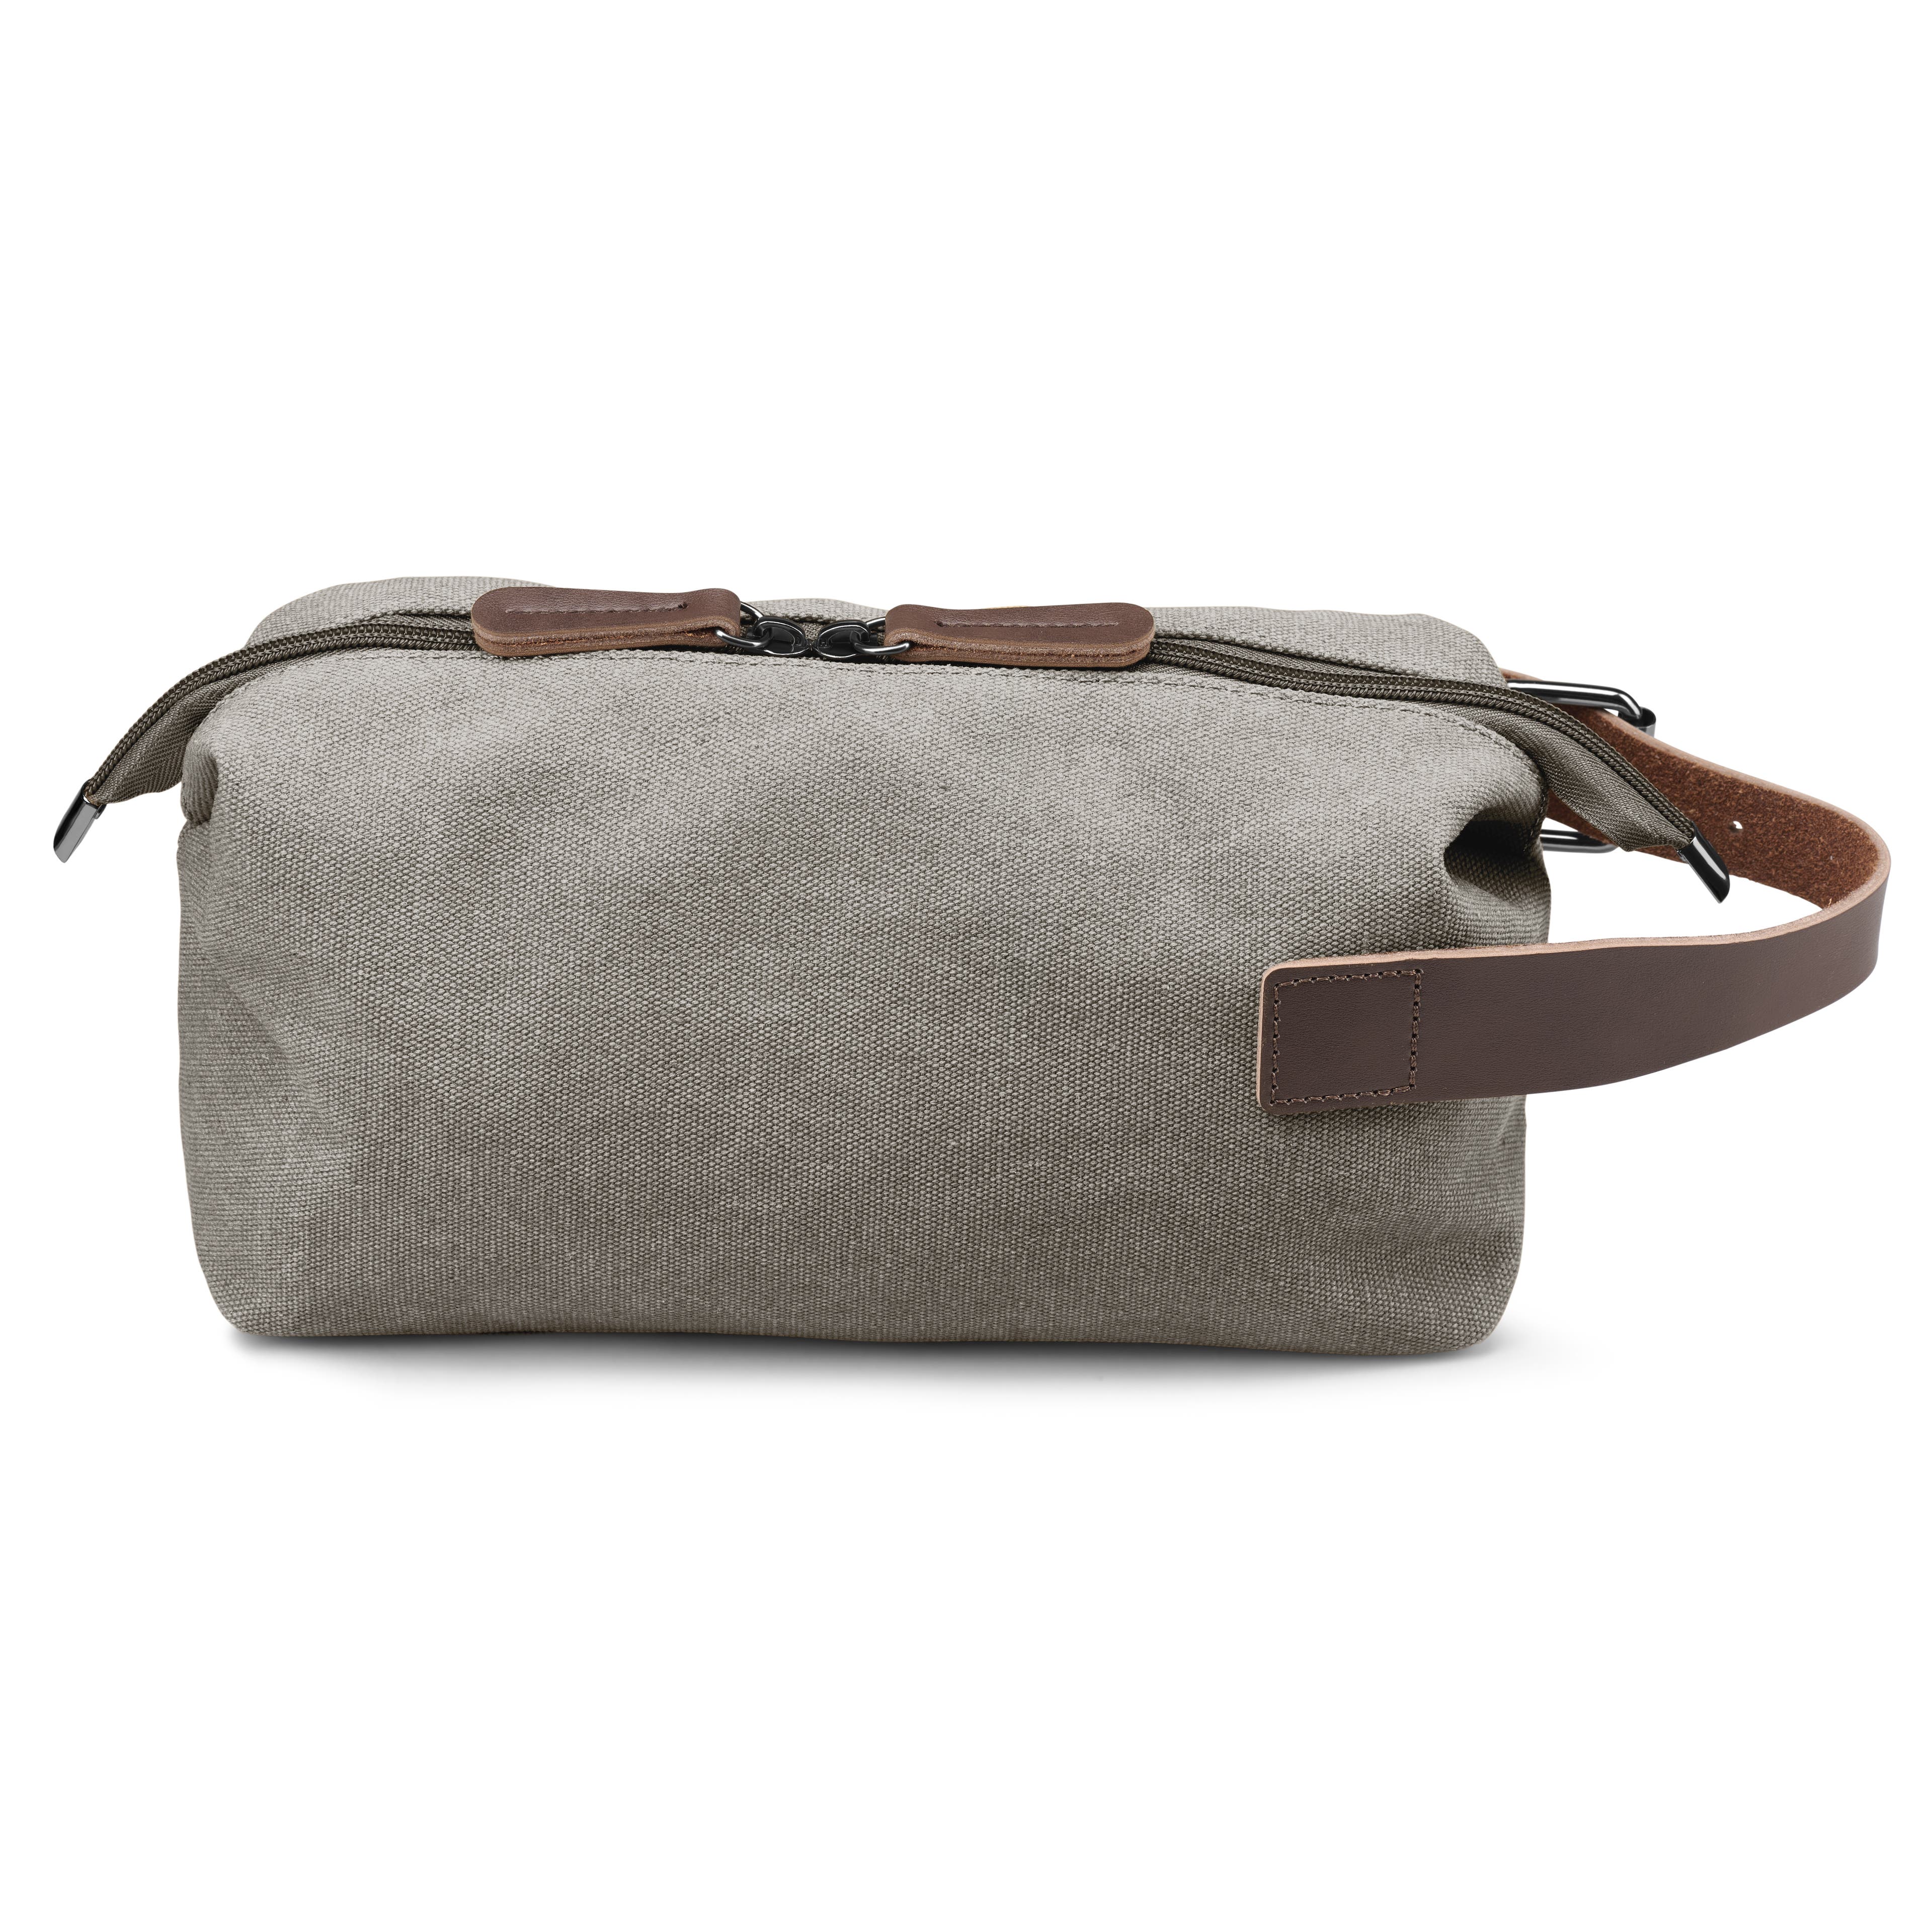
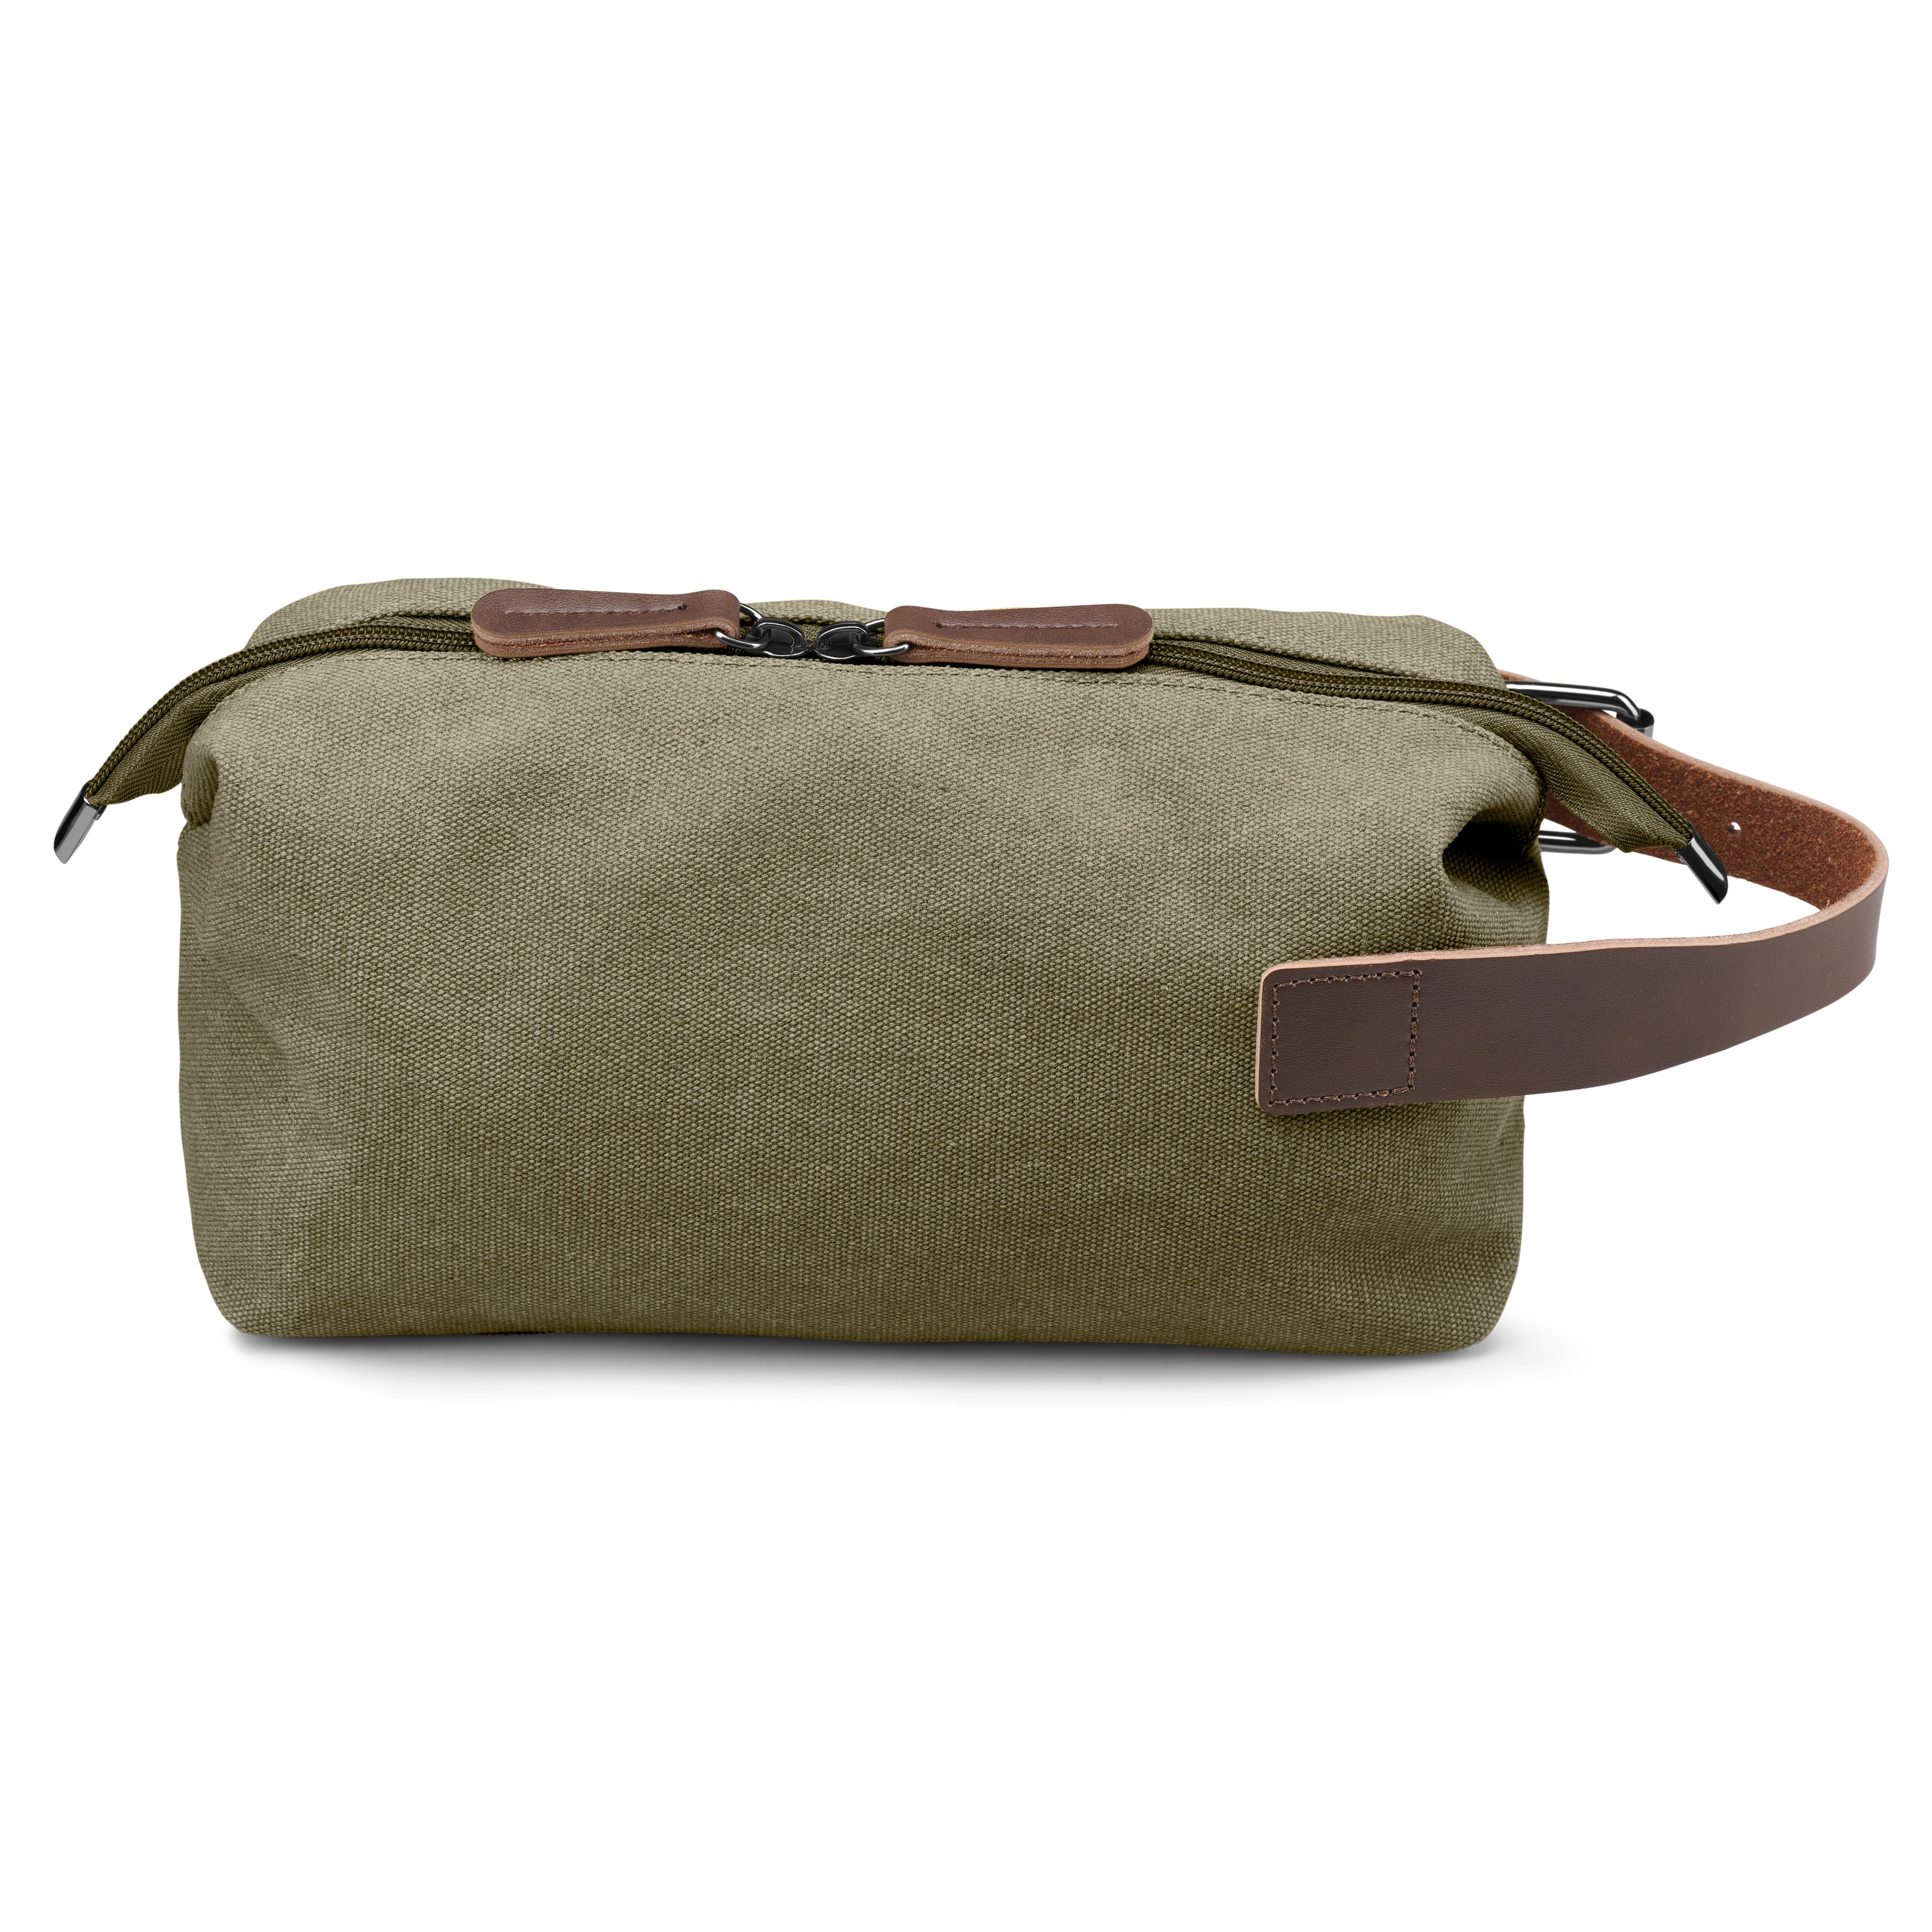
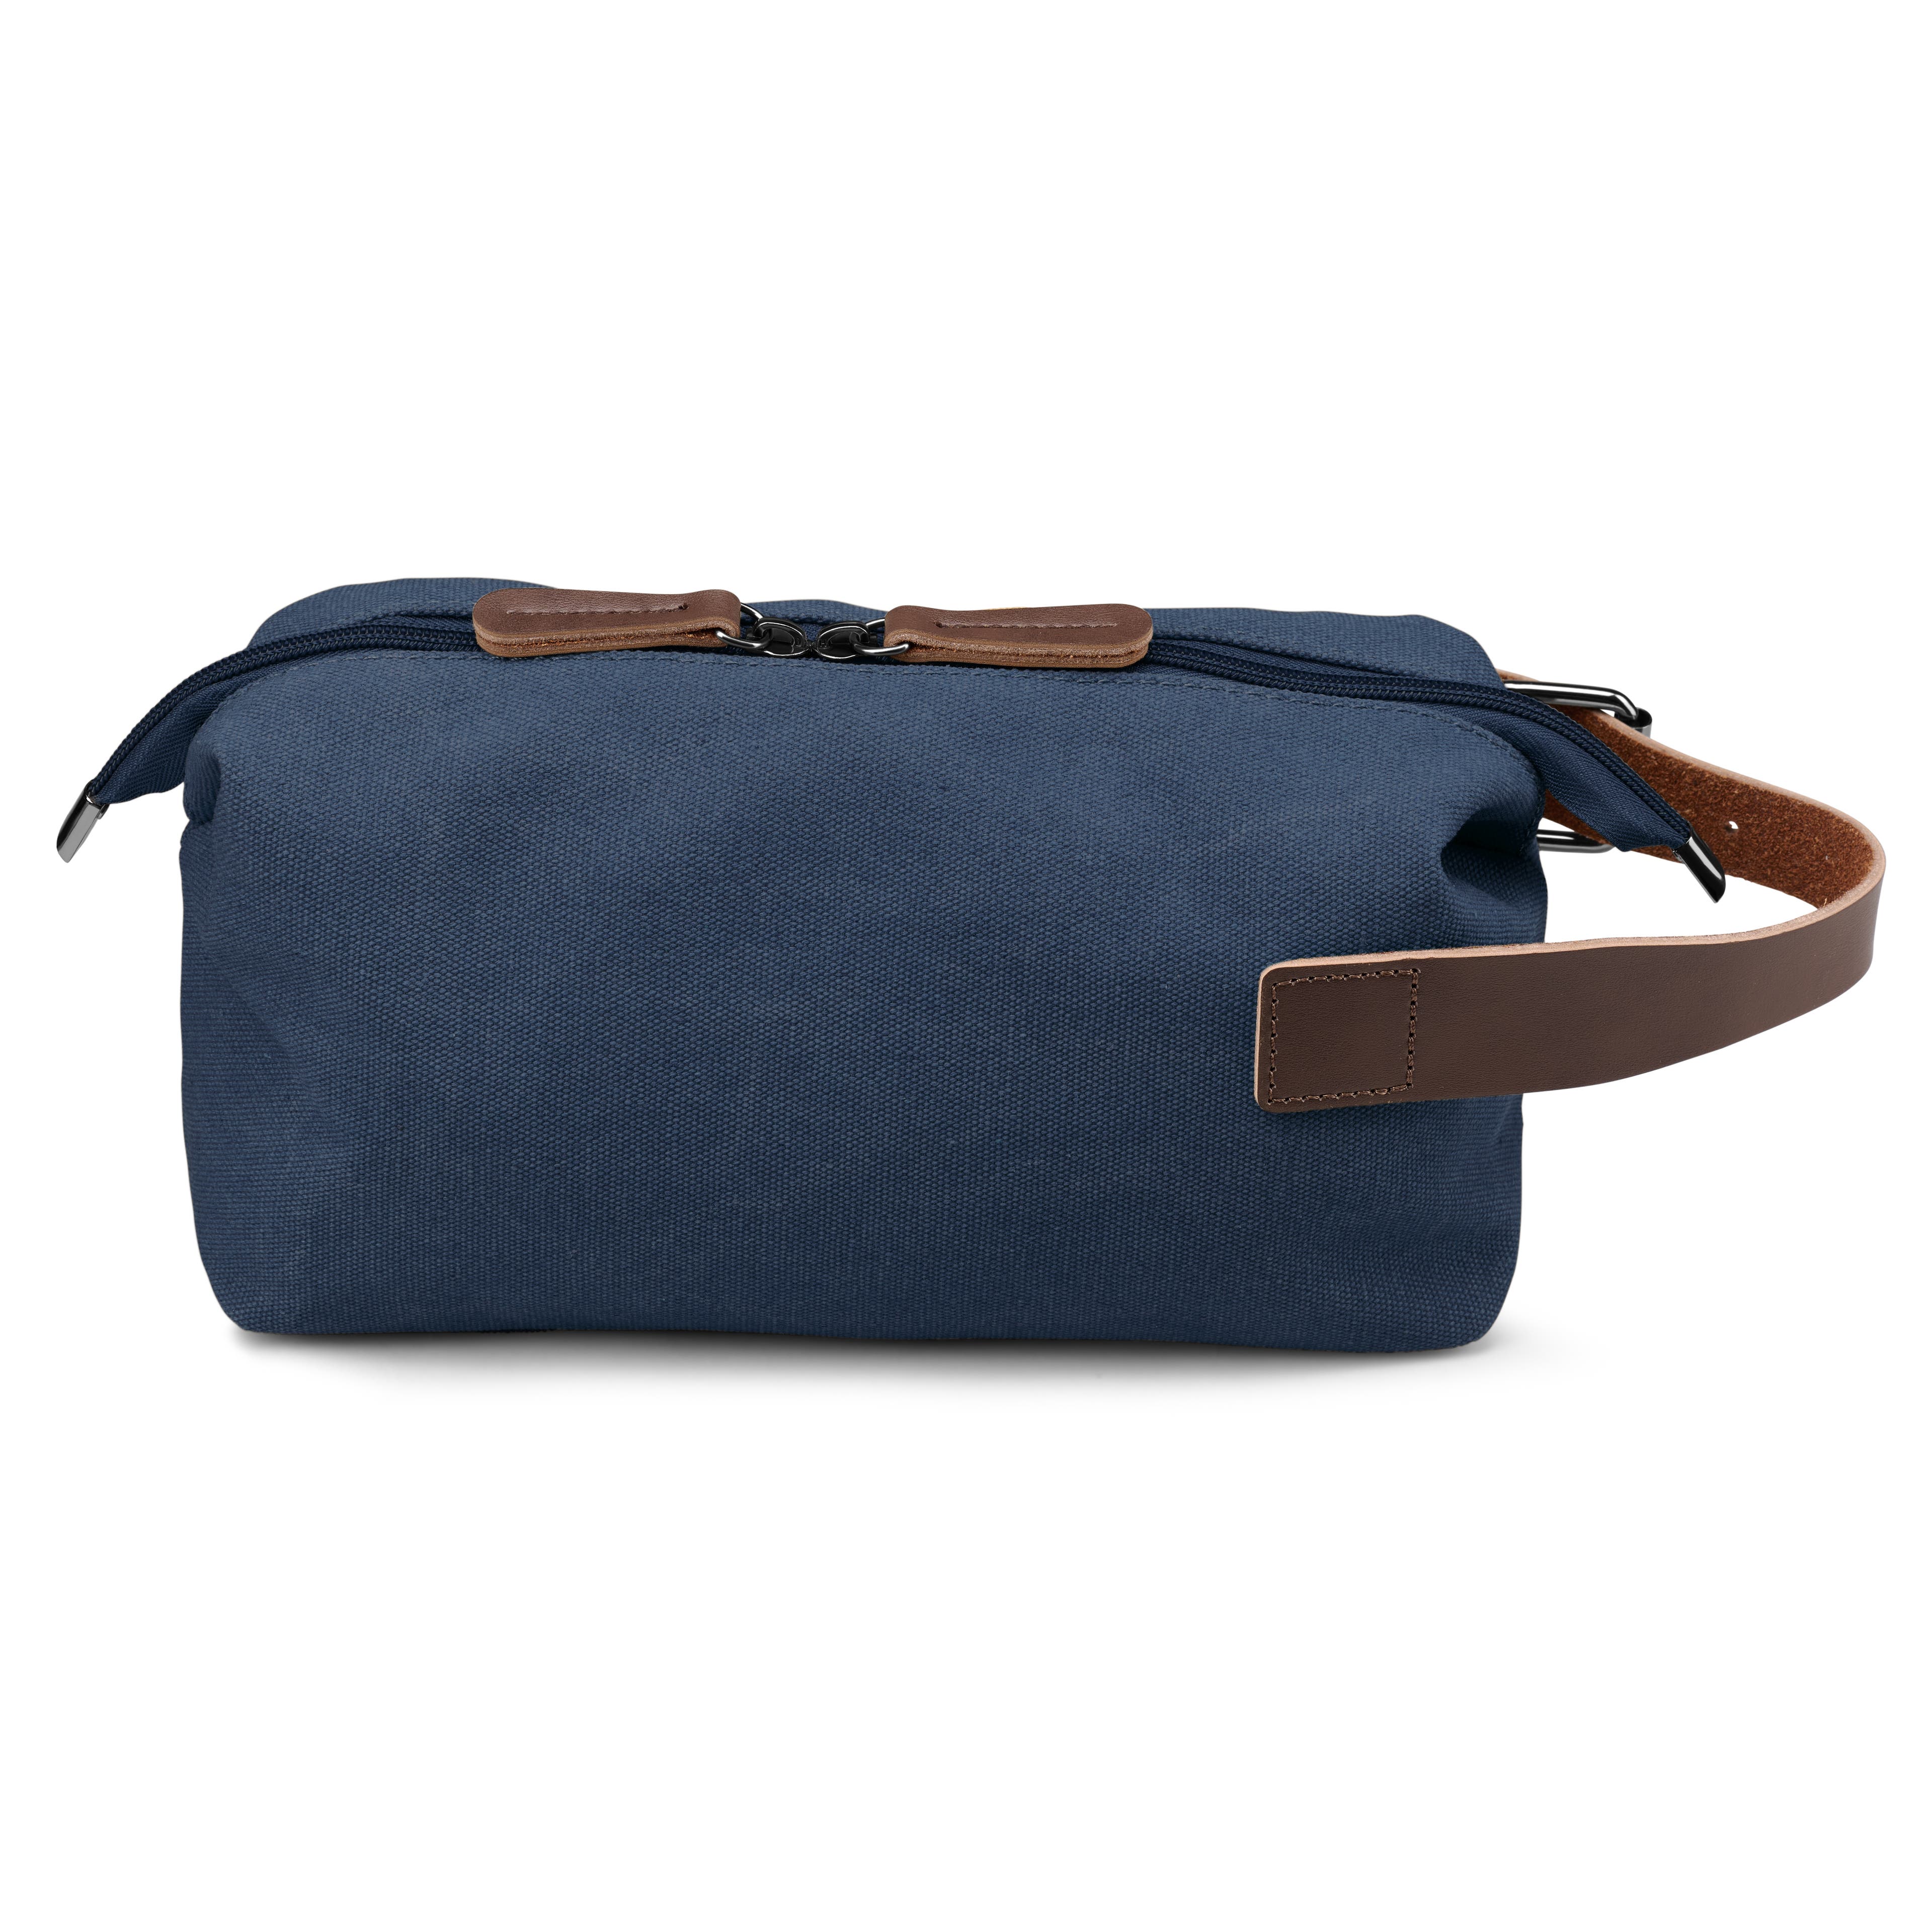
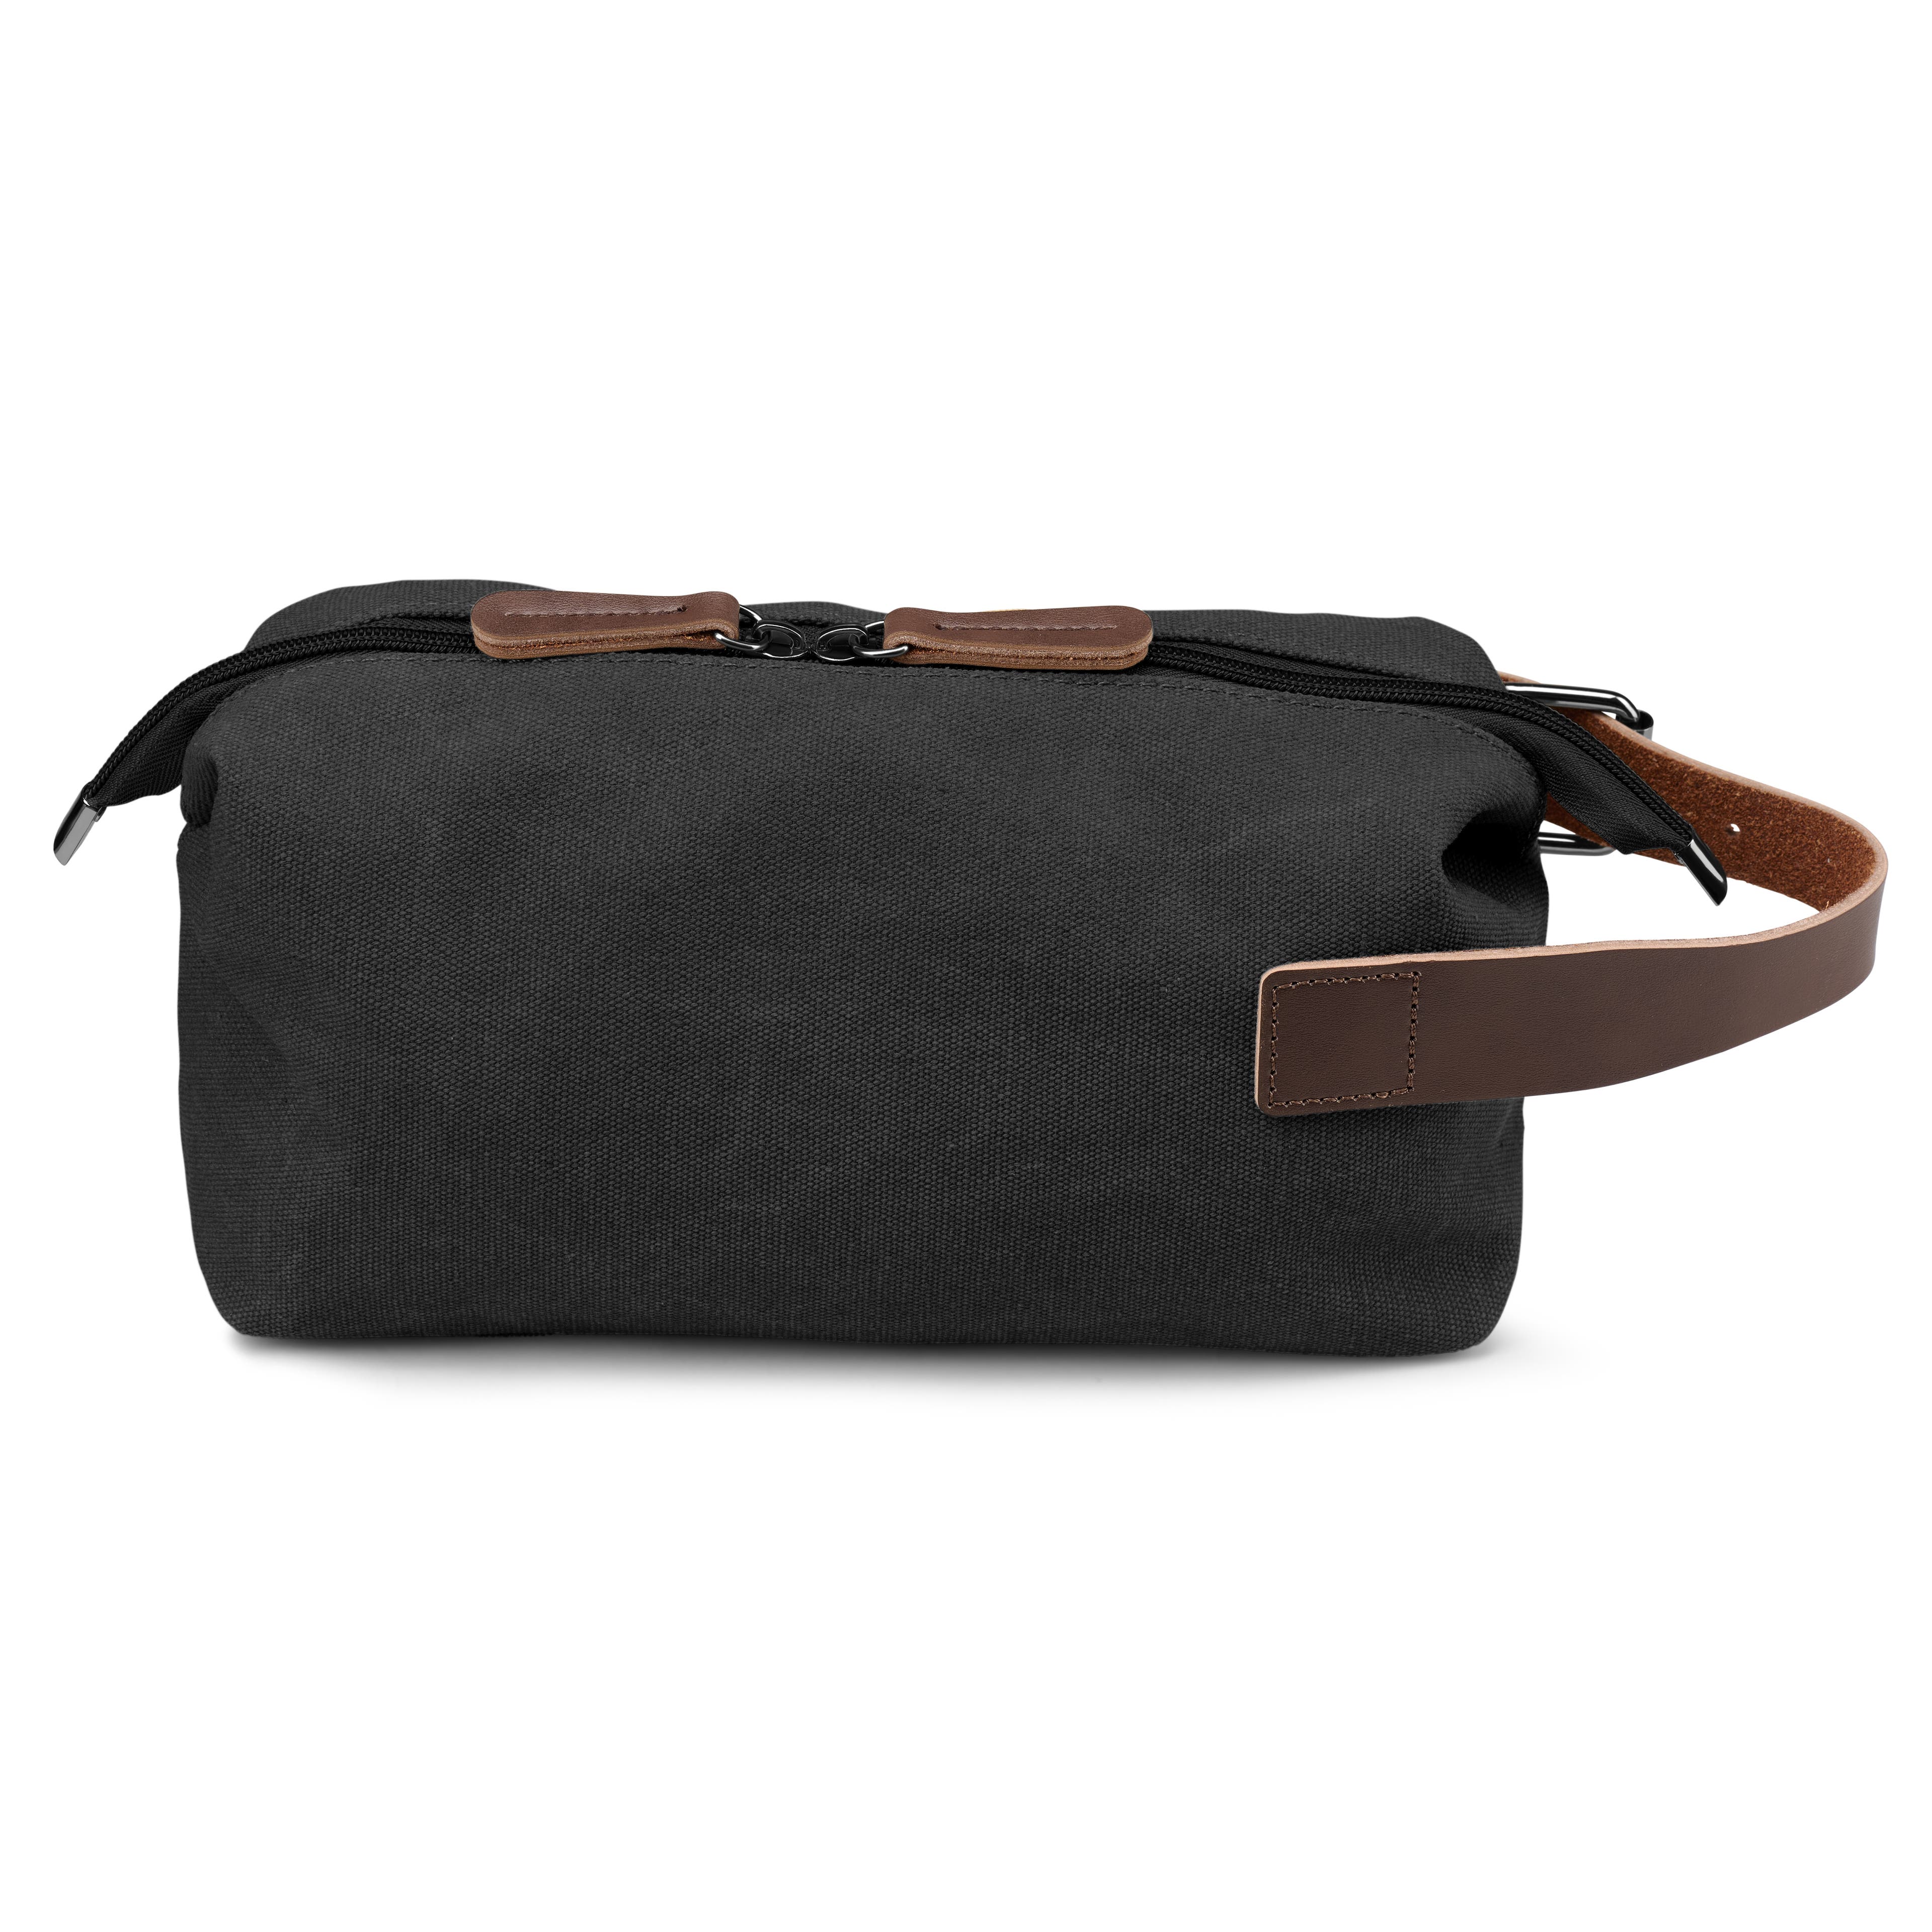
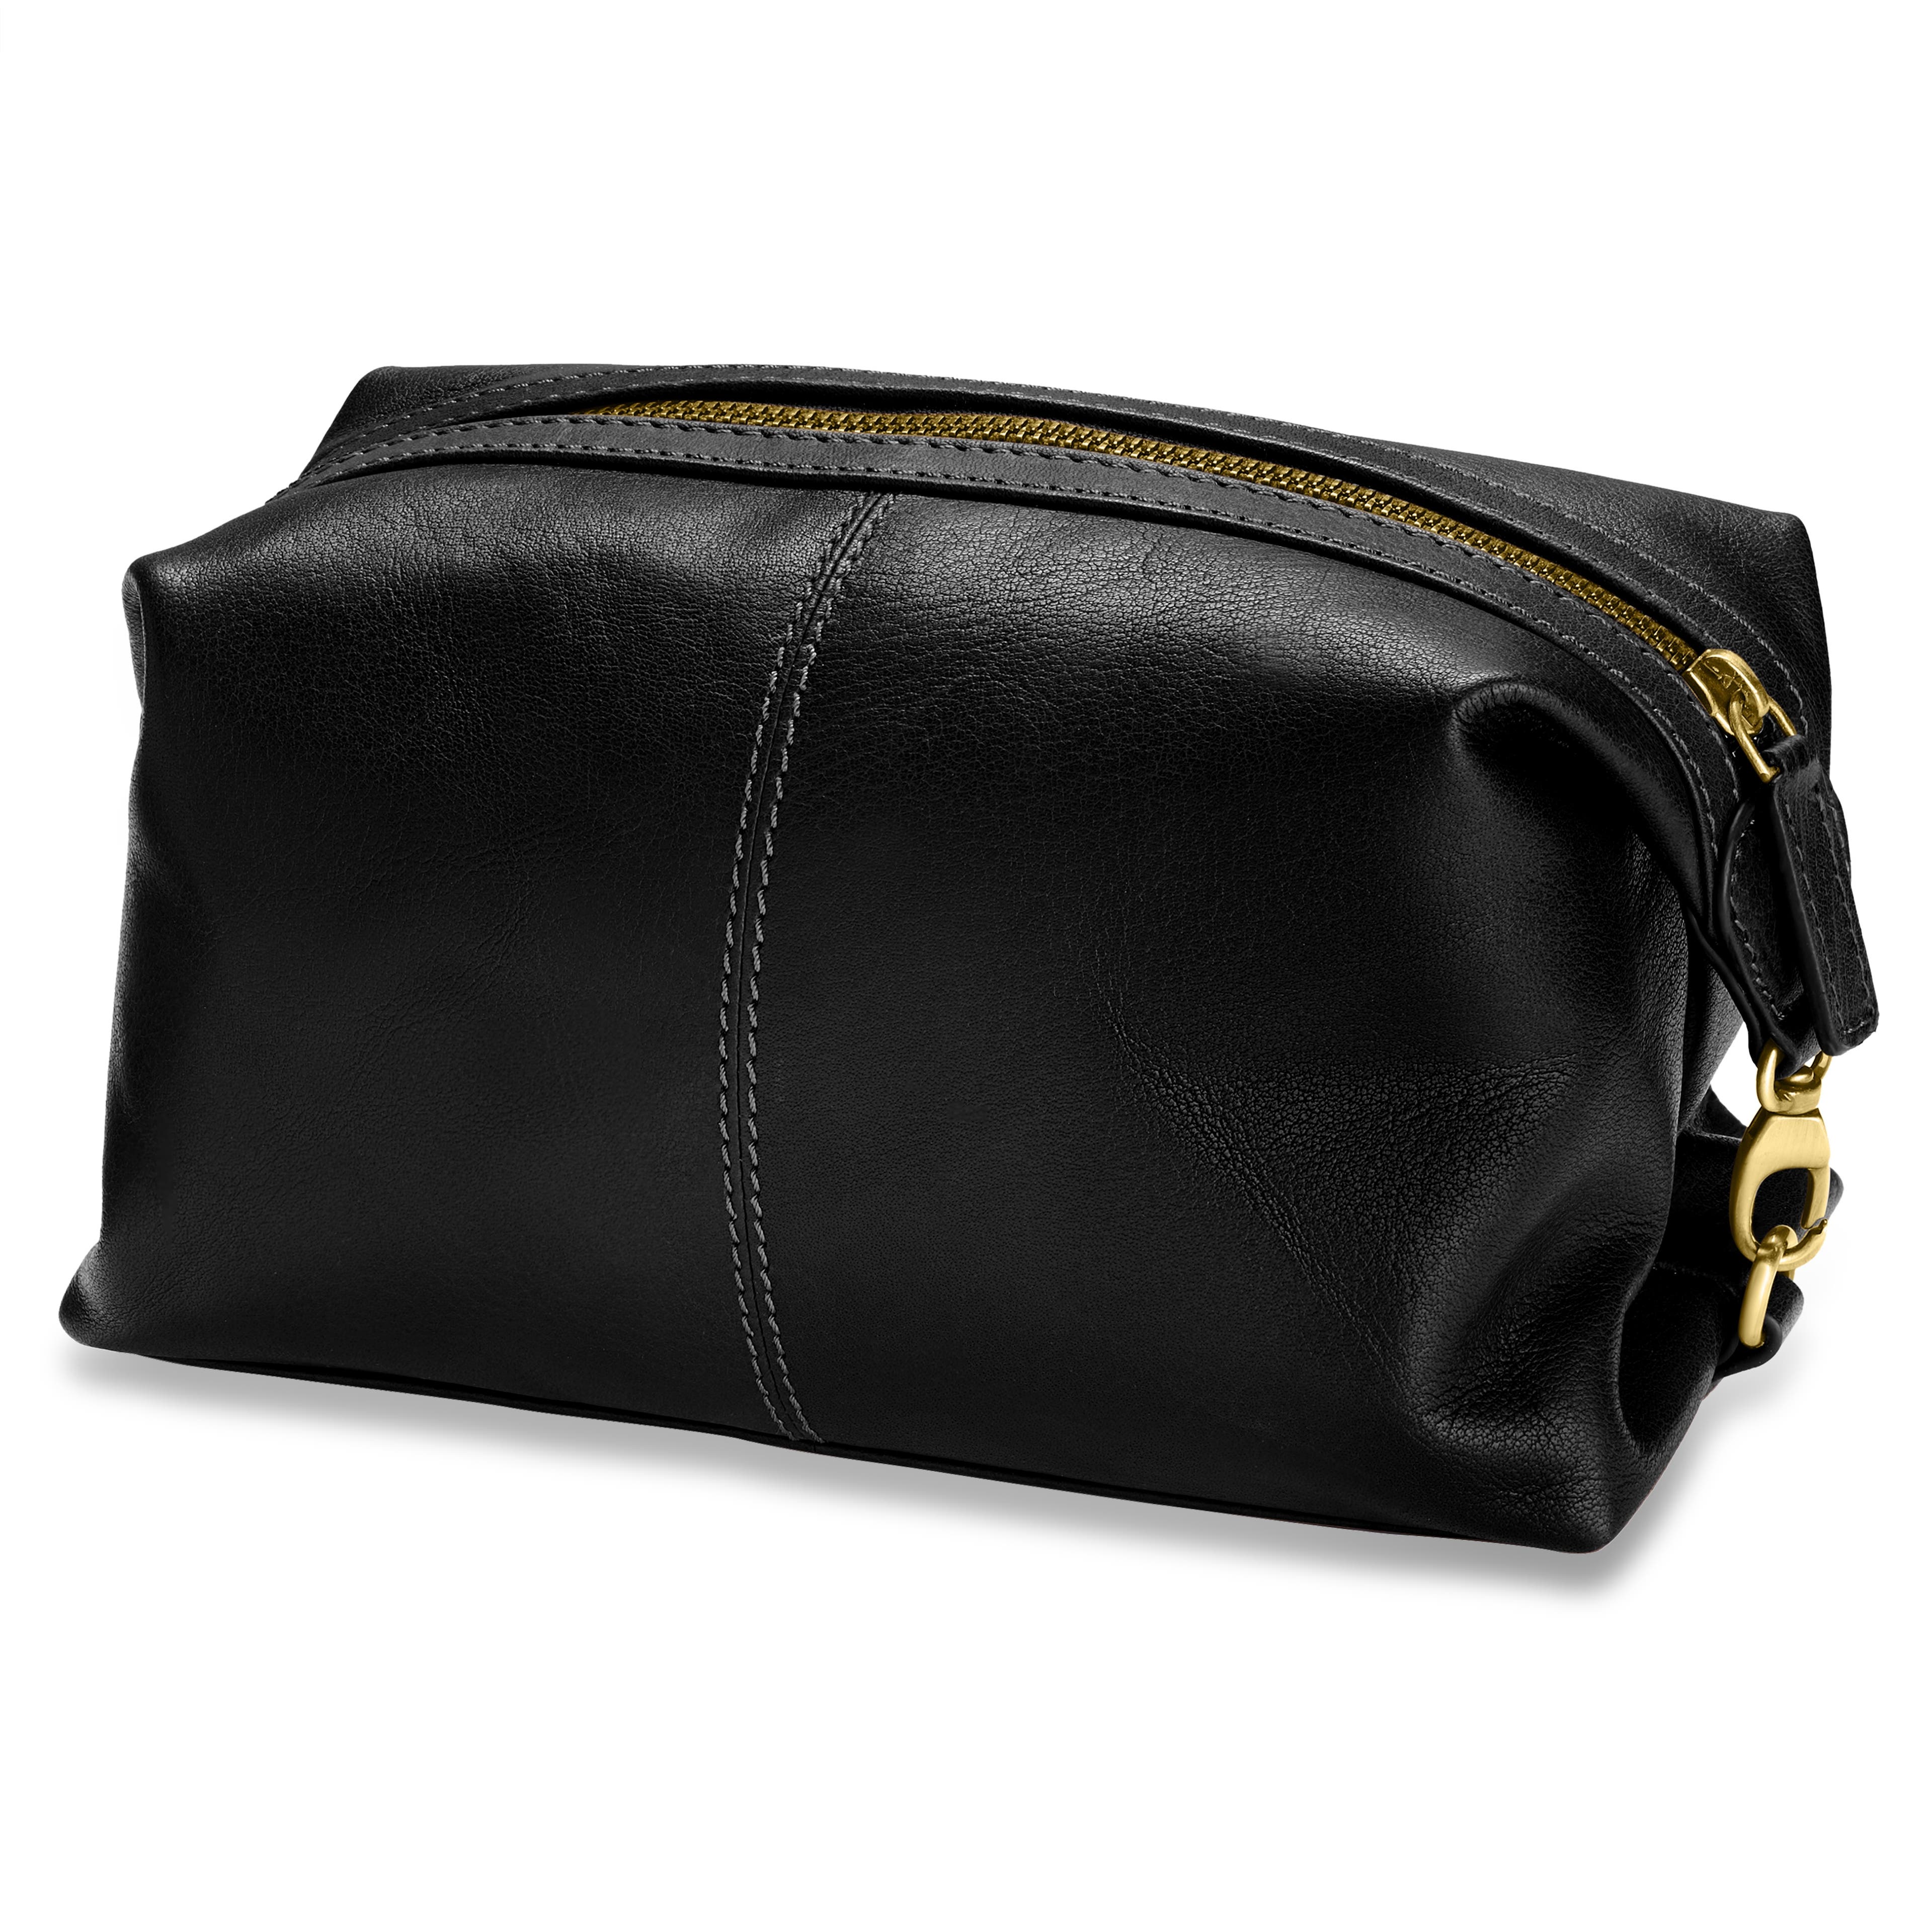
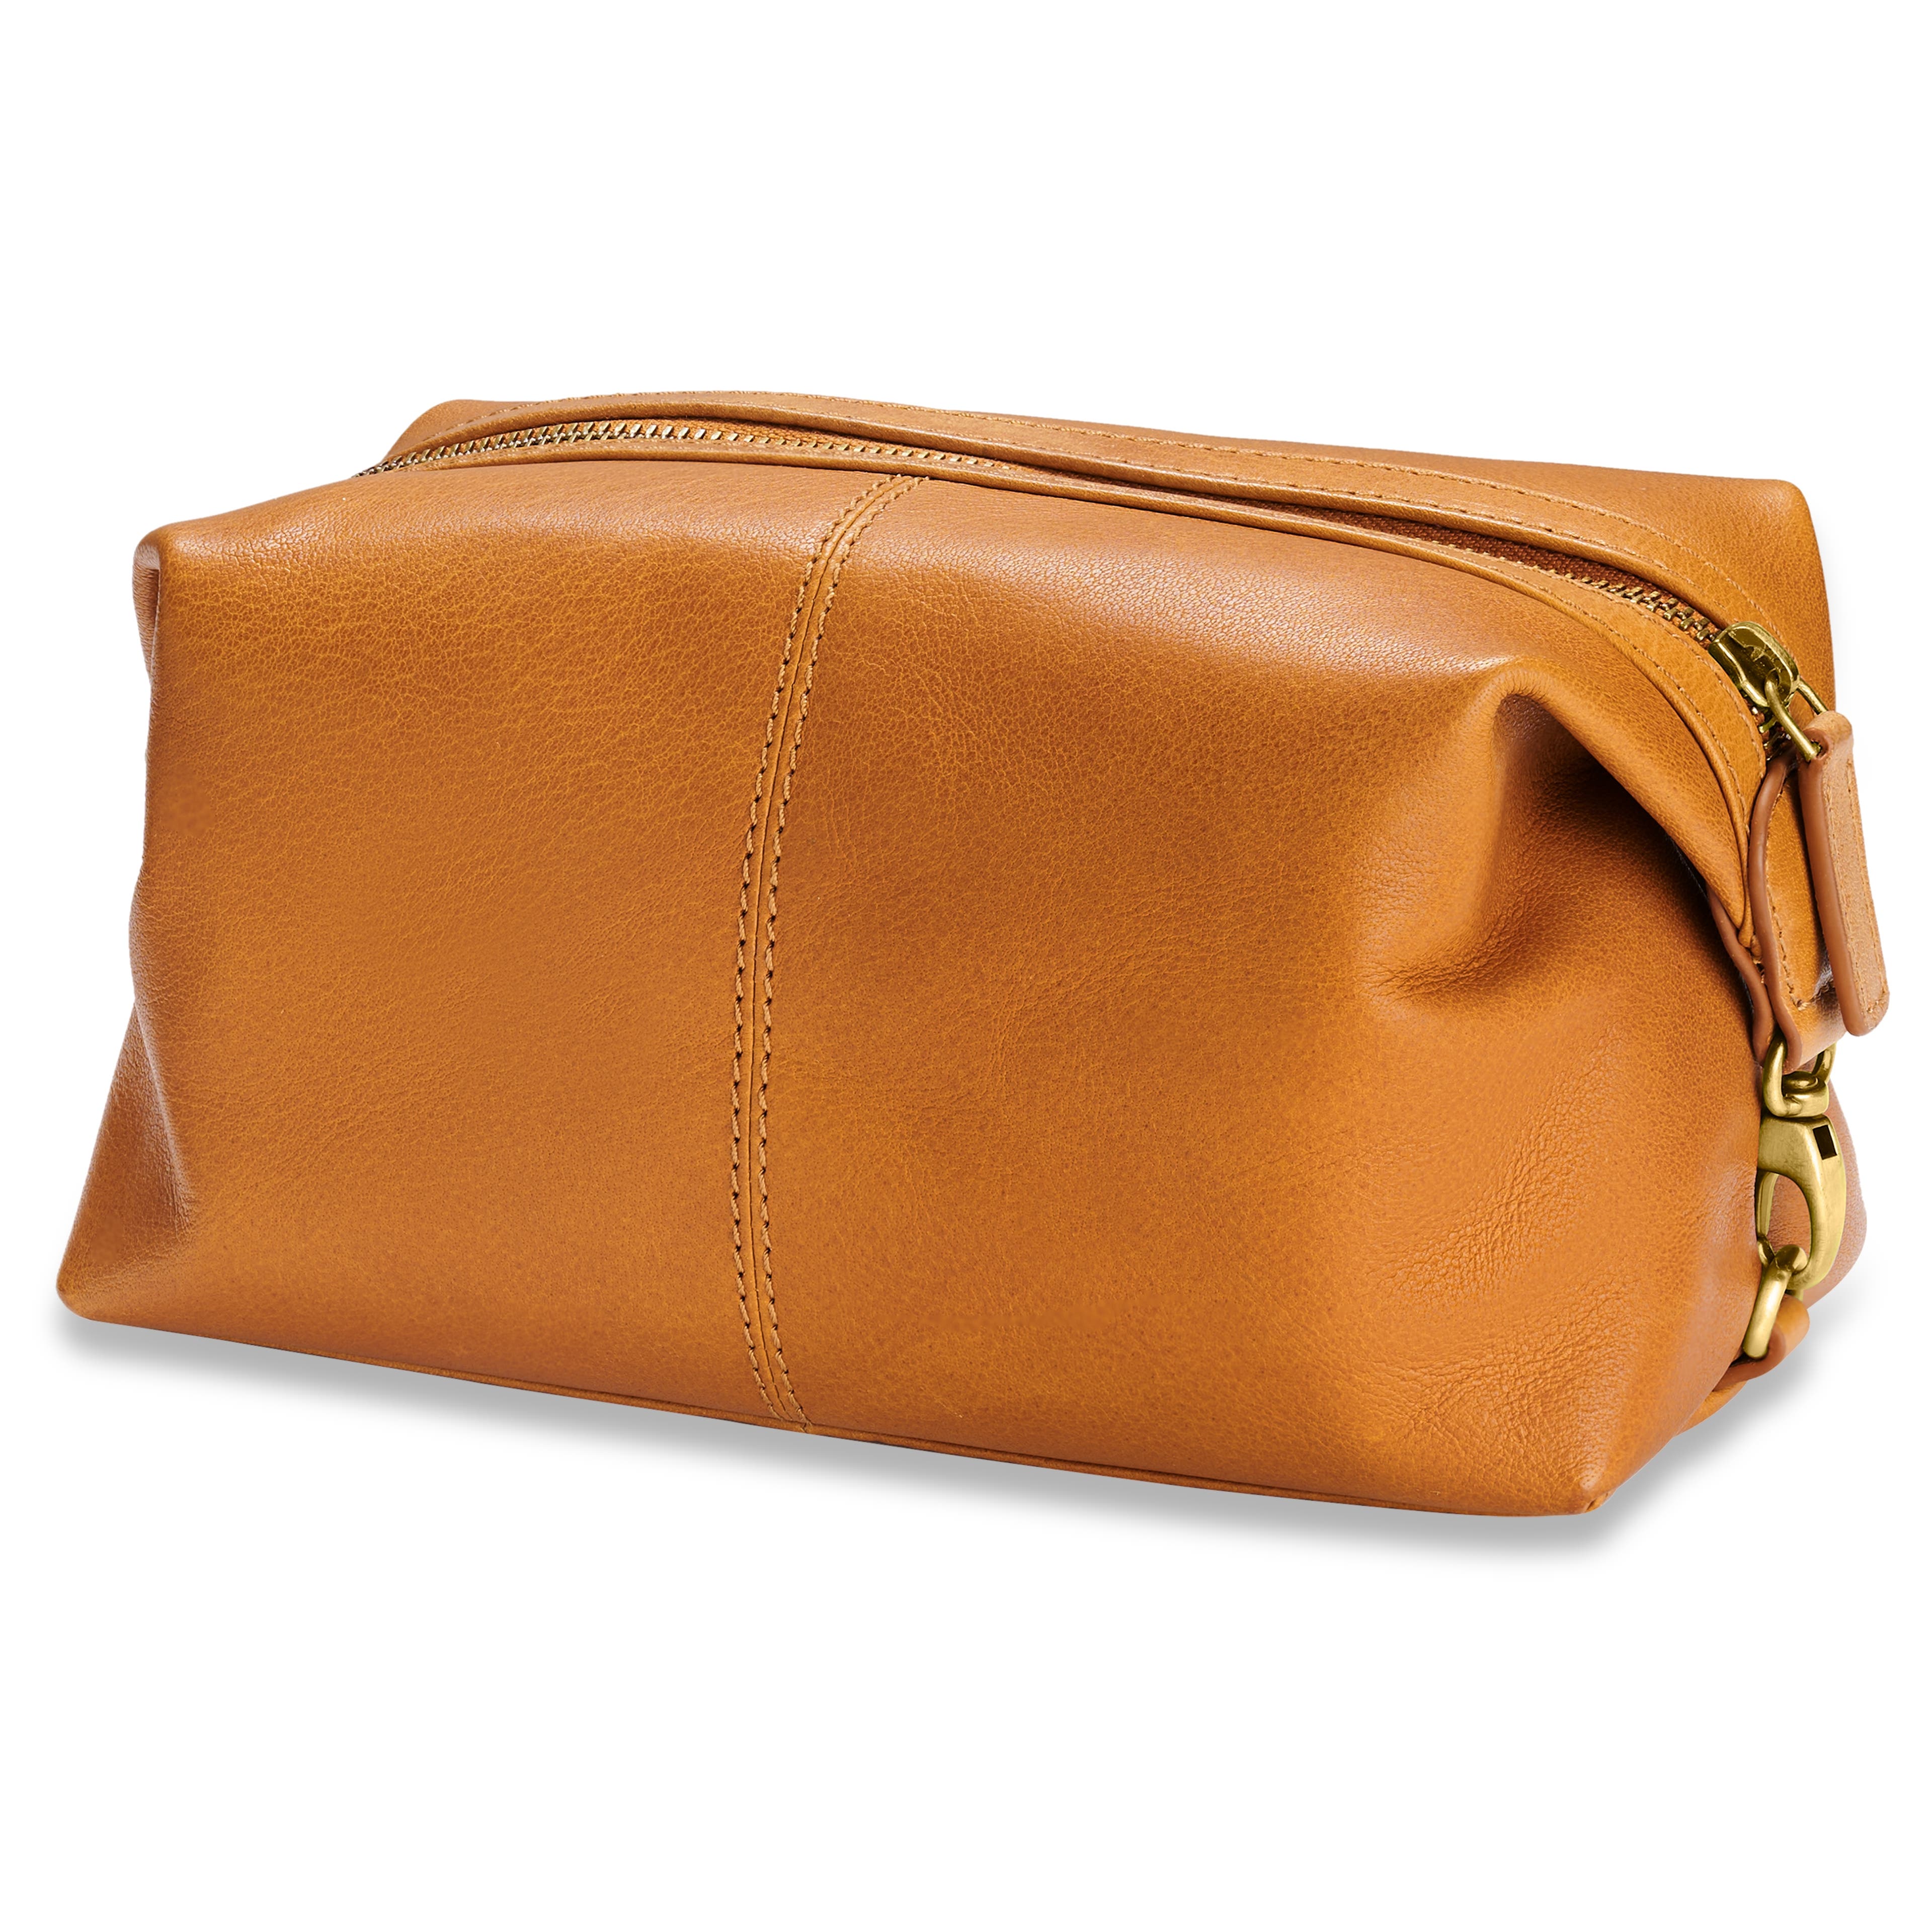
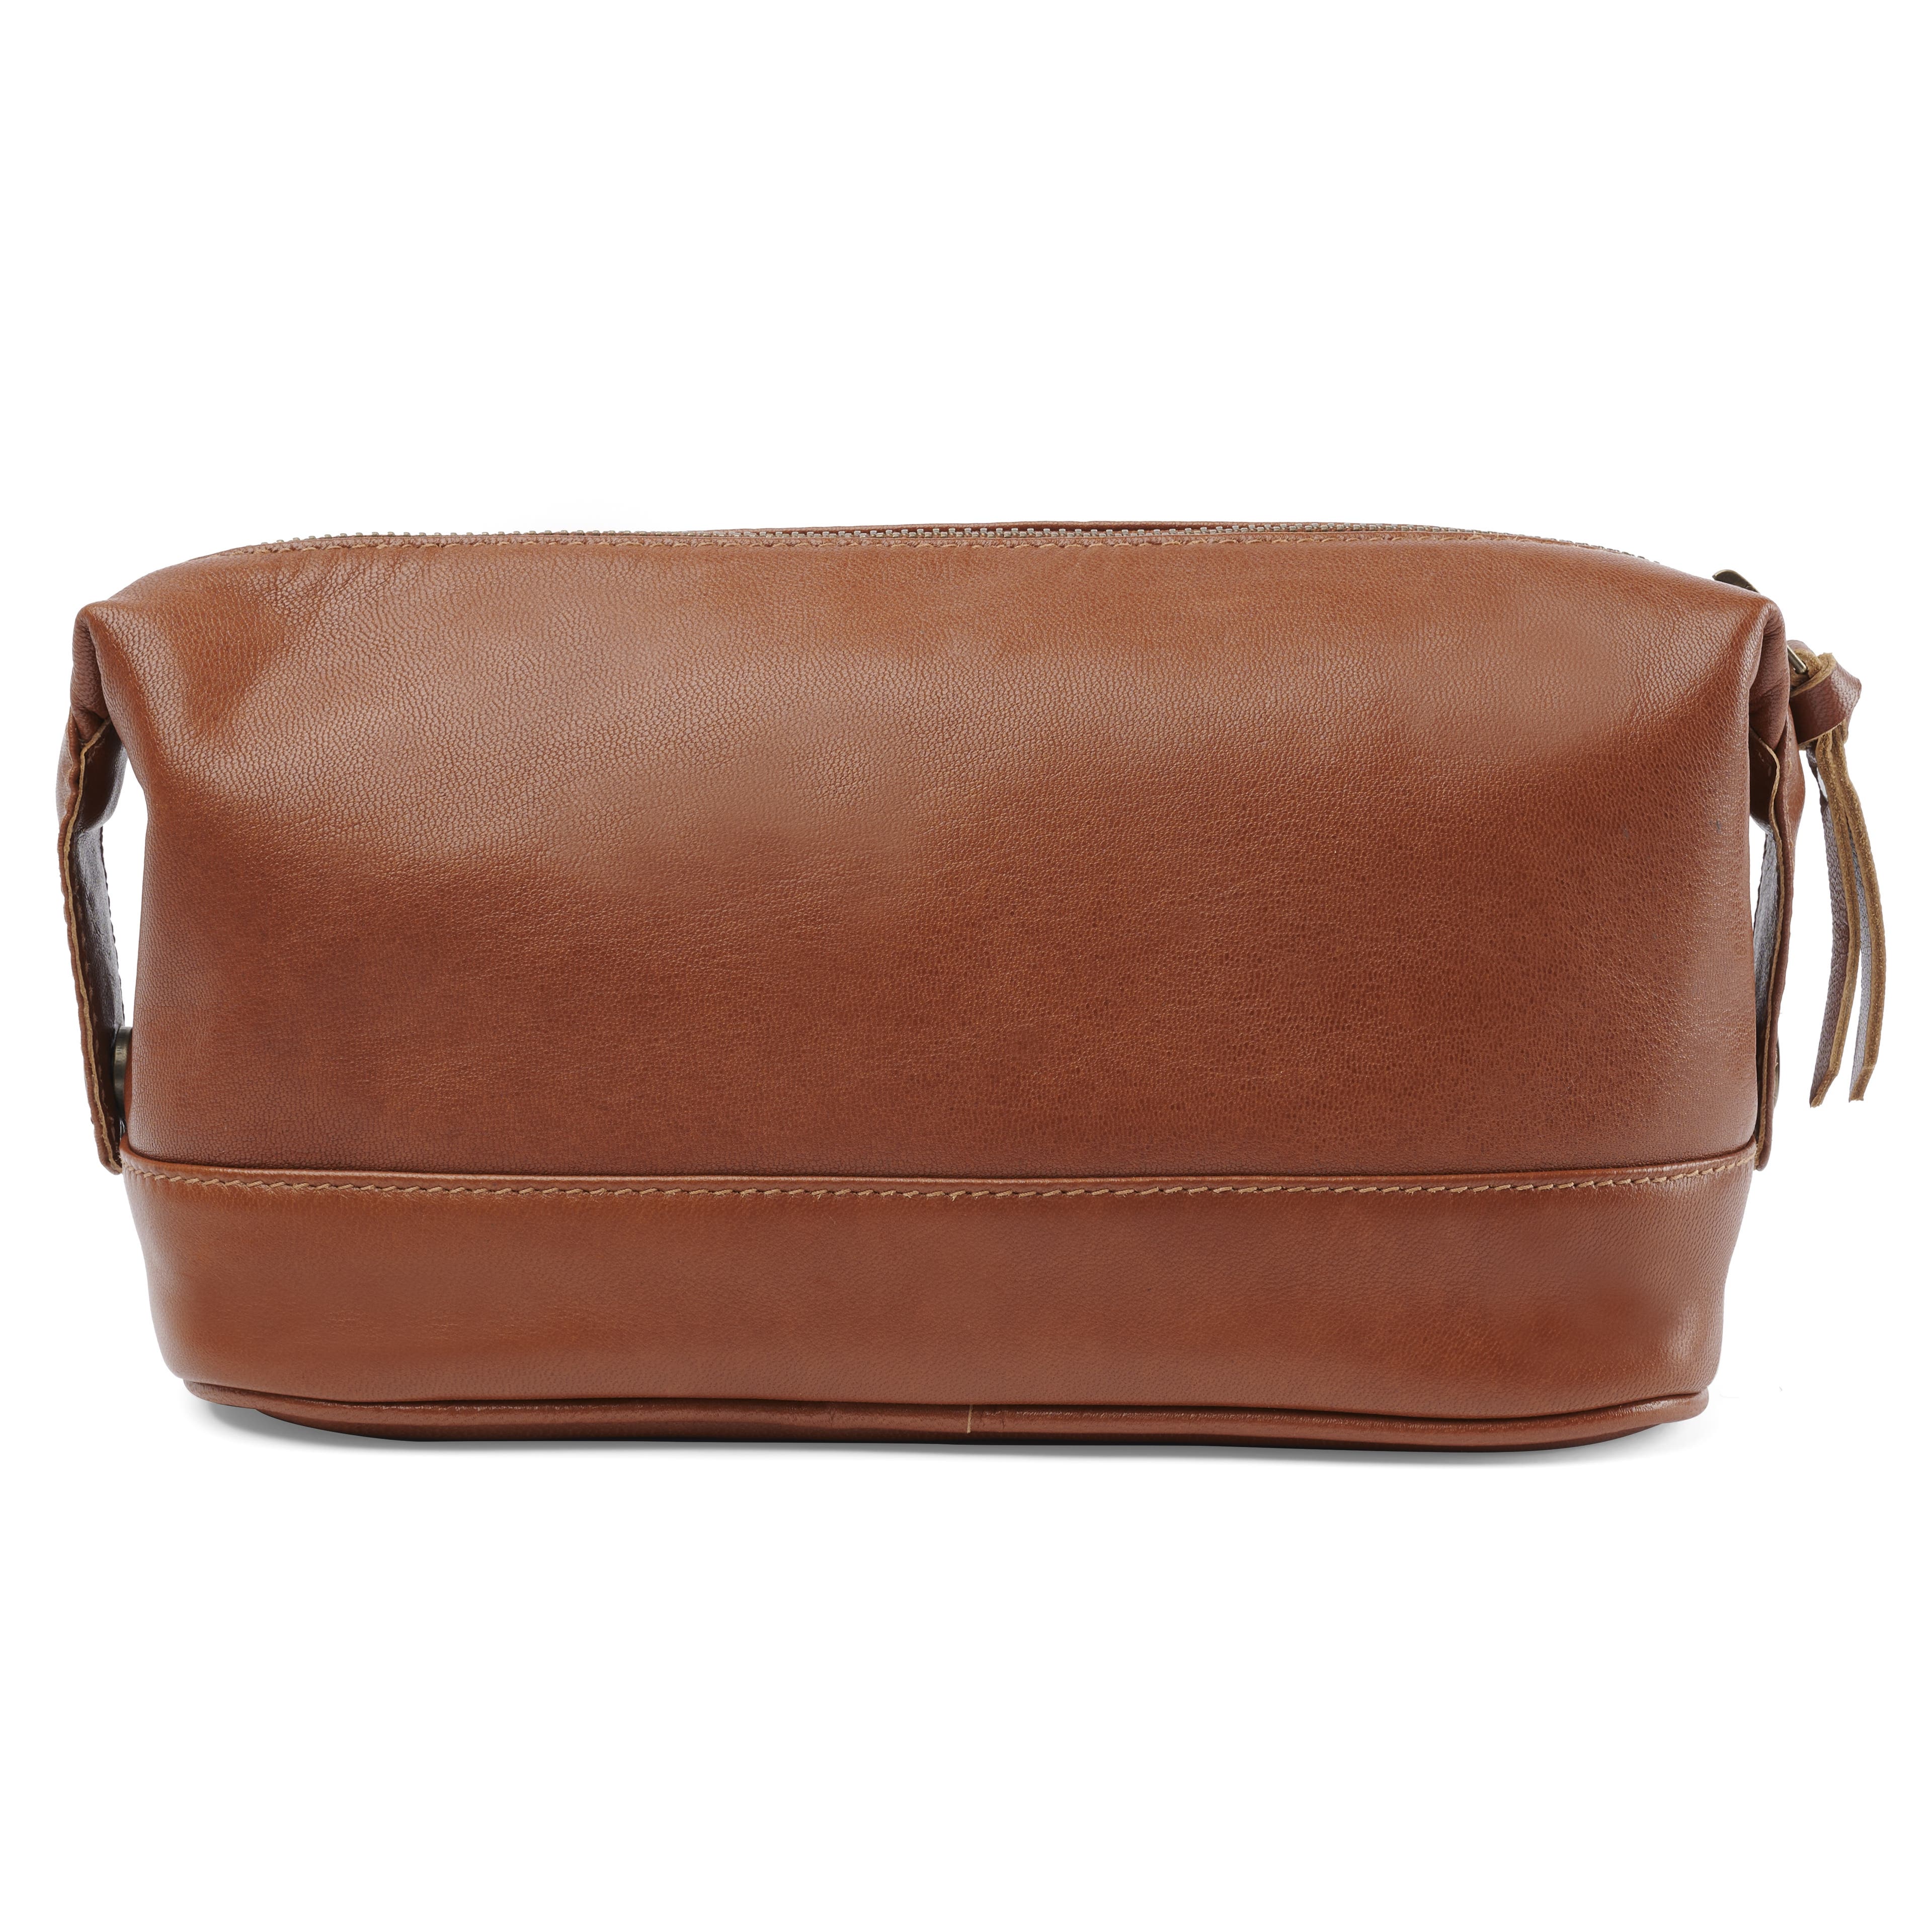
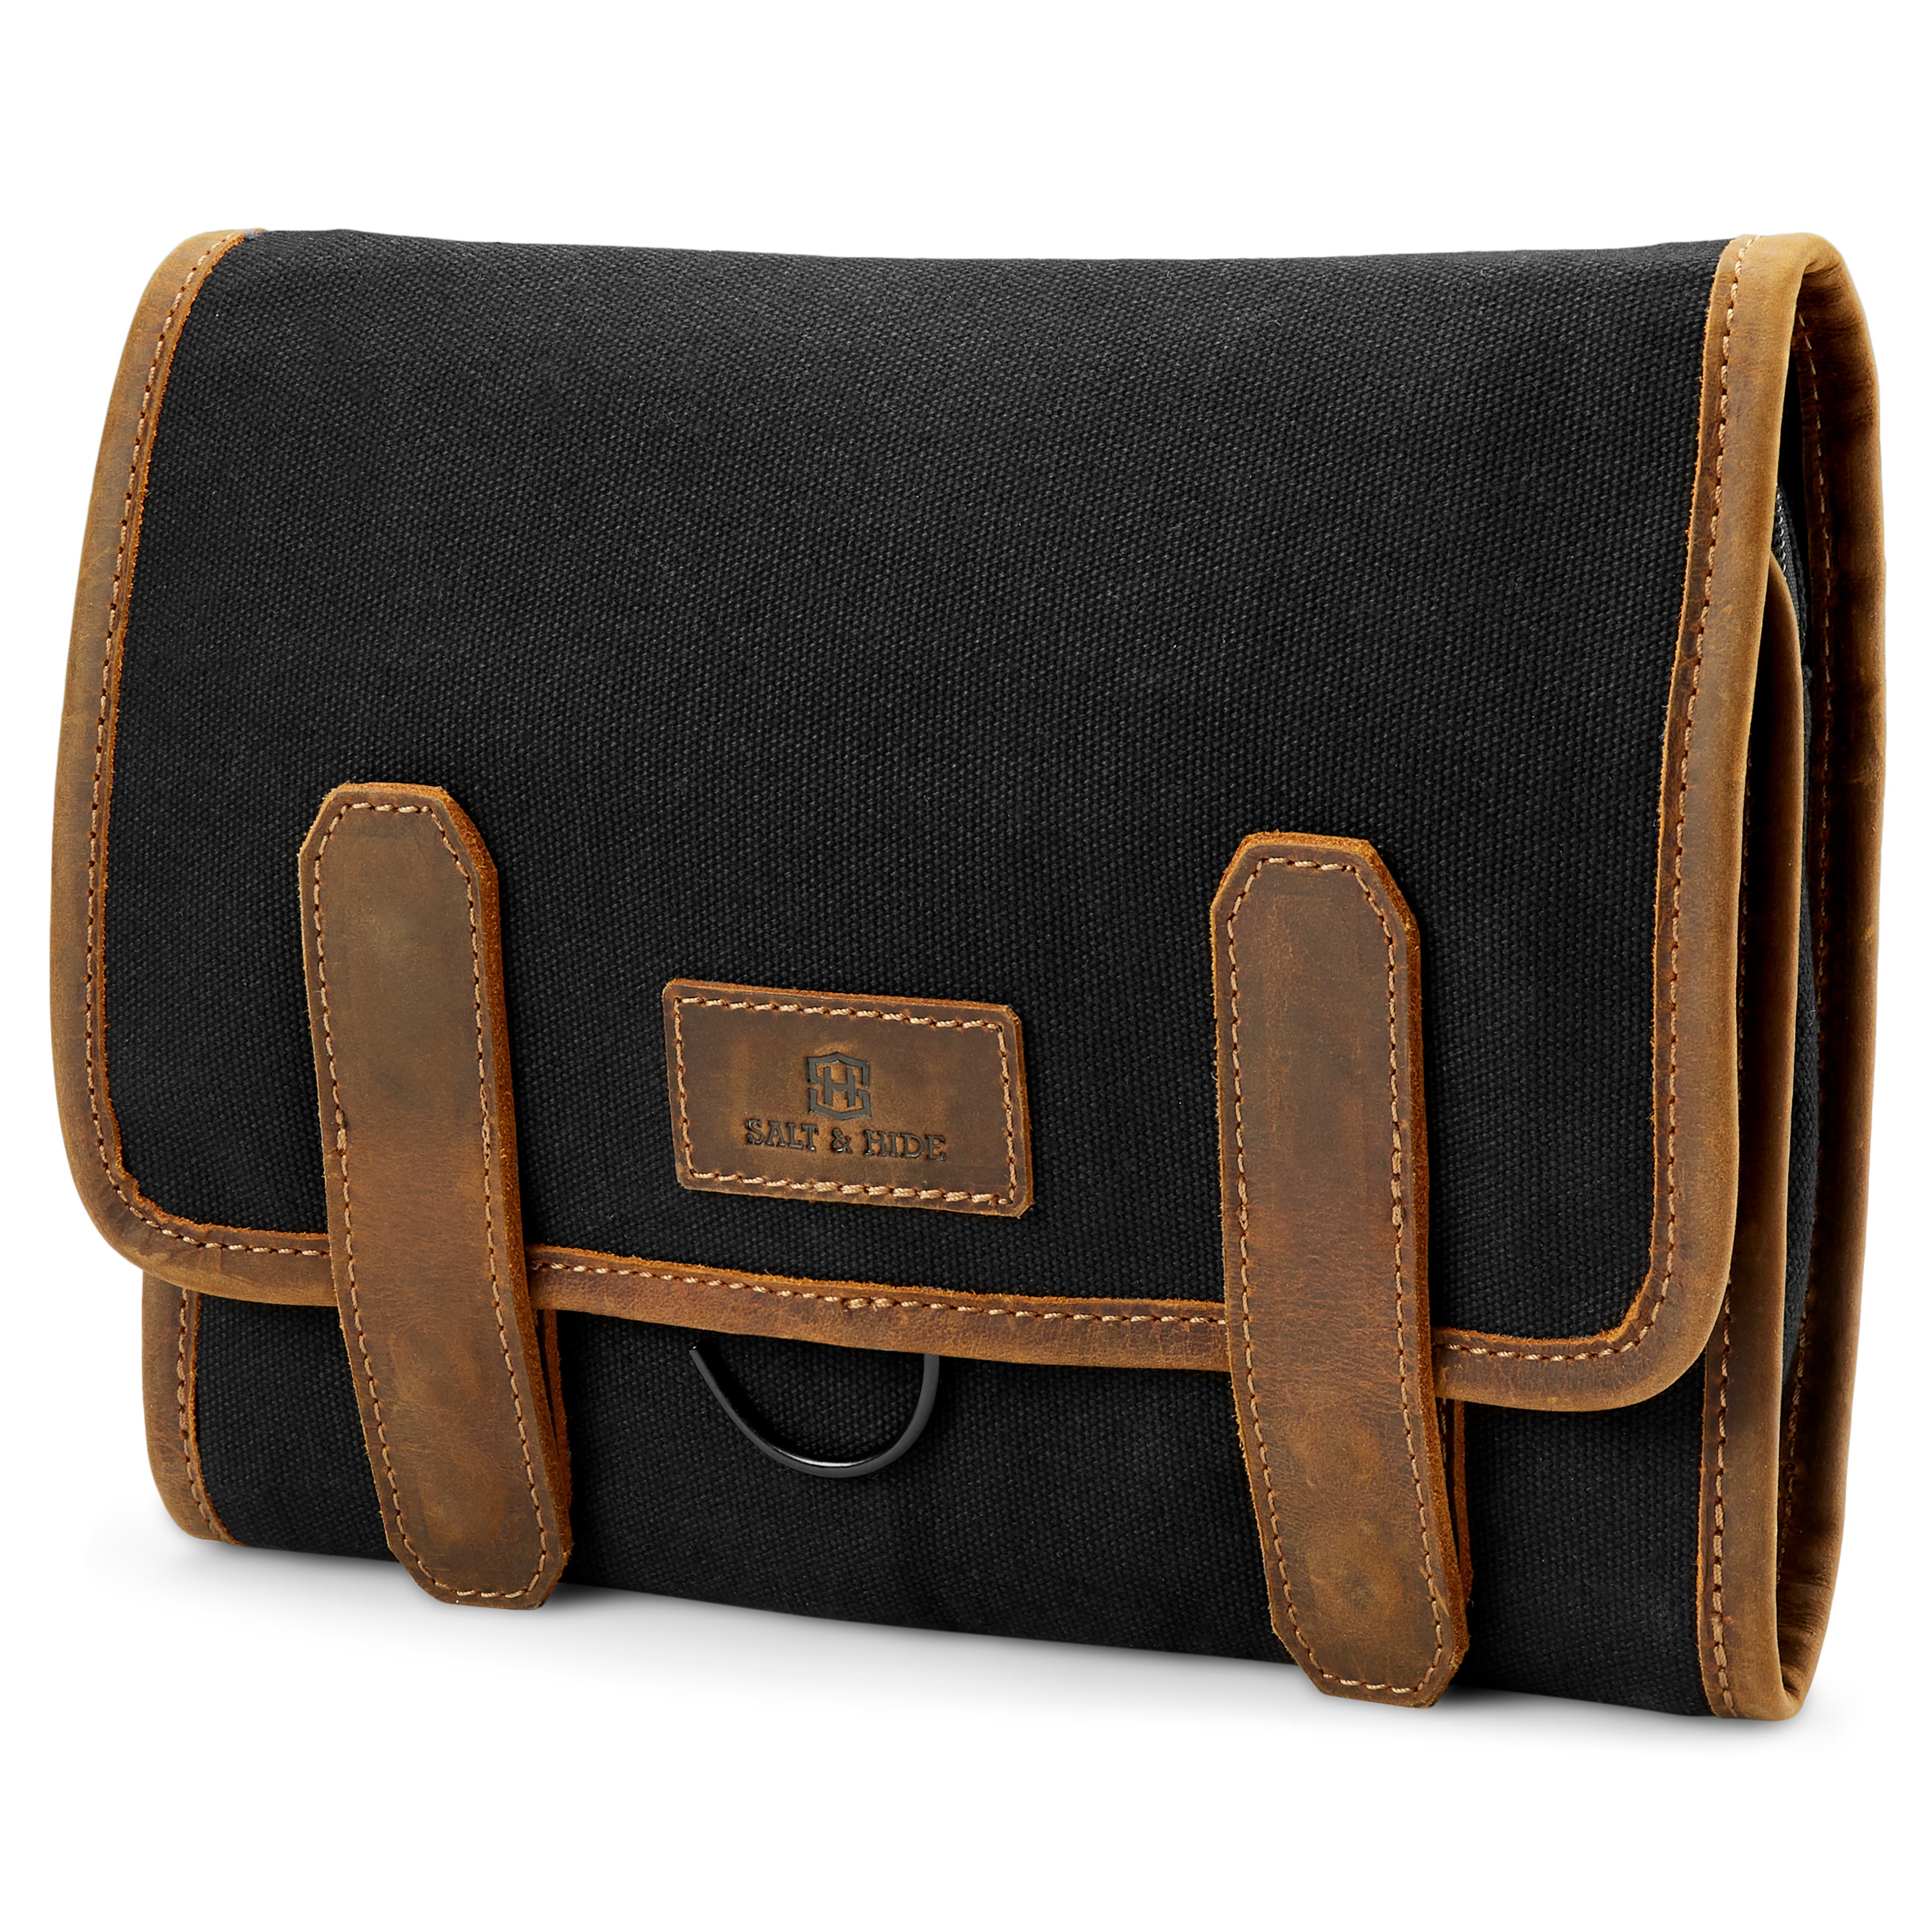
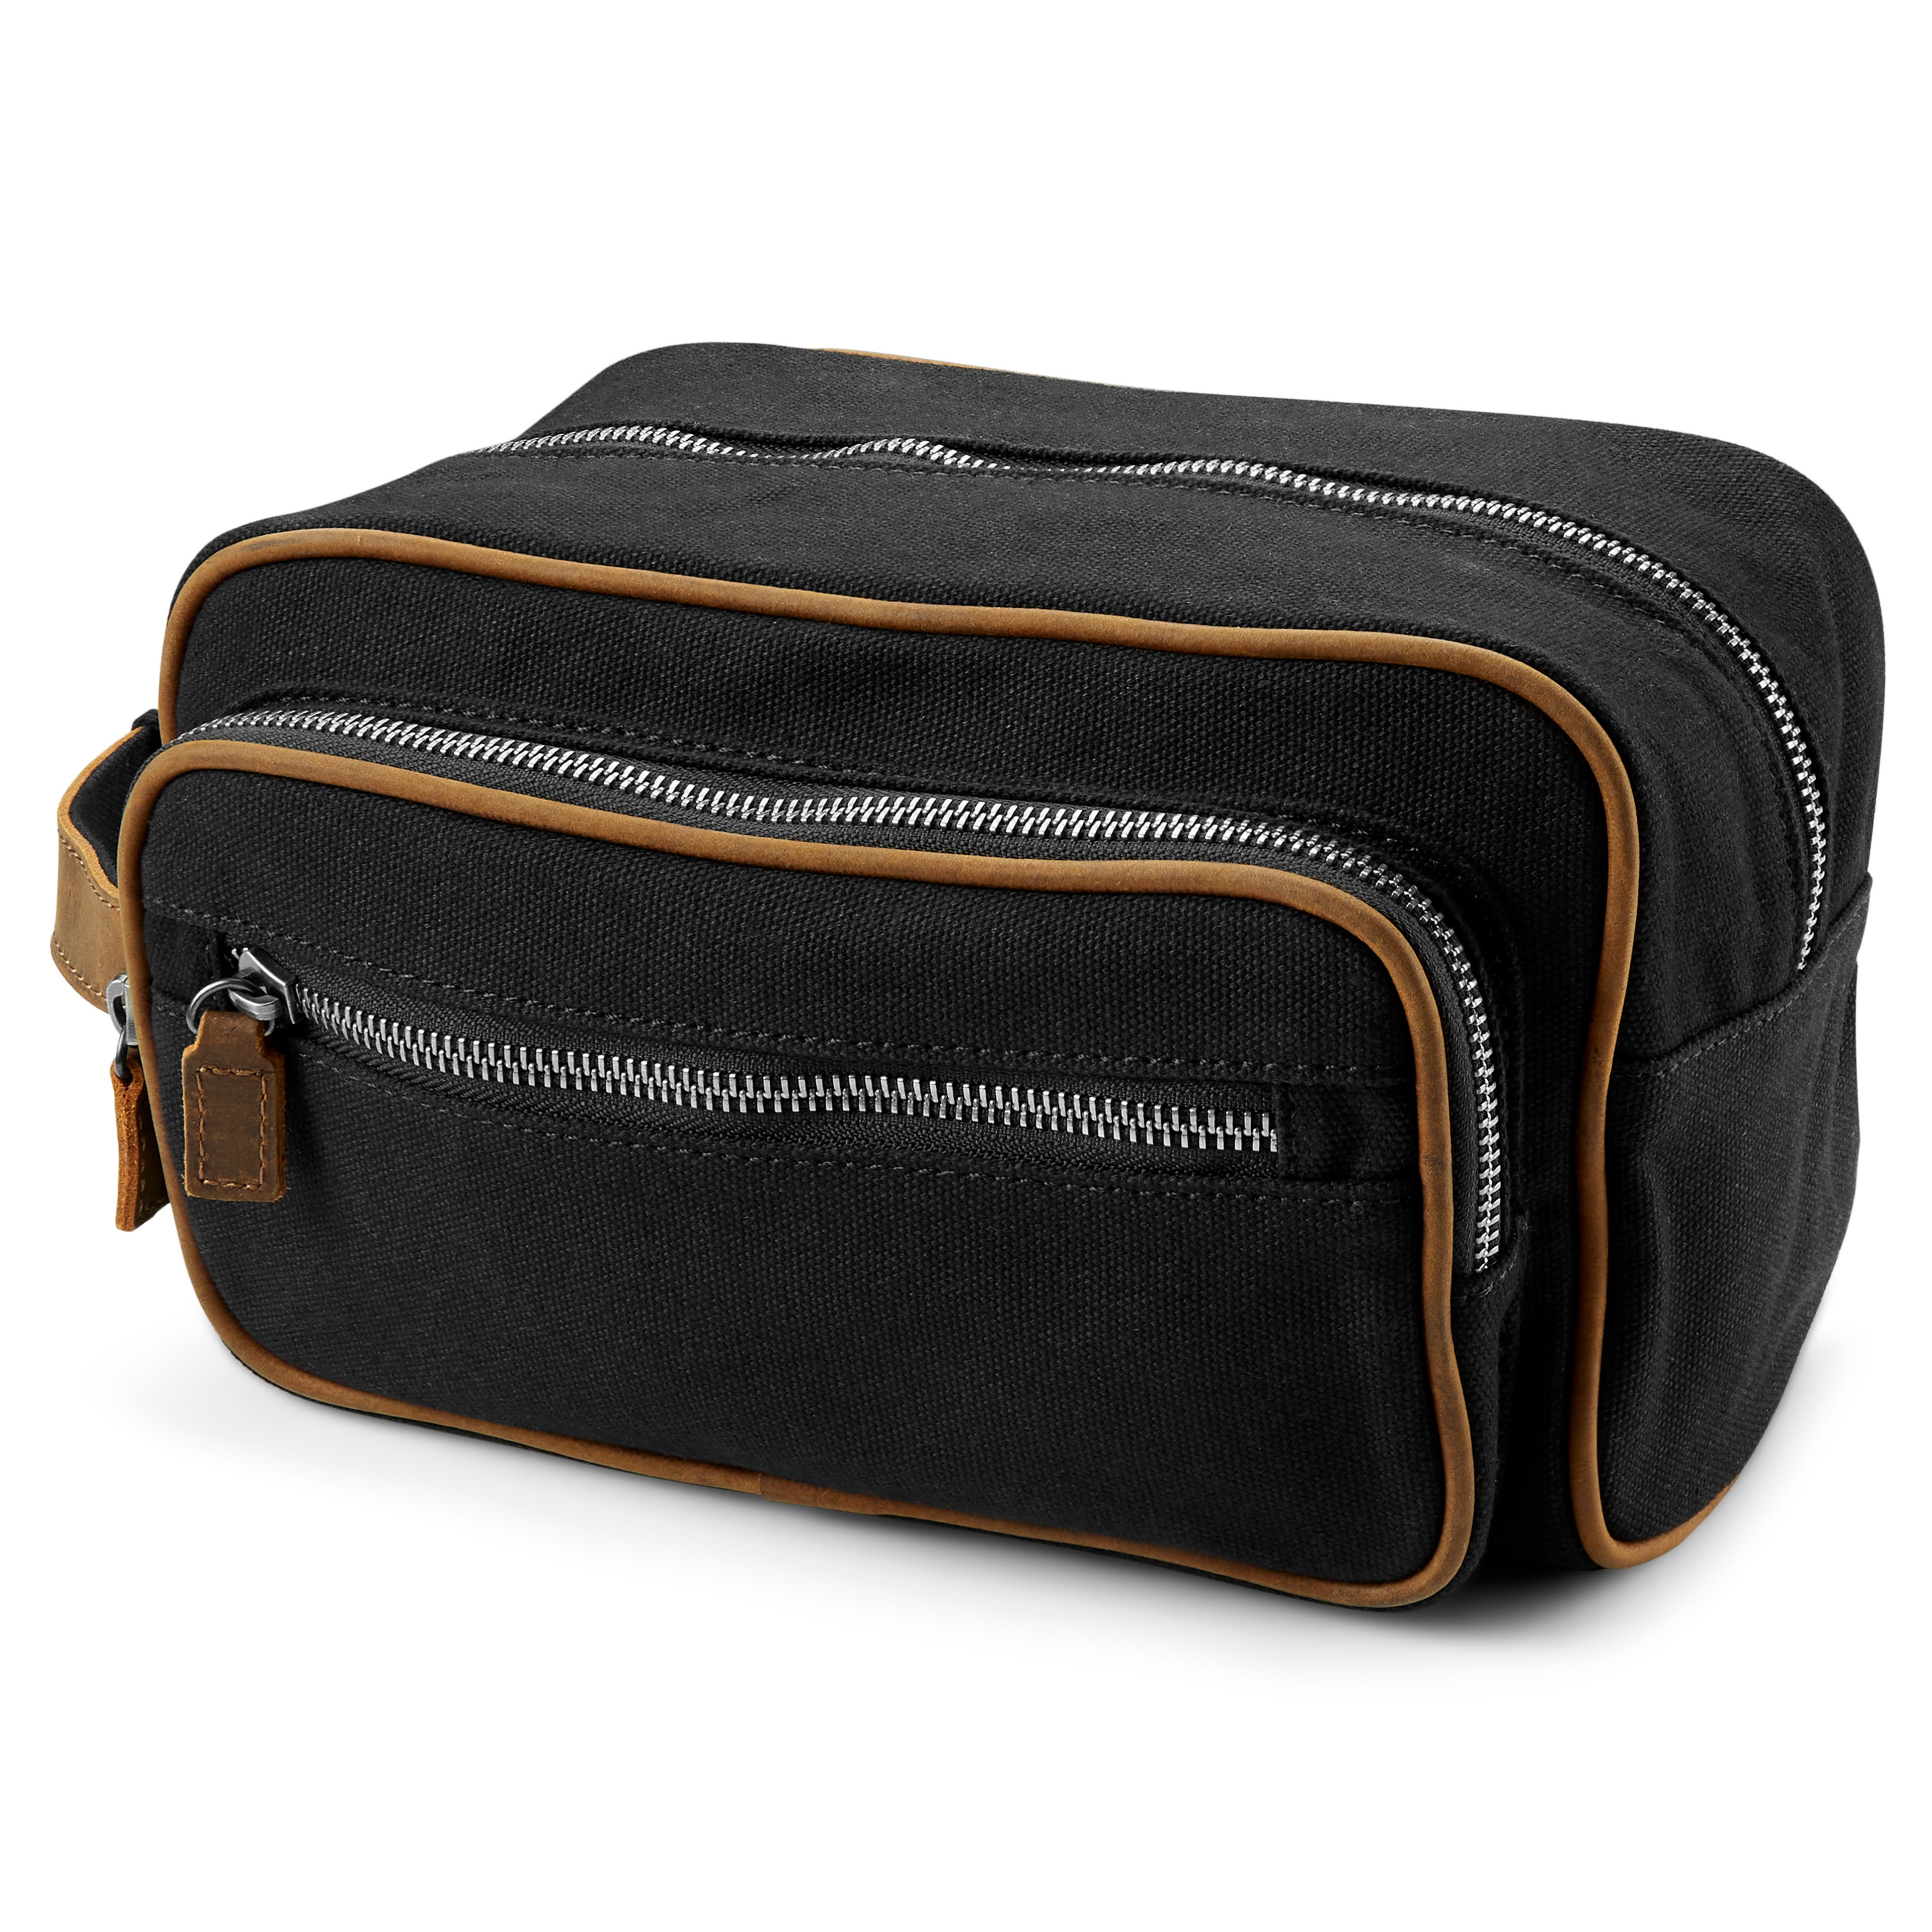
While not necessary for a close shave, it’s still something to consider. Your shaving kit or toiletry bag needs to be roomy enough to store all of your gear and water-resistant (in case you pack in a hurry and things don’t have time to dry).
The Importance of Lather
To get the best shave, you want thick lather. This cushions the razor and allows it to glide across the skin instead of skipping, dragging or pulling. Resulting in reduced irritation and a cleaner shave.
You can create lather in a bowl, mug, scuttle, your hand or even directly on your face.
We’re advocates a shaving bowl and the methods below:
Shaving Soap: How to create lather in 7 steps
- Fill your bowl or mug with warm water.
- Soak the shaving brush in the water for 1-2 minutes to loosen the bristles.
- Give the brush a firm squeeze (and a few shakes) to remove most (not all) of the water.
- Drain the water from the bowl or mug.
- Add a few drops of warm water on top of your soap to soften it. Take the brush and swirl it on the soap to begin creating the lather.
- Add water if necessary.
- Start swirling your brush (with the soap on it) in the bowl to create a rich lather – about 30 seconds.
Shaving Cream: How to create lather in 7 steps
- Fill the bowl with warm water.
- Soak the shaving brush for 1-2 minutes to loosen the bristles.
- Remove the brush and squeeze gently. Do not squeeze the water completely out of the brush.
- Drain the water and add an almond-size amount of shaving cream inside.
- Work the cream with quick circles to build up lather. This may take a couple of minutes.
- Add drops of warm water if the lather is too dry.
- You’re ready when peaks are formed and no bubbles are present.
How to Lather Without a Shaving Brush
- Wet your face.
- Put shaving cream on your hands.
- Rub your hands against your cheeks.
- Enjoy the mediocre lather... and make a plan to order a shaving brush.
Stages of Lather
Ideal Lather
- No bubbles
- Easily loads on the shaving brush
- Peaks hold their shape
- Spreads easily on the face
- Stays in place without drying out or flaking
An ideal lather is one all shavers aspire to and has a creamy, yoghurt-like consistency – resulting in a blade that glides across the face.
To reach ideal lather texture, start with a dry lather and slowly add drops of water to it using the shaving brush.
Dry Lather
- Doesn’t spread easily on the face
- Uncomfortable shave
- The blade doesn’t clean easily as the lather is too sticky
- May dry out and flake off of the face
Dry lather is characterized by its thick, sticky texture. It happens when the brush doesn’t have enough water in it to support the lathering process.
Wet Lather
- No peaks
- Large bubbles
- Higher possibility of cuts and nicks
- Increased irritation and soreness as the lather isn’t strong enough to cushion and protect your skin
This type of lather occurs for most beginners and is easily avoidable with a few more swirling passes of the brush in the bowl.
Tips to Remember for Perfect Shaving Lather
Bubbles in the lather mean there is too much water – add more cream to balance it out. Keep whipping until you get the right consistency. Average whipping time is 1-2 minutes… so don’t give up too early.
If your lather is too thick, add a few drops of water and continue swirling to get the right texture. Peaks are a sign your lather is ready.
What is Grain & Why is it Important?
Grain is the direction that your beard grows.
Run your hand along your stubble to determine which way your beard grows. If it feels rough, you’re against the grain.
What may look good on a t-shirt or an anti-establishment poster – ‘Go against the grain!’ – may not be the best shaving advice.
Do you shave up or down? Most men shave against the grain at some point in their lives and claim they get a smoother shave… we are 100% with you. The finish is smooth, but it also has an increased risk of irritation and nicks.
Shaving against the grain cuts the hair from underneath and puts the blade in close contact with your skin. Once this hair is cut, the lower part retracts and can become ingrown as it grows again.
Shaving with the grain puts the blade in contact with the hair first. The result is less time spent with a sharp blade against your flesh. That’s always a good thing.
The same level of smoothness you get from going against the grain can be achieved by using multiple passes along the grain. Without multiple passes, you may be left with stubble.
It’s not dangerous to shave against the grain. And with the right pre- and post-shave routine, you may not ever experience the irritation felt by others. Be sure you use a shaving brush to exfoliate and lift the hairs while applying lather... and use a safety razor instead of a cartridge razor.
How to Shave with a Safety Razor
Don’t let the intimidating look of a safety razor put you off. Mastering this skill earns serious bro-points and give the closest shave ever.
- Shower. A warm shower opens pores and softens your beard. If you can’t shower, use warm water on your face to prep the skin or hold a warm towel against your face and neck for a few minutes. Avoid hot water as it will strip the natural oils from the skin.
- Soak your brush. While you’re showering and preparing your face, soak your
brush in warm water. Don’t use hot. It expands the bristles and may melt the glue holding the knot. - Use pre-shave oil. A few drops of a pre-shave oil lubricates and protects from what’s to come. Coconut oil is an inexpensive option and won’t clog the blade.
- Massage it into your bristles and give your face a quick rinse. You want to remove some, but not all of the oil.
- Create your lather and apply. Perfect lather has the consistency of yoghurt without bubbles. Apply to your face and neck with a shaving brush. Cover the whole area with quick circles to draw the hairs up – thinking of painting on the lather without forcing it.
- The Dashthis, our favourite Danish barbershop, suggests “Spend extra time on the neck. As it’s common to get ingrown hairs here, taking a couple of minutes to exfoliate and prep this area is key to a great shave. We typically spend 2-3 minutes on the neck. Time spent in the prep stage is vital for a close shave.”
- Shave! Before each stroke, use your free hand to pull your skin taut. This evens out any wrinkles or lines and exposes more of the hair. Be careful not to pull too tightly (don’t cause yourself pain).
Pulling the skin too tightly while shaving can cause ingrown hairs. - Use short strokes (around 50 mm each time) and very little pressure. You want the weight of the safety razor to cut through the hair. Added pressure may cause skin irritation, razor bumps and razor burn. Aim for a 30-degree angle to your face. A cartridge razor can adjust to the curves and shape of your face… a safety razor can not.
- For the first pass, shave with the grain. If you feel the blade tugging or pulling, replace it. Always use a sharp blade. On average, a quality blade yields 4-6 close shaves.
- Take your time and avoid shaving skin without lather on it. If you’re taking too long and the lather starts to dry, apply more lather.
- Rinse and repeat. Rinse the blade with warm water every 5-6 short strokes. Rinse your face after completing the first pass. Does it feel clean and smooth? If yes… great! If not, repeat the steps (including applying lather) and give it another pass.
- You may want to shave across the grain on the 2nd pass… although it depends on your comfort level with against-the-grain shaving.
- Finish up. When satisfied with the shave, rinse your face with cold water and pat dry (don’t rub) with a clean towel. Because shaving removes oils from the skin, we suggest a hydrating aftershave or
moisturiser to protect your handsome mug. - Don’t forget to
clean your brush, rinse your blade and store your tools where they can dry before the next shave.
If you need to store the blade for a long period, apply a blade oil before putting it away. This prevents moisture in the air from rusting the blade. If your blade does get rusty, do not use it. Replace it.
Hold On… The Best Way to Hold a Safety Razor
Holding your razor close to the head (the part that does the cutting) can put too much pressure on the blade and result in cuts or razor burn. Using the right angle allows the weight of the razor to do the work and glide gently over your face.
As a general rule, hold razors with short handles with 3 fingers and use 4 for longer-handled safety razors. Short-handled razors should be held lower on the handle.
The goal is to use as little pressure as you can while shaving. This is in stark contrast to anything shaved with a cartridge razor. Remember to let the blade do the cutting… not your brute strength.

You Asked – We Answered
How do I get rid of ingrown hairs and prevent them from coming back?
According to research published in the International Journal of Cosmetic Science, there are a few steps to combat ingrown hairs and keep from getting them.
- Washing your face before shaving to soften hair and release ingrown and low-lying ones.
- Use a generous amount of shaving cream to decrease the force required to shave. Your skin is happiest when it isn’t stressed and when the razor can slide across it.
- Shave regularly with light, short strokes. Shaving daily has been shown to have a positive effect on ingrown hair.
- Always use a moisturising after-shave product.
If you already have an ingrown hair, you may find relief by using an exfoliating face wash.
Other remedies include placing a warm towel on your face for 5-7 minutes to open pores and encourage the hair to come out.
How do I prevent razor burn (shaving rash)? How do I get rid of razor burn?
You can prevent razor burn by properly preparing your skin before shaving and using clean, sharp blades and rich, moisturising lather while shaving.
If you find yourself with an irritated face, and the annoying bumps that come with razor burn, apply a thin layer of coconut oil to your skin. Coconut oil has anti-inflammatory and antiseptic properties and is often used to soothe irritated skin and even burns.
Is it good to shave every day?
Shaving every day doesn’t have to be damaging to the skin or painful. If you shave properly and moisturise your skin regularly, your daily shaving routine can even become something you look forward to.
Remember the importance of pre-shave oil, quality shaving brush, a sharp blade and post-shave moisturiser.
How often should a man shave?
Gone are the first days of shaving when every other week was enough. Now that you’re a big man, you should shave as often as you need. Does your job require a clean-shaven look? Does your hair grow at wolfman speed?
If you don’t want to shave daily, find the balance between a little stubble and the point where torch-wielding villagers start raiding your apartment.
Can shaving increase facial hair? Can I make my beard grow quicker or faster?
We probably all heard this at some point in our life. Some kid in class said shaving would make your beard grow faster… and then we all ran home begging our dads to show us how to shave.
The truth is – shaving won’t make your hair grow faster or thicker. It may feel coarse as it grows in and may even appear darker, but it’s not thicker nor will shaving lead to a full beard in less-than-natural time.
Is it better to shave at the sink or in the shower?
We suggest shaving at the sink after taking a warm shower. Why? The mirror. Plus, it’s easier to have the tools on the bathroom counter versus oddly balanced in the shower.
Shaving at the Sink
- Pro – Tools are easily rinsed between uses
- Con – Can be time-consuming when shaving daily
- Con – If not properly prepped, your skin may experience razor burn
Shaving in the Shower
- Pro – The steam keeps your skin supple
- Con – Lather is easily washed away and can require more product
- Con – Too much water can cause the razor to skip – especially if the lather gets washed away
- Con – Where do you put all of your stuff?!
How do I switch from dry to wet shaving?
Welcome! Switching from dry to wet shaving is a big deal and isn’t one made lightly.
It takes your skin about a month to adjust to a new shaving method. If you’re making a switch, give your skin a little time to get used to the new way before tossing in the towel and going back.
How to stop bleeding from a shaving cut?
You’ve cut yourself shaving. Congratulations, you’re human! Assuming it’s only a nick and not a sliced jugular, the following techniques may come in handy.
Toilet tissue. We've all seen it – tiny pieces of toilet paper stuck to some poor guy’s face as he struggles onboard the train. He’s had a bad morning, but we can learn from him.
Dab the cut with the toilet paper to dry the area and stop most of the bleeding. After finishing the shave, rinse your face, apply moisturiser and then stick a small piece of toilet paper to the cut.
Once dry (around 5 minutes), you can remove the paper and dab with water to clean up any dried blood. The lesson we can learn from that other guy is this – don’t wait to shave until you’re already late for work! Give yourself time to get ready.
Ice cubes. Hold an ice cube on the cut to shrink the blood vessels and enable a clot to form faster.
Lip balm. Being sure that it’s a clean tube of balm, smear a bit on the cut to seal it off and let it heal.
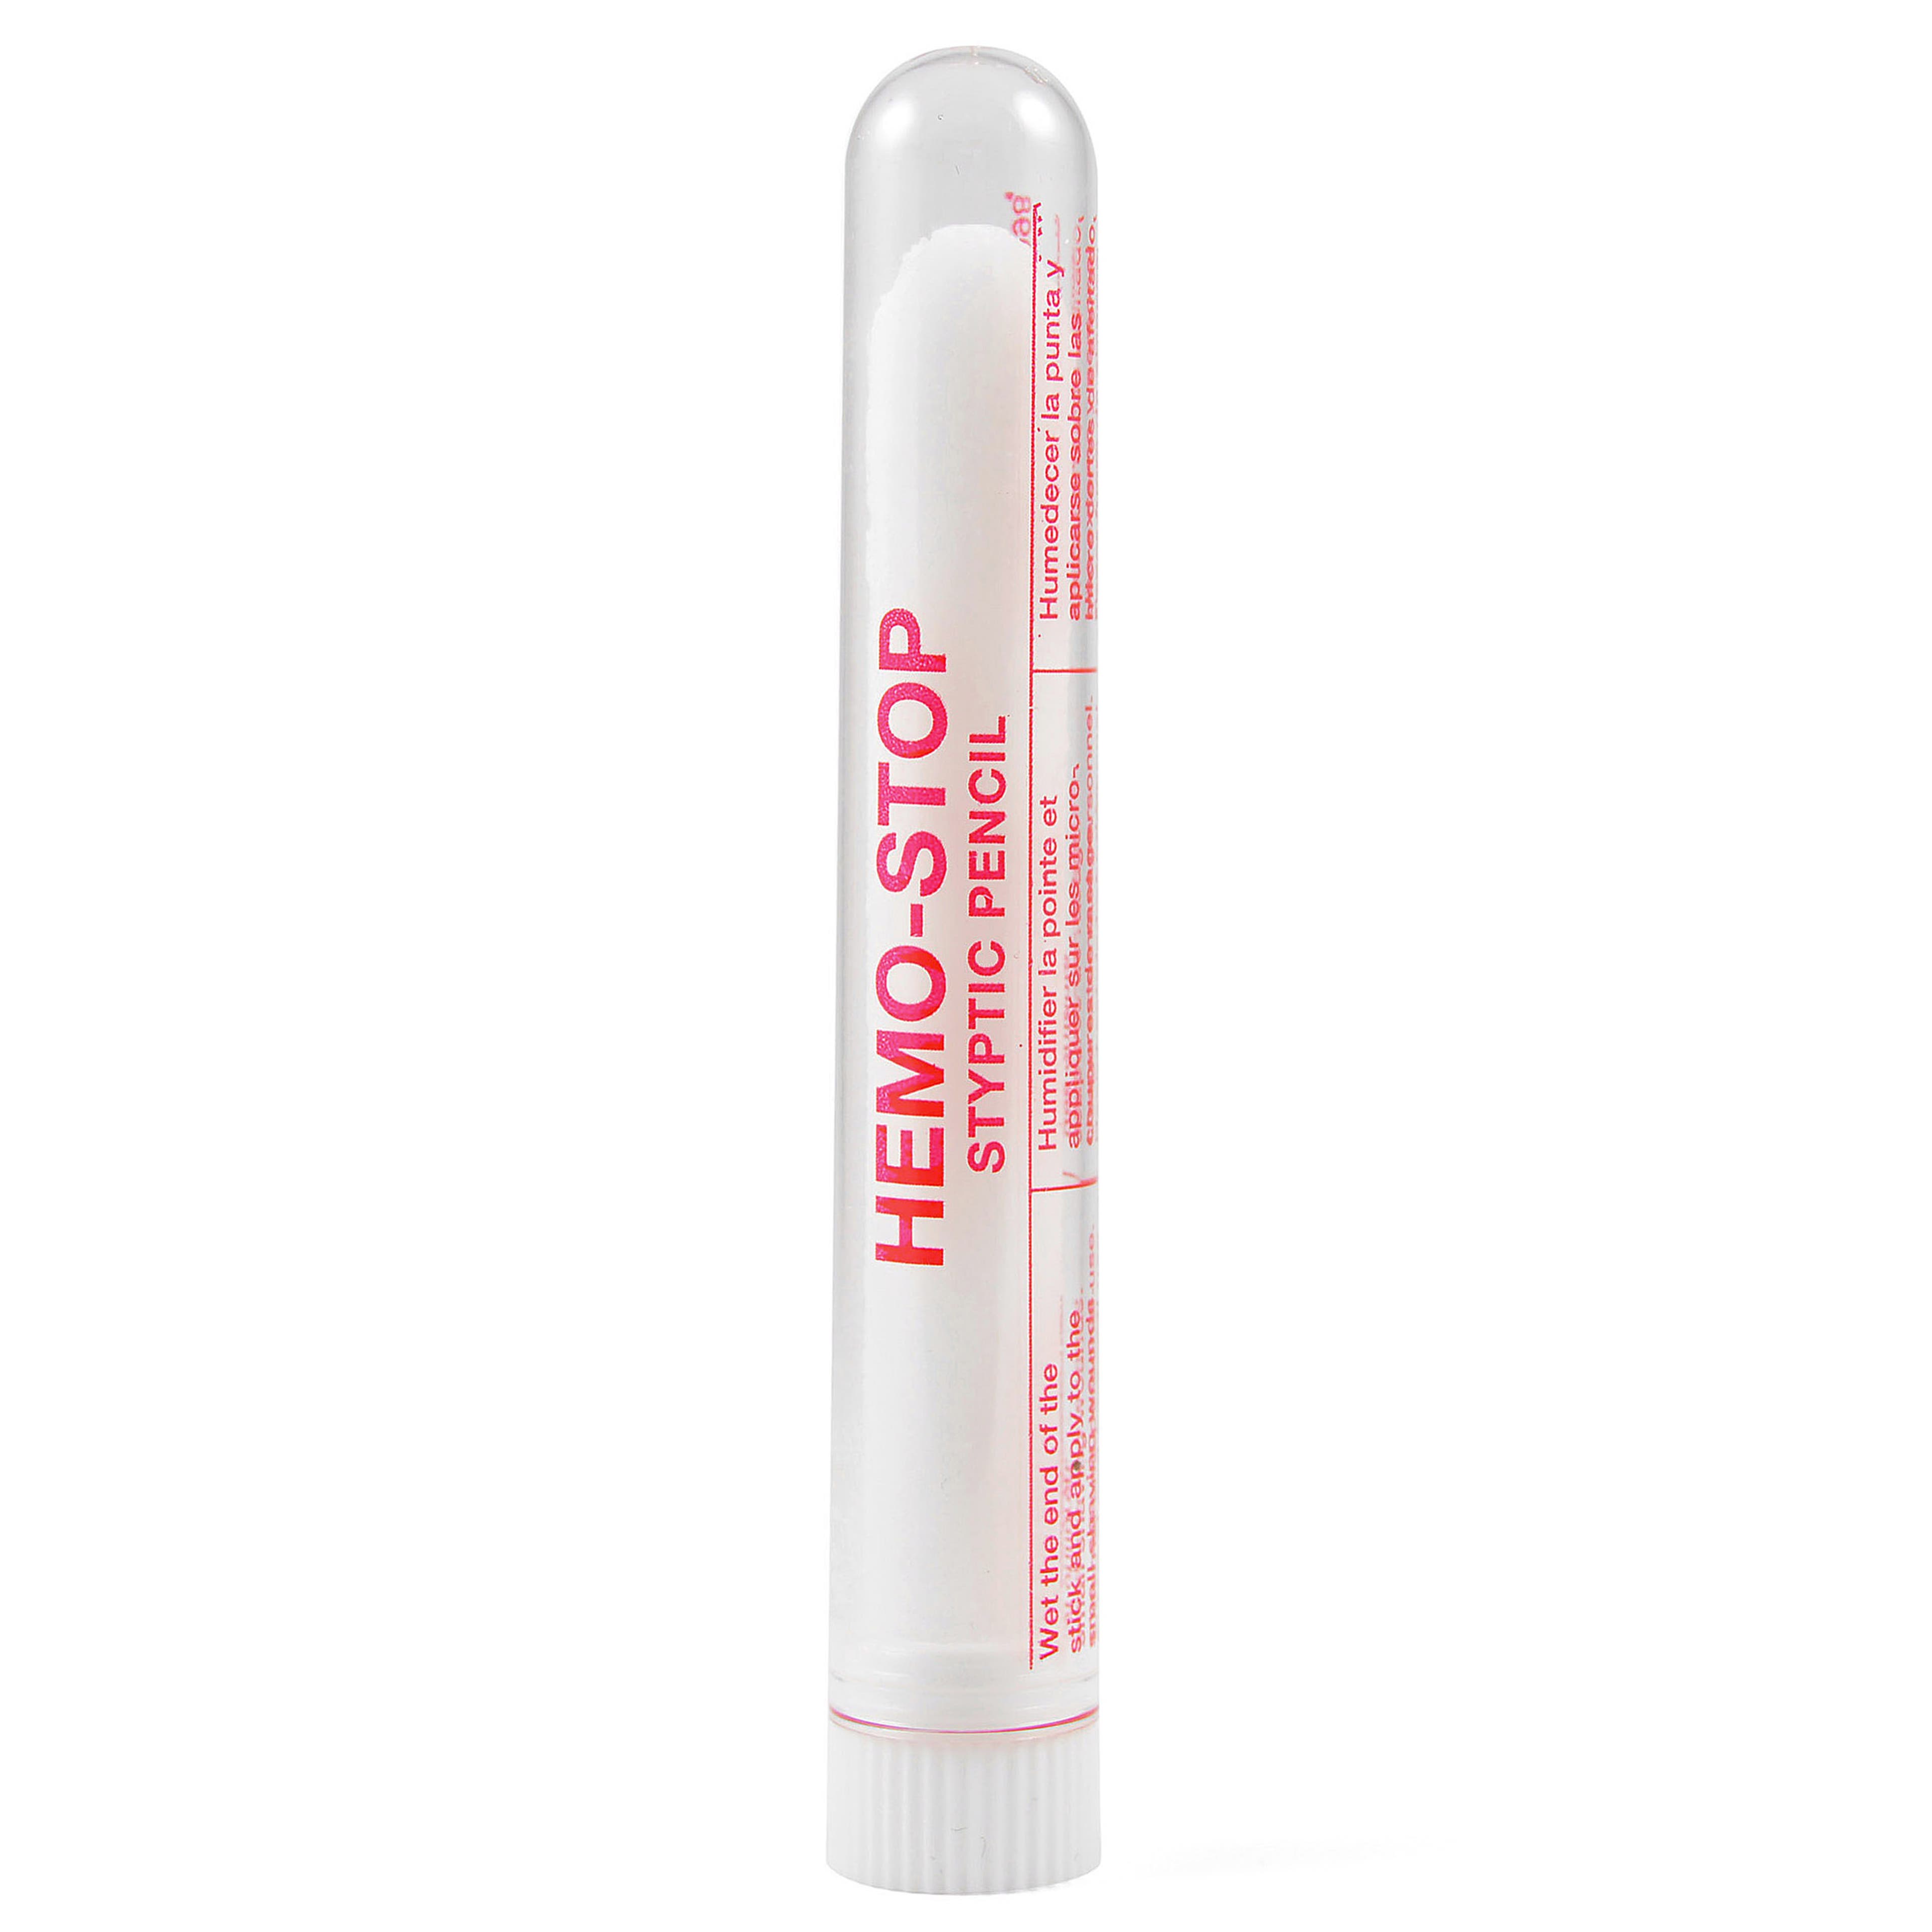
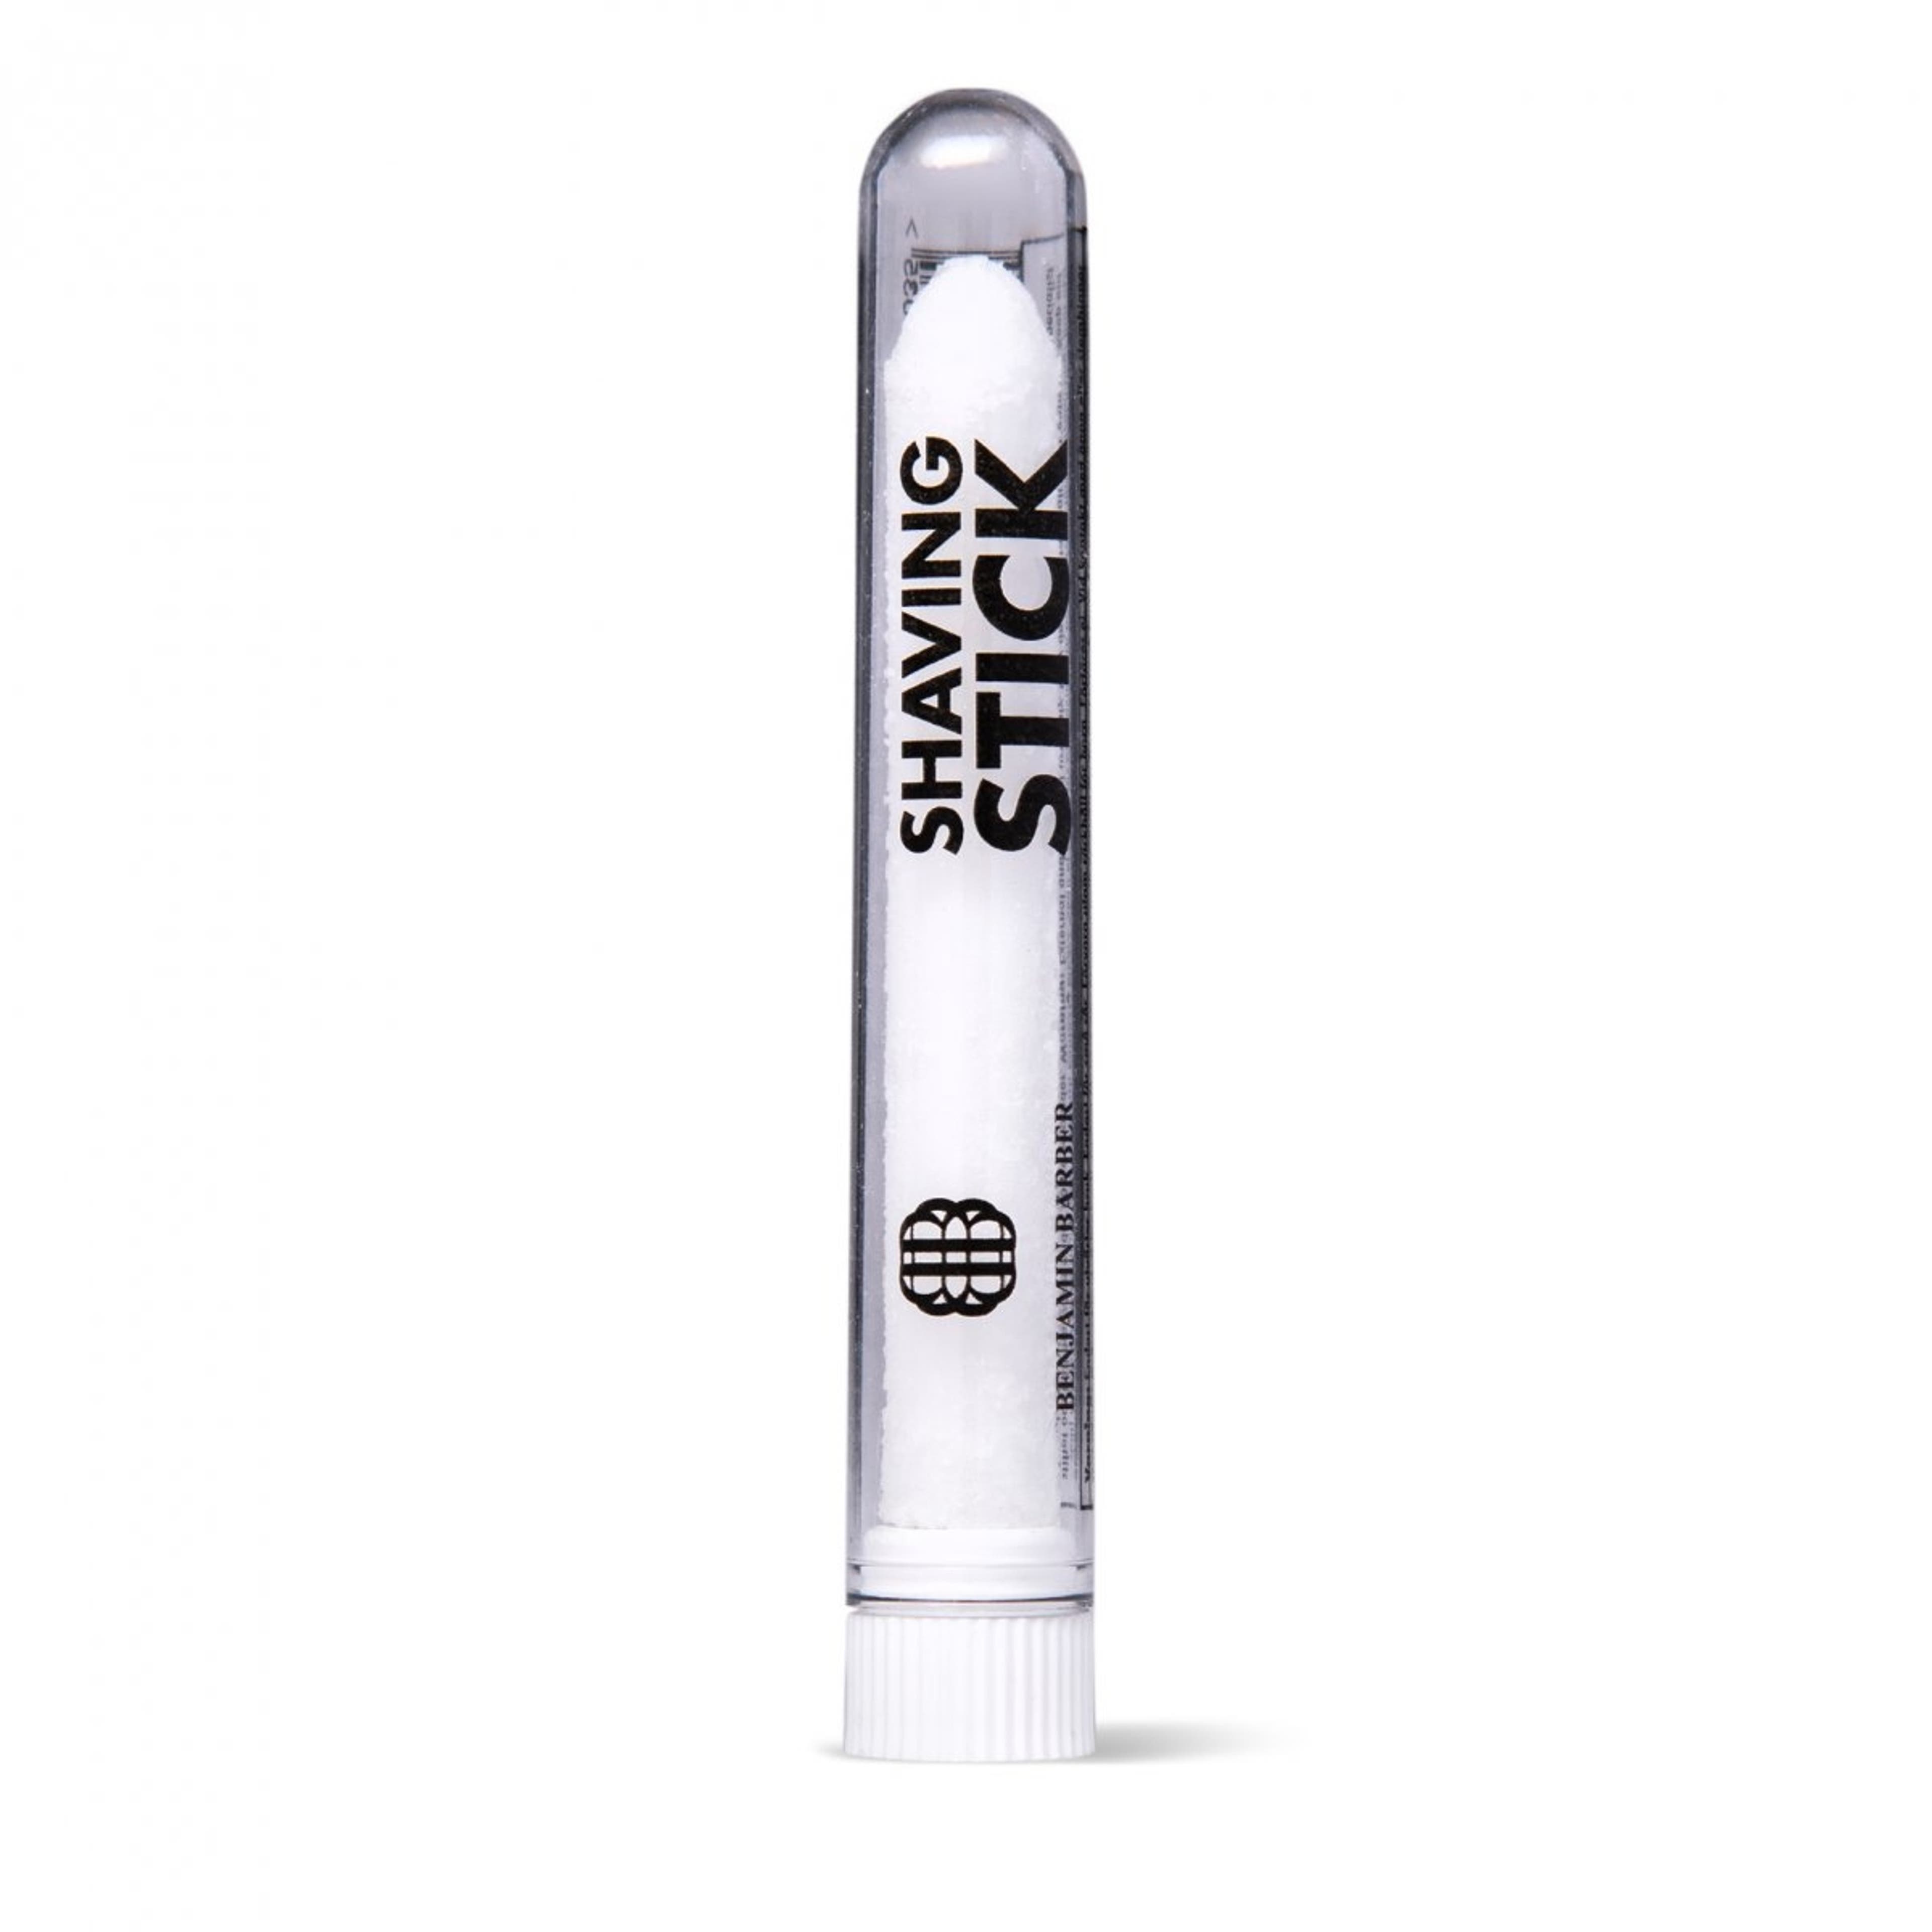
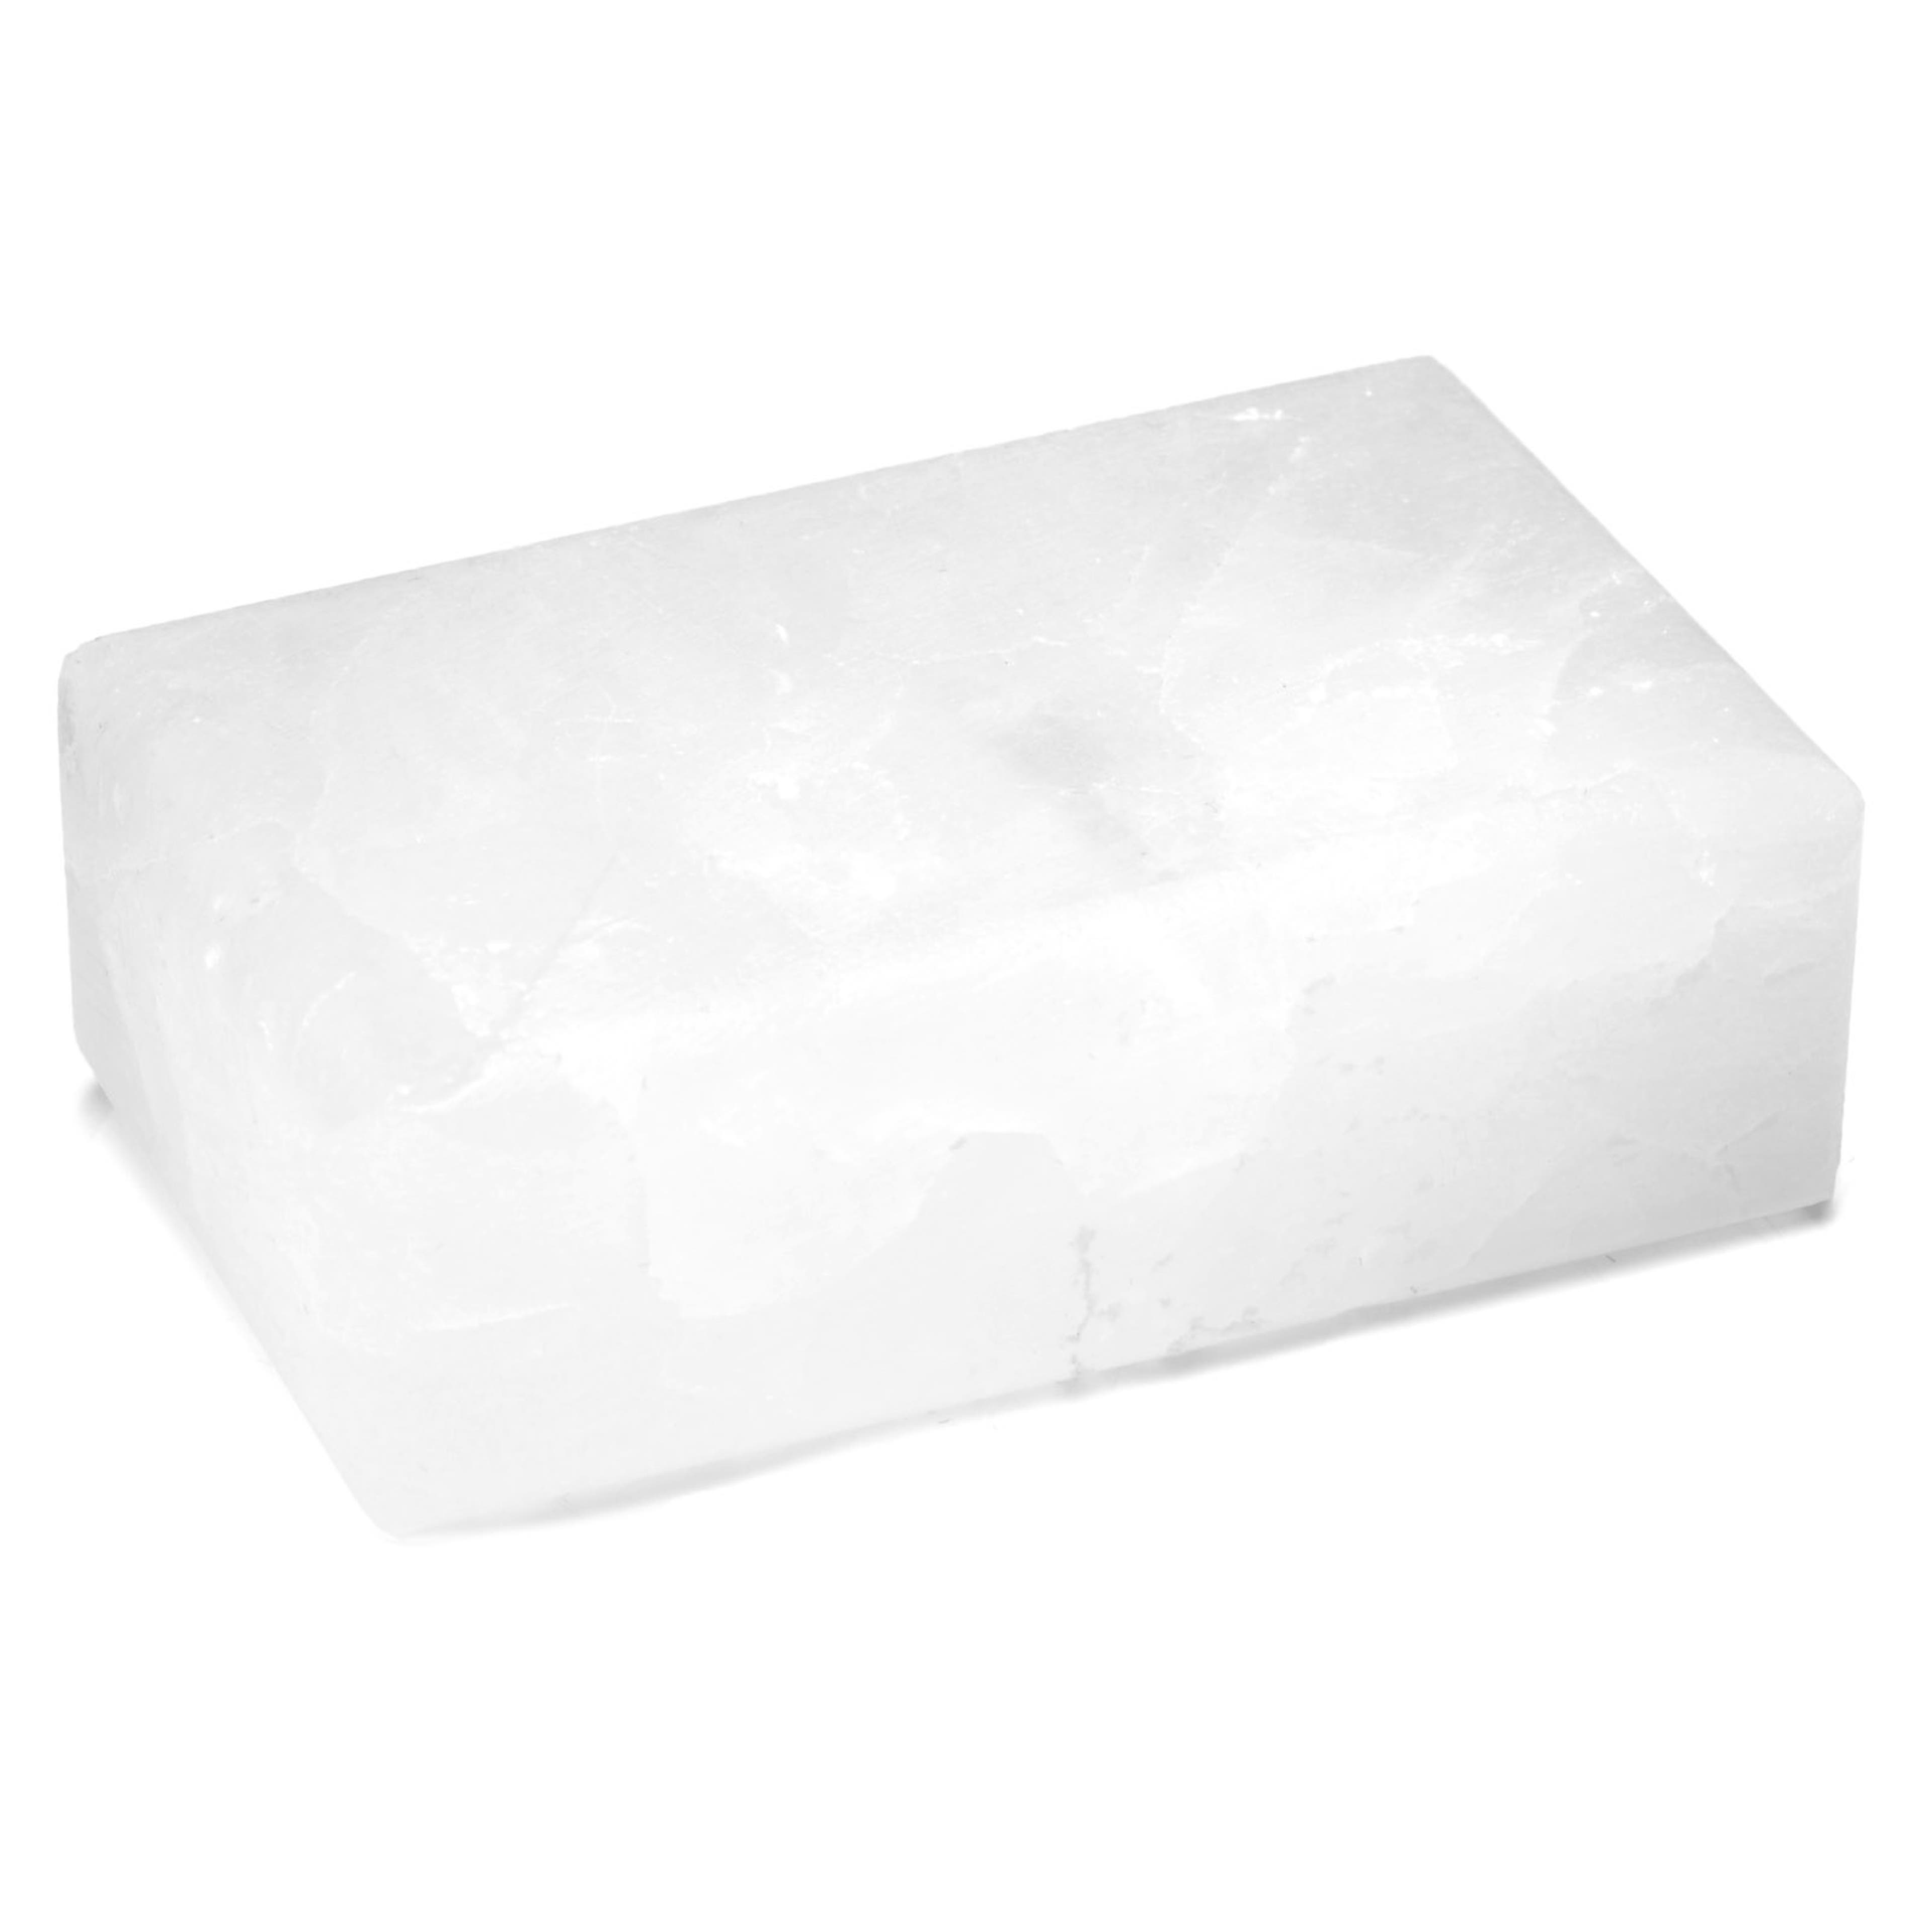
Alum Stick. An easy-to-use aluminium sulphate stick helps coagulate and retract your skin’s pores. Antibacterial properties ensure the cut remains clean and infection-free.

